FEELER - Universal Tube Microphone PSU

GroupDIY Audio Forum

Help Support GroupDIY Audio Forum:

This site may earn a commission from merchant affiliate links, including eBay, Amazon, and others.
Hi Matador !  :)

You said :
LM317T for heater and bias voltages, and TL783C for B+.
and
The design is meant to be adjustable from approximately 70V up to about 200V with the stock BOM, which should be good to cover most tube microphone duties

But, the TL783C adjust from 1,25 V to 125 V ! (http://www.ti.com/lit/ds/slvs036m/slvs036m.pdf
What is your secret to regulate at 200 V ?  :eek:

PS : I started in electronics and I don't speak well English, so maybe I've missed to read a line !  :-[ :) :)
 
taffer said:
But, the TL783C adjust from 1,25 V to 125 V ! (http://www.ti.com/lit/ds/slvs036m/slvs036m.pdf
What is your secret to regulate at 200 V ?  :eek:

PS : I started in electronics and I don't speak well English, so maybe I've missed to read a line !  :-[ :) :)

This is a very common confusion with the TL783C...the 1.25V to 125V range is input-to-output differential, not output with respect to ground.

It means the output of the regulator cannot be more than 125V lower than the input voltage:  but, all other things being equal, it means you can produce 300V output so long as the input is not larger than 425V.
 
Ok ! Thank you very much !  :)

PS : Great idea this Universal Tube Microphone PSU !!!! I was just looking to build 4 PSU in a 2U rack with voltage indicator for "B+" and "heater"
Here is the beginning of my build:
image.php

image.php


Sorry for the finishing but I do not have the right tools !  :-[  ;D
 
i like the idea or implementing voltage meters and pot adjustment on the outside of the case to ensure correct voltage from location to location. less needed with regulated supply though.
 
Yes !
In my idea, I set the heater and B + voltages with 2 adjustable resistors and a small screwdriver on the front of the rack (just under the voltmeters)

Matador, just another question :
Do you have no noise with the TL783 ?
I ask this because I was testing the LR8 Adjustable régulator and I had too much noise (breath) !
2 links for hear this :
With LR8 :https://dl.dropboxusercontent.com/s/gvwuicnpgvc6kdw/Bruit%20LR8.wav?dl=1&token_hash=AAFtDNMzh6Lze12zRYeGhnU2Pv2ykrm7CSLfN3ljE5G1oQ
without LR8 (With a Zener) : https://dl.dropboxusercontent.com/s/m5ieqcc2hdzlafq/Bruit%20LR8%20sans%20LR8.wav?dl=1&token_hash=AAF8XwInVM8y139xGwY8uXzTDiu5bbab_gQLto4hq3FeWA

Datasheet LR8 : http://www.supertex.com/pdf/datasheets/LR8.pdf
 
Hi Matador

Do you have news of your Universal Tube Microphone PSU ?
Because, I have tested a PSU with the TL783 for B+ (Vin= 220 VDC with R1 = 100R and R2 = 10K multi-turn trimmer pot for 105VDC < Vout < 200 VDC) and... My TL783 is dead  :'(
I don't know why...  Perhaps I don't understand something or I don't make a good build or a good mathematical equation...
Do you have a idea ? What is your schematic for a good work ?
 
I apologize for the long delay:  I am in the process of moving, so securing the new place, dealing with the old place, etc, has soaked up the last few months.  The first prototype is boxed away until I can grab some cycles to look at it again.
 
This is very cool. I am definitely interested. I am particularly interested in adopting an RU system for some installed PSU's in an RU mountable chassis so I can install some PSU's in a semi-permanent situation as well as keeping my legacy "desktop-chassis" PSU's in the travel kit.

Provisions for front panel "greenie-adjustment" (perhaps with bananas for metering) would also be very flexible. I don't see much need for meters since it would be rather expensive in terms of front panel real-estate and it shouldn't be changed "that-often".

A cool enclosure system might be similar to a 500 series rack with shared system-power such that you just need to slot it in. Connectors would be on the front, tweaker access on the front, individual power switches for B+/-, H+/-, G+/-, pattern control, and a banana for each. Line voltage for each could be a backplane connection for installed or IEC for travel. A spot for a label would be nice to serialize the unit and label with it's related mic and voltage info too.

Food for thought but I am certainly interested in putting together a chassis or two with a number of vertically slotted PSU's! It's going to have some weight.

Cheers!
jb
 
JessJackson said:
yeah it is fixed bias, the parallel cap and resistor are inside the power supply instead of in the mic (elam 251)

I think the confusion is that this is "supposed" to be fixed bias, but Matador is correct that the voltage derived with this circuit will vary depending on the tube's characteristics and therefore is not truly "fixed".  It is more of a low cost way to create a minus voltage in the supply.  It's a cost/performance compromise which is done in electronics Engineering ALL the time.  Save $1.00  on a product that sells 1,000,000 units and you make an extra $1,000,000!

Not applicable in DIY world. :)

BF
 
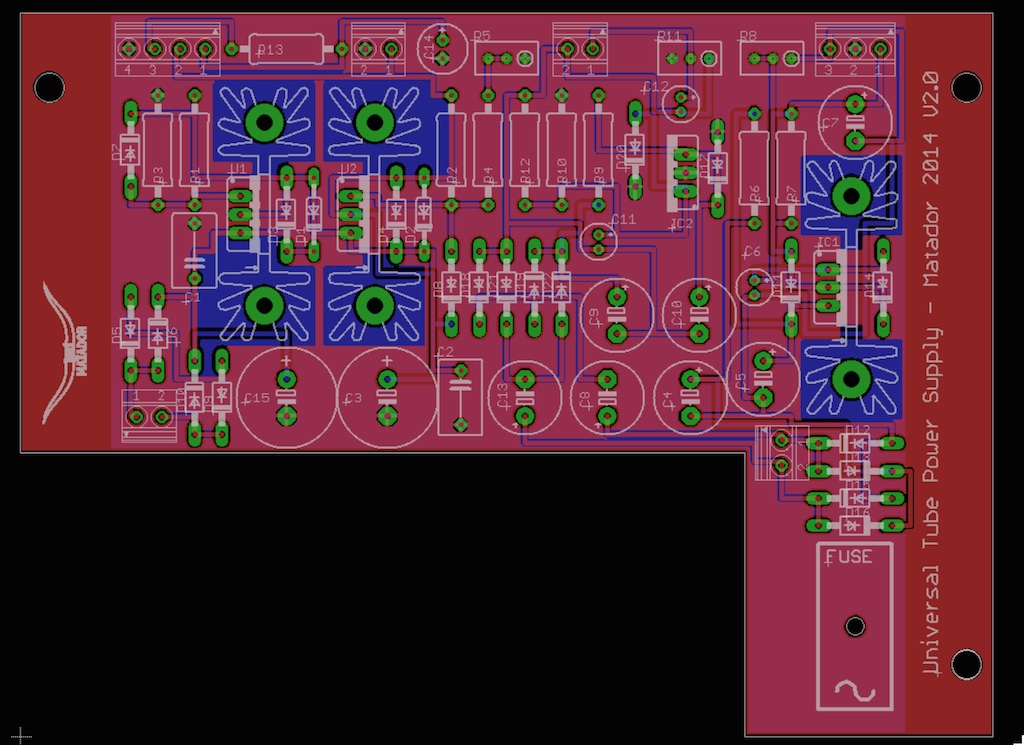
Some more news.  I'll have to rev the PCB...:(

Problem:  I really wanted this design to play nicely with the stock C12 transformer which has a 200VAC secondary.  As a result, the post-rectification voltage is quite high...about 275V.  At +10% line voltage, this is nearly 300V.  This is above the maximum 125V input-to-output differential I quote earlier in the thread of 125V for the TL783C.

This means some of the voltage needs to be lowered via an RC filter.  This works fine:  for example, at 1mA load current, we can throw away say 75V, so the 300V becomes 225V, which is only 100V across the regulator worst case.  So 75V at 1mA means 75 kohm.  All is good.

Now what if we want more current?  Let's double the load current up to 2mA.  The drop across the resistor doubles up to 150V.  Now we only have 150V going in to the regulator, and 120V out.  So that's still fine.

What you can see if that once the load current goes above 2.4mA, then the regulator starts to drop out.  We need less resistance at higher currents.  This isn't fine. ;)

I can fix this by adding a constant "waste" current, which means that the supply gives a fixed current of about 5mA into a dummy load, and the rest goes into the tube.  This is really a waste, but means that percentage wise the change from 1mA to 2mA is only a change from 5mA to 6mA, which is a much lower percentage change (20% from 100%).  This I can lower the dropping resistor significantly and increasing the load current changes the output voltage much less.

It's a single added resistor to the layout.  I stuffed a spare into the output of the prototypes terminals to test this and it works.  It can provide up to 10mA load current @ 120V, which is enough to run a few tube stages.

I might see how much VA I can suck from this stock transformer to see if it will run MK47 tube types.  120V @ 50mA is only 6VA which I think is doable.  It will just increase the stock dissipation of the PSU.

The other option is to move to a different transformer:  I'm in contact with Chunger to see if that is a possibility because if so, it will greatly simplify the design.
 
Ok, I have a fix...moving to a 2-stage regulation circuit.

Moving to using two separate TL783C chips for B+ means I can have a fixed regulation point for the first supply (plus a bonus regulated node), then take the rest of the supply down to the desired output voltage.  I can remove a lot of bulk C and series R by doing this so the space isn't quite so cramped.

I'm picking +225V for the fixed regulation point of the first regulator.  This allows the second stage to be adjustable anywhere from 100V up to about 215V, which means it can be used to power MK47, C12, ELAM251, U67, and G7's all from a single transformer specification.

The MK47 has the hardest operation, as it runs at the lowest B+ and has the highest current requirements.  For example, the second regulator will need to drop about 100V at 50mA, which is 5 watts dissipated as heat.  Ok in a pinch, but probably not the best for PSU longevity given the cramped space.  We're thinking that for MK47, it may be better to use a different 90VAC transformer and simply jumper across the first regulation stage.  This drops the static dissipation from 5W down to about 1W.

In any case, the new design is under layout right now...I hope to have it completed within the next week or so.
 
New design is completed, and new layout is done and on a prototype panel.  Here's what it looks like:

psu_universal_v2.jpg


This implements the two-stage regulation circuit I described above.  The first stage regulates to a fixed +225V supply (regardless of transformer secondary rating, which can be as high as about 250VAC).  The second stage is adjustable from 100VDC up to about 215VDC.  The heatsink combo is rated to 5W each, which means the B+ portion is capable of supplying a worst-case current of about 50mA @ 100VDC.

Some other changes from the first design:
1) Wrapped 5W Zener diodes around the regulators for short-circuit protection
2) Adjusted the bulk capacitance down in the heater supply:  I dropped it from 12,000uF down to 3,000uF, and stayed with the tried-and-true "1000uF per amp" rule for regulation circuits
3) I went ahead and tied the "B-" node to the global circuit "GND" node.  Originally I had floated this as a separate "B-" rail, which you then had to tie to the ground node with an external wire for a positive B+ supply.  Since I can't imagine anyone needing a negative B+ supply I went ahead an did this on the PCB to save construction time (heater and bias supplies are still floating however).
4) Adjusted the bridge rectifier diode layouts to oblong pads for a) easier soldering, and b) to fit larger rectification diodes if you want to beef up the heater supply above 1A continuous output current).
5) Added optional RC filter in front of bias supply
 
@Matador,

I can build your ( and Chunger's) kits but not design them; thank you both, so much ,for making these available to us; much appreciated !

Hope the move has all gone well and that you are settled in !
 
Back
Top