First post (pictures of my LA2a)

GroupDIY Audio Forum

Help Support GroupDIY Audio Forum:

This site may earn a commission from merchant affiliate links, including eBay, Amazon, and others.

mcfarlane_audio

Well-known member
Joined
Jun 19, 2006
Messages
152
Location
Vancouver, BC, CA
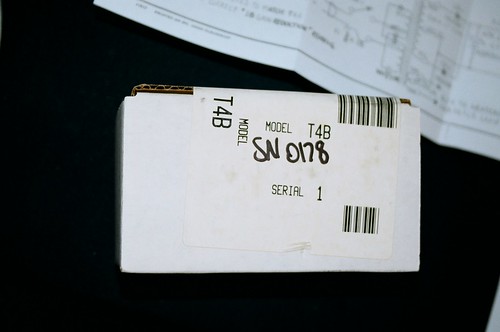
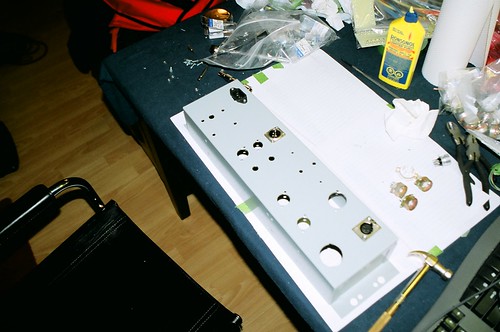
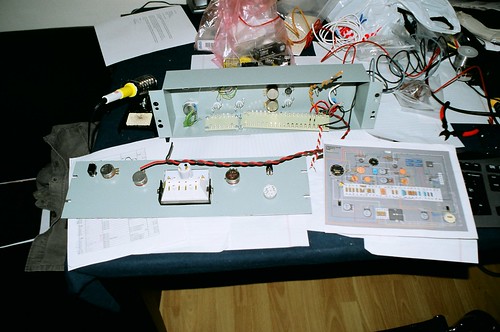
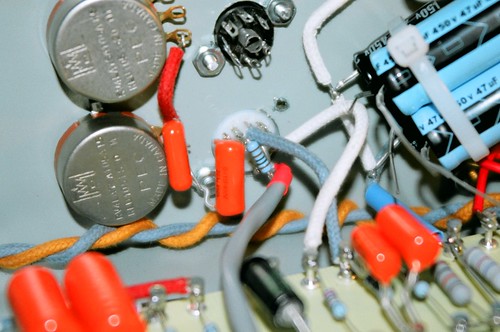
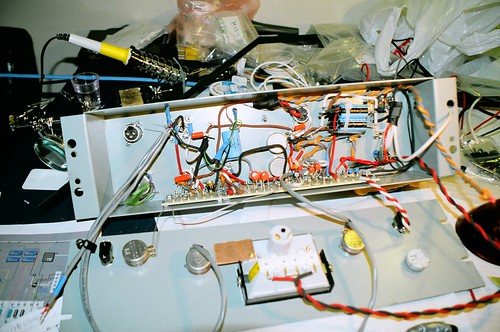
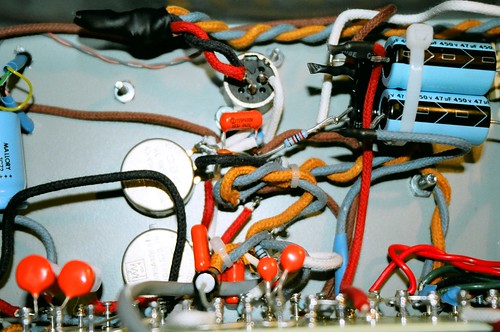
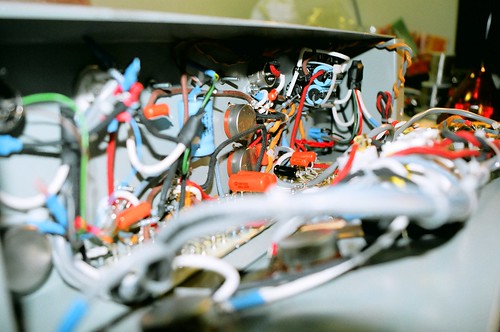
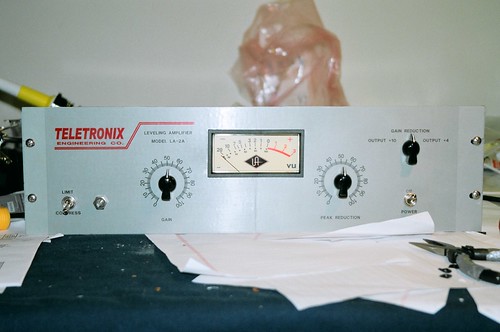
Hey well i thought it was about time to make a post, after lots of searching (and reading through hundreds of pages) i embarked upon my first real DIY project. The LA2A. well here are a few pictures documenting construction up to the finished unit. still needs a little cleaning up inside. but after solving some grond issues it sounds GREAT! :grin: ok well enough chat here are the pics ( really do hope they show up)

267222008_f8047ad36f.jpg

267222007_df03eb7b10.jpg

267222010_7067259603.jpg

267222014_92fd327d95.jpg

267222018_f99e01afb0.jpg

267223845_71a4145370.jpg

267229654_f3d13d7acc.jpg

267229636_6f9b5268cb.jpg

267223853_b5acdeca52.jpg


next ... gssl
 
Looks like the same case that Cayocosta used... I forget if it's a Hammond or not...

The tell-tale bottle of Ronsonol suggests that you might have used my toner-transfer method for printing the front panel perhaps? :wink:

Keith
 
haha yes it is the inkjet transfer and super 77 method (can provide details but i know they are somewhere in this forum) and im really happy with the results (after several attempts though) thats really the biggest merit to this method is if you screw up . you just wash it off and try again

yes it is a hammond case (pain in the A$$ to drill out though(i had to start all of the holes with a titanium bit then start using my stepped drill bit as the stepped wouldnt bit the metal on its own.)
the parts # escapes me currently as i got it from a local supplier but it is the same one that cayocosta uses. i think it is a direct off of his site build ... i cannot remember any changes i made. oh .. the wire !. its cloth covered vintage style hookup wire (from antique electronic supply if memory serves). i will definately not be using it again (but it looks great for the point to point. its really hard to strip and is super tight around all thise mini tube sockets.

but a big thank you to everyone in this forum for your help .. i wouldnt be anywhere without you .

ill be posting details on a rebuild im doing right now in the near future(of an MCI JH 416 console from 1972) (really cool stuff)

thanks again to everyone i cant think of a good way to repay you right now .. so in the meantime :sam: :guinness: :sam: :guinness: :sam: :guinness:
beers for everyone!
 
:shock: That is insanely good for a first build :grin: Especially the front panel - I will have to try this method given how nice it looks

Congrats

:guinness: :guinness:
 
Hi,

really nice unit :thumb: what about the sound ? Could you give us more info about the toner transfer method for the front panel ?
 
[quote author="mcfarlane_audio"]haha yes it is the inkjet transfer and super 77 method [/quote]
...laserjet and super 77, -right? inkjet doesn't work AFAIK.

Keith
 
hey, thanks for all your kind words

1. it has been on loan at a local studio for about a month with an engineer who is well versed in la2a's and says that he loves it so thats great(he says he likes it a little more than some of the "ageed" units at some studios (which i attribute to thier needing a recapping)), i having never used a real one all i can say is "wow ive never heard 15dB of gain reduction sound so good)
2. the pannel is done by printing the design (mirrored) onto overhead projector transparencies (ones for inkjet printers(you can get them at office depot and the like))and then spraying the front pannel with super 77 glue and laying it overtop. you then have to wait for the super 77 to take a good hold
you can then (i know it sounds scary) put it under the tap and wash off the transparency material with a cloth.this will give you a matte finish (or you can just leave it be for a gloss look

the best part about the whole process is if you screw up you can just use lighter fluid to wipe off the super 77 mess and start all over.

any more questions i would be open to
when i do the front pannel for my Gssl ill try to do a step by step thing although im sure someone has posted that here before

3. the wire is from antique electronic supply in the states

there i think i got them all

thanks again for your words of encouragement

-Brock-
 
Nice looking first build you got there. I have a couple of questions about the front panel transfer method. I did a search and found only a few bits of info on this. Maybe you and Keef and expand on it a bit.

1) Keef printed on old sticky label backing using a laser printer. You used inkjet transparency material, but what kind of printer?
2) How long do you wait after sticking your print to the panel before trying to remove the backing?
3) You said you "washed off" the transparency material with water. Do you mean it dissolved in the water or the water just helped to separate it from the panel?

This method looks easy enough that I might give it a go for my next project. Thanks for any info you gentlemen can share on the above questions.

A P
 
yes, i dint have access to a lazer printer so i used transparencies with an inkjet. i left it overnight to harden ( after a little blast from my heatgun) then yes the water does dissolve some of the transparency but you do have to scrub at it a bit with the washcloth
once i get the case for my Gssl i will try to post a step by step process with pictures to make it a little more clear... stay tuned on that one
the meter that i used just has a slightly smaller bezel then the one on the originals or the reissue but is esentially the same size ... mabe even a little bigger??

thanks again

-Brock-
 
The scale rings look a little close to the meter and perhaps a fraction oversized, which maybe explains why the meter looks to be smaller. Also, the original Beede VU meter bezel has a much thicker mullion.

Ah. So you used OHP medium. Yes, inkjet will print on that. When I developed the Super 77 method, I used sticky label backing, which won't take inkjet, but does take laser toner. The advantage of laser toner is that it's a melted plastic instead of ink, which is slightly more durable... -Either way,a fter a coating of lacquer, they're both durrable, and MUCH cheaper than screen-printing a one-off!

Keef
 

Latest posts

Back
Top