Official C12 Clone - Build and Support Thread

GroupDIY Audio Forum

Help Support GroupDIY Audio Forum:

This site may earn a commission from merchant affiliate links, including eBay, Amazon, and others.
Hi,

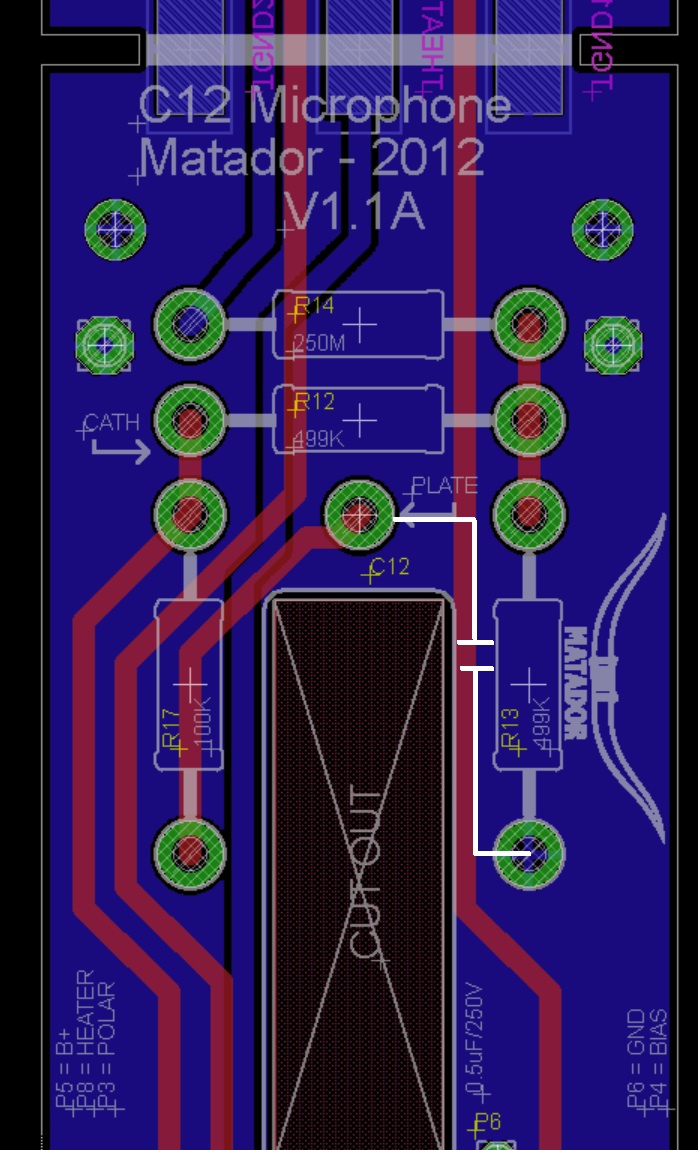
Some news from our C12 built!

Yesterday we ran another test, with a DPA 2011C in comparison.
The preamps were 2 BC315 in an Amek BC3 console (with new caps and lundhal trannies), throught an Apogee PSX100.
And... The sound was good!  ;D

The level of the C12 is about 2/3 db less than the DPA, and the noise is almost identical, very low I think.
I still can hear some very low level hiss, but I think it can decrease with letting the tube burn 24 hours more. Is that correct? How long could it take?

I'm still using the stock capsule (waiting for a Tim's one), and a low noise, tested GE 6072 triple Mica NOS from Tube Depot.
Can I expect more low end with the Tim's capsule?

I will post samples asap.

Thanks again! ;)

Remi
 
And here are our first samples:

One classical guitar recorded in my room:

The mike is at 35cm from the instrument.
The BC315 gain is set at +50dB:
https://www.dropbox.com/s/wow90uwyeccd2kf/C12_50dB_gain_35cm.wav

The mike is at 20cm from the instrument.
The gain is set at +50dB:
https://www.dropbox.com/s/xcb7exj0717gmn8/C12_50dB_gain_20cm.wav

The mike is at 20cm from the instrument.
The gain is set at +45dB:
https://www.dropbox.com/s/s1xqy3nh3qfpqtl/C12_45dB%20gain_20cm.wav


There is no normalisation nor FX.

What do you think?
Does it sound "correct" to you?

Thanks for your replies!  :)

Remi
 
I dont know if it sounds "right" but it does sound beautiful!

Thanks for posting

Cheers
Mac
 
Yes, this is the capsule from the Alctron mic, still in place until I get a Tim Campbell's one.

I didn't remove the layers from the headbasket yet, but I'm wondering if it's a good idea, I'm afraid of getting hum/RF.
What do you think?

 
Not a big fan of the Chinese 32 mm K67, but with this circuit it obviously sounds worlds better than with the stock circuit. Pretty good, actually. Quiet, too. And it will get even better with Tim's capsule.

Before you get the pliers in there, check out chunger's headbasket offerings (due tomorrow). There's a single layer (like the original C12 has) and a dual layer (more towards Ela M251 style).
 
I'm having a hard time finishing the power supply. I'm not getting any voltage reading for the B+ thru the polar...all of them. I'm wondering if the stock transformer in the Apex 460 power supply could be bad. I noticed it was loose during the build. I tightened it. Should I try to re-solder it? Is there a replacement? Has anyone had this problem?
Thanks.
 
Pip, I somehow messed up when I tried to reply to your message. It's an Apex 460 with the power supply. All wires from stock transformer in the power supply, 200VAC and 9VAC, are to the correct terminal block and I'm in the US so I'm assuming that the 115 setting is correct (that's the way it came too). When I power it up, the light comes on, but there's no voltage reading on my DMM. Thanks for replying.
 
I didn't power it up before I tore the whole thing apart. That was dumb, I know. I just checked again and I'm not getting any voltages from anywhere.
 
Reverend said:
None at the secondaries either. Do I have a bum transformer possibly?

Disconnect the secondary and measure it right out from the transformer (unconnected).

You may have run afoul of the "mixed up the 4700uF and 100uF caps" problem:  putting a 16V cap in the 120V B+ side of the circuit turns it from a cap to a dead short.  Check to make sure all of the large filtering caps are in the right places.
 
OK. I checked the caps and the 100uf and 4000uf are in the proper places. So, I disconnected the secondaries and no voltage reading at all from the transformer. Chunger, what will you charge for one of your spare power supplies? Thanks. Having fun even with the problems.
 
Reverend said:
OK. I checked the caps and the 100uf and 4000uf are in the proper places. So, I disconnected the secondaries and no voltage reading at all from the transformer. Chunger, what will you charge for one of your spare power supplies? Thanks. Having fun even with the problems.

It may be worthwhile to try and put the original PCB back in place and see if you can get the mic replaced under warranty.  Otherwise I have spare psu for $40.
 
Finally heard from Tim Campbell.  YAY!  Won't be seeing anything until late August/Sept., but at least I got into the queue!

Going to use a pair of these in the mean time.  Cheap enough to get the mics going, and good enough quality to use in future projects.  Maybe even the "anticipated" ELAM 251 I hope Matador may be considering doing.

http://microphone-parts.com/rk12-microphone-capsule/
 
Congrats, When did you first contact Tim?
Did you build and test the mic with the orginal Chinese capsule?
If so, could you share  the difference in sound with that and the RK-12 when you get there?
 
Got a Mail from Tim last Friday, my CT12 is on the Way! :) :) ;D And a good GE 6072 Five Star from Christian next Month! Yehah!
But the Mic sounds Great with the RK12 and EH 6072 now! Greets from Germany 8)
 
Winetree said:
Congrats, When did you first contact Tim?
Did you build and test the mic with the orginal Chinese capsule?
If so, could you share  the difference in sound with that and the RK-12 when you get there?

Haven't built the test mic but have a RK-12 in a Royer style mic and the capsule is smoooooth as can be.

Contacted Tim about a month ago and heard from him today.  So excited!  I had to get in line to get in line to be allowed to purchase...lol.  My wife thinks I'm crazy but just knowing I'm on the list is quite gratifying.
 
ELAM251 Conversion Steps
===============================
I've gotten pinged a few times about what to change in the C12 circuit to convert it over to a more 251 type circuit.  Here are the steps:

1) The cathode bias needs to be moved from the PSU up into the mike.  You can remove R3 and bridge from pin 1 to pin 3 of R3, or (recommended) you can dial R3 fully clockwise (so that the negative bias voltage goes from -1V to 0V):  this grounds the bias voltage going out through the cable.

2) A new cathode resistor and bypass cap needs to be added to the tube board.  This can be connected from the "TK" node of the tube side you are using (either TK1 or TK2).  The resistor value should be between 1.4K and 1.8K (original M251 R11 value was 1.82K).  Coincidentally, it's value will be exactly the same as whatever was trimmed to the pot R3 for the original circuit.  :D  So one end of the resistor goes into the "TK" hole on the tube PCB, and the other end goes to any ground node.  I would use one of the heater return pads right under it (both outside solder pads that attach the tube board to the main PCB are ground).

3) In parallel with this resistor goes the cathode bypass cap (C4 on the original schematic).  It's value should be 20uF/16V (although anything from 10uF to 100uF should work).  If you get a radial cap, you can just wrap the leads around the resistor that you added in step 2 since these are in parallel.
4) The last new piece is the plate cap C5.  I believe the original value (at least according to Google) is 1000pF, but other versions show 100pF.  The higher the value, the more treble roll-off.  I've tried 1nF and thought it sounded very good (much more U47 like).

Here's where the plate cap goes:

c12_to_elam251.jpg
 
Back
Top