MartyMart
Well-known member
Hi,
I thought this may be useful and a fun thing to do, document my D-LA2A build")
This will be ongoing whenever I have time to continue, it may take a few weeks to complete.
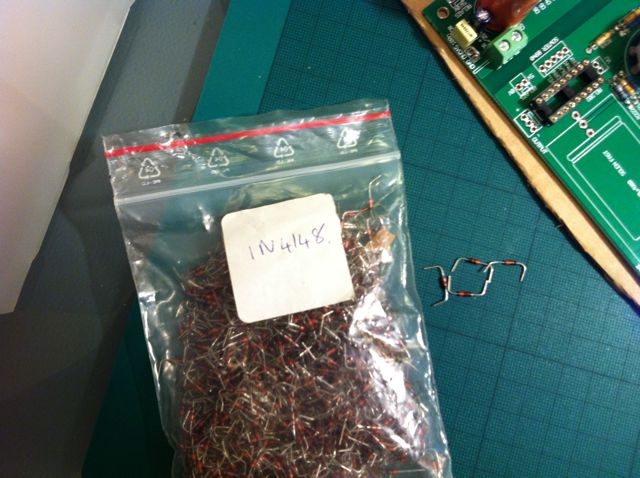
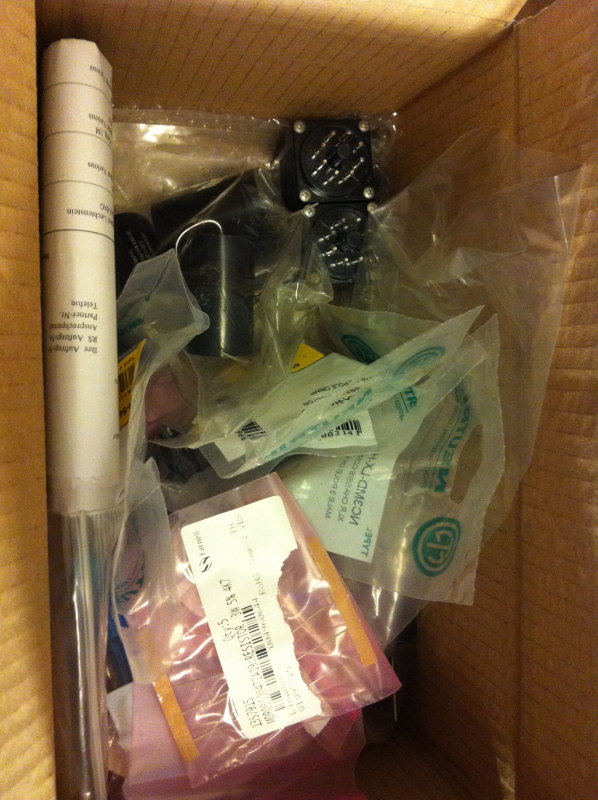
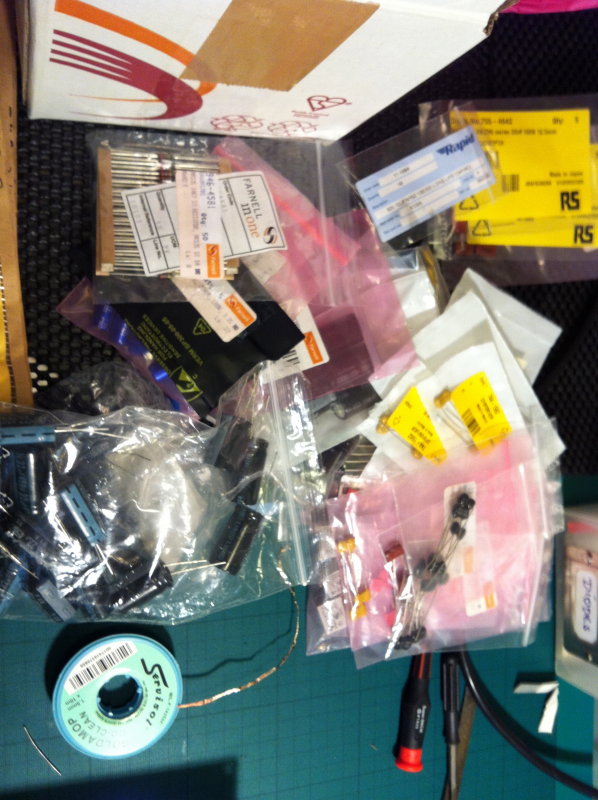
So we begin with some parts :
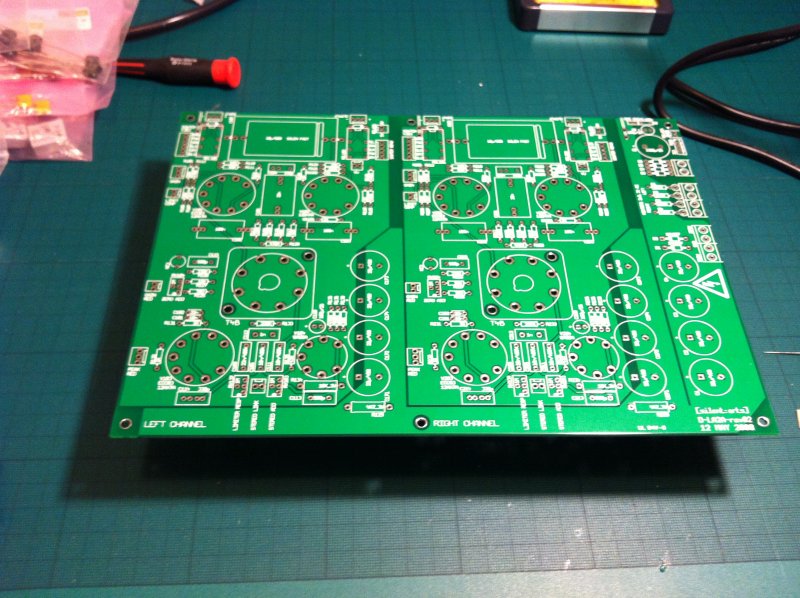
And here is the blank PCB from Volker = thanks
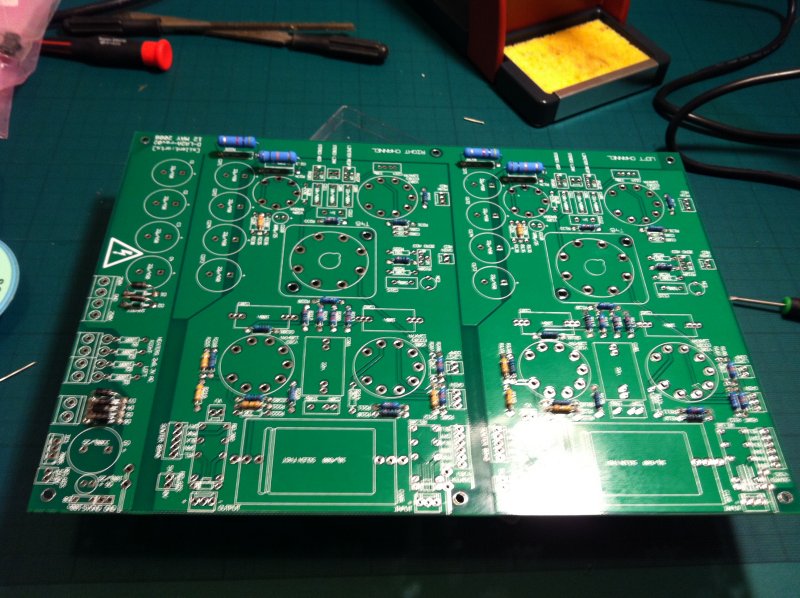
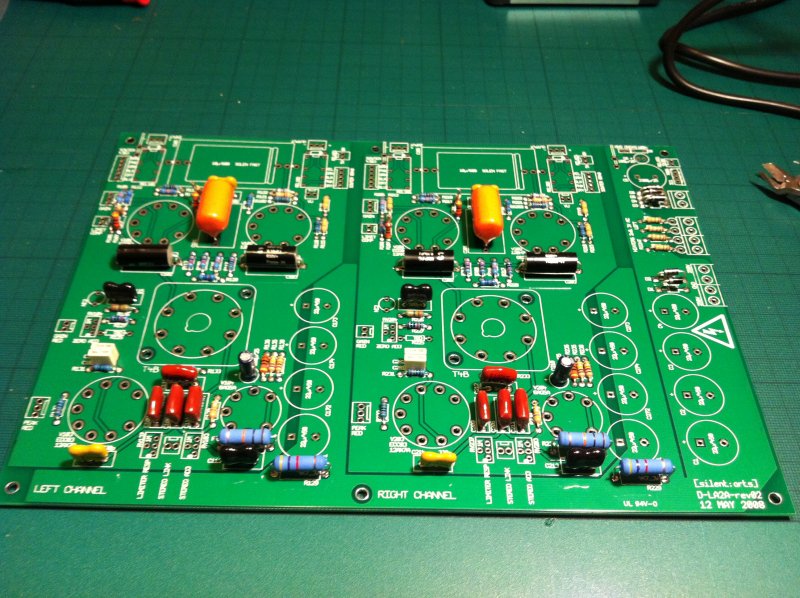
The first items to fit are all the resistors and diodes - going for lowest level first is always better.
I checked everything with my DMM and used matched values for the left and right channels.
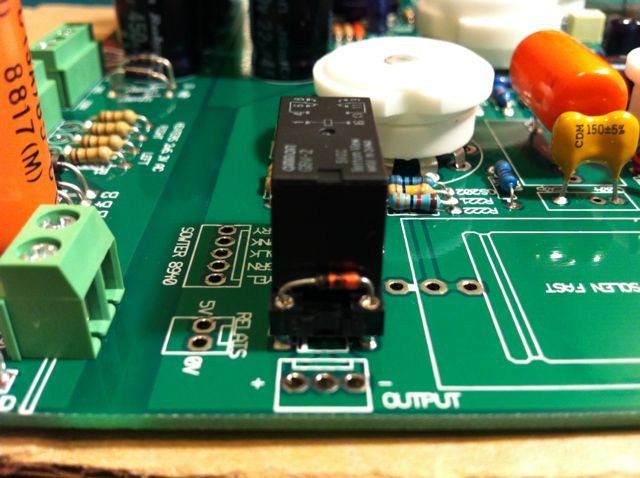
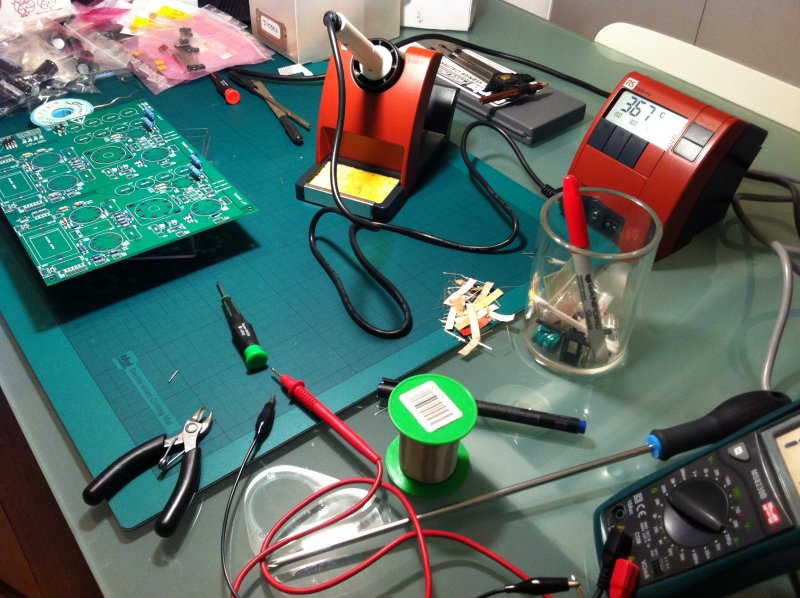
And here is a longer shot of my working area, I made sure that the larger 3w resistors had some
"air space" below them, same for the diodes too, that's my new RS solder station which is really good BTW.
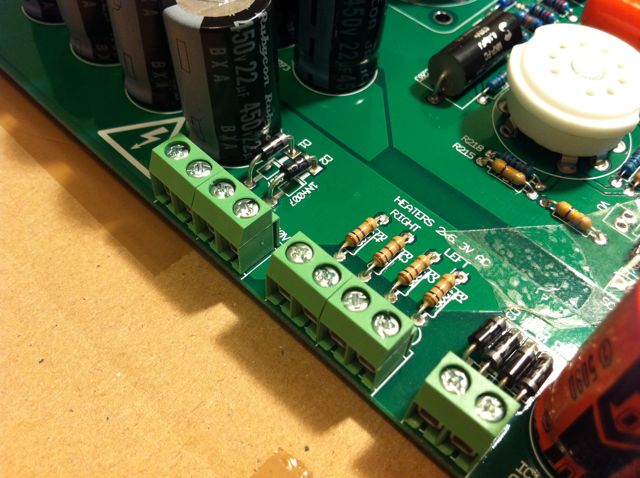
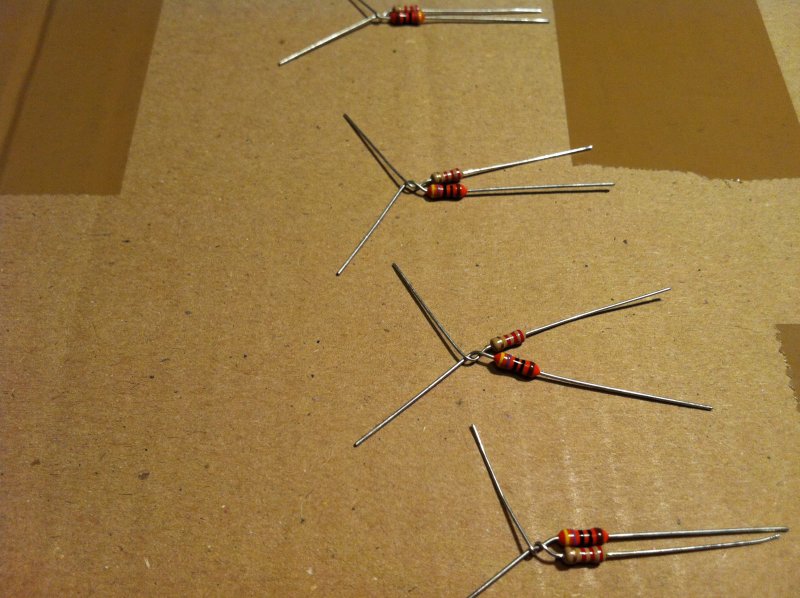
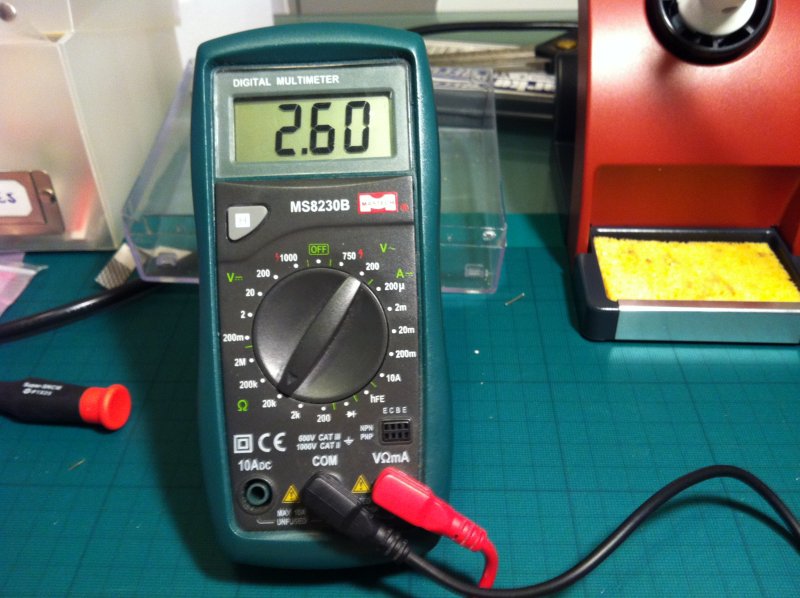
Here I needed to make up some 2k7 resistors as I didn't have that value.
It ended up as 2k6 but should be close enough, once again matched the four sets.
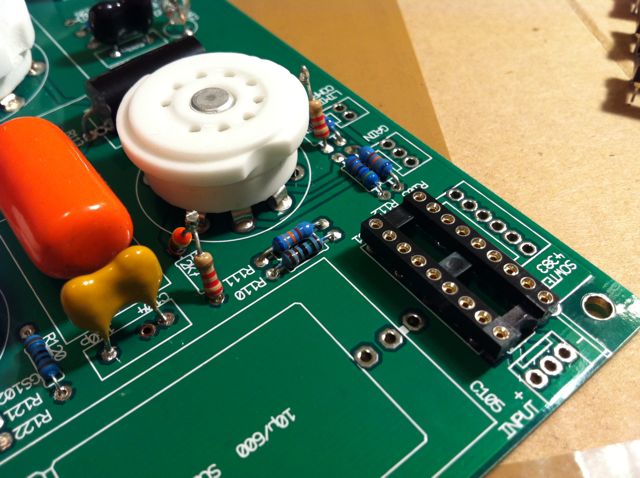
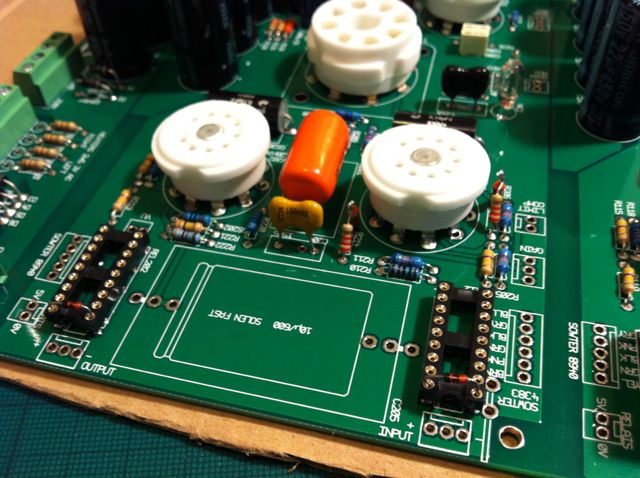
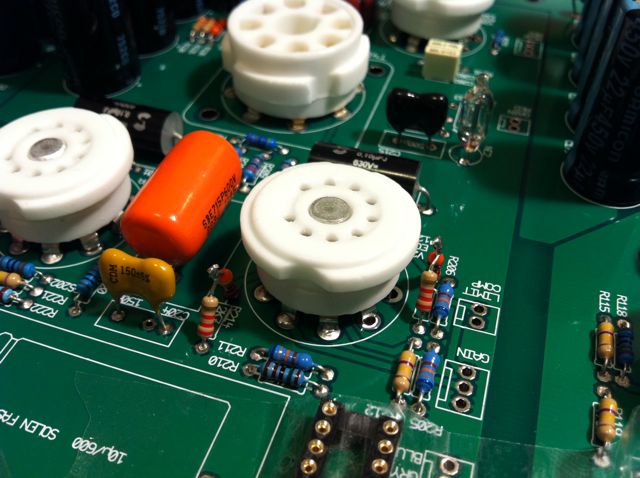
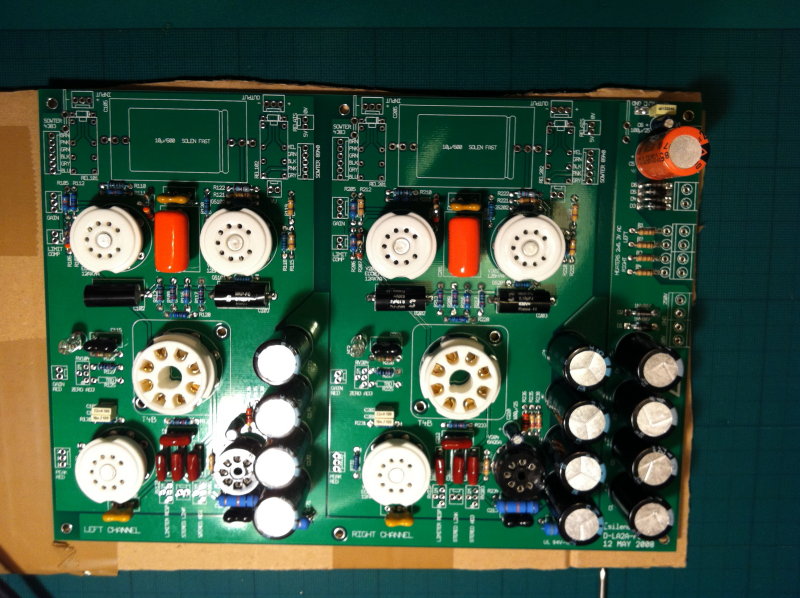
Next all the smaller caps, orange drop, solen fast, the poly's & Mica's
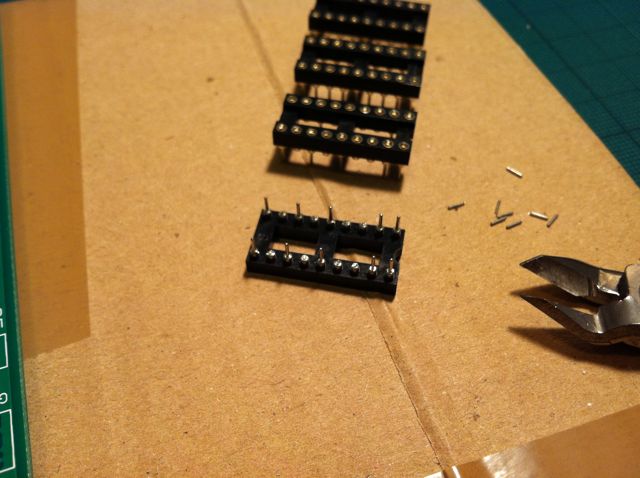
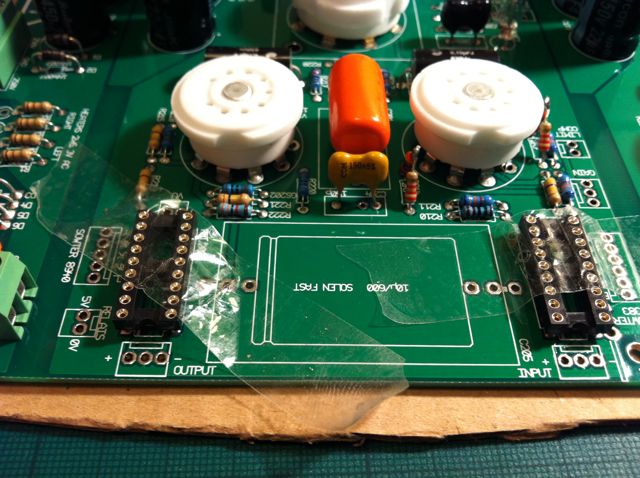
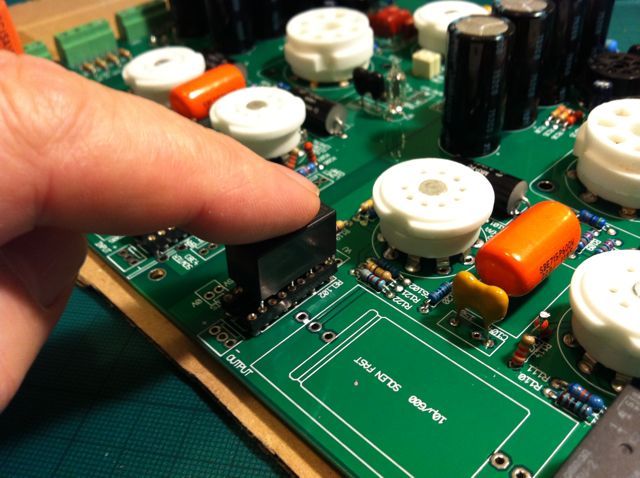
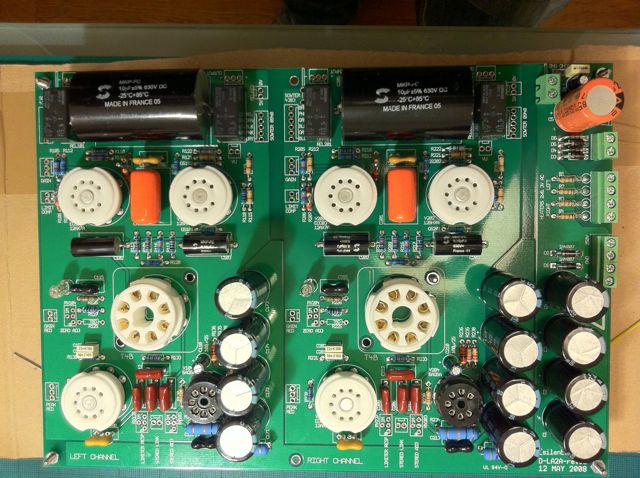
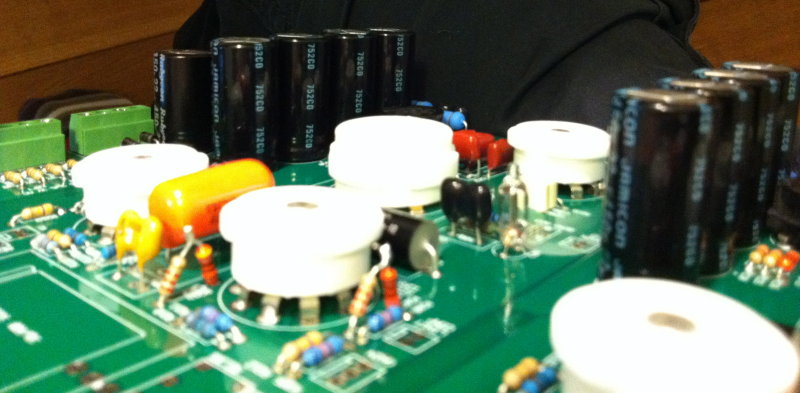
Next comes the valve and TB4 sockets and high voltage electro's
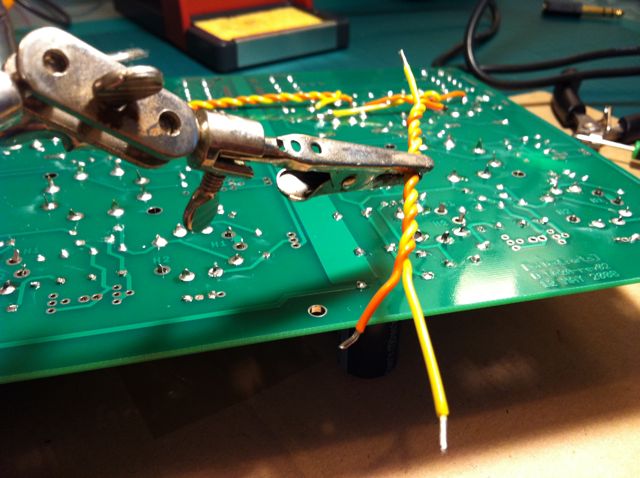
I left the heater connections off for wiring up, which will be the next step.
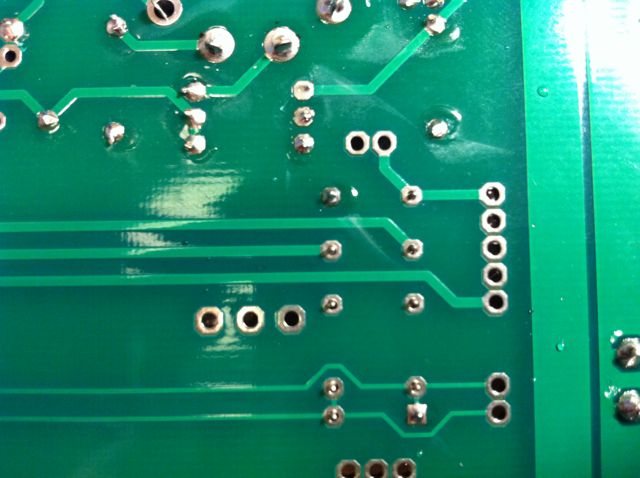
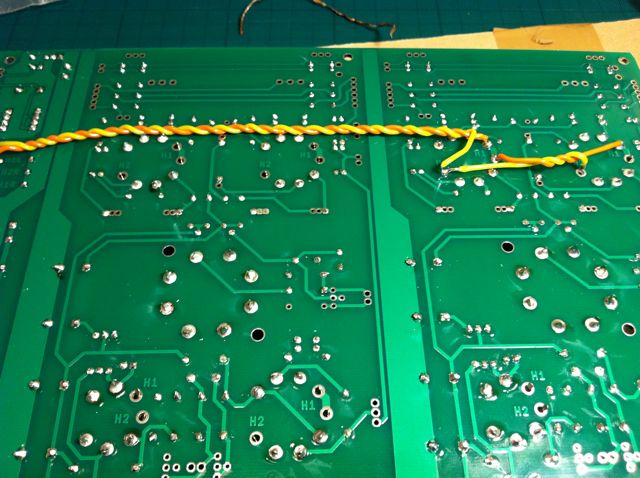
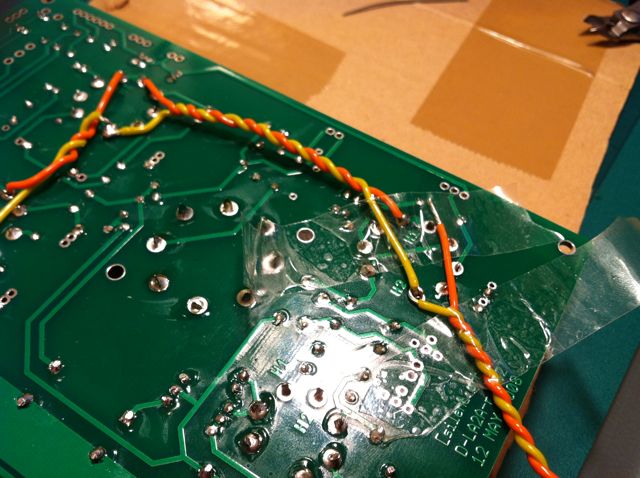
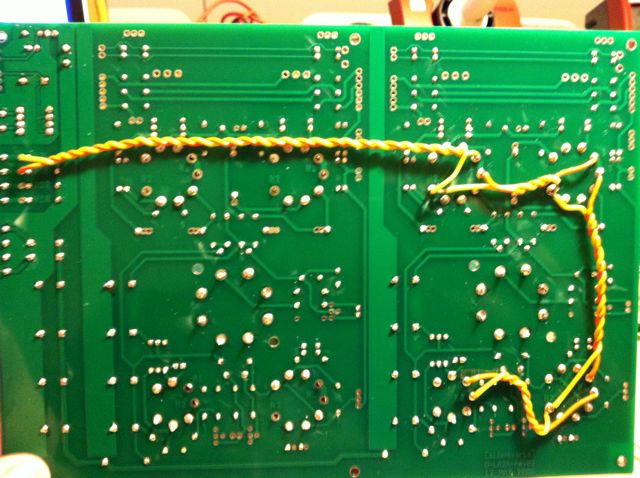
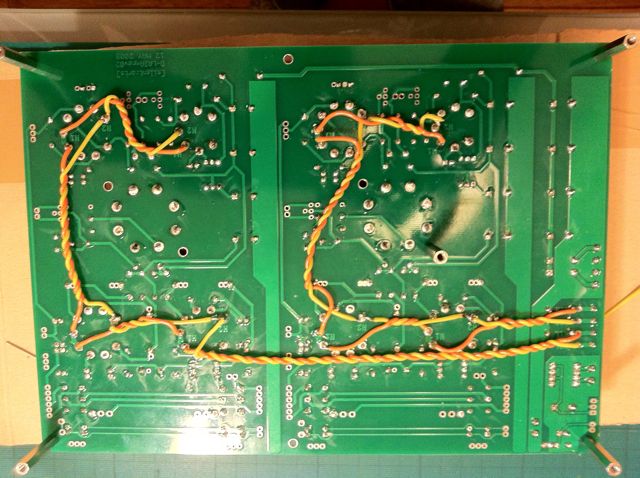
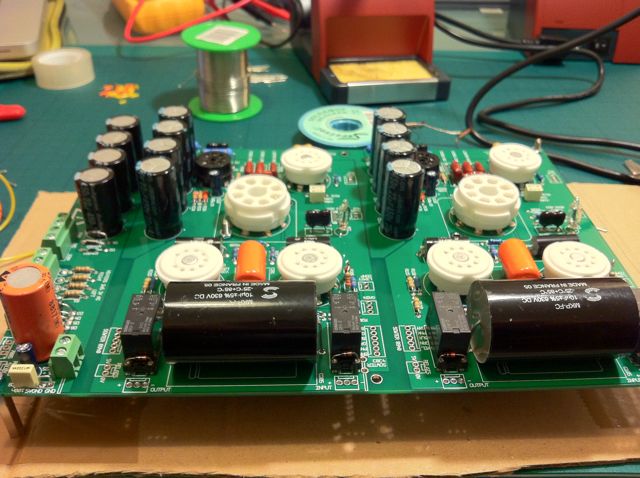
And bottom of the board ....
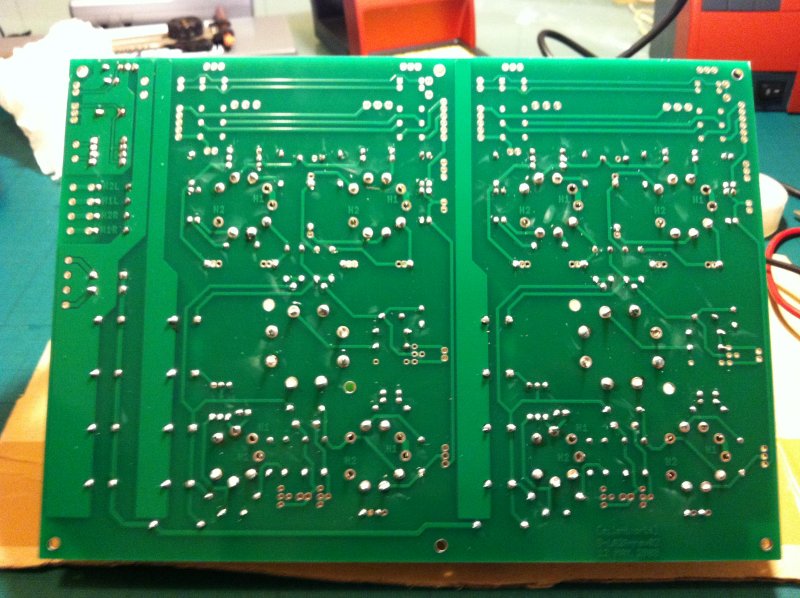
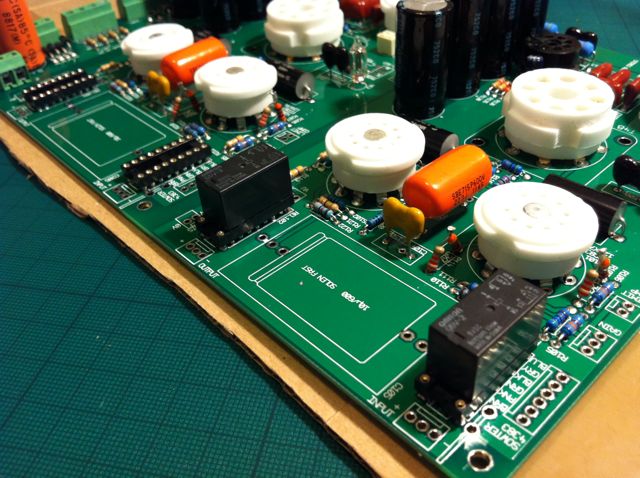
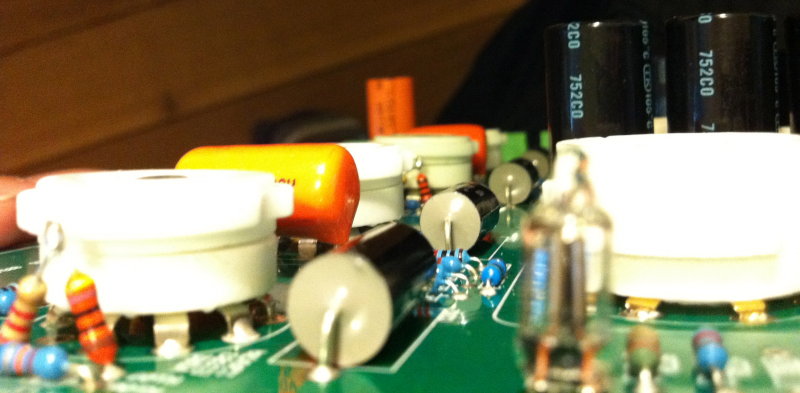
And here is a little "Arty" closeup
That's all for now, more next week when I'm back from weekend shows.
Marty.
I thought this may be useful and a fun thing to do, document my D-LA2A build
This will be ongoing whenever I have time to continue, it may take a few weeks to complete.
So we begin with some parts :
And here is the blank PCB from Volker = thanks
The first items to fit are all the resistors and diodes - going for lowest level first is always better.
I checked everything with my DMM and used matched values for the left and right channels.
And here is a longer shot of my working area, I made sure that the larger 3w resistors had some
"air space" below them, same for the diodes too, that's my new RS solder station which is really good BTW.
Here I needed to make up some 2k7 resistors as I didn't have that value.
It ended up as 2k6 but should be close enough, once again matched the four sets.
Next all the smaller caps, orange drop, solen fast, the poly's & Mica's
Next comes the valve and TB4 sockets and high voltage electro's
I left the heater connections off for wiring up, which will be the next step.
And bottom of the board ....
And here is a little "Arty" closeup
That's all for now, more next week when I'm back from weekend shows.
Marty.