PCB mounting in housing - simple solution

GroupDIY Audio Forum

Help Support GroupDIY Audio Forum:

This site may earn a commission from merchant affiliate links, including eBay, Amazon, and others.

ln76d

Well-known member
Joined
Aug 11, 2012
Messages
2,486
Location
Gallifrey
Maybe it is so obvious, that i shouldn't share with that, but for me for yesterday wasn't, so maybe it will be useful solution for someone else :)

I always drill housings to screw from the bottom the spacers to mount an pcb etc.
I hate metalworking in all aspects :) My drilling holes always looks awful.

I found an very good solution!

Epoxy-metal glue commonly known as "liquid metal".

Effect is very good, looks nice, it is strong, it has electrical connectivity and it is cheap.
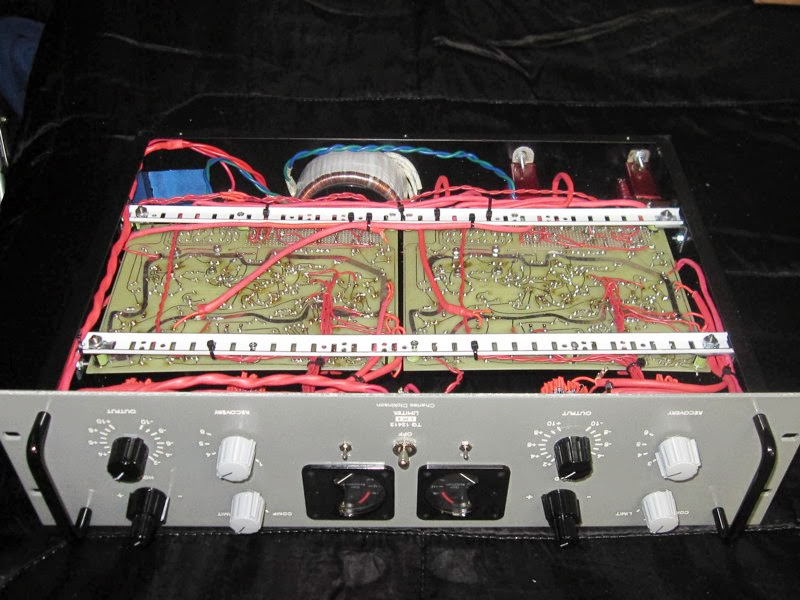
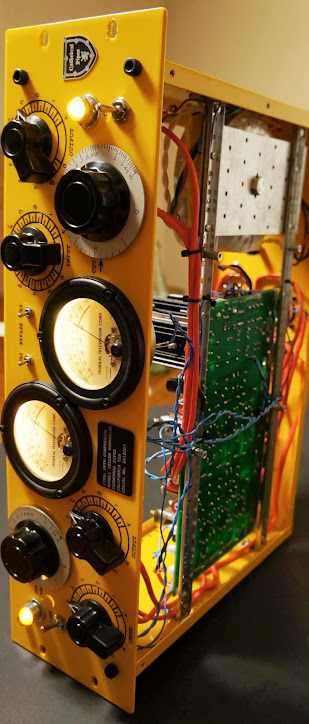
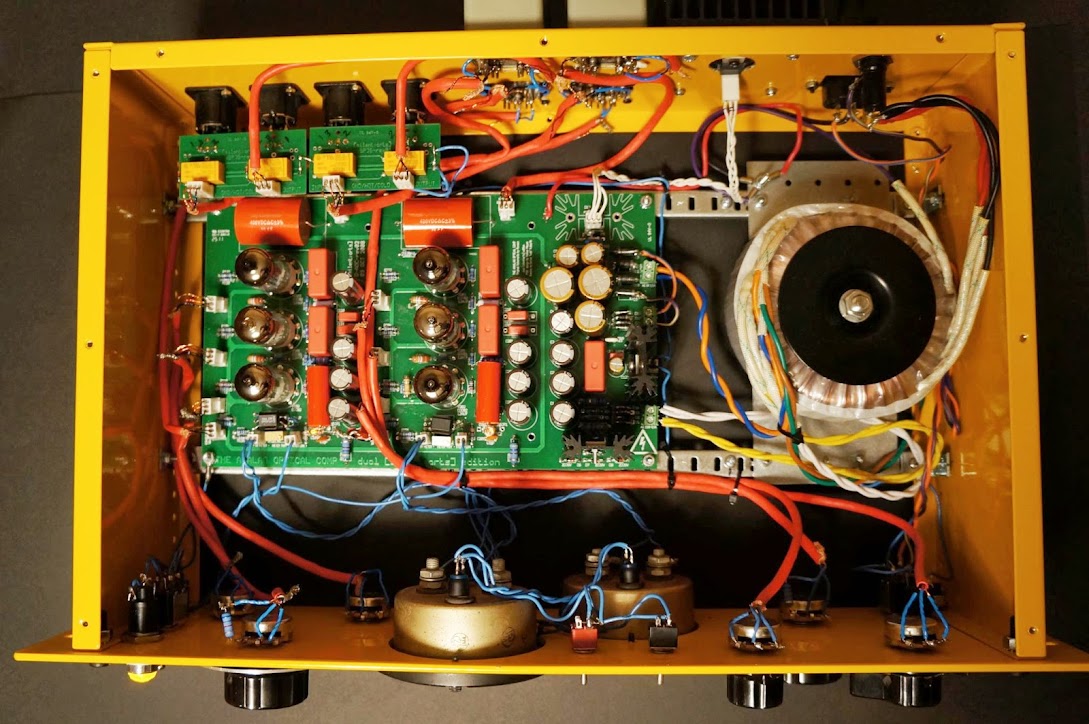
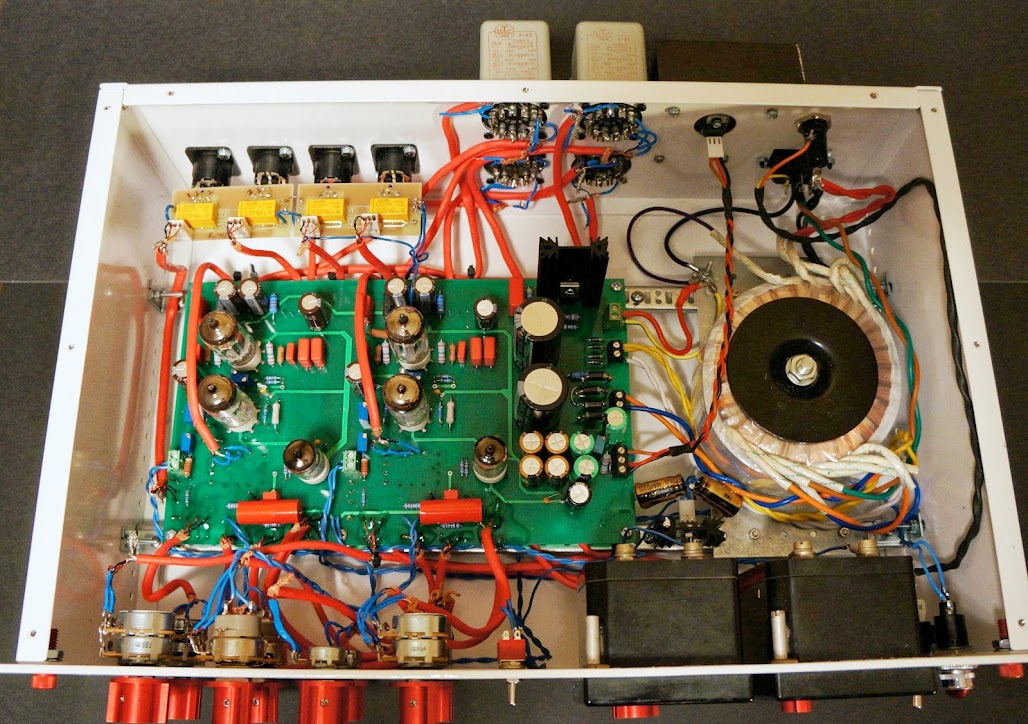
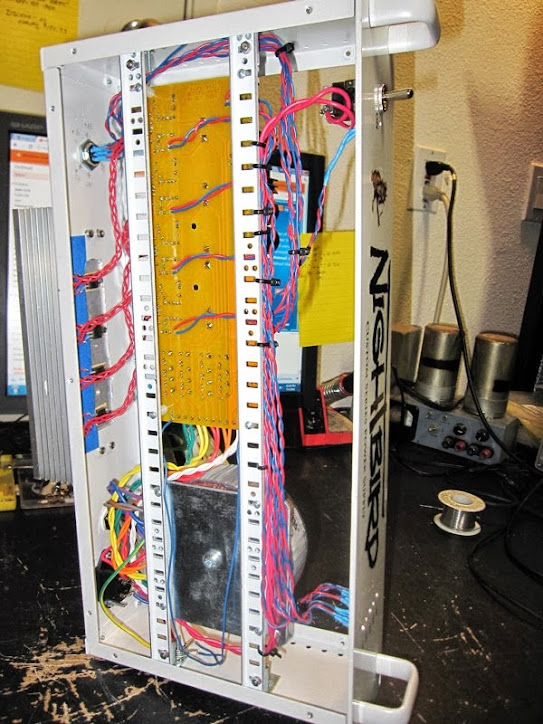
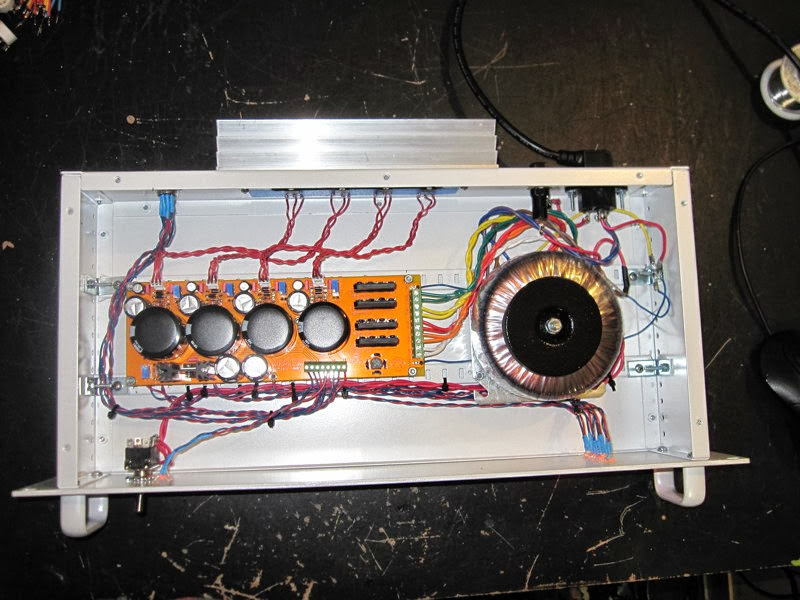
First i attached spacers to the pcb to have perfect spacing, then i used the glue to the bottom of the spacers, little pressed to the housing - few hours and it's great effect :)
 

Attachments

  • DSCN4585.jpg
    DSCN4585.jpg
    77 KB · Views: 235
If it's a light pcb with no heavy components or stresses on it from outside switches/jacks that looks fine.

If you make a unit that must be shipped, you also need to account for the stressed of being dropped.

JR
 
I got a set of transfer punches. They made it possible to mount PCB's accurately and neatly. The problem for me has always been making a mark in the center of the PCB mounting holes. The transfer punches make that easy.
 
In the US, there is a similar metallized two-part epoxy product called "JB Weld." When you need it, it's nice to have, I'll say that much.
 
I use a very primitive printing-like technique to create drill markers.

So I'd mount all spacers/stand-offs to the PCB, then put enough white marker pen to ring on the bottom of the stand-offs, and finally place the PCB with mounted stand-offs into the housing exactly where I need it. The trick is that the marker pen liquid still has to be wet when placing the PCB. After letting it dry for a bit and taking out the PCB, the marker pen liquid usually leaves "printed" circle marks inside the housing, most often good enough on the inside (where the screw will sit) to know exactly where to drill. Then I start drilling with a very small bit (1.5) and then move up in size. This way it's easier to adjust sideways (if necessary at all) should the whole not be centred. Success rate is pretty good and it doesn't take long.
 
I use the JB Weld to glue stand-offs and brackets.
I also use the 3M  PSB stick tabs. No ugly screws on the bottom of my projects.
Just ruff up and clean the surfaces. No problems yet.
 
Does anybody know the german translation for "transfer punch" ? I know what I'm looking for, but I don't know for what I have to google here in Germany :)
 
I am hesitant to share on the forum these days but This was something that always bothered me.
I finally came up with a solution for next to nothing after putting together one of "Hairball's" awesome 1176 kits for a friend.

Materials : (all at Home Depot)

Small 90 angle bracket                                = $1.39 pack of 4
Rail (Rubbermaid 48 in. White E5 Upright)  = $2.48    (cuts with just some tin snips)
Simpson Strong Tie plate                            = 0.88
Some machine screws and standoffs          = same as before


Cut the rails , measure the PCB and drill the holes on the side of your chassis for the angle brackets.
I like to put 4 additional standoffs at the bottom of the rails to help with the load. This also sets the rail height.
Once all screwed together you can now work on / Rework on (even more important!!) the PCB without ever removing from the chassis.
Also no more screws coming out the bottom.


IMG_3249.jpg

464215_340833249321090_451172952_o.jpg

464215_340833252654423_698547779_o.jpg

461469_333138633423885_1372206747_o.jpg


IMG_3669.jpg

IMG_3676.jpg


Please no questions on the actual gear, but happy to clear up any questions on the cheap DIY rail system.


ChuckD

 
Hello All,
I use a product from 3M company, named " Dual Lock 3550 "
I know it can sound as a joke, but it is not.
Try it, you can't imagine how strong it is !
And SO convenient... :)
Best,
Guy
 
ChuckD
Are the rails strong enough to withstand the weight of the transformer? Would they survive shipping, what do you think?
 
Back
Top