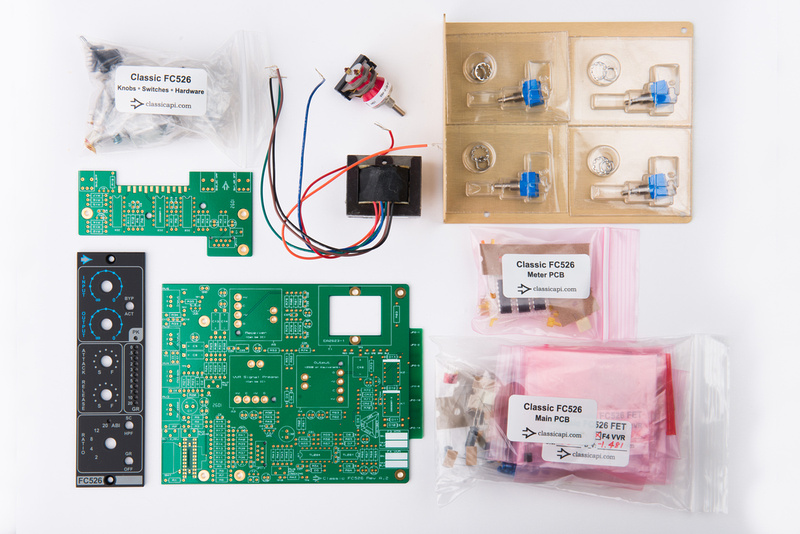
Since the kits have started shipping, it's time for the support thread! ")
**This is a semi complicated build. It is very important to read completely thru the Assembly Aid before starting on anything. There are some points made in the doc that can save you much time and prevent crucial errors during the build.
--------------------------------------------------------------------------------------------------------
September 21st, 2015 Update:
All support docs for this project can be found on the recently added Support Docs page at www.capi-gear.com
--------------------------------------------------------------------------------------------------------
--------------------------------------------------------------------------------------------------------
RV7 must be jumpered for an FC526 XFMR comp to work.
https://groupdiy.com/index.php?topic=59050.msg911575#msg911575
--------------------------------------------------------------------------------------------------------
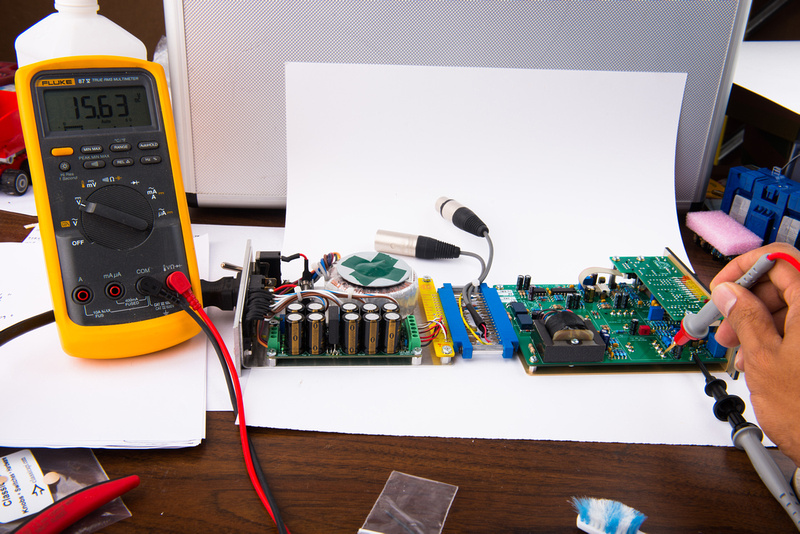
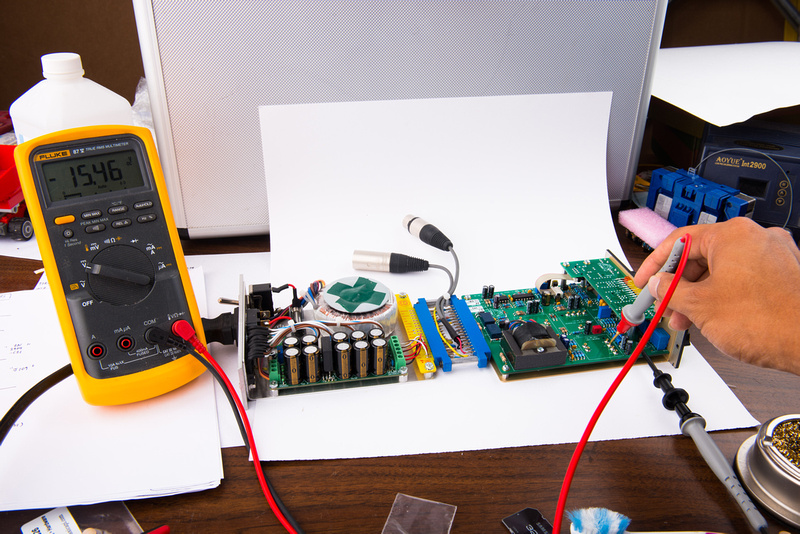
Having trouble with the meter cal? Maybe this will help http://groupdiy.com/index.php?topic=59050.msg785426#msg785426
Using a DAW to set up your FC526? Maybe this will help https://groupdiy.com/index.php?topic=59050.msg951386#msg951386
Some details can be found here http://capi-gear.com/catalog/product_info.php?cPath=22_117_190&products_id=432

Cheers, Jeff
**This is a semi complicated build. It is very important to read completely thru the Assembly Aid before starting on anything. There are some points made in the doc that can save you much time and prevent crucial errors during the build.
--------------------------------------------------------------------------------------------------------
September 21st, 2015 Update:
All support docs for this project can be found on the recently added Support Docs page at www.capi-gear.com
--------------------------------------------------------------------------------------------------------
--------------------------------------------------------------------------------------------------------
RV7 must be jumpered for an FC526 XFMR comp to work.
https://groupdiy.com/index.php?topic=59050.msg911575#msg911575
--------------------------------------------------------------------------------------------------------
Having trouble with the meter cal? Maybe this will help http://groupdiy.com/index.php?topic=59050.msg785426#msg785426
Using a DAW to set up your FC526? Maybe this will help https://groupdiy.com/index.php?topic=59050.msg951386#msg951386
Some details can be found here http://capi-gear.com/catalog/product_info.php?cPath=22_117_190&products_id=432
Cheers, Jeff