Pigtails

GroupDIY Audio Forum

Help Support GroupDIY Audio Forum:

This site may earn a commission from merchant affiliate links, including eBay, Amazon, and others.

ruffrecords

Well-known member
Joined
Nov 10, 2006
Messages
16,258
Location
Norfolk - UK
Not sure where to put this so here goes.

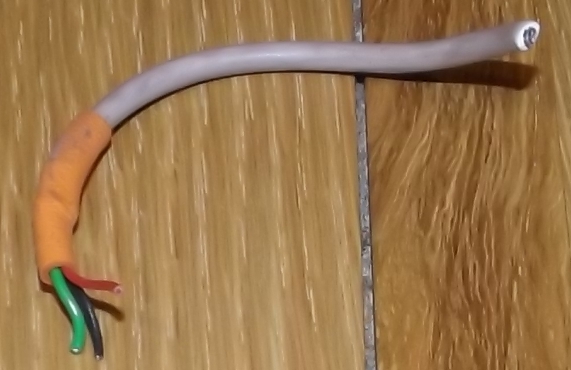
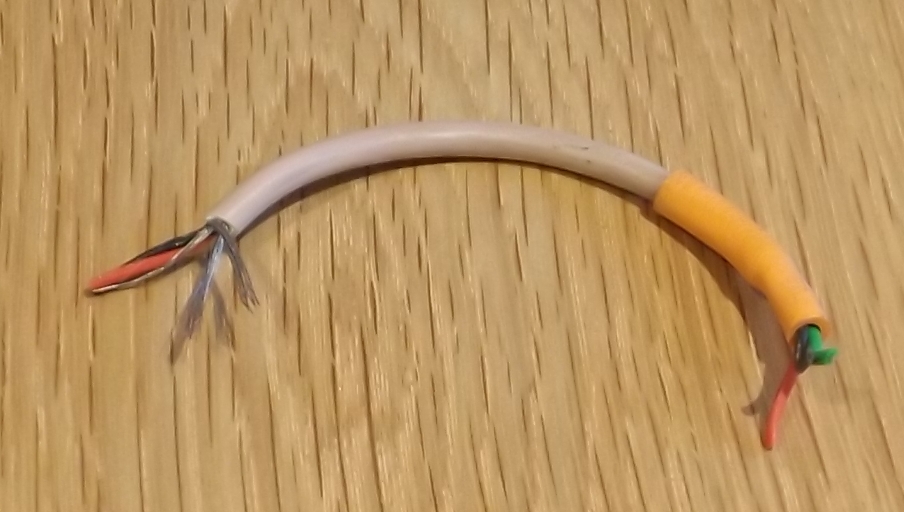
There is a proper technique for terminating the screens of audio cables with a separate wire so they can be connect to crimp connectors, for example, where soldering the screen is inappropriate or simply not possible. I am sure we used to call these pigtails at Neve back in the 70s. Anyway, I have googled myself silly trying to find a description of how to do this properly but I cannot find it.

Anyone know?

Cheers

Ian
 
Maybe a ferule just above the O.D of the cable you use ,then tuck the screen inside it and crimp either with the wire to the socket under the crimp as well or maybe soldered to the ferule, a bit of heat shrink if you need it insulated ,if theres a cable clamp in the plug/socket you could ground the shell here too , maybe just complete the screen connection at one end and have a discrete wire in the cable to carry ground on down the line .
 
Hi Ian,

The best way I have seen this done was by a wireman who worked on the early Soundcraft desks wiring to XLRs.  He stripped back the screen, isolated it from the two inner cores and soldered a  piece of cable  (the pigtail as you call it)  to a short length of the screen.

He then folded this back over the body of the screened cable and then put a Helleman rubber sleeve over the folded back screen/pigtail, so that the pigtail came out of one end of the sleeve and the two cable cores going to the  XLR came out of the other.  The pigtail was then connected like a flying lead to where ever. 

I have used this method a lot as it is neat and also ensures that the screen is always covered and not liable to short anything inadvertently.  You do have to be careful on how you trim the solder joint between the pigtail and the screen to ensure there are no sharp edges else these could penetrate the rubber sleeve.

I should have saved this for 'Wiring tip no 4'  :)

Hope this helps

Mike
 
Thanks MIke. That's pretty much how I rememeber it. I just realised I have a whole bunch of professionally made pigtails in some of the wiring I still have from dismantling the Glensound mixer I bought last year. Maybe I'll do a CJ style photographic strip down to see how they did it.

Cheers

Ian
 
OK, here is a CJ style strip down. First the overall assembly which consists of a bunch of cables neatly loomed to a peanl containing some XLRs:

assembly.jpg
assembly.jpg


Next we a selected pigtail to deconstruct:

originalpigtail.jpg
originalpigtail.jpg


We strip the original cable so we can see what the wireman had to work with:

strippedcable.jpg
strippedcable.jpg


Looks like a red and a black wire plus a braided screen. Now with the heat-shrink sleeve removed we can see how the pigtail was constructed:

nakedpigtail.jpg
strippedpigtail.jpg


The green wire is very neatly connected to the braided screen and laid alongside the cable so that the green add-on wire exits along with the red and black. Looks like the green wire is a little thicker than the red and black so we strip the pigtail wires so we can compare thickness:

strippedpigtail.jpg
strippedpigtail.jpg


and we see the green wire is indeed a little thicker than the red and black ones.

So the method is no secret. I guess I just need to practice to get it that neat.

Cheers

Ian
 
Last edited:
Yep, very similar to what was used on the early Soundcraft desks except for the pigtail coming out of the other end of the sleeve (for some reason)

This was common practise for kit supplied to the BBC.

Cheers

Mike
 

Latest posts

Back
Top