Official Universal Passive Tube PSU Thread

GroupDIY Audio Forum

Help Support GroupDIY Audio Forum:

This site may earn a commission from merchant affiliate links, including eBay, Amazon, and others.

Matador

Well-known member
Joined
Feb 25, 2011
Messages
3,310
Location
Bay Area, California
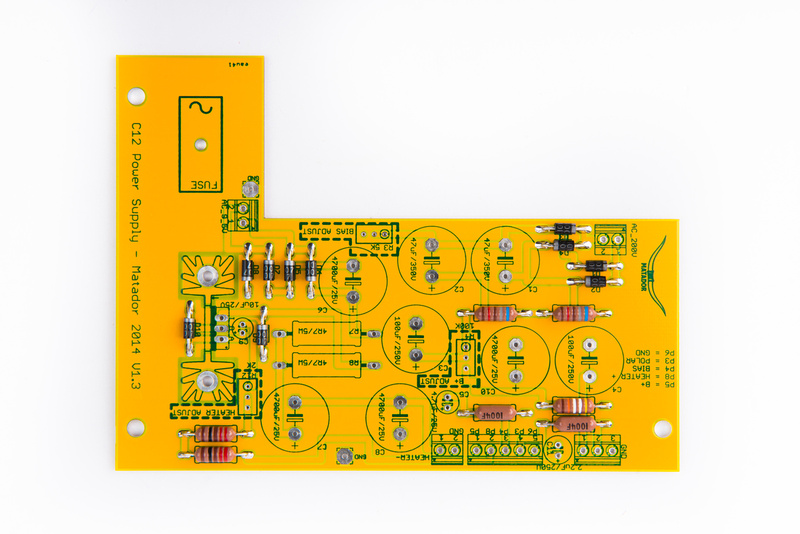
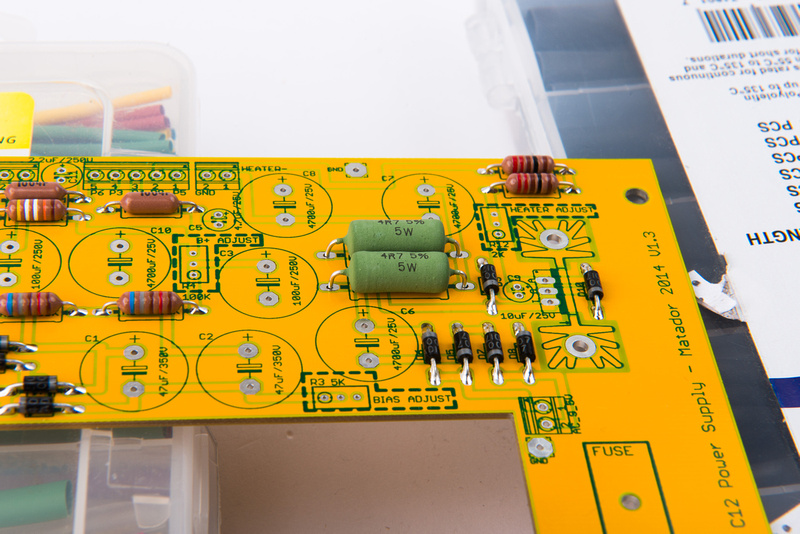
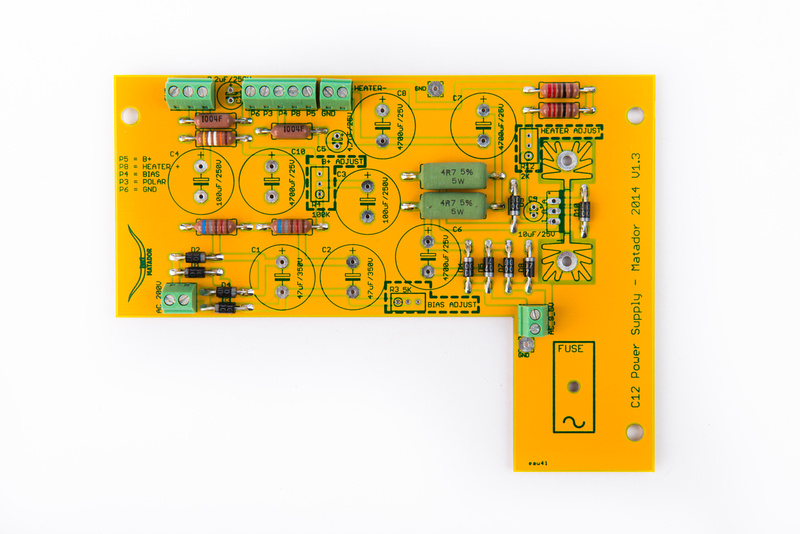
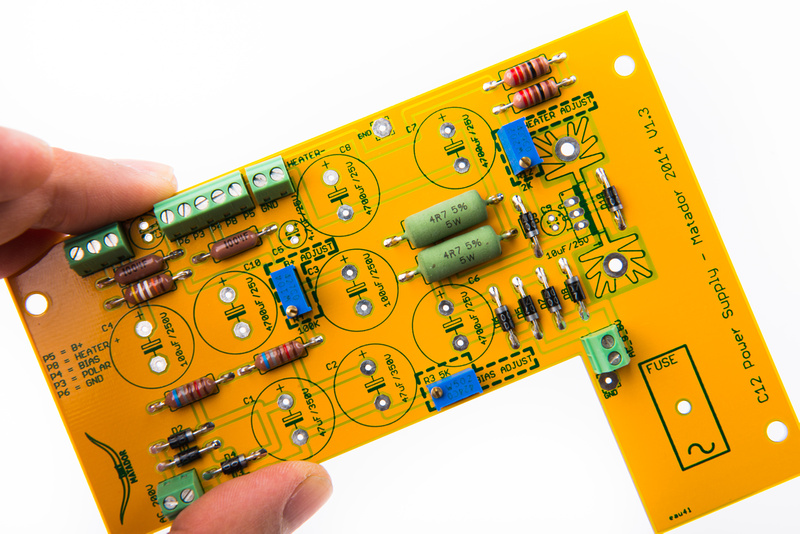
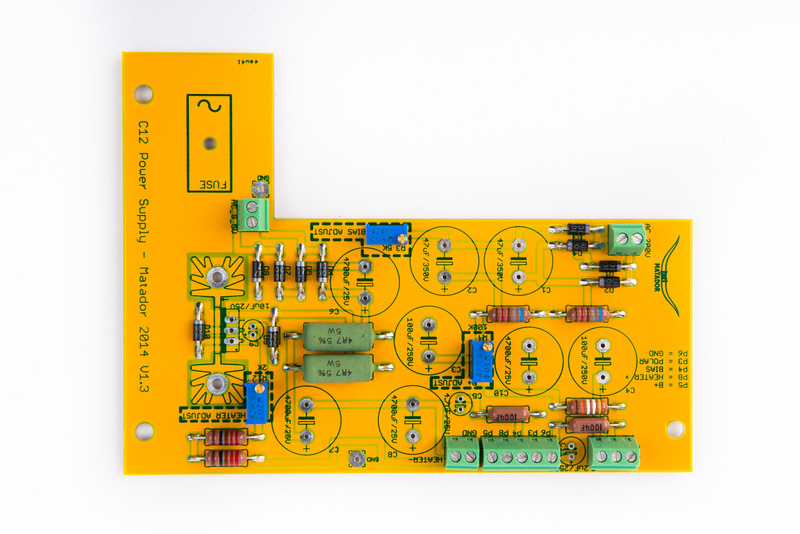
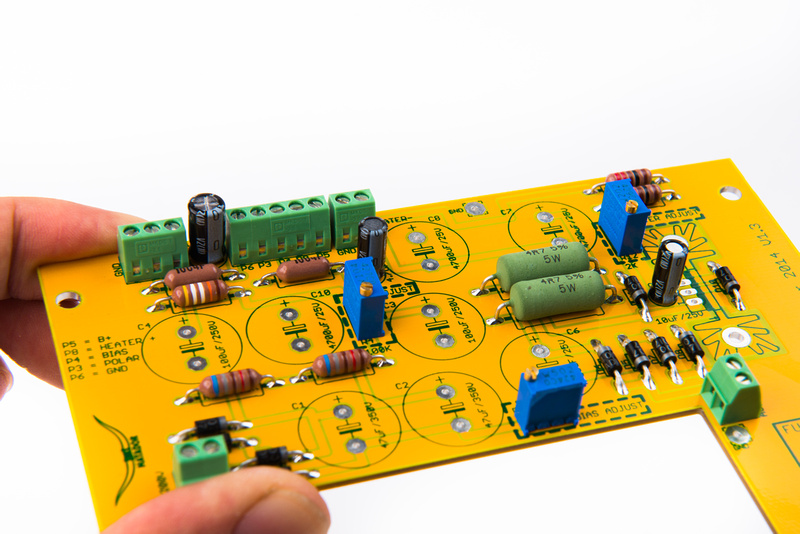
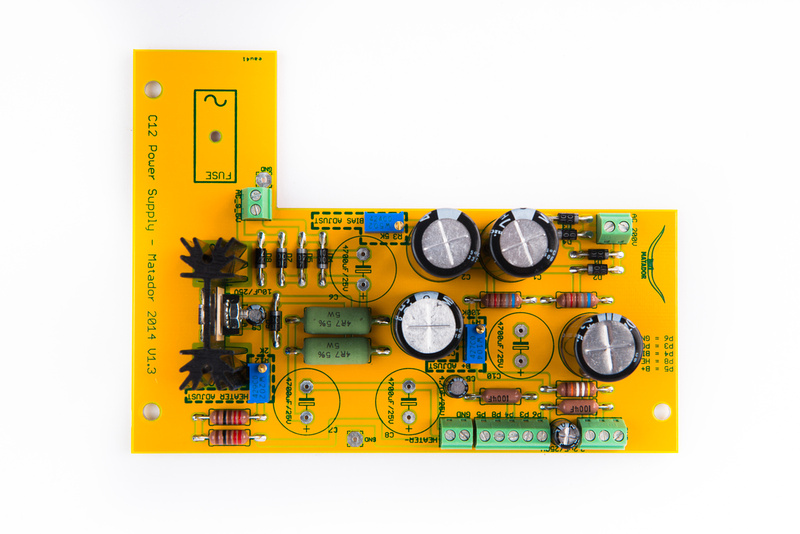
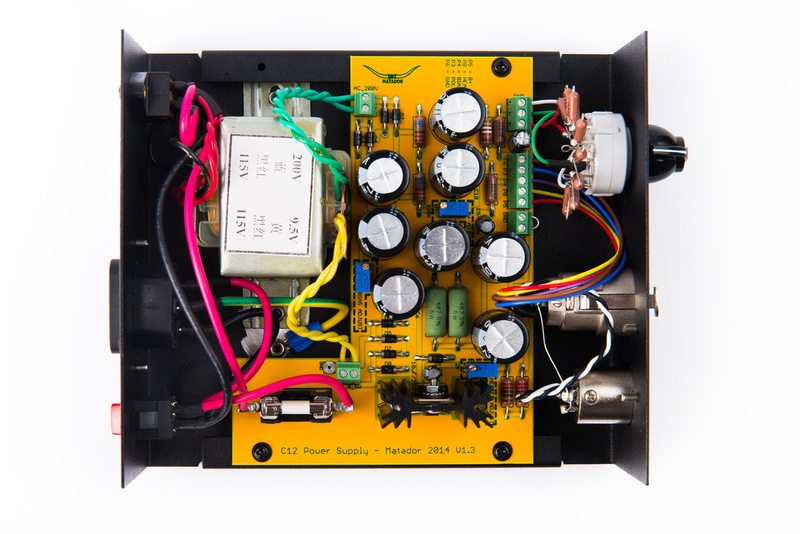
This is the official build and support thread for the Universal Passive Tube microphone PSU.  All build related materials and pics will be posted first, and please feel free to post any technical, BOM, or assembly related questions.  I'll update this if there are any changes or discoveries which are of a general interest to all builders.

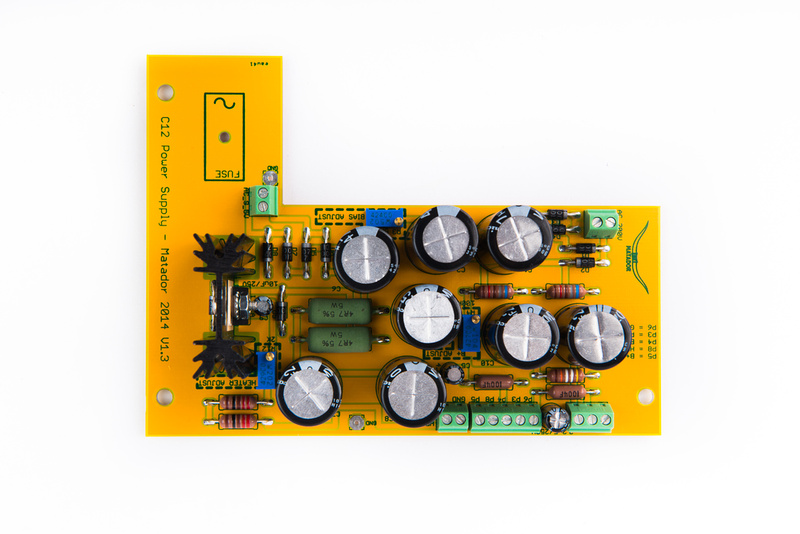
The design is essentially taken from the C12 PSU, with a layout change to allow for both positive and negative heater generation.  There is also a BOM option to make the PSU compatible with higher voltage microphone supplies (e.g. U67).  This PSU retains the 9-pin polarization generation function however the components become optional.
 
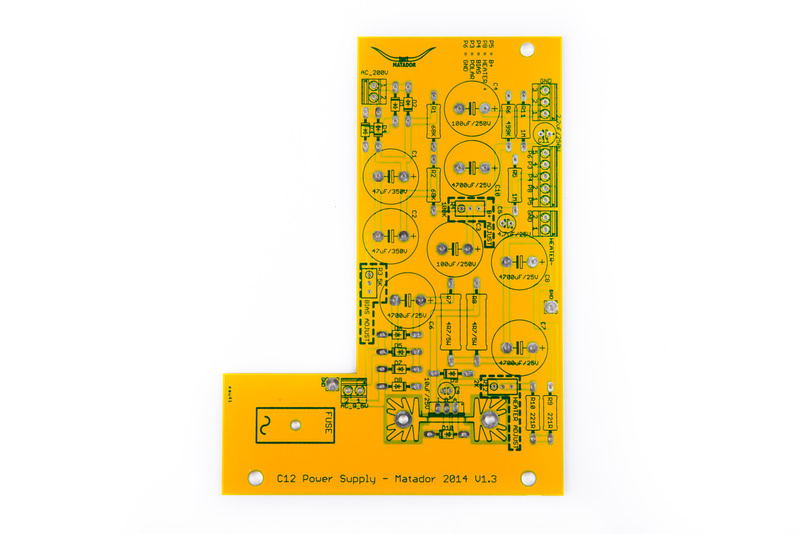
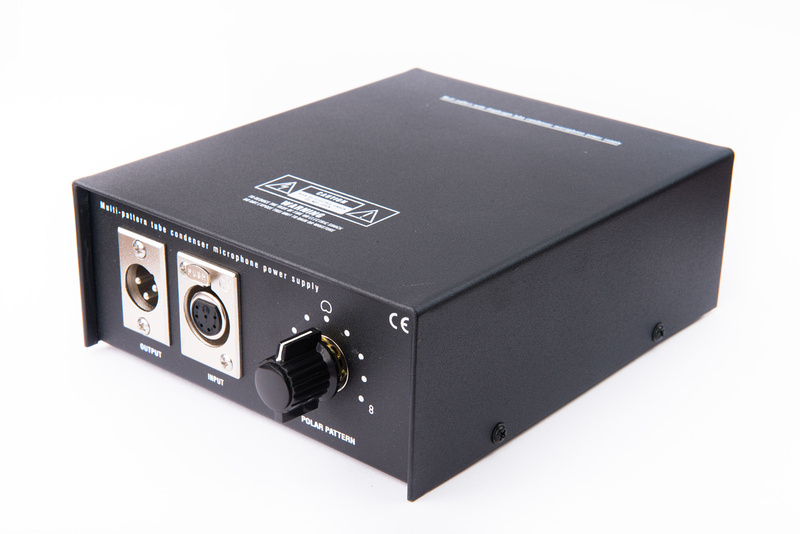
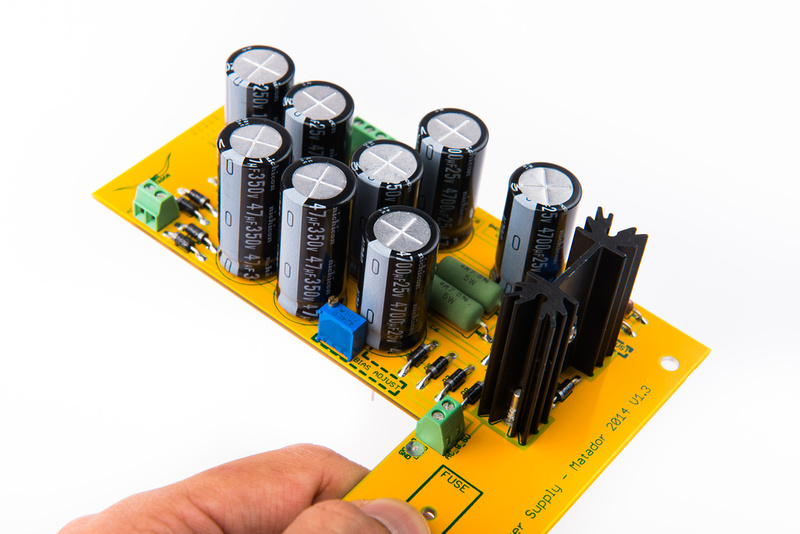
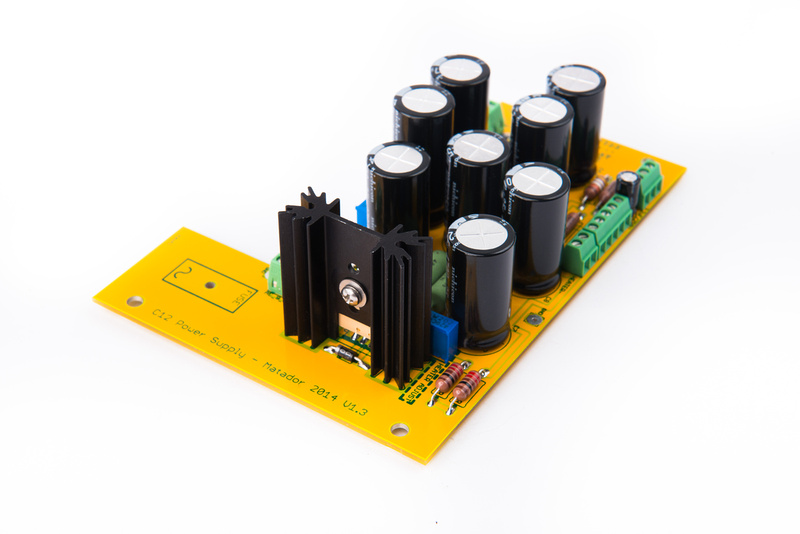
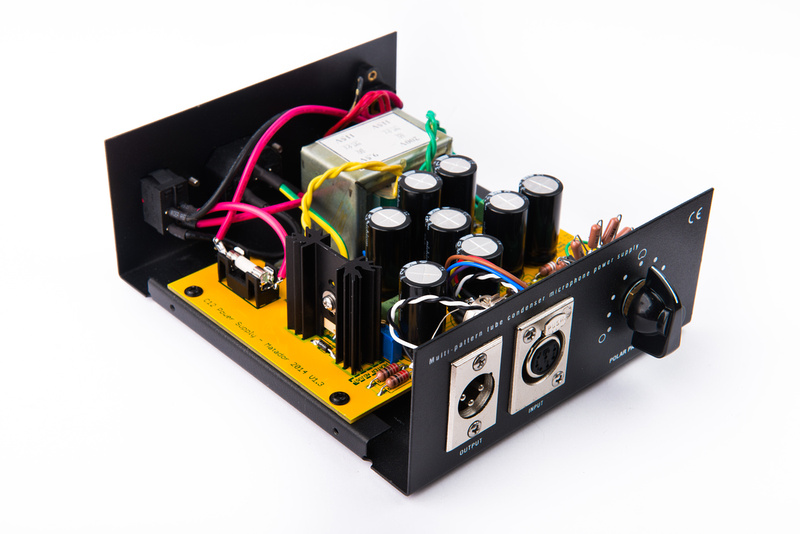
Version 1.3 of Matador's power supply designed to fit inside of Alctron's TPS100 power supply enclosure and conveniently utilize the existing power transformer and mains wiring.  As many tube microphones utilize a passive B+/regulated heater configuration, there are various applications for this power supply outside of the original kit it was designed for (AKG C12 clone).

This thread will address build and support for this v1.3 power supply kit and be updated with information about implementation for different tubes and microphone circuits as well as the future planned re-work for dual microphone stacked configuration in Dan Deurloo's power supply case.

Various B+ voltages can be achieved by changing the R1 and R2 resistors in this PSU.

Current list of verified R1, R2 values and applications:

- C12 and ELA M251 - 6072A tube= 68K
- C12 and ELA M251 - 12AT7 tube = 33K
- U67 - EF86 or E80F tube = 18K

B+, Heater, and Bias can be individually trimmed with on-board trim pots.  This board will be supplied in the well proven, sonically superior yellow color.

p1055613647-4.jpg


IMPORTANT NOTE: This DIY project involves working with circuits that carry LETHAL voltages.  The processes and build procedures demonstrated in this thread are for educational purposes only.  All work should only be performed by qualified technicians.  While the parts count in this project is low and build procedures outlined in this project straight-forward, a high voltage tube microphone  power supply is not a recommended beginner DIY project.  Schematics should be studied and thorough knowledge of all connections and components clarified prior to attempting this build.

The build begins with the stock Alctron TPS-100 power supply.  Many OEM Chinese microphones utilize this power supply in one form or another.

p720630506-4.jpg


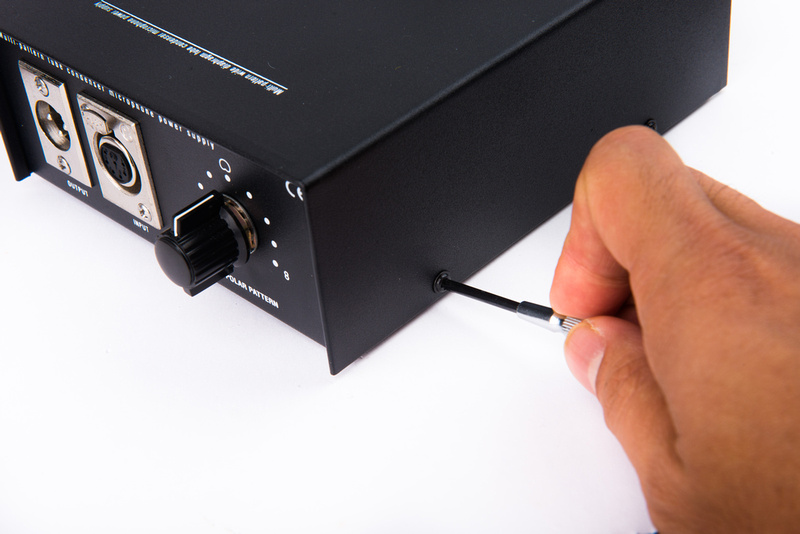
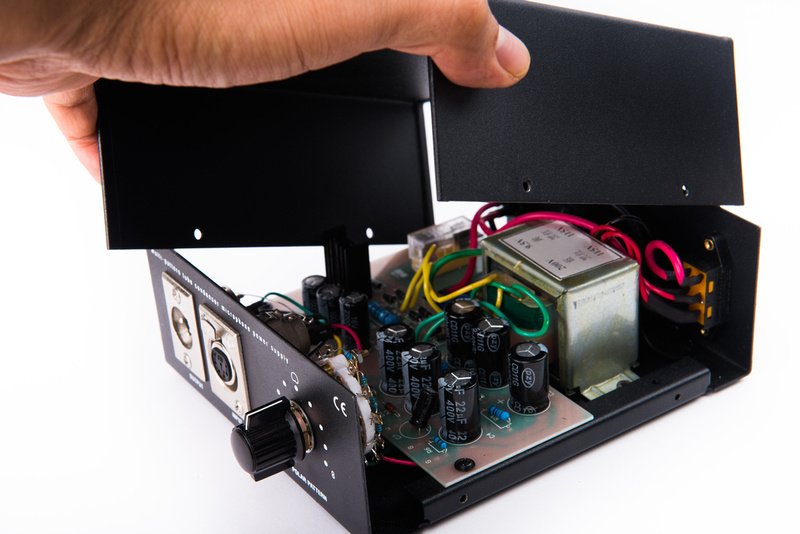
Remove the 4 screws that secure the cover plate and open the power supply.

p948308521-4.jpg


p600339633-4.jpg


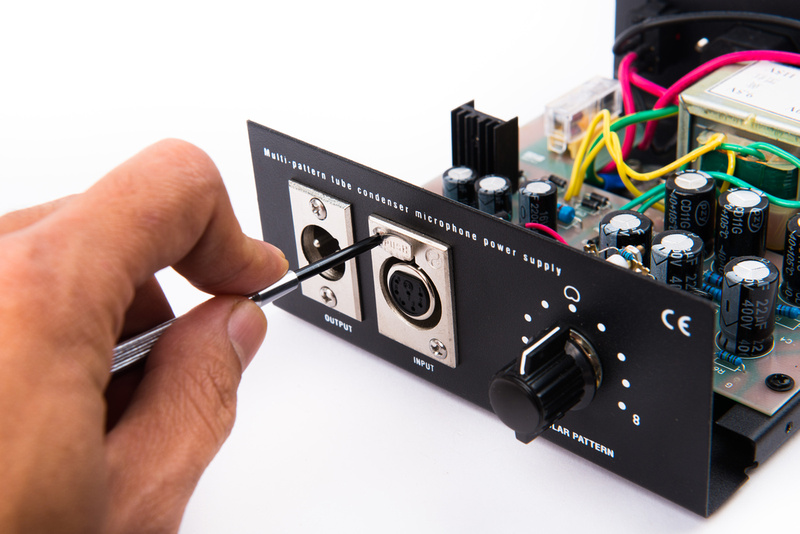
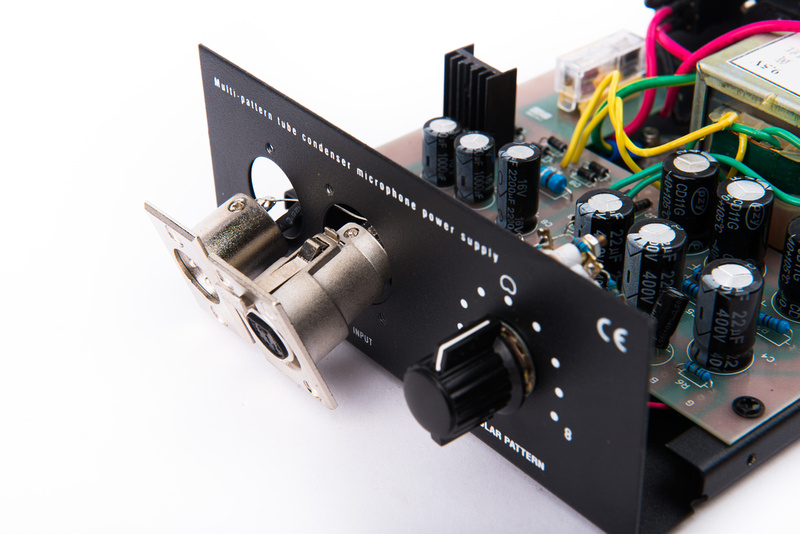
Next, remove the screws holding the 3 pin and 7 pin XLR connectors.

p657258301-4.jpg


p766580578-4.jpg


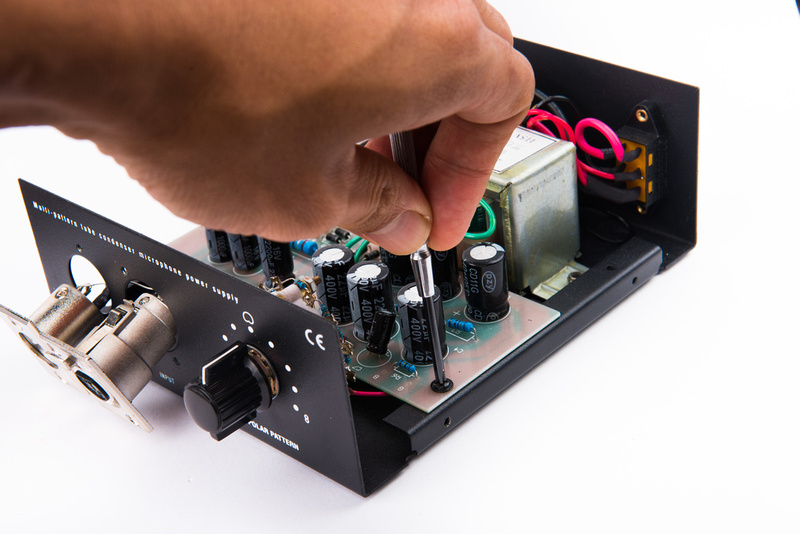
Remove the 3 screws securing the PCB.

p547976645-4.jpg


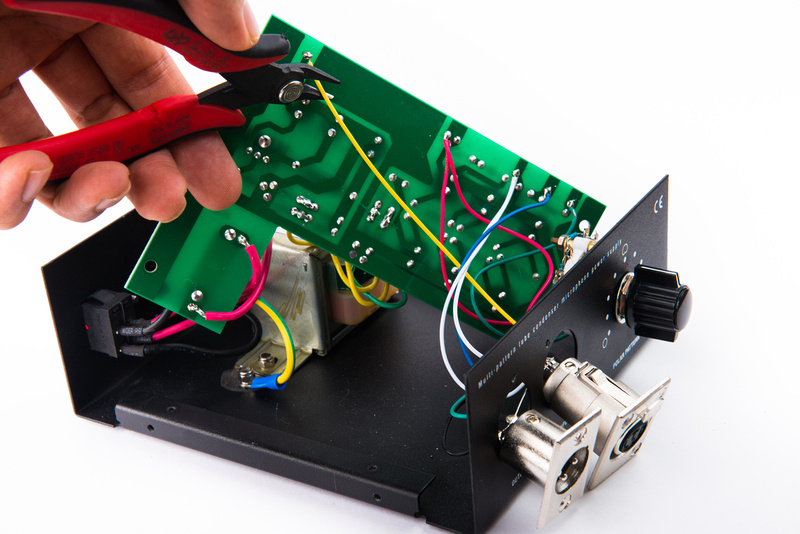
Six wires on the front face of the PCB attach the 7 pin XLR and pattern switch.  cut all of these wires.

p702906604-4.jpg


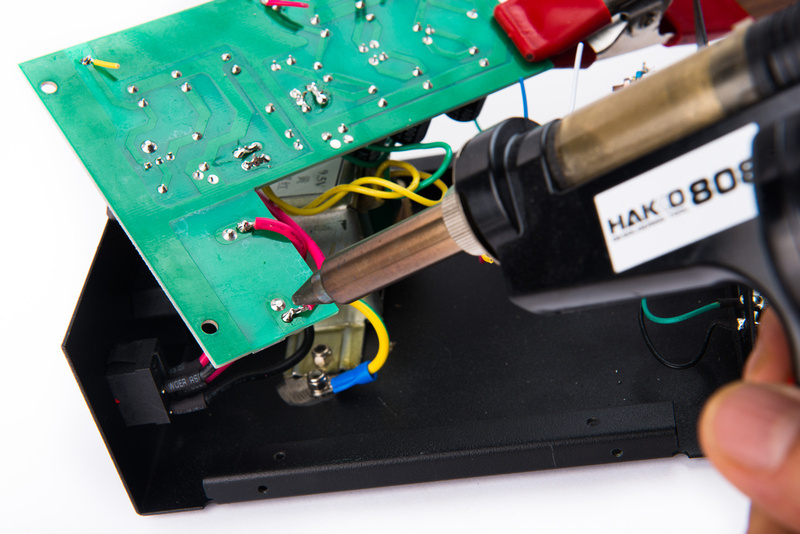
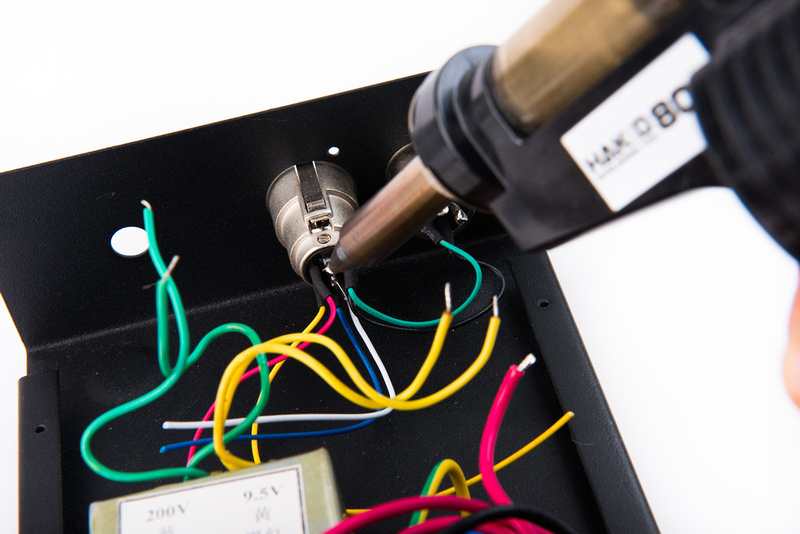
Next, de-solder the mains wires.  These wires are a bit short, so try to salvage the entire length.

p837780567-4.jpg


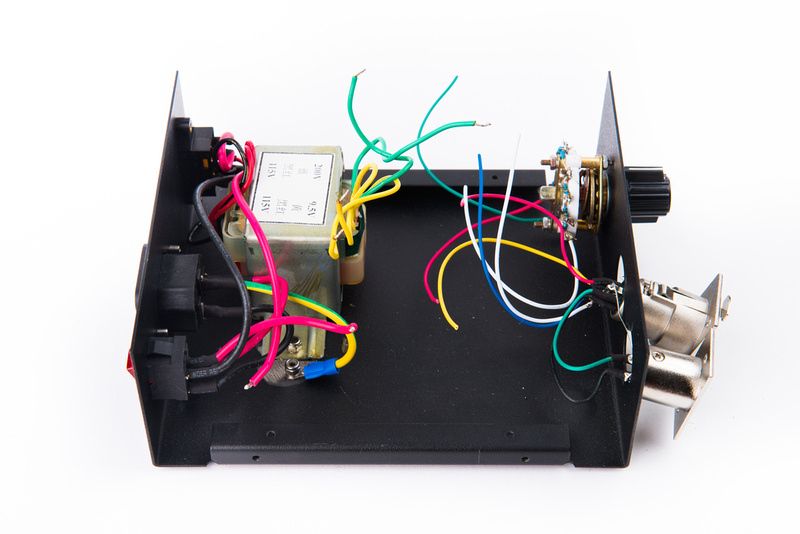
With all of the wires free, remove the PCB.

p633135169-4.jpg


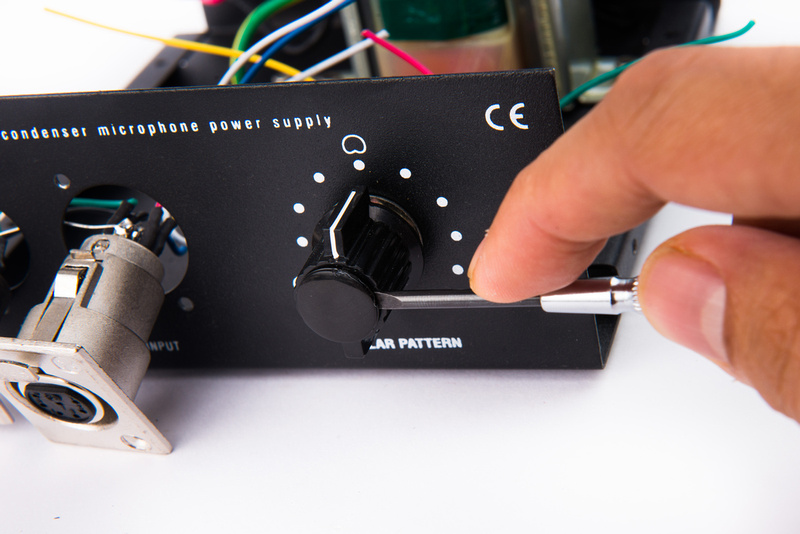
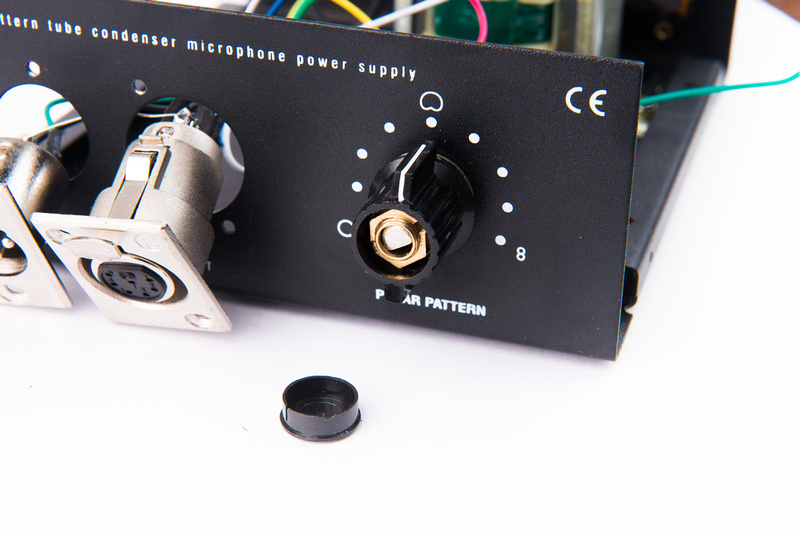
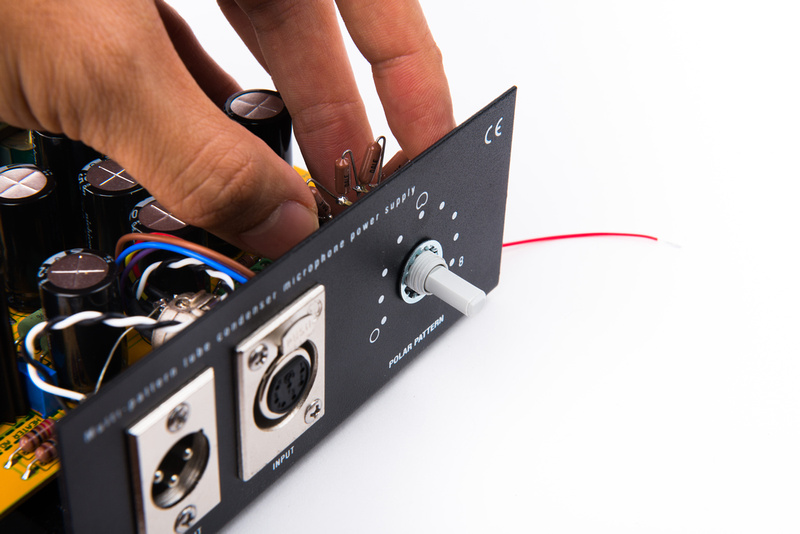
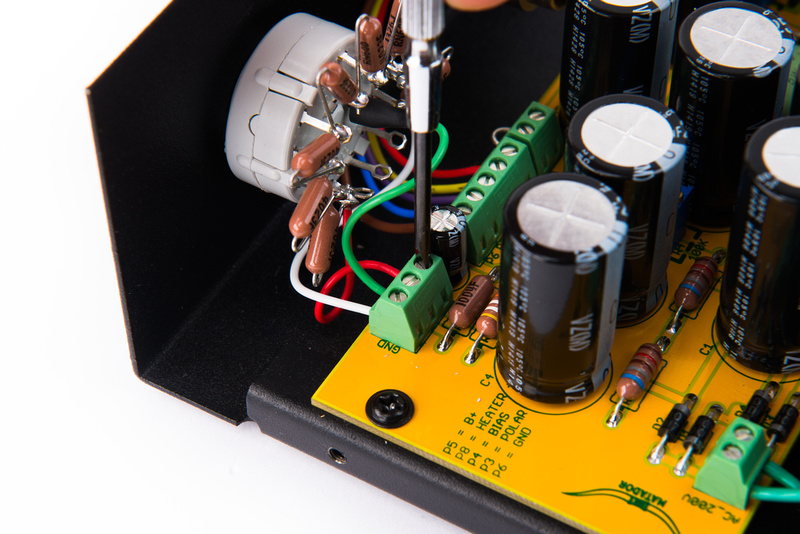
Using a small flat head screwdriver, pry off the cap of the pattern switch knob.

p551642431-4.jpg


p266714262-4.jpg


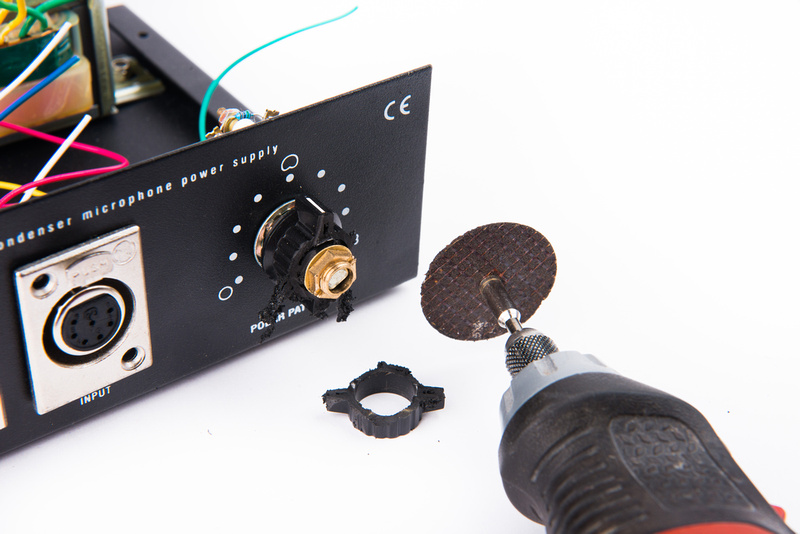
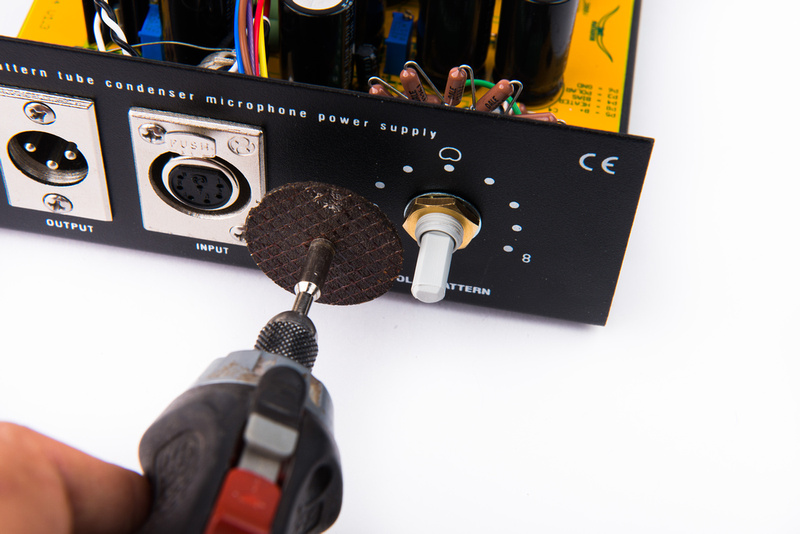
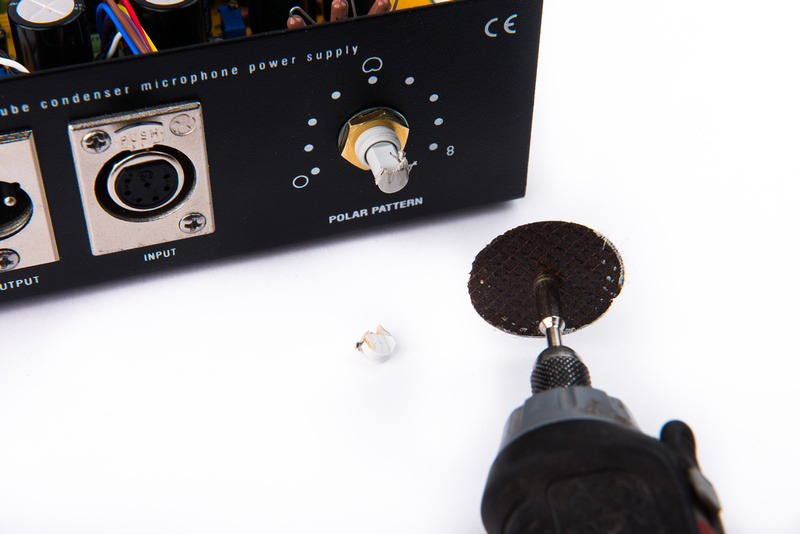
The tensioning nut on the knob can sometimes be removed without special tools, but in most cases, the plastic needs to be cut to access the nut with a cutoff wheel.

p200966657-4.jpg


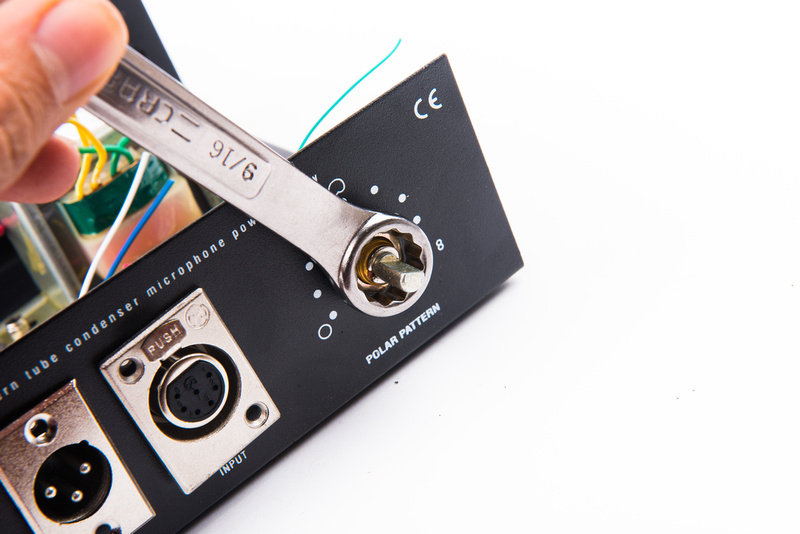
After removing the knob, the switch can be removed.

p250893871-4.jpg


p7220770-4.jpg


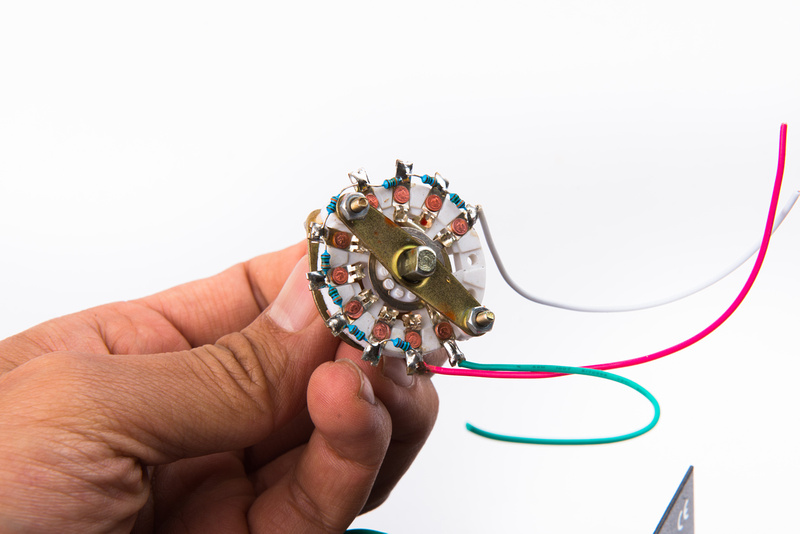
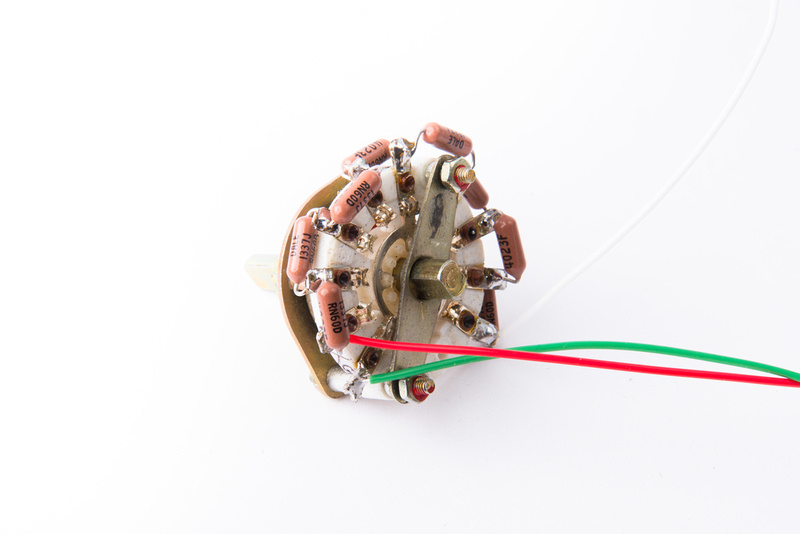
It is possible to re-use the stock switch and replace the resistors with the 402K ones supplied with the electronic parts kit, but care should be exercised when de-soldering the stock resistors as the plastic can melt if heated too long.

p41373912-4.jpg


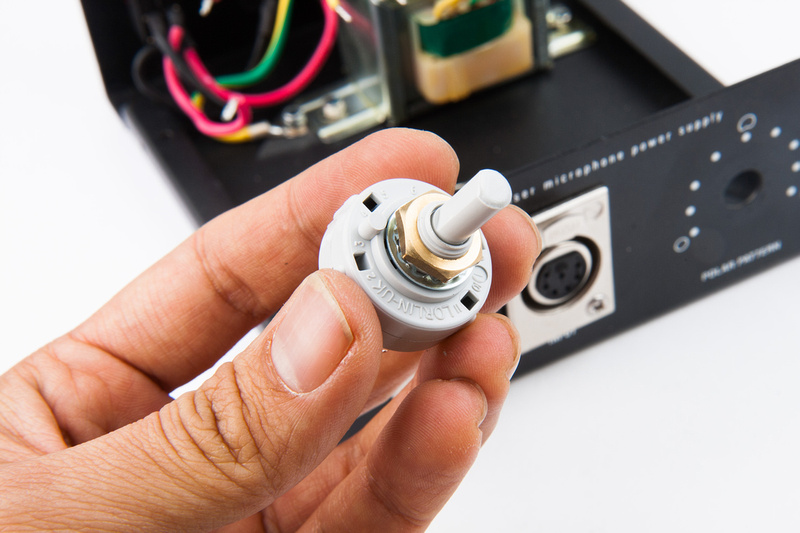
The alternate and preferred method is to use a new Lorlin switch supplied with the parts kit.

p1430019768-4.jpg


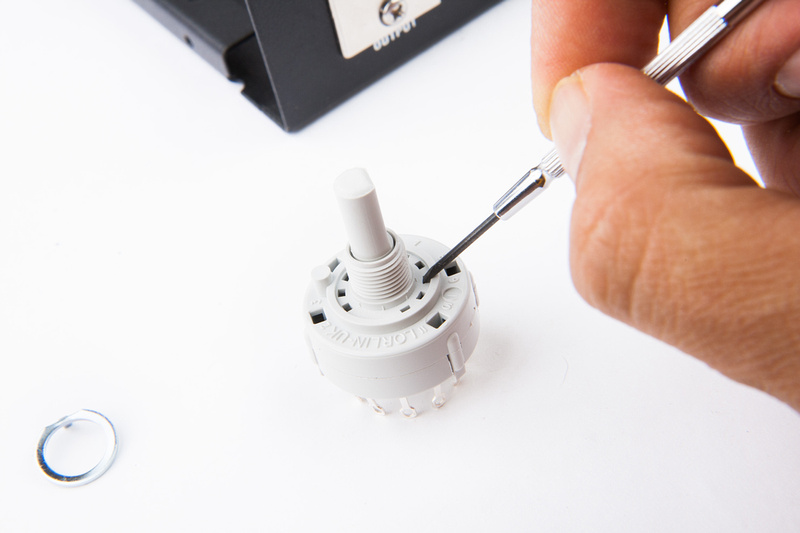
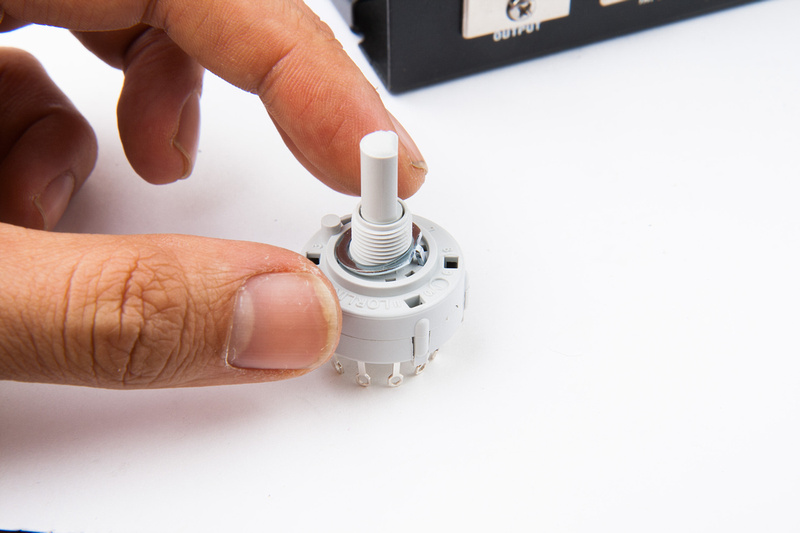
Remove the nut and lock washer to expose the stop pin washer.  Set the stop in the 3rd slot to set the switch for 9 positions.

p1430020014-4.jpg


p1430019922-4.jpg


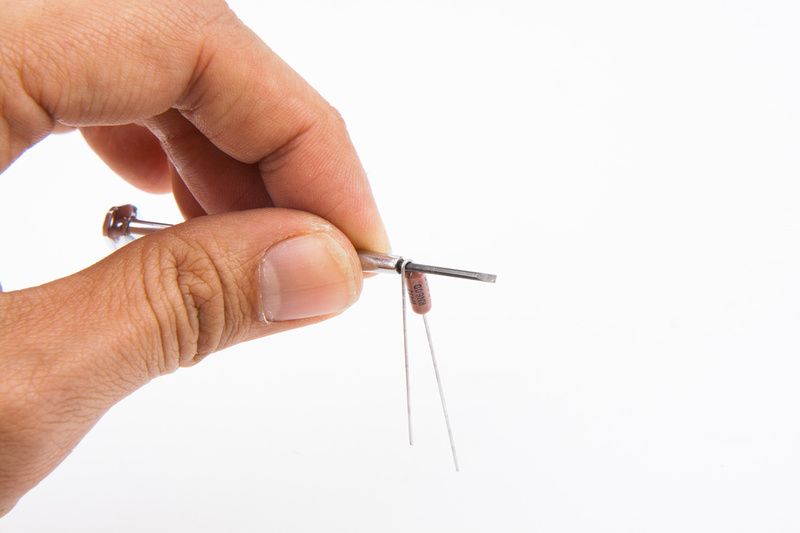
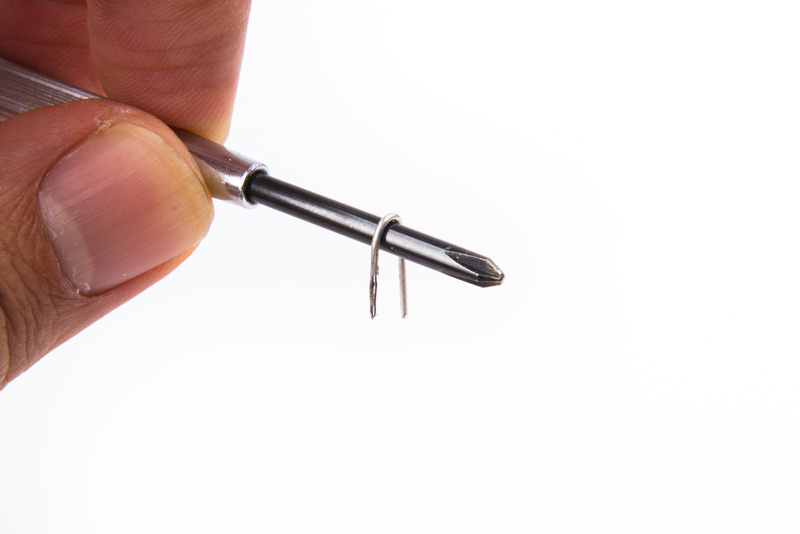
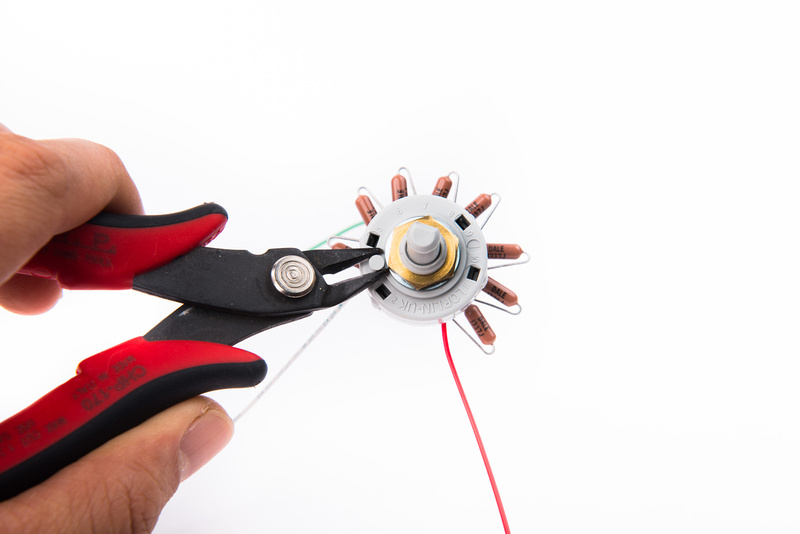
Use a small screwdriver to bend the 402K switch ladder resistors.

p1430020304-4.jpg


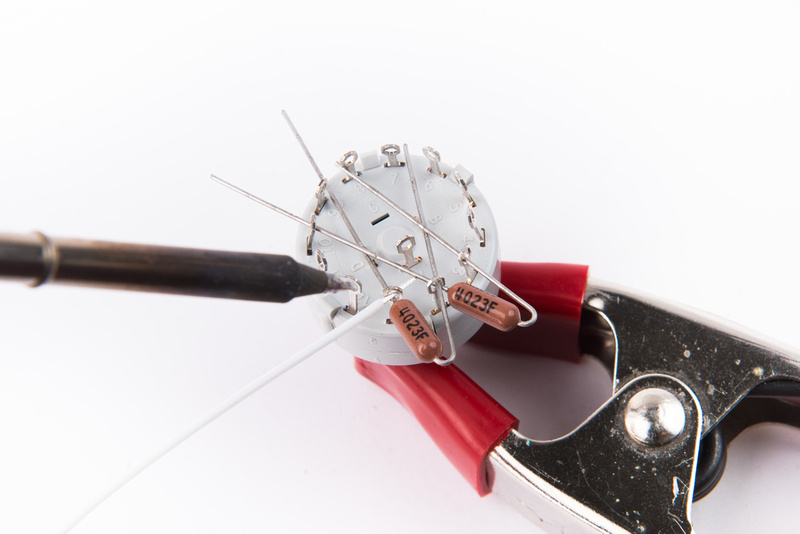
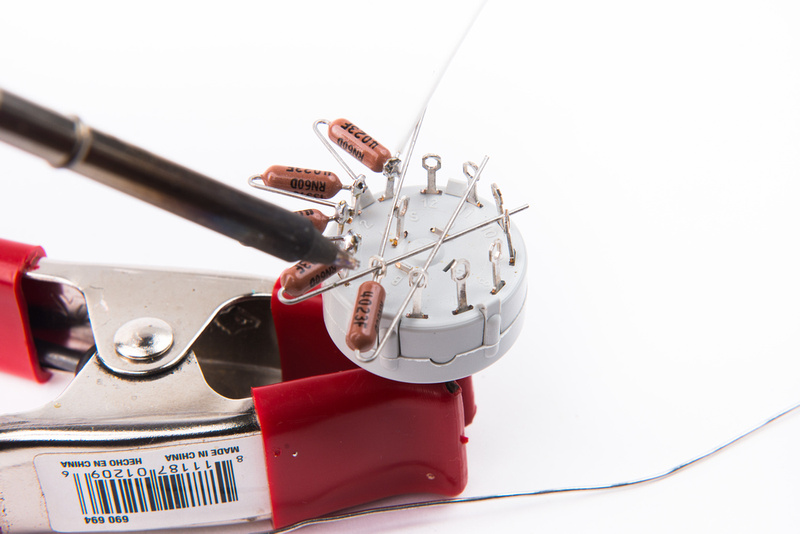
Install a white wire and a 402K resistor at pin 1 and begin installing the 8 switch ladder resistors.

p46705919-4.jpg


p339977569-4.jpg


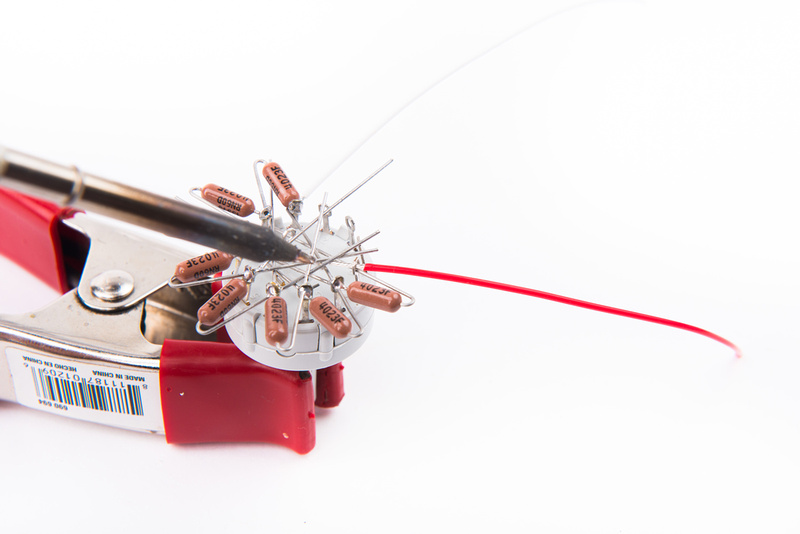
At the last of the 8 resistors, install a red wire.

p451035325-4.jpg


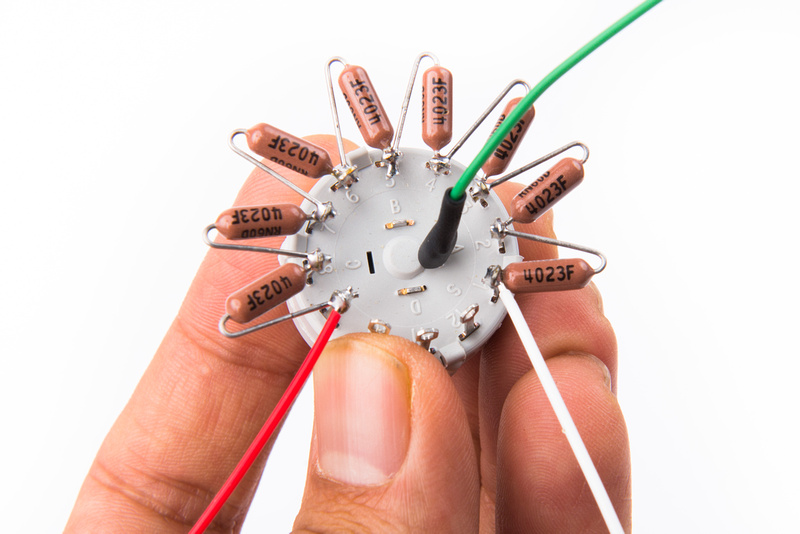
Install a green wire at the center pin, and the switch is ready.

p241377377-4.jpg


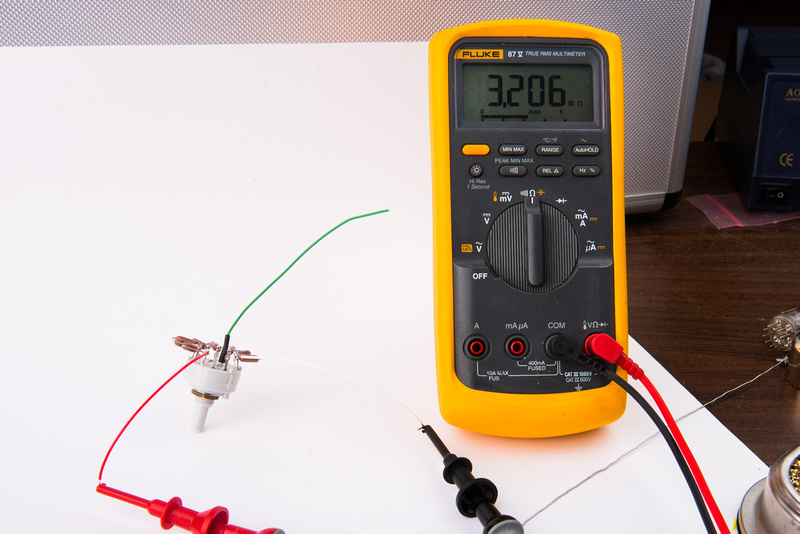
Test and confirm ~3.2M across the outside red and white wires.

p57318996-4.jpg


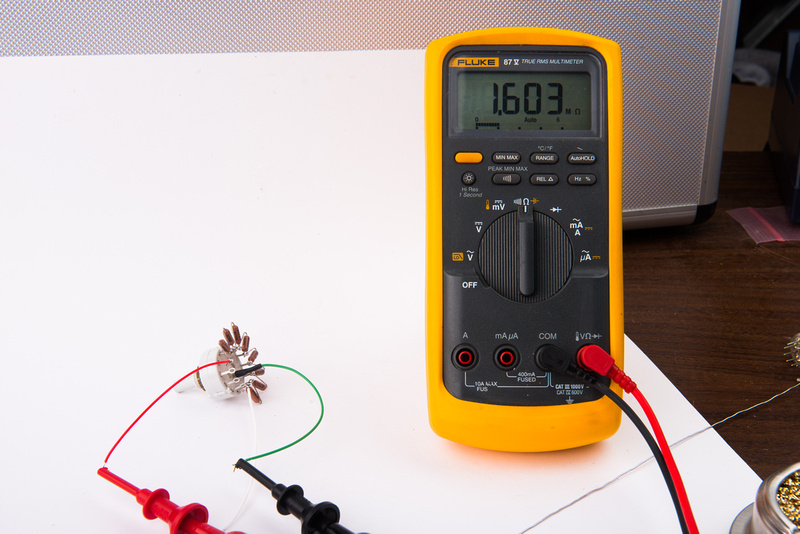
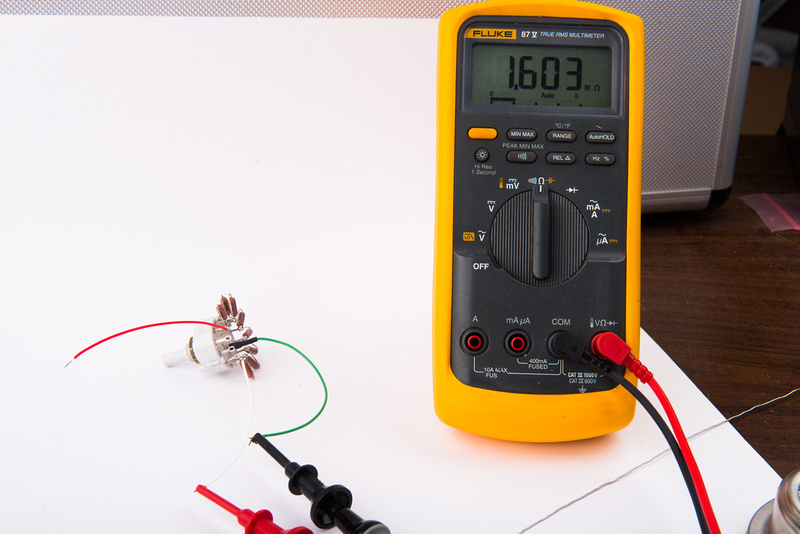
And with the switch set to the center position (4 clicks from either side), we have about 1.6M.

p213423301-4.jpg


p217850469-4.jpg


Once the pattern switch is tested, set it aside for now.

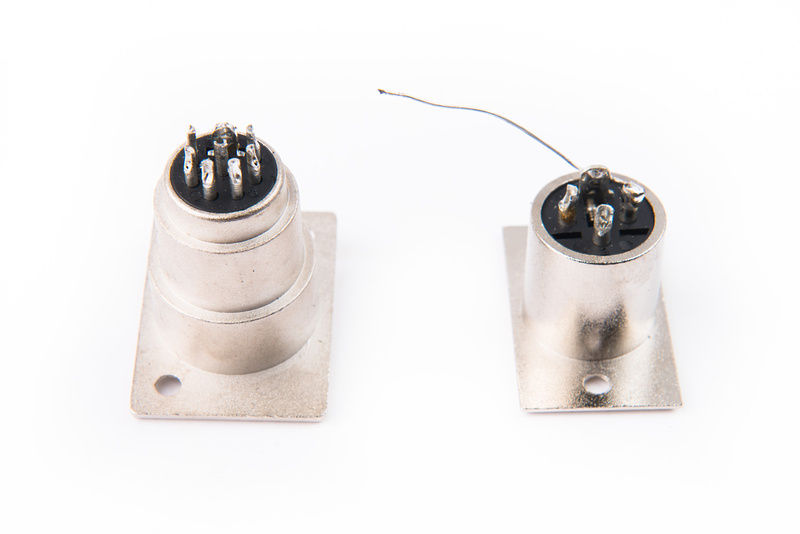
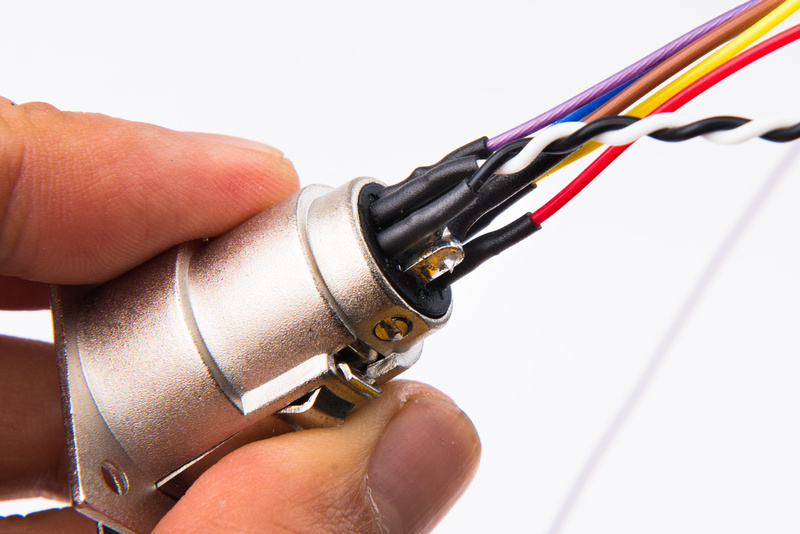
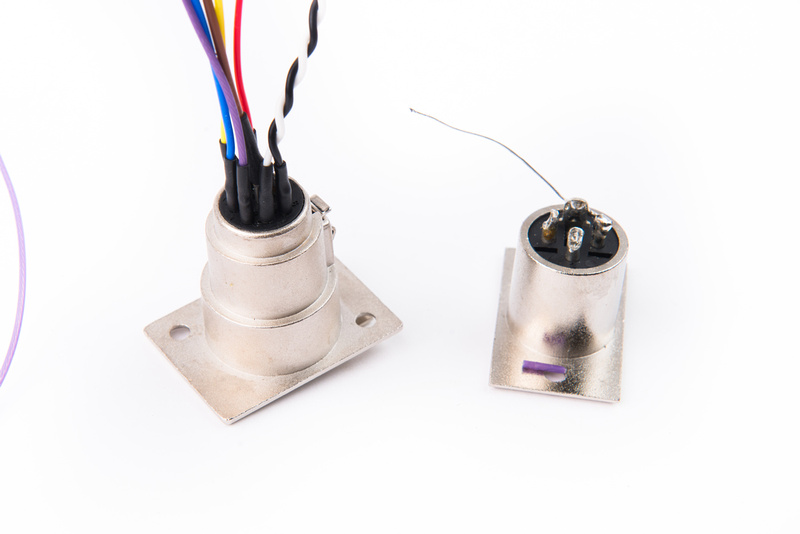
Next, de-solder the 7 pin and 3 pin XLR connectors.  I will replace all of the wires with 22 gauge silver teflon wire for this build.

p372399812-4.jpg


p134735909-4.jpg


New wires are installed on the 7 pin XLR, and the ground lead is retained on the 3 pin XLR.  Be sure to make a jumper from pin 7 or whatever you pin you designate as ground on your wiring scheme to the chassis tab on the connector. 

p335723612-4.jpg


The 7 pin and 3 pin XLR connectors will be wired together after installation.  For now, set them aside. 

p125936063-4.jpg
 
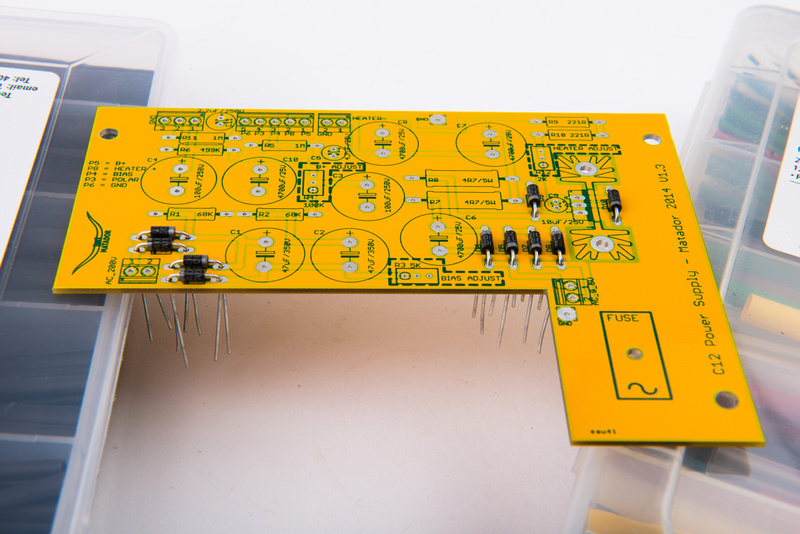
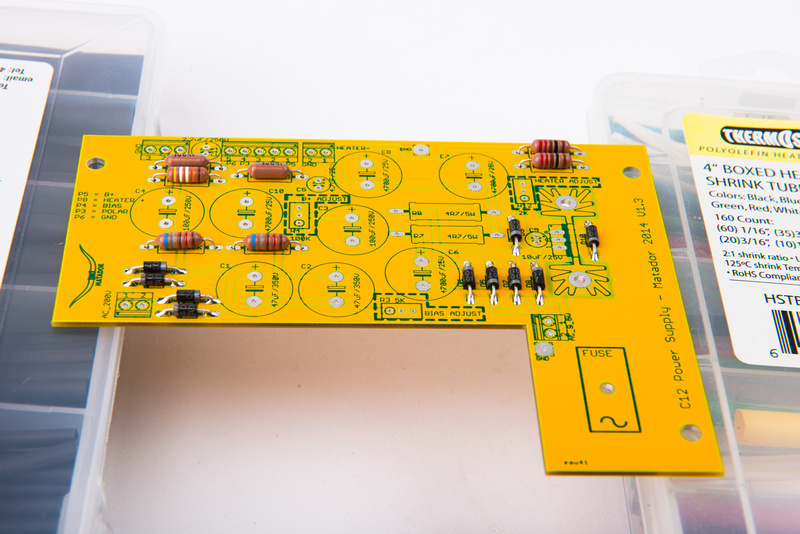
Next, begin populating the PCB.

p1055613647-4.jpg


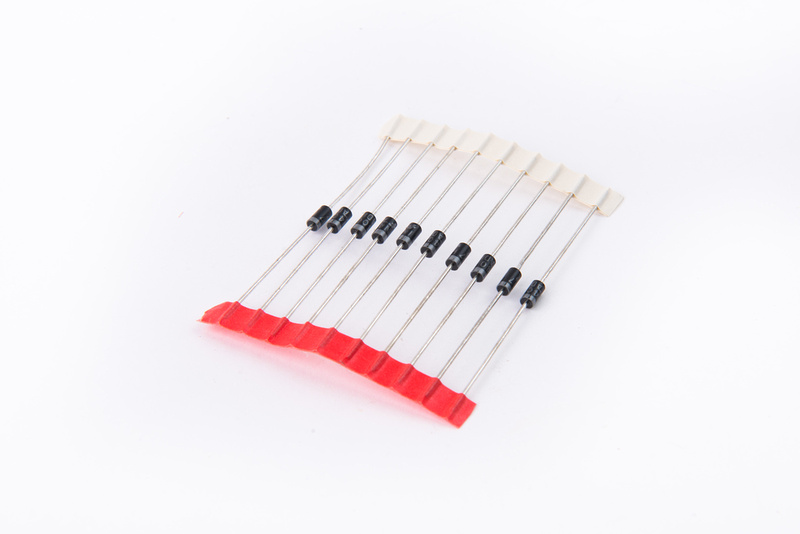
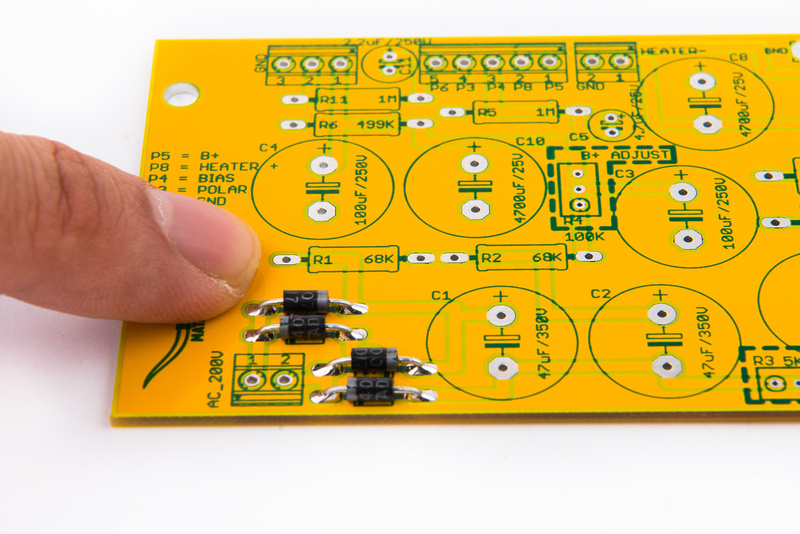
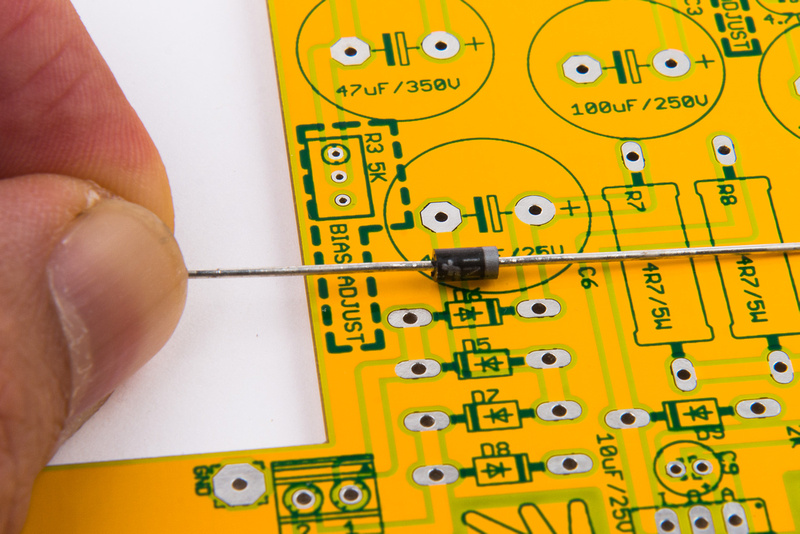
Start by locating D1-D10.  They are all 1N4007 for this build.

p41938778-4.jpg


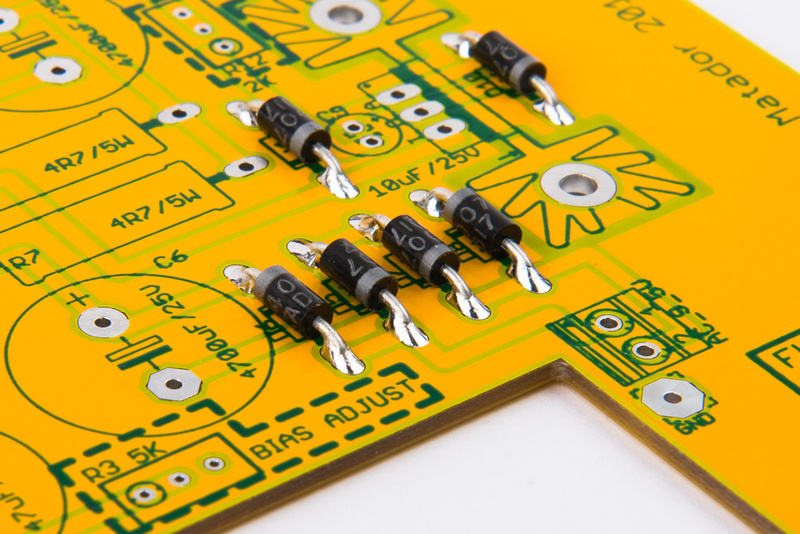
Diodes need to be oriented with the stripe mark is aligned to the screen printed stripe on the PCB.  These must all be installed in the correct direction.

p375441387-4.jpg


Check and confirm all diodes are correctly positioned before bending the leads to retain them in place.

p452251998-4.jpg


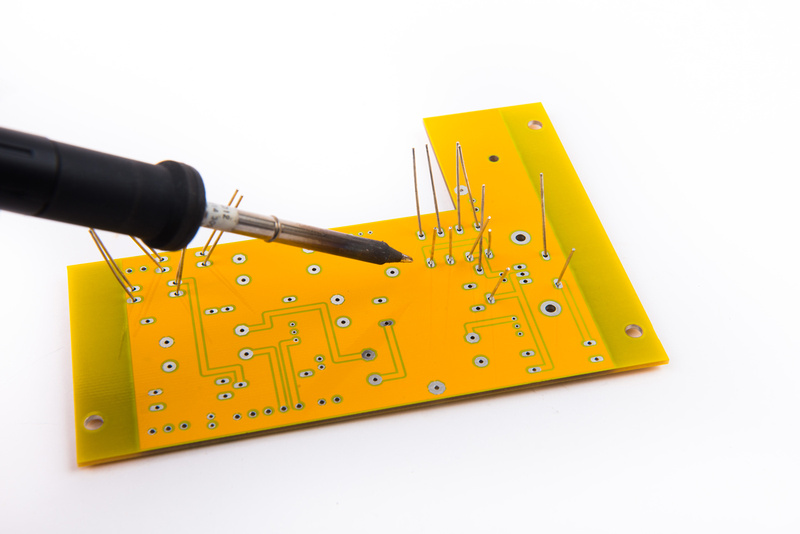
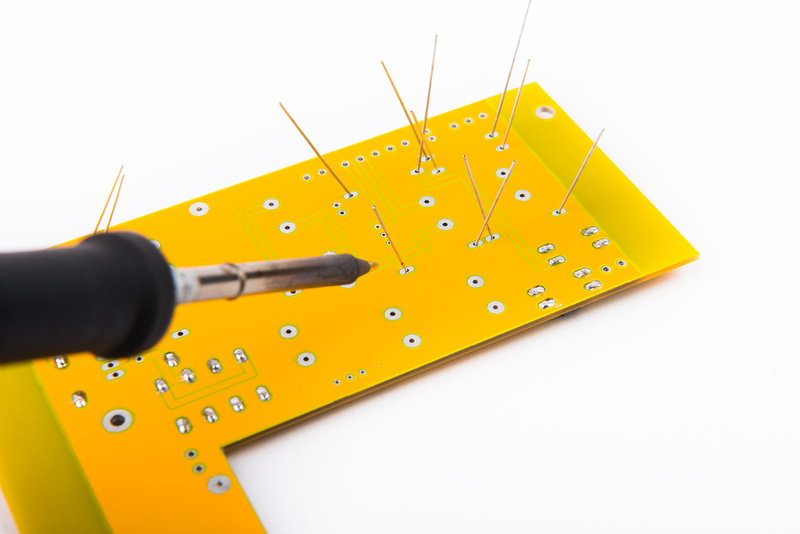
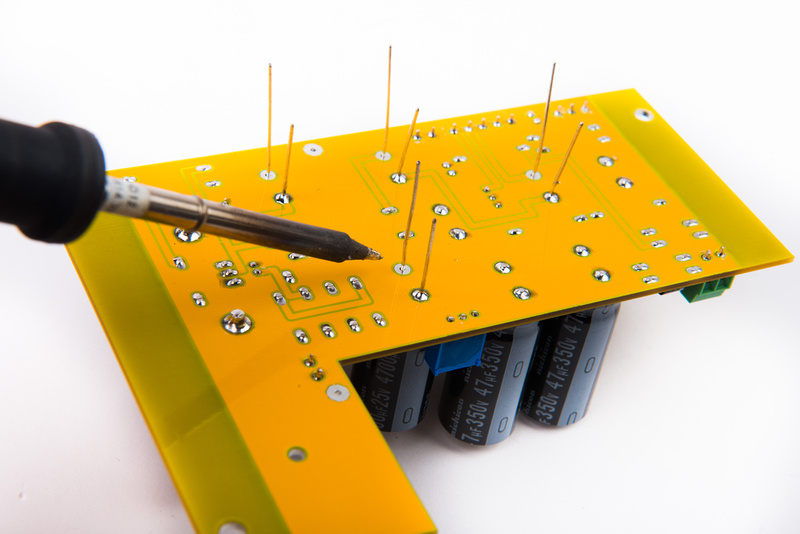
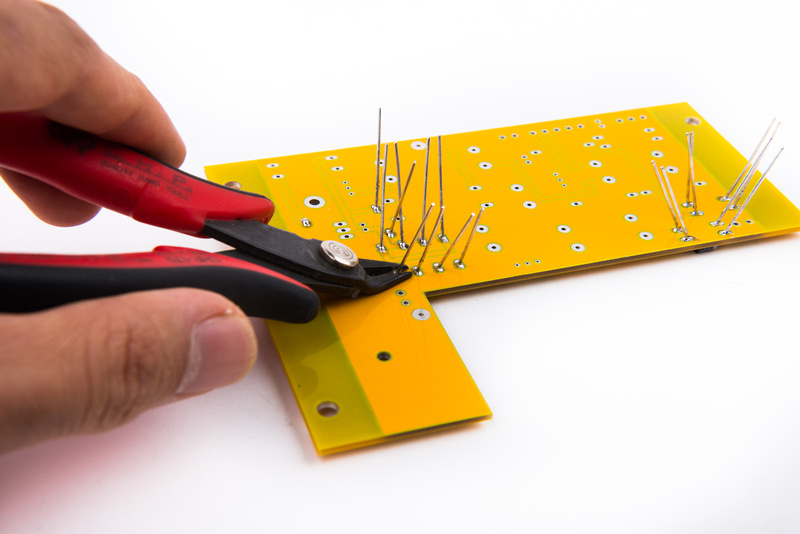
Turn the board over and solder from the back side.

p335494047-4.jpg


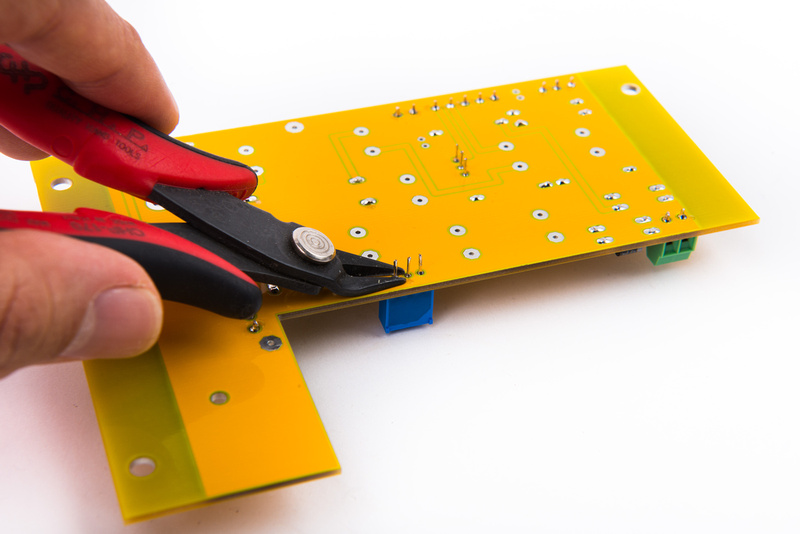
Trim the leads when finished.

p1043432013-4.jpg


Just enough heat and solder should be used to bleed over to the front side of the PCB when finished.

p407302851-4.jpg


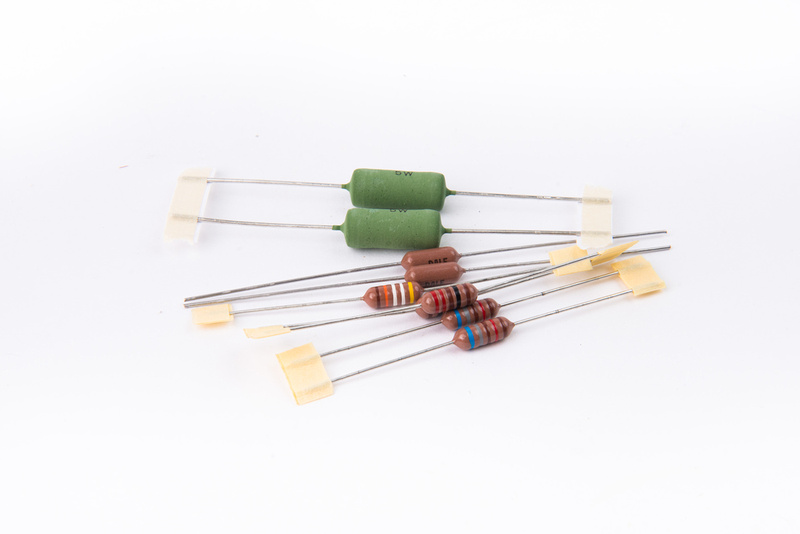
Next, locate the resistors.

p116905974-4.jpg


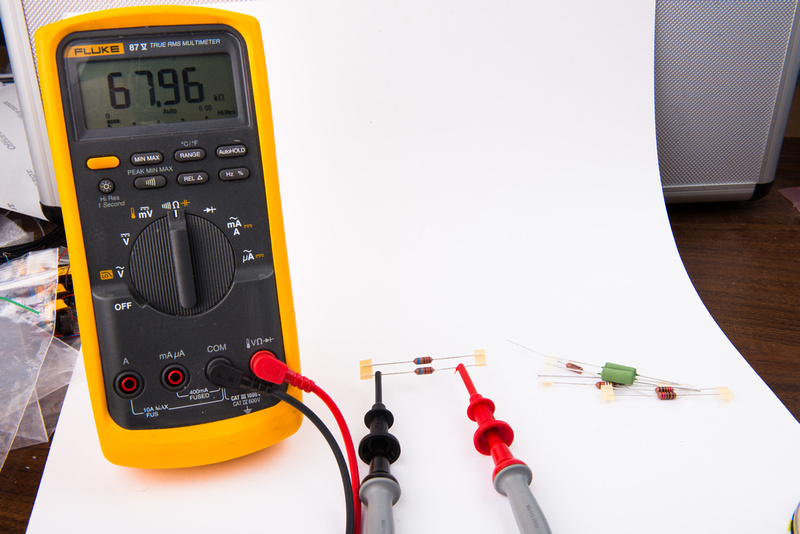
The revision 1.3 BOM includes  a 68.1K resistor for R1 and R2.  This will center the adjustment range for a single triode (plate follower) 6072A circuit like the AKG C12 or ELA M251.  The R1, R2 resistor values will change depending on the tube and circuit being used as the B+ supply is passive.

p226039169-4.jpg


Check all resistors carefully with a multimeter to confirm values before installing.

p302149865-4.jpg


Install the small resistors, turn the board over and solder into place.

p481759143-4.jpg


p284012436-4.jpg


p190948739-4.jpg


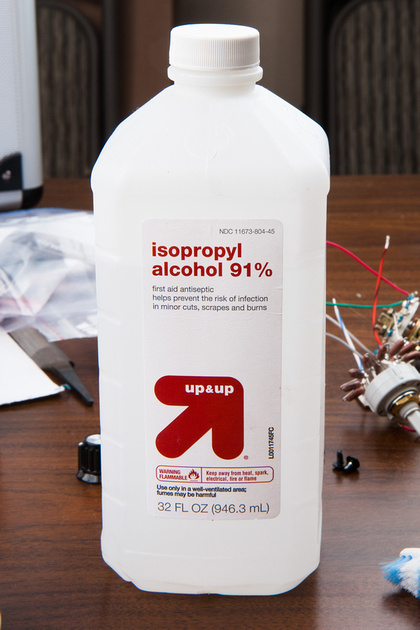
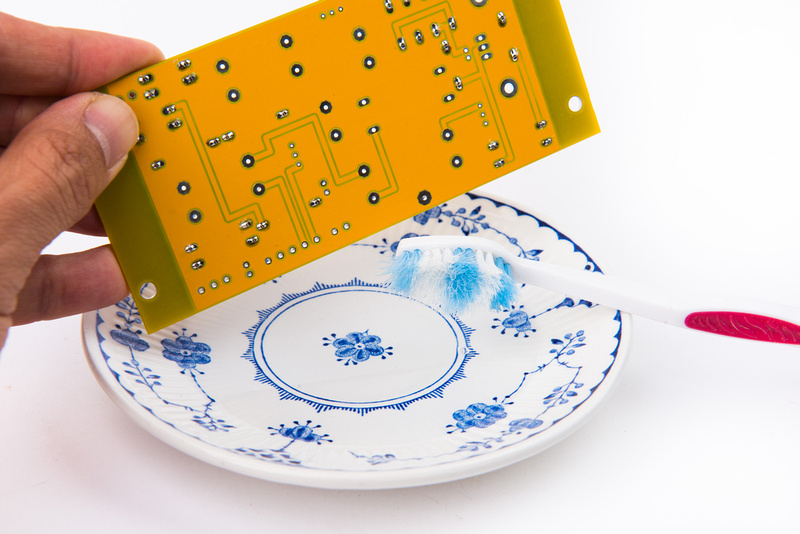
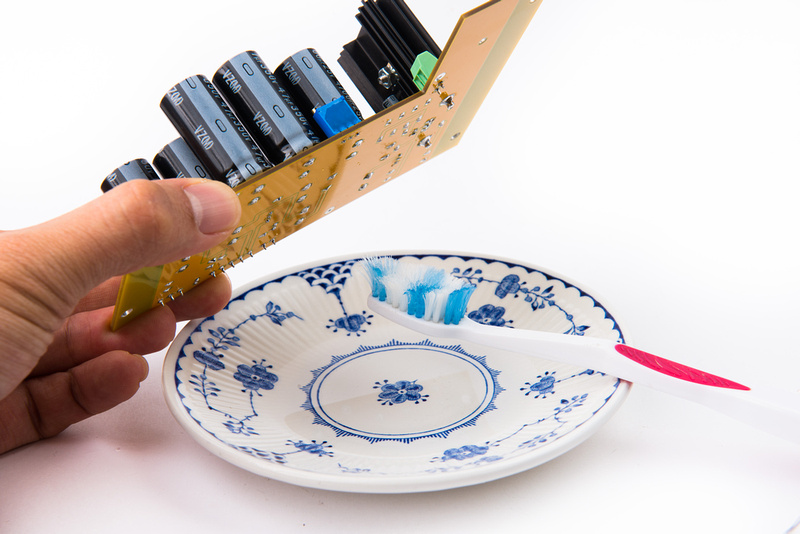
90% isopropyl alcohol is used to clean the solder flux off of the PCB. 

p1432252828-4.jpg


Because the diodes and small resistors are tolerant to being submerged in the solution, now is a good time to clean the board.

p397541105-4.jpg


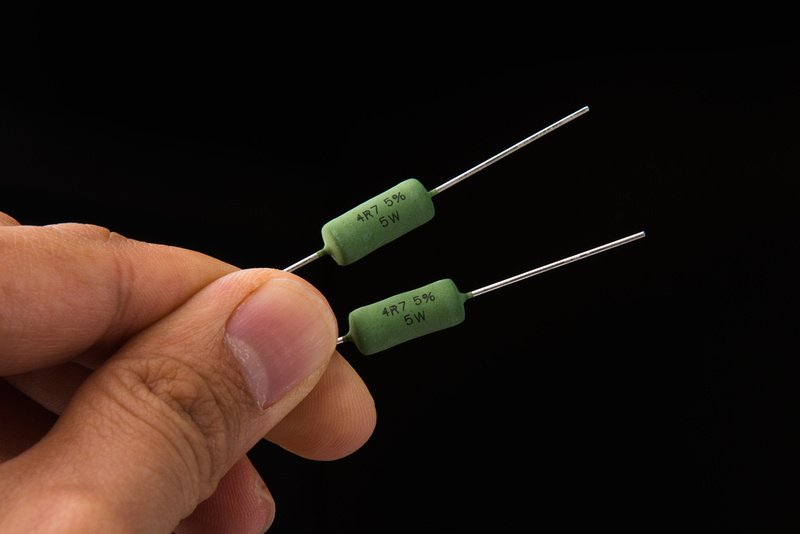
Locate the two 4.7R wirewound resistors.

p203091768-4.jpg


And install.

p505300196-4.jpg


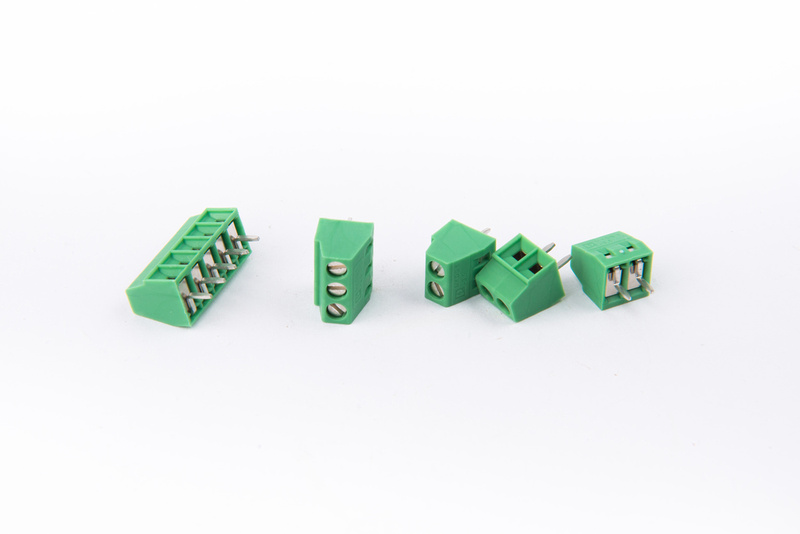
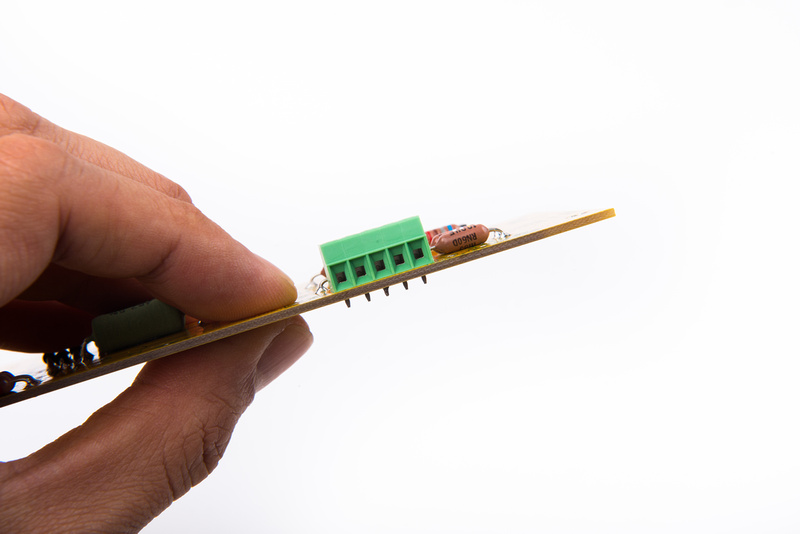
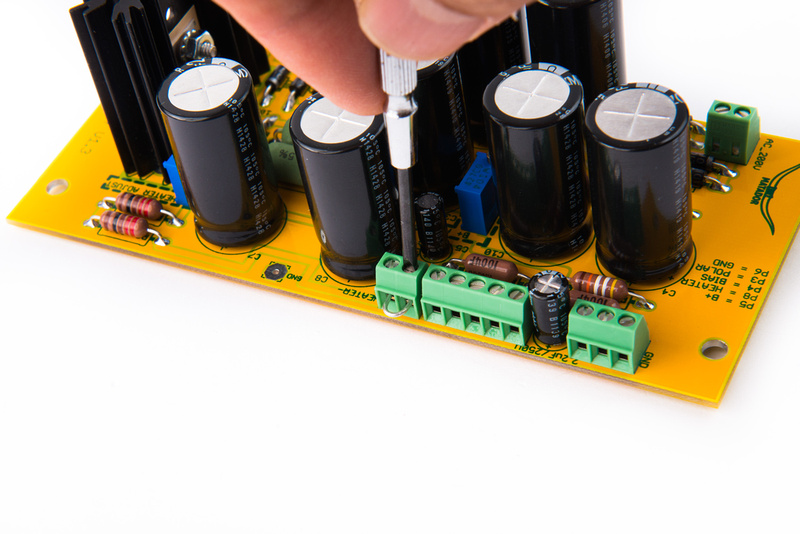
Next, locate the 5pole, 3 pole, and 2 pole screw terminals.

p450926172-4.jpg


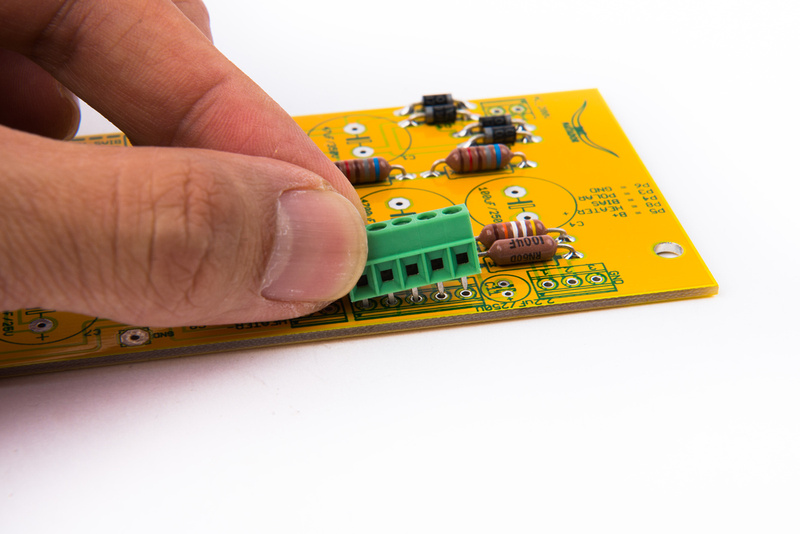
Position them on the PCB with the wire entrace facing outward.

p21780947-4.jpg


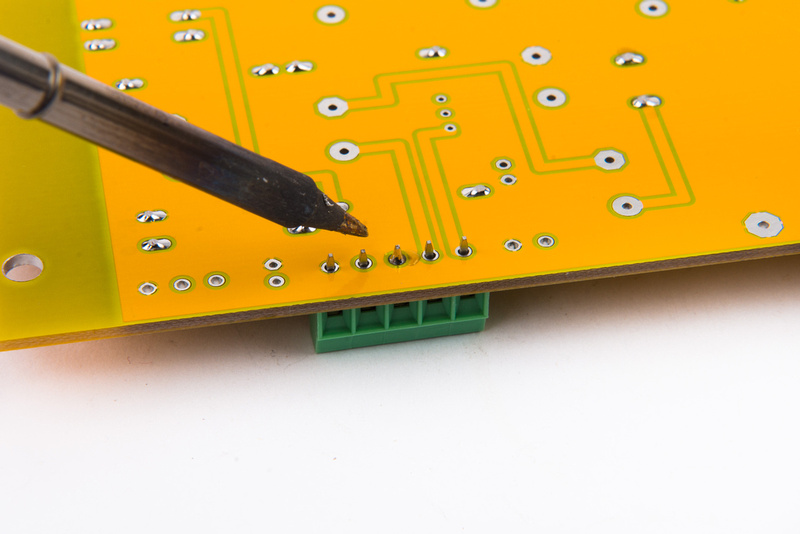
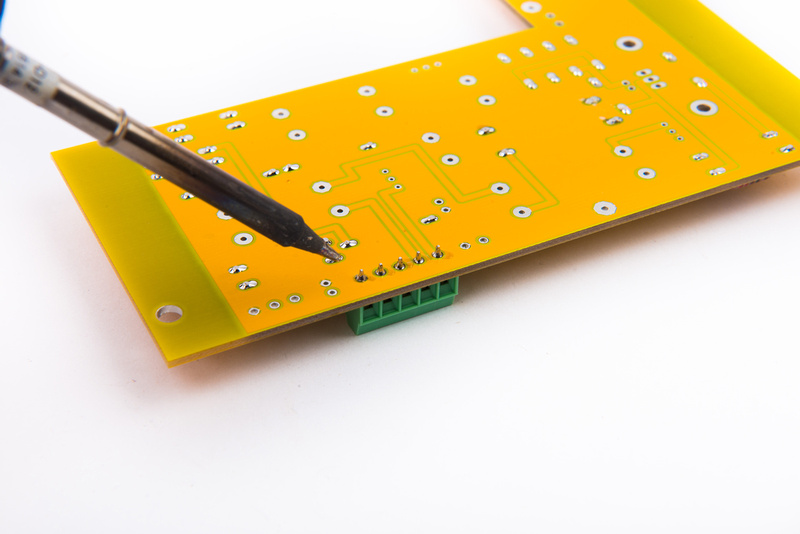
Solder just one lug.

p18948844-4.jpg


Then, check to confirm that the terminal block is seated complete to the PCB and it is aligned straight.  The single lug is easy to re-heat and the terminal block can be re-positioned easily.

p195365116-4.jpg


Once the final position is adjusted and confirmed, solder the remaining lugs on the terminal block.

p304986729-4.jpg


Install all of the terminal blocks in the designated positions on thePCB.

p481443503-4.jpg
 
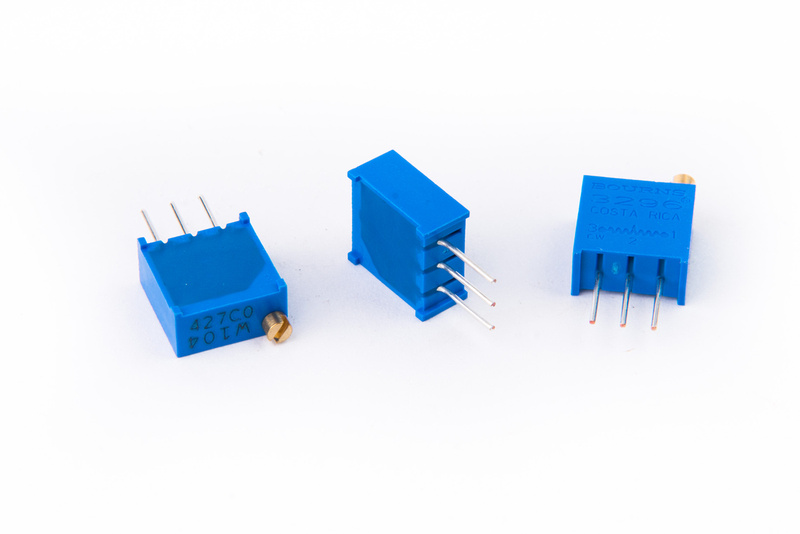
Next, locate the 3 trimmer pots.   

p117811409-4.jpg


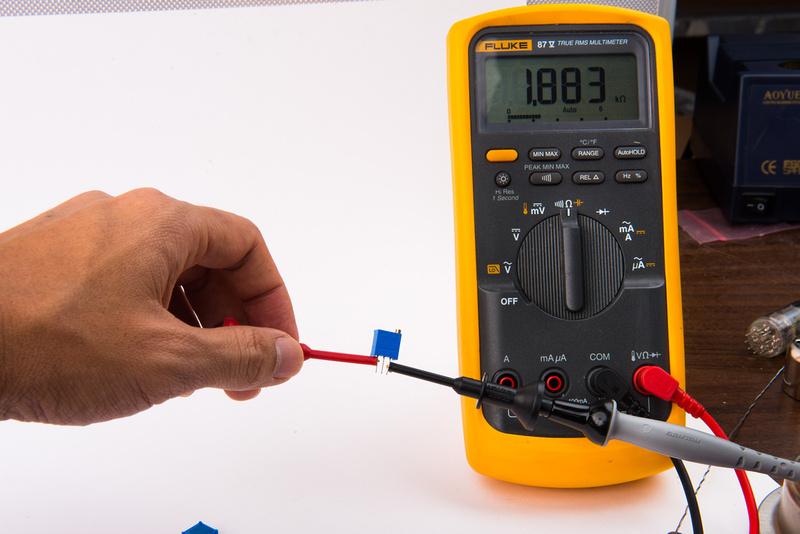
Note: It is a VERY common build mistake to assume these parts are the same value.  They are not.  Carefully confirm each trim pot's value by measuring resistance across the outside legs with a multimeter.

p104062129-4.jpg


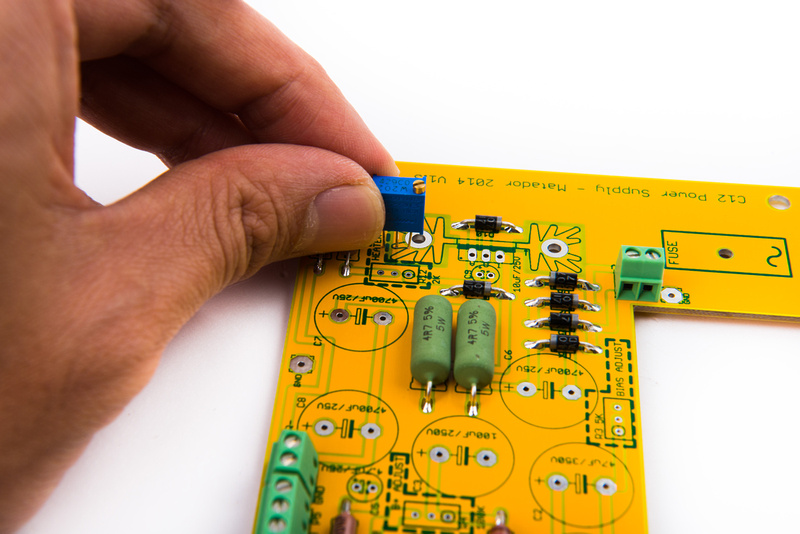
The position of the adjustment screw is indicated on the PCB silkscreen.

p455731172-4.jpg


Position the trim pot and solder one leg only. 

p339949835-4.jpg


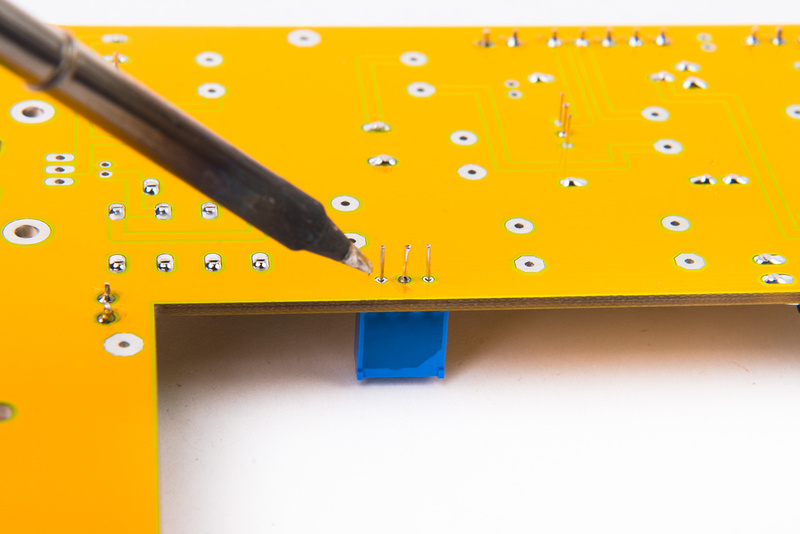
With only one leg soldered, confirm alignment and that the pot is seated flush against the PCB.  Once aligned and adjusted, solder the remaining legs and trim the leads.

p447684659-4.jpg


p116577546-4.jpg


p647530416-4.jpg


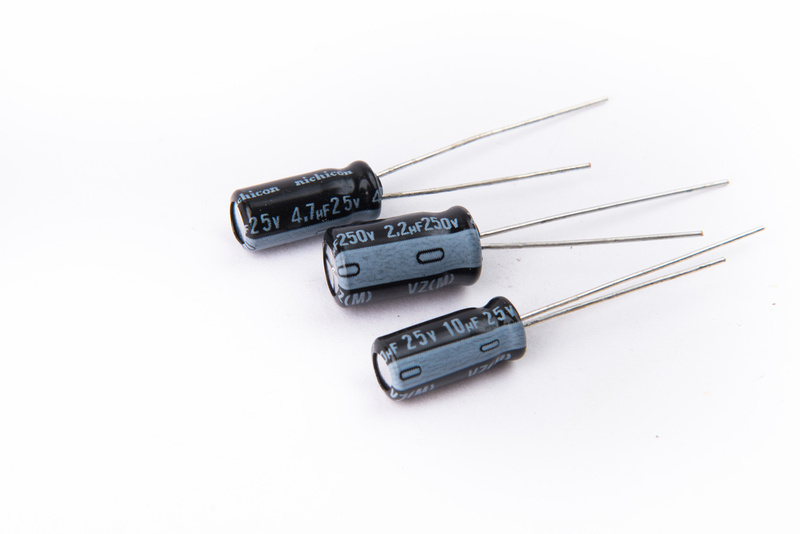
Next, locate the 3 small electrolytic capacitors.

NOTE:  It is a VERY common build mistake to assume these capacitors are the same value.  They are not!  Carefully check the values indicated on each capacitor and make sure they are placed correctly.

C5 = 4.7uF  250V
C9 = 10uF 250V
C11 = 2.2uF 250V

p565616139-4.jpg


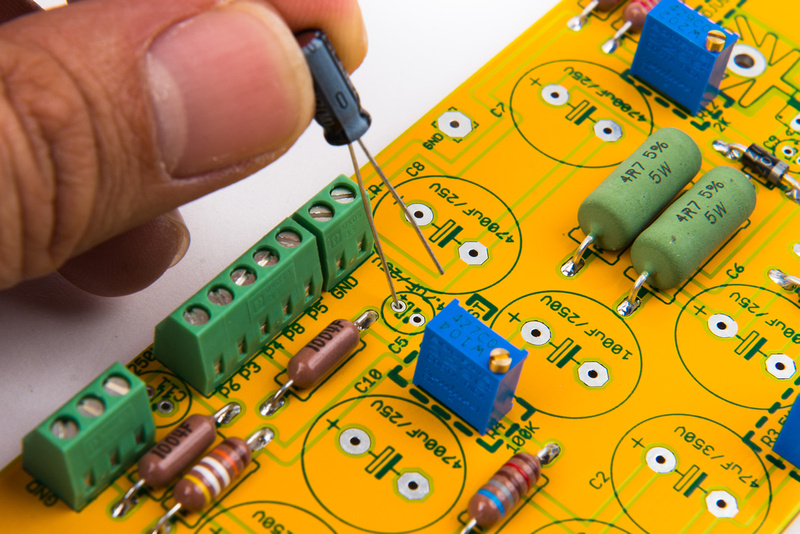
Electrolytic capacitors have polarity and must be oriented correctly.  The longer lead indicates the "+" side of the capacitor.  Also, the side of the capacitor with the white stripe indicates the "-" side.

p1065152546-4.jpg


As a point of reference, all of the electrolytic capacitors in this kit orient the same direction.

p541042276-4.jpg


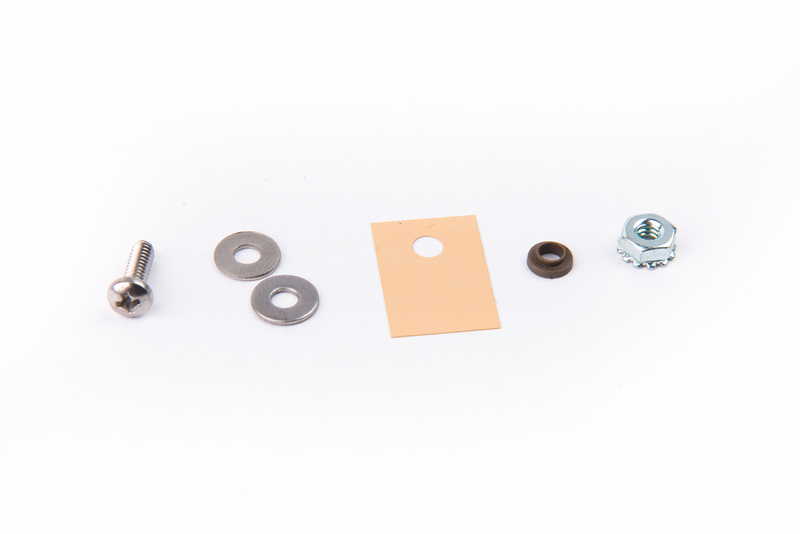
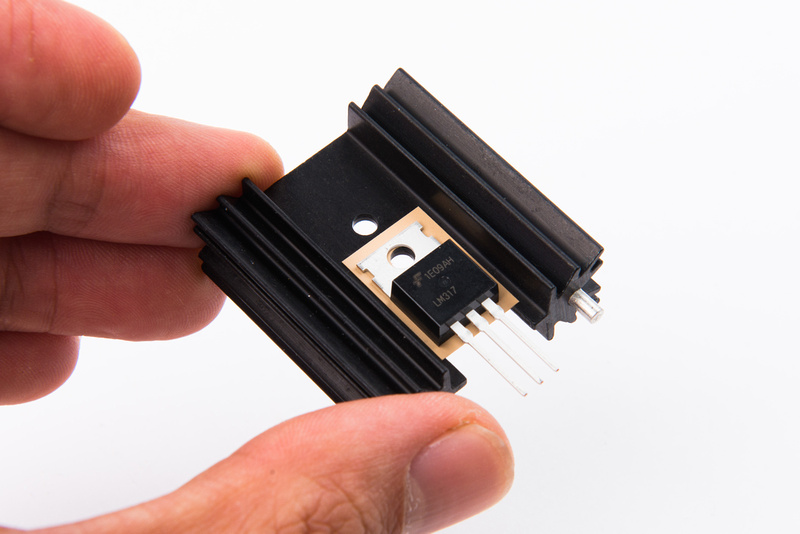
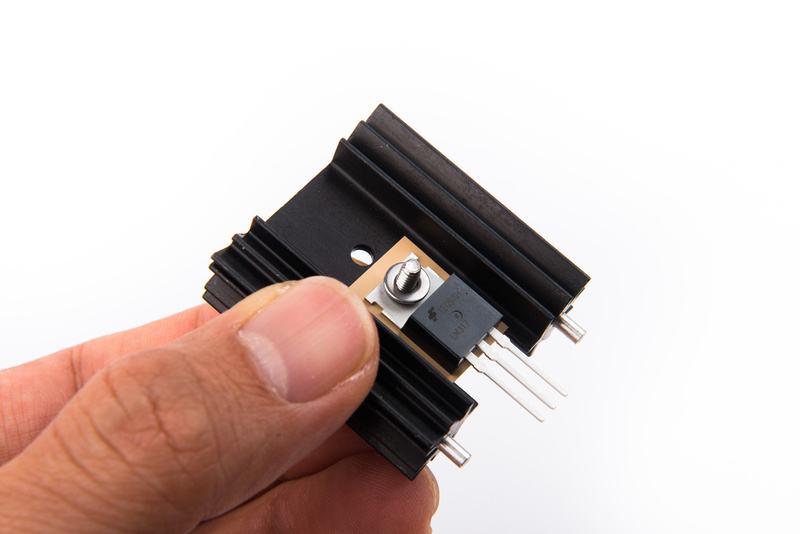
Next, we will mount the LM317 regulator for the heater.  Locate the hardware to mount the regulator.

p659246010-4.jpg


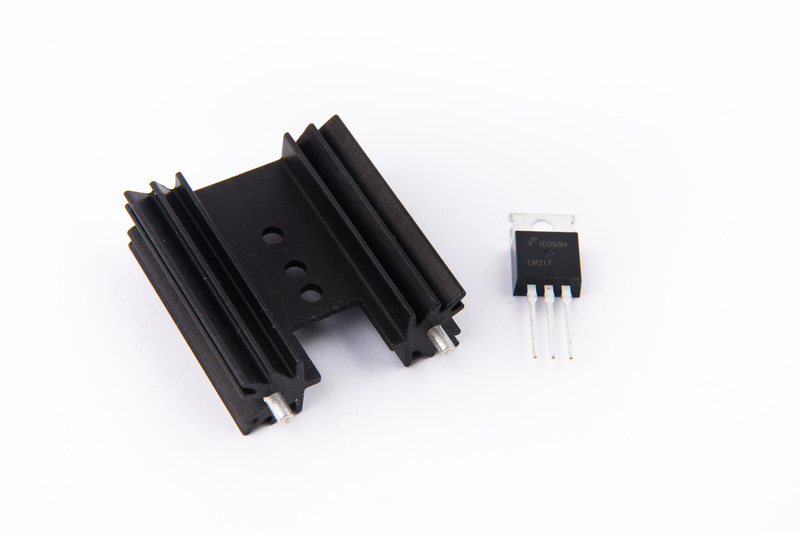
And, locate the heat sink and regulator.

p538570679-4.jpg


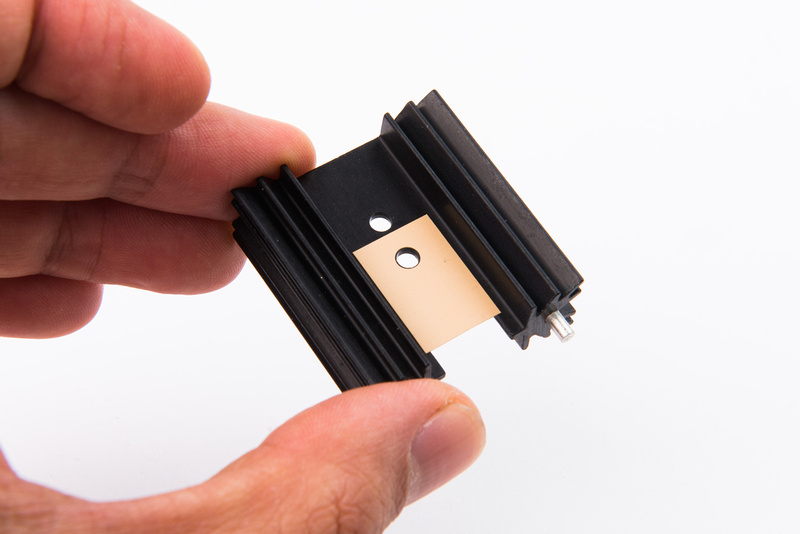
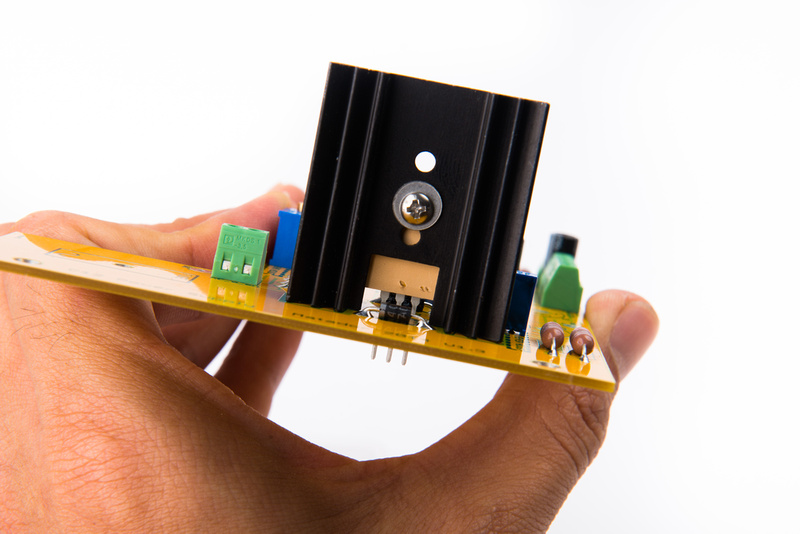
The insulator isolates the regulator from the heat sink.  Place this first on the regulator.

p1052978824-4.jpg


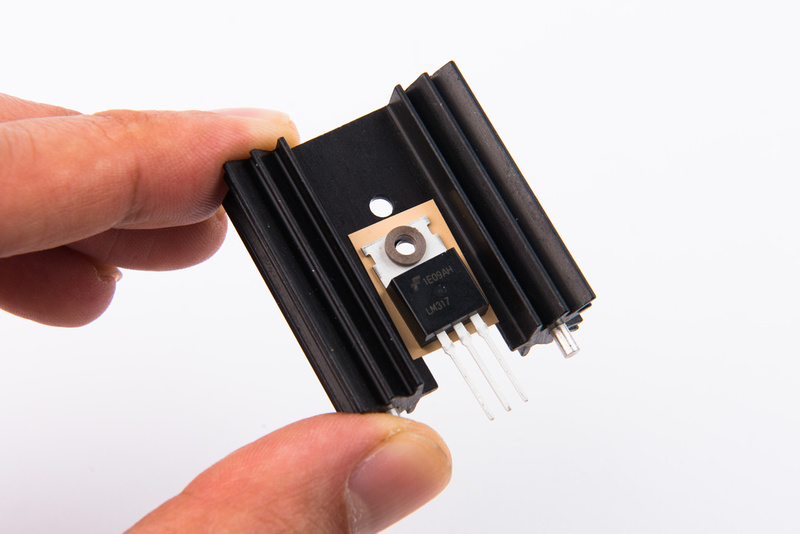
Next, place the regulator on top of the insulator.

p264405593-4.jpg


The plastic shoulder washer keeps the screw from contacting the regulator body.

p351315184-4.jpg


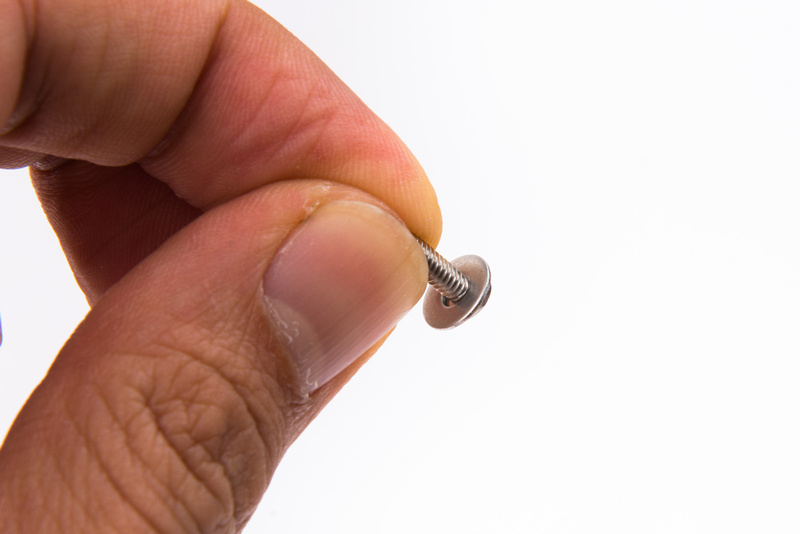
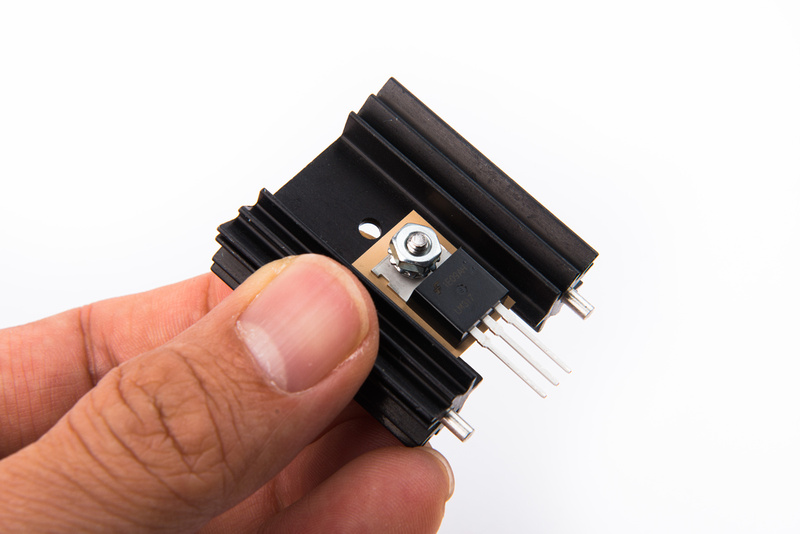
Place a washer on the screw.

p355880295-4.jpg


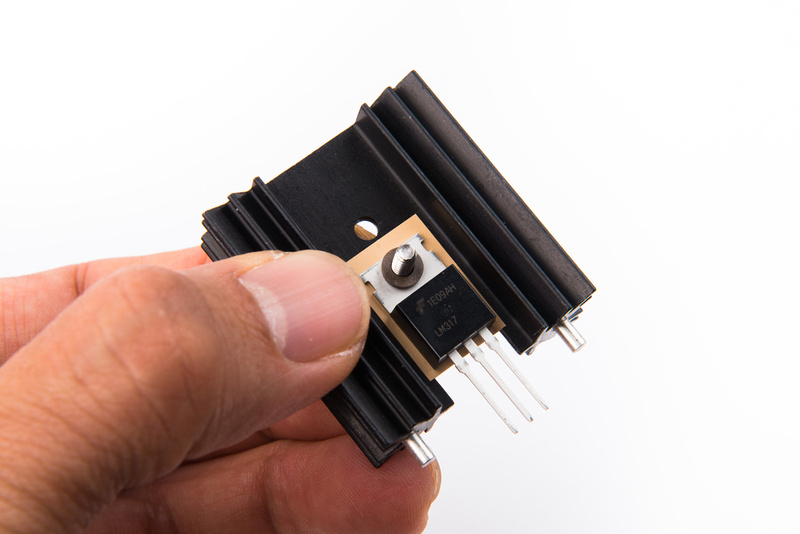
I choose to insert the screw from the back side so the screw slot will remain easily accessible for future repair.

p202745112-4.jpg


Another washer and the nut complete the regulator installation onto the heat sink.

p232114623-4.jpg


p509506954-4.jpg


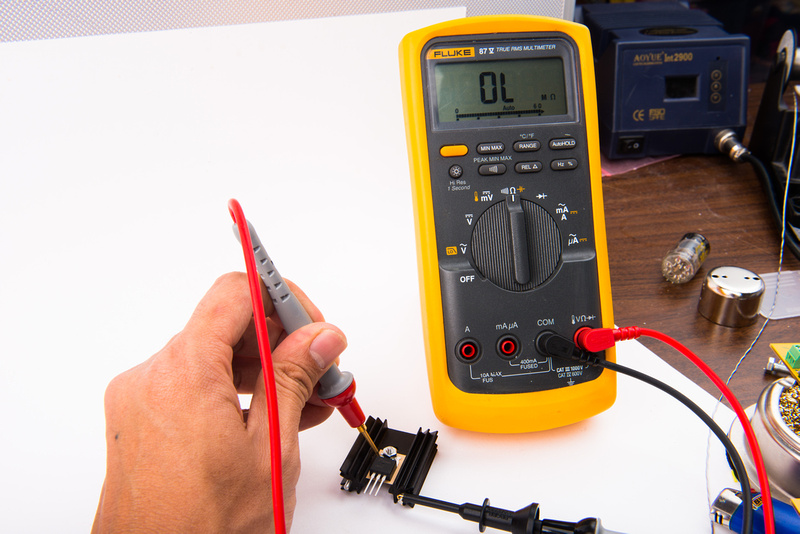
After tightening the screw, confirm that there is no continuity between the body of the regulator and the heat sink.

p274528360-4.jpg


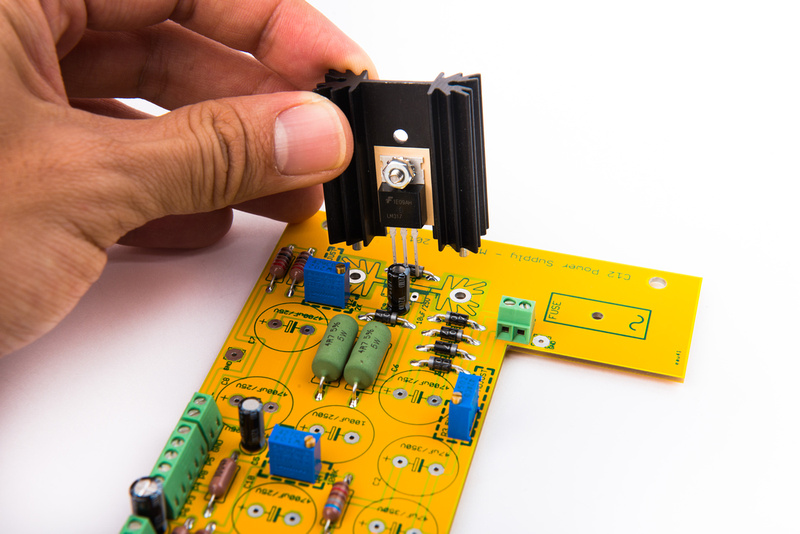
Next, place the assembly onto the PCB.

p74547006-4.jpg


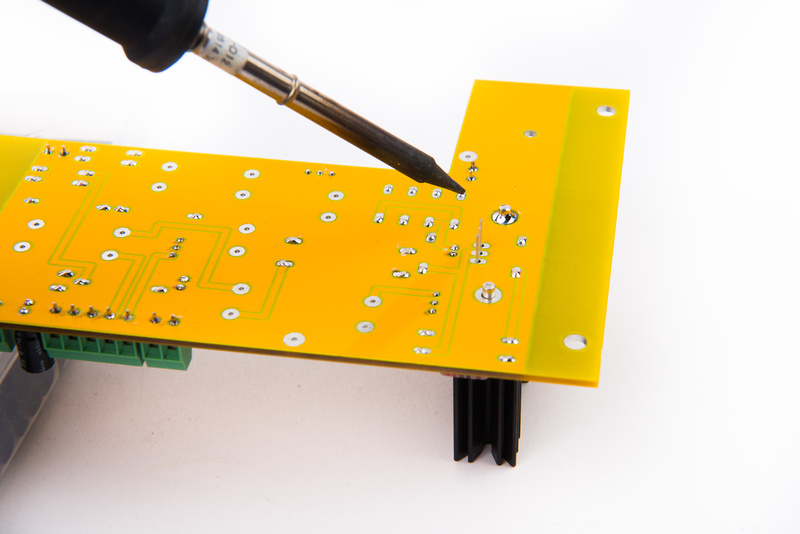
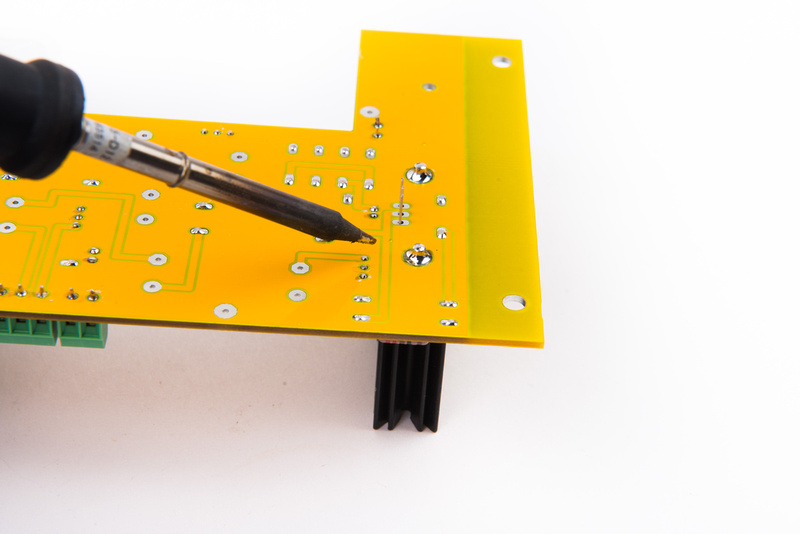
Increase the heat setting on the soldering iron to solder the heat sink to the PCB.  Being as it is a heat sink, the component is quite efficient at dissipating heat from the soldering iron and can be difficult to solder.  Attach one leg only.

p199040023-4.jpg


Confirm that the heat sink is sitting firmly on the PCB surface.  If the part needs to be seated tigher, press on the heat sink while re-heating the joint to re-seat it.

p369521901-4.jpg


Once  solidly positioned, solder the other leg.

p243501860-4.jpg


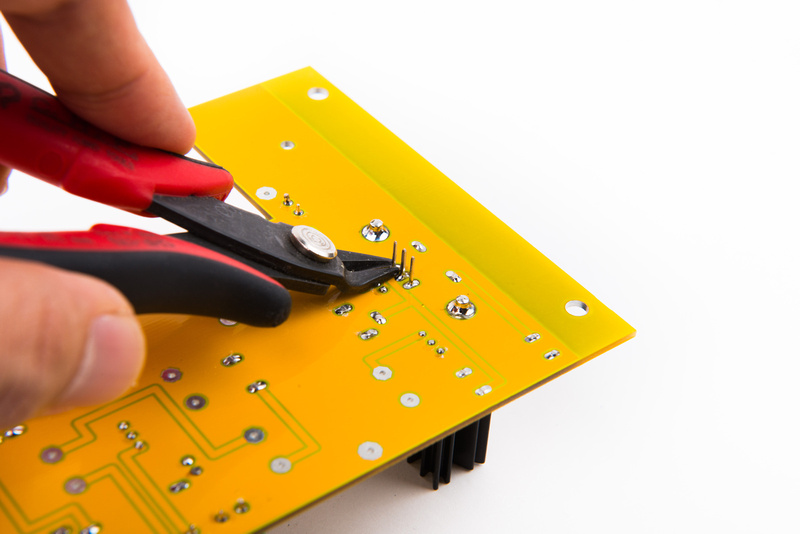
Reduce the heat on the soldering iron back to normal levels and solder the three legs of the regulator and trim the leads.

p347578718-4.jpg


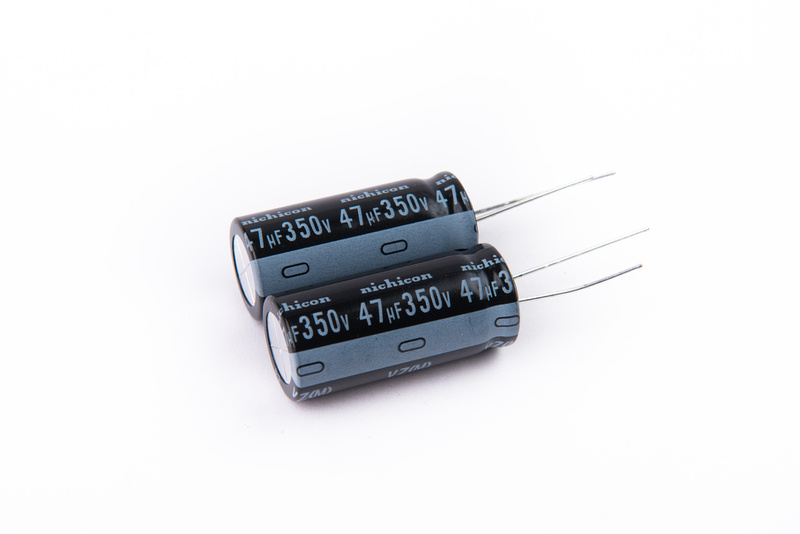
C1 and C2 are the tall 47uF 350V capacitors.

p465472973-4.jpg


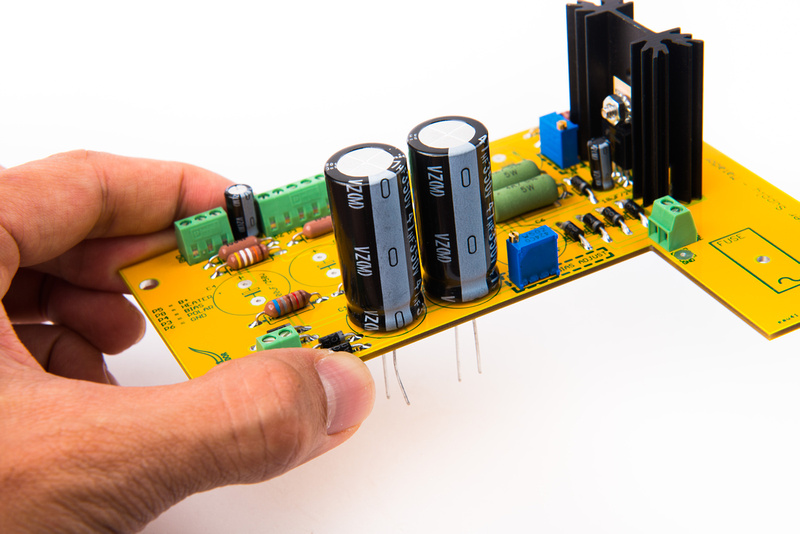
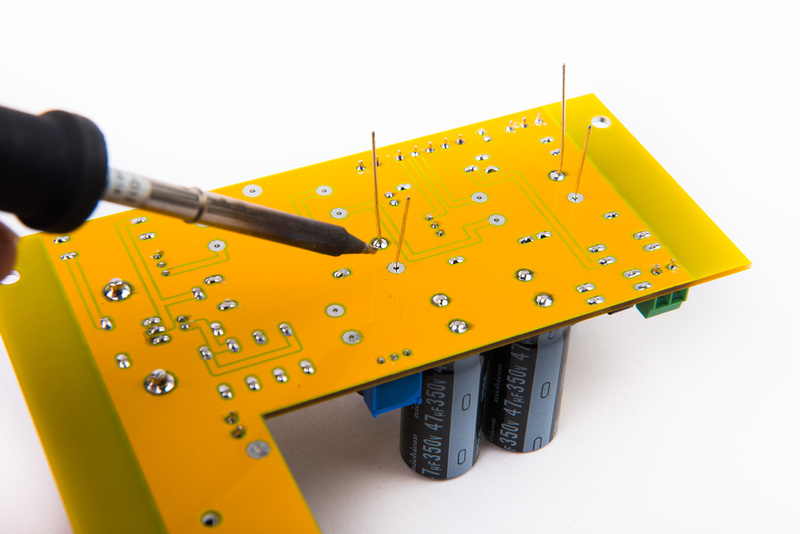
Once located, insert them into position.  Be sure to heed the polarity of the capacitor.  The "+" side is clearly indicated o the silk screen.  Also, all of the electrolytic capacitors in this kit orient the same direction.  I solder one leg first and then confirm that the capacitor is seated well to the PCB and standing straight.  After confirming or adjusting the positioning, return and solder the remaining leg.

p412536894-4.jpg


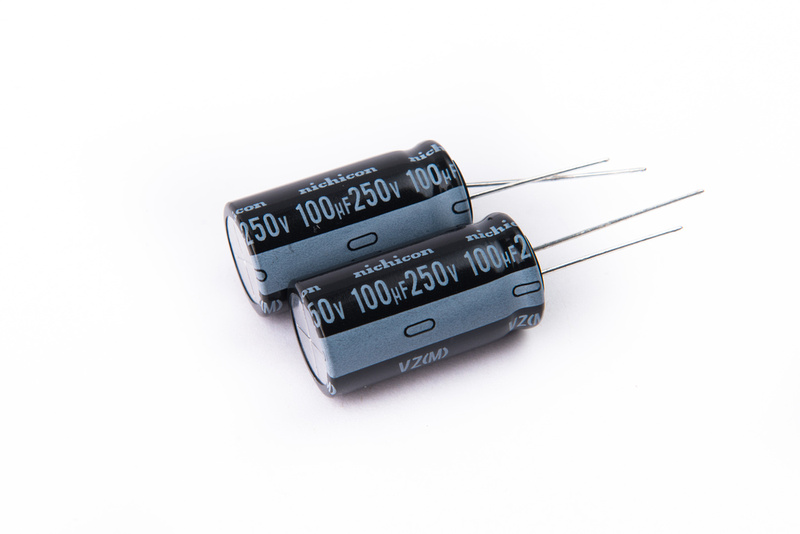
C3 and C4 are 100uF 250V

p108241099-4.jpg


Locate and install in the same manner.

p107494352-4.jpg


The B+ supply capacitors are now installed.  Triple check that all of these are in the correct positions.

p485605712-4.jpg


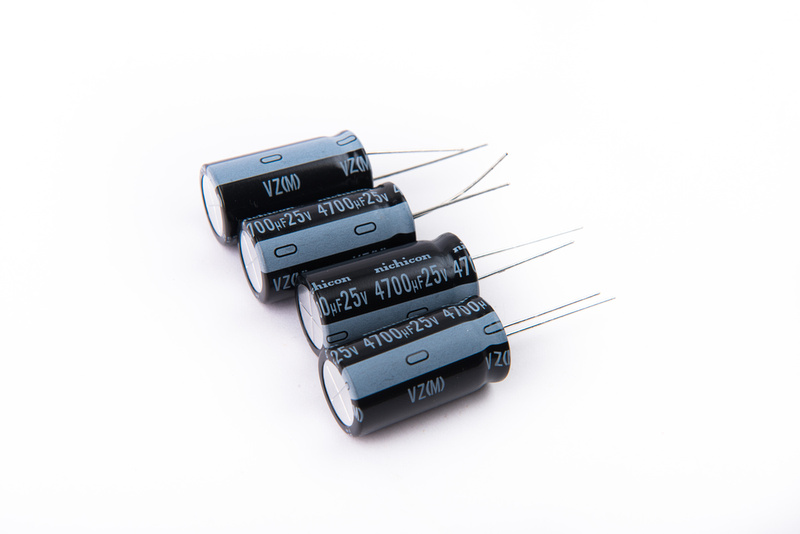
C6, C7, C8, C10 are 4700uF 25V.

p112150090-4.jpg


Check again carefully before installing these capacitors to make sure they are correctly positioned.  Then, solder them in place.

p518298617-4.jpg


p83734343-4.jpg


p483060722-4.jpg


p78005911-4.jpg


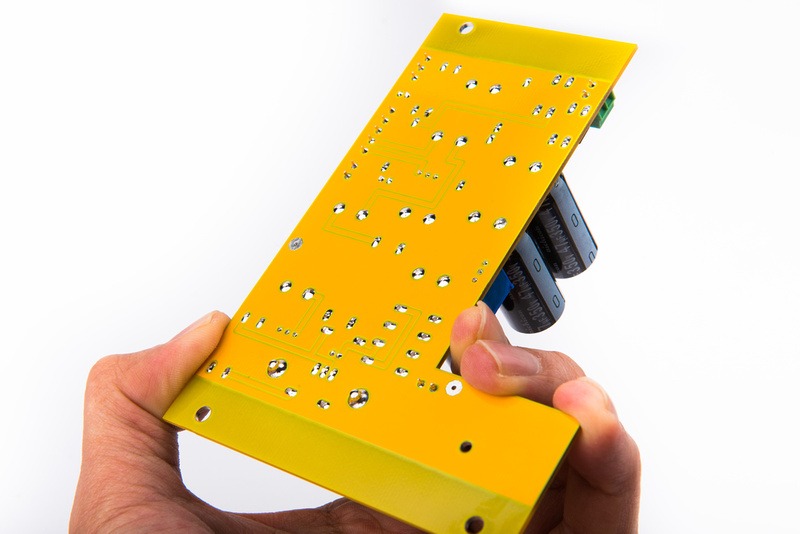
Next, clean the bottom of the PCB with isopropyl alcohol.  There are a lot of new joints, so it may take a few passes to get the flux residue off.

p407959678-4.jpg


p115394692-4.jpg


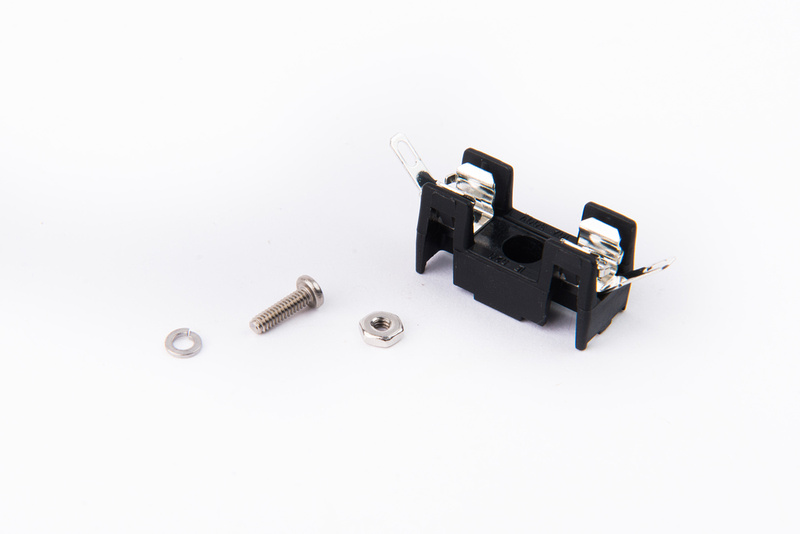
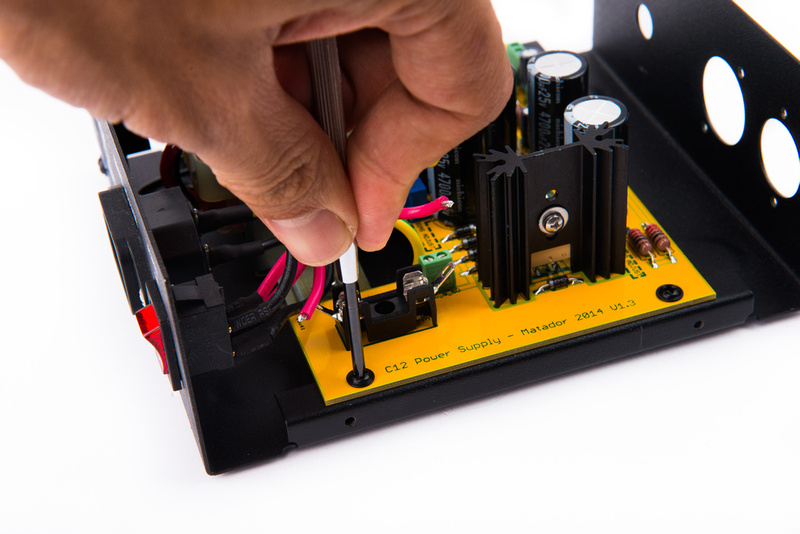
Locate the fuse holder and mounting hardware (2-56 screw, lock washer, and nut).

p3134262-4.jpg


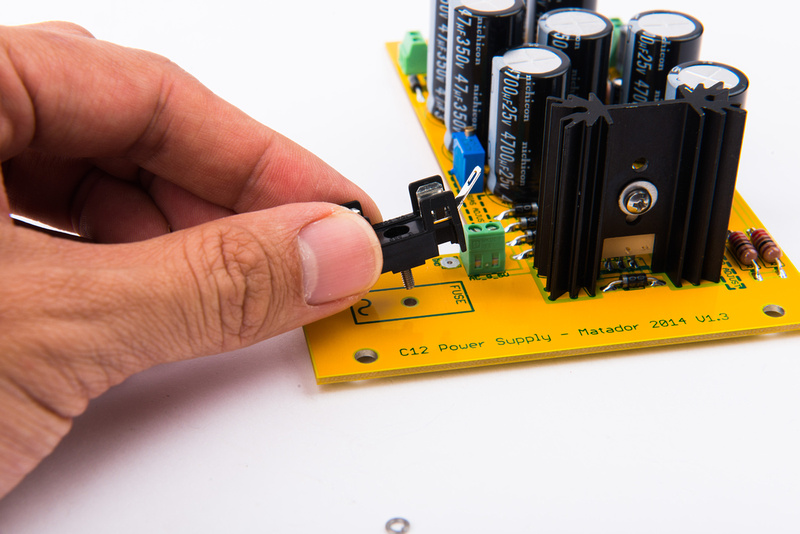
Place the screw inside the fuse holder and place the component.

p25643550-4.jpg


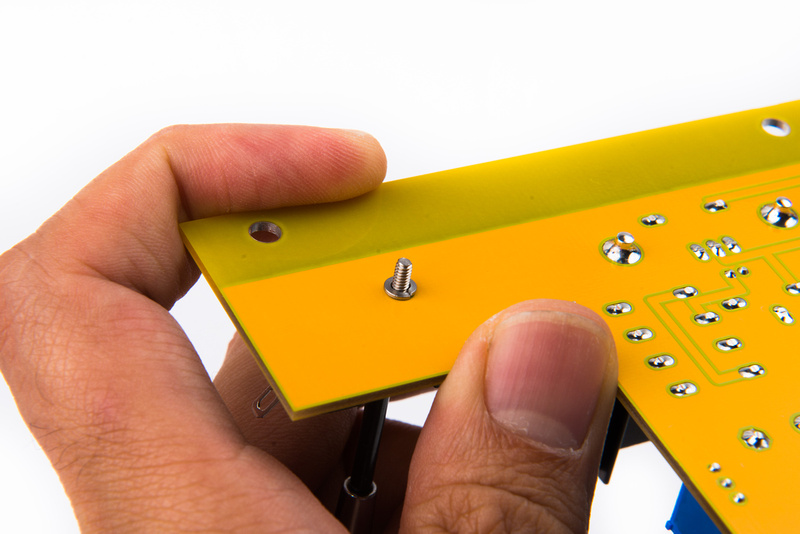
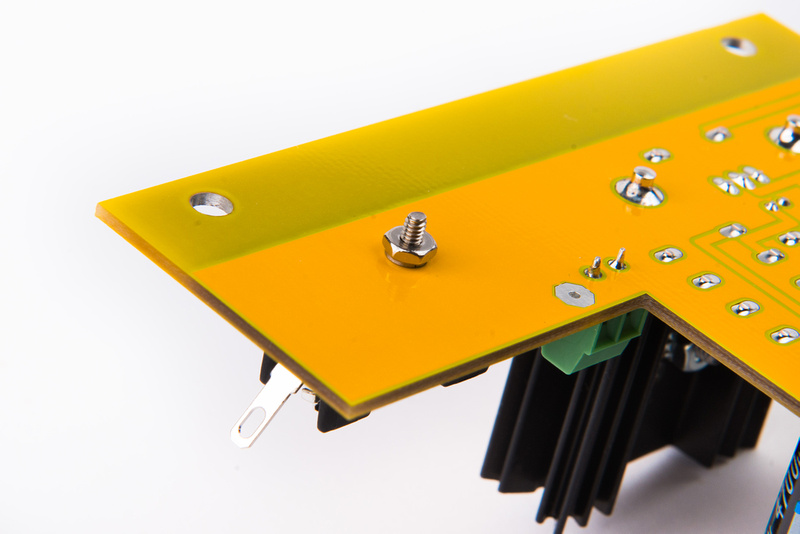
Then, flip the board over and install the lock washer and nut.

p230869642-4.jpg


p330198251-4.jpg


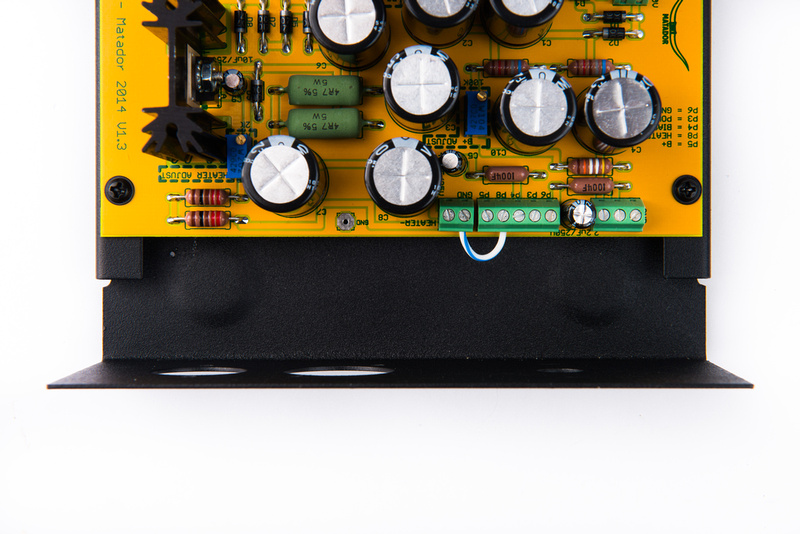
For the AKG C12 or other microphone that requires a positive heater supply voltage, make a wire jumper from a capacitor cut-off lead.

p536781219-4.jpg


And connect "GND" and "HEATER -" at the screw terminal.  In this configuration, screw terminal P8 outputs a positive heater supply voltage (ie. C12, ELA M251, etc.)

p261704681-4.jpg


Alternately, if the microphone requires a negative heater output (ie. U67), simply jumper the "P8" terminal to "GND" with a wire and use the "HEATER -" terminal to supply your negative heater voltage.

p169461262-4.jpg


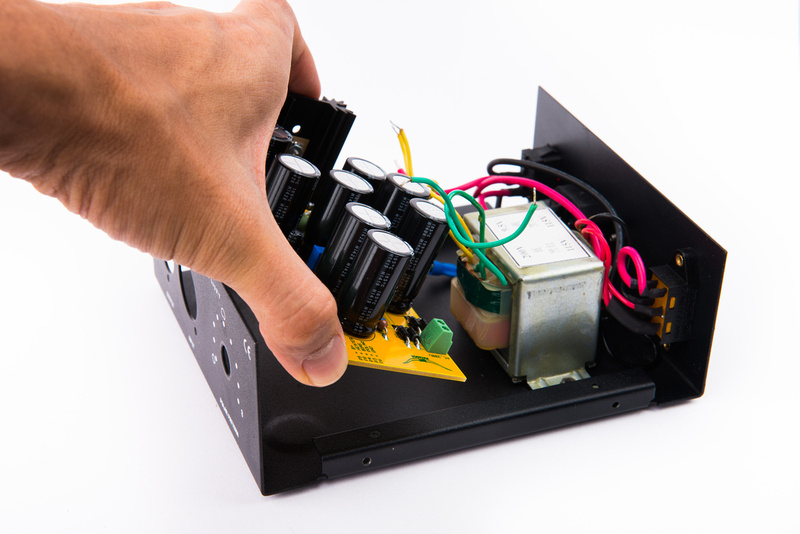
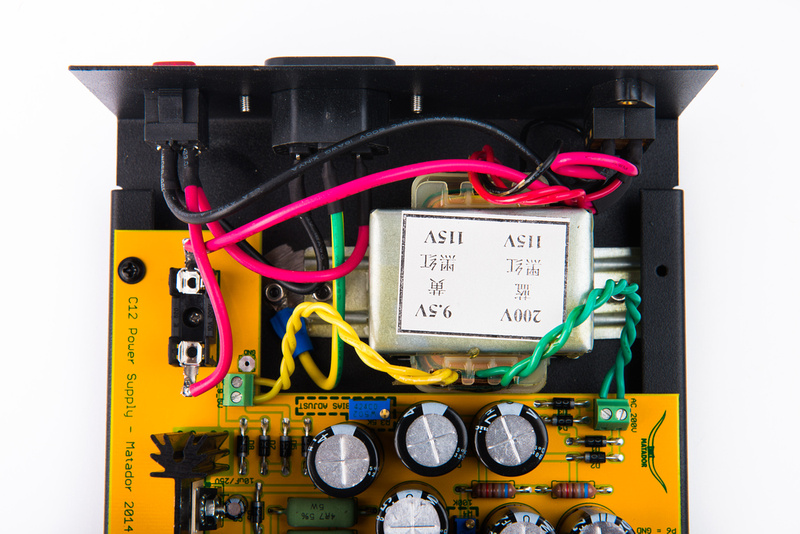
With the correct heater supply configuration selected, place the PCB into the chassis.

p512937517-4.jpg


p467338098-4.jpg


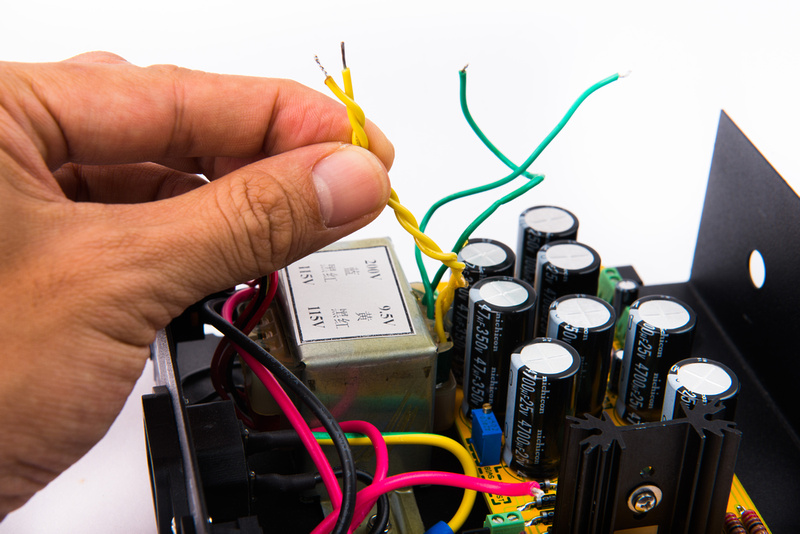
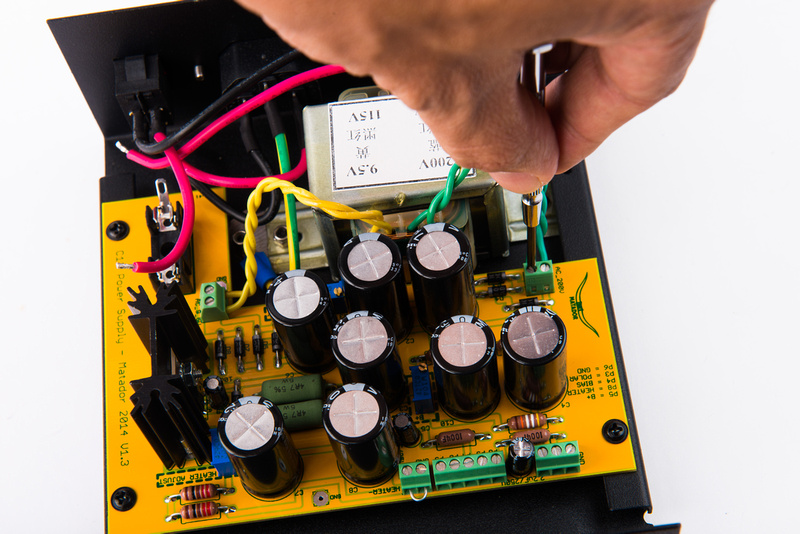
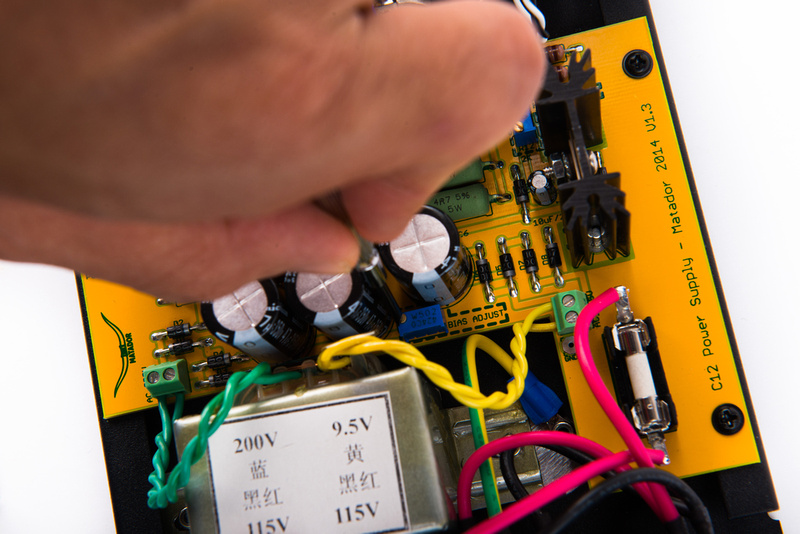
The yellow 9.5V transformer secondaries supply the heater side of the power supply.  These wires should be twisted before installing into the designated terminal block.

p253135698-4.jpg


And, the green 200V secondaries supply the B+ side of the power supply.

p481971705-4.jpg


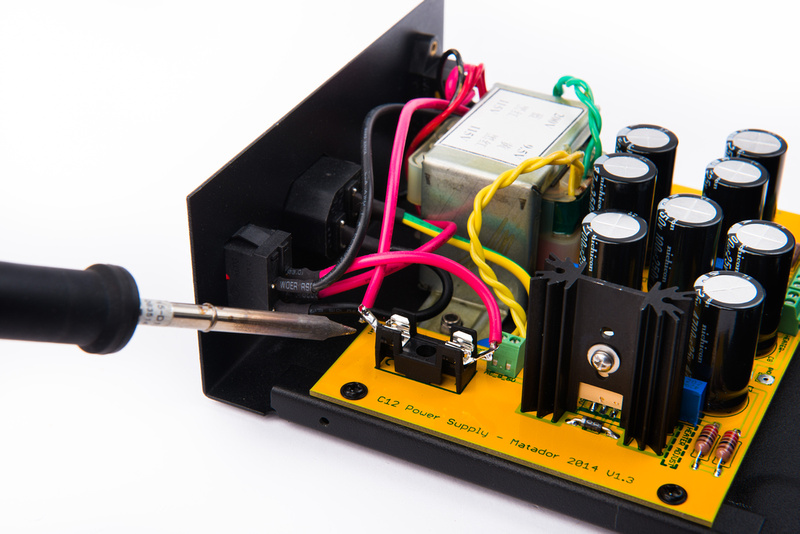
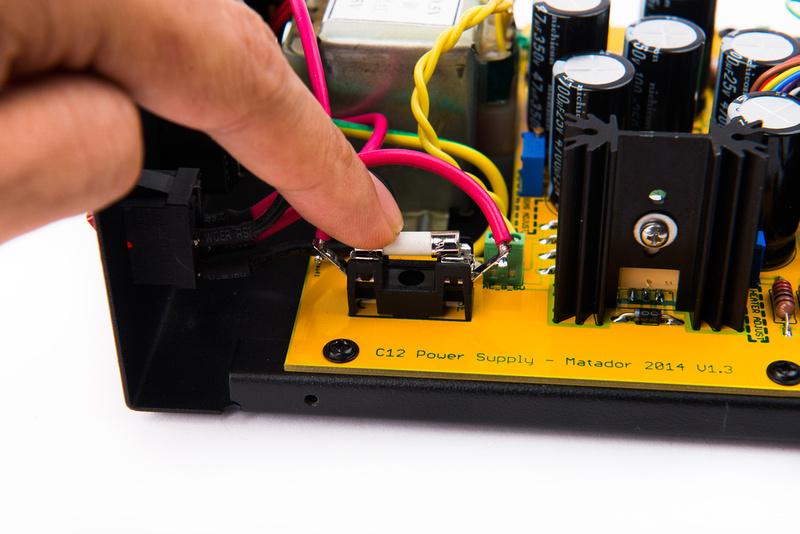
Re-connect the mains connections to the new fuse housing.

p15737365-4.jpg


The A/C mains side of the power supply is now completed.

p8441470-4.jpg


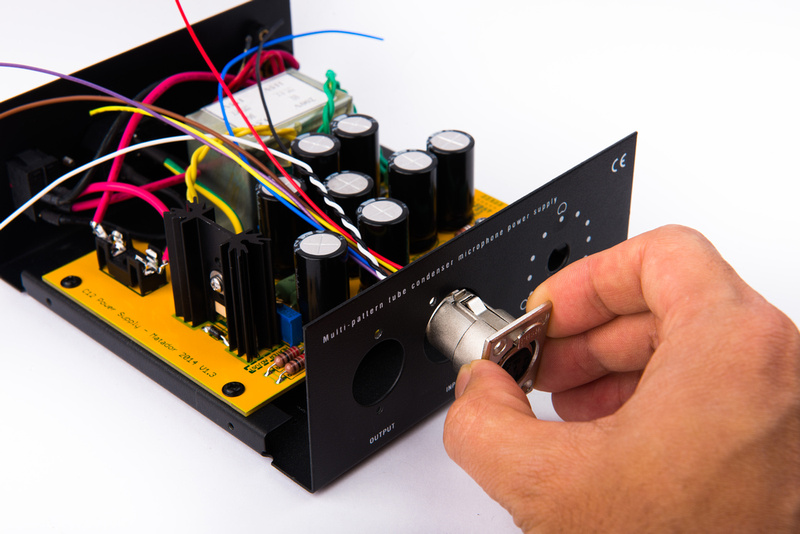
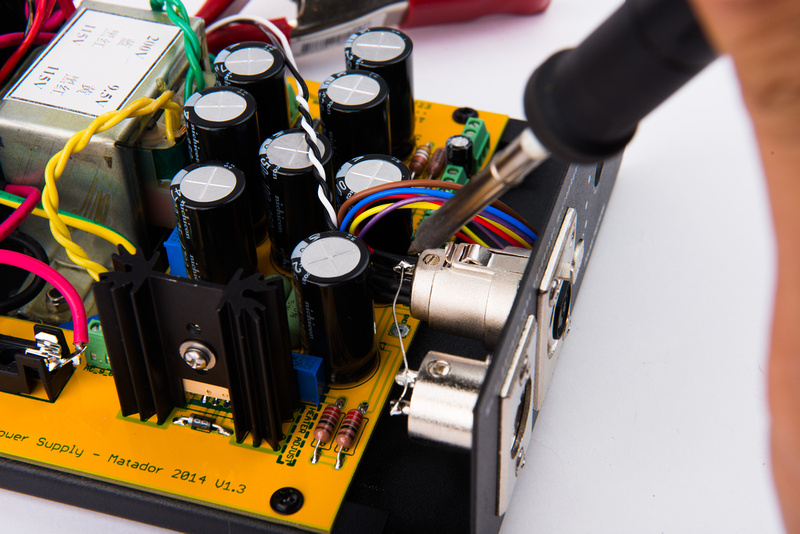
Next, install the 7 pin XLR connector that we prepared with fresh wires previously.

p507593666-4.jpg


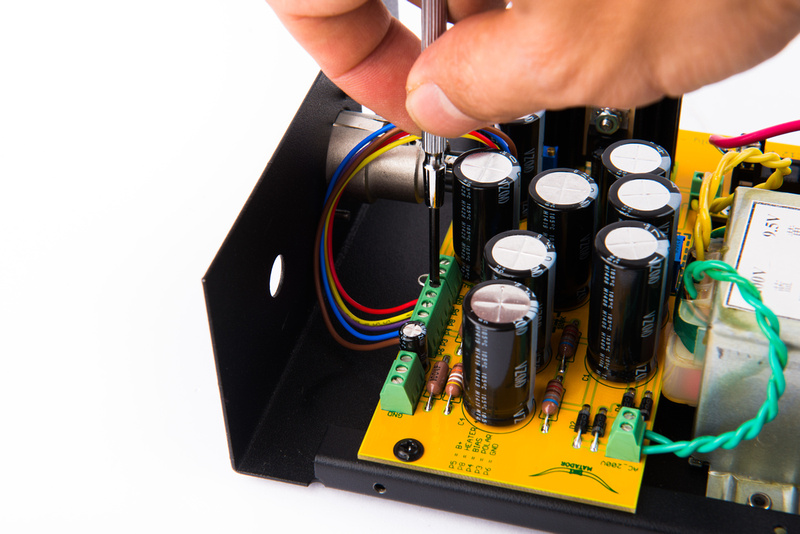
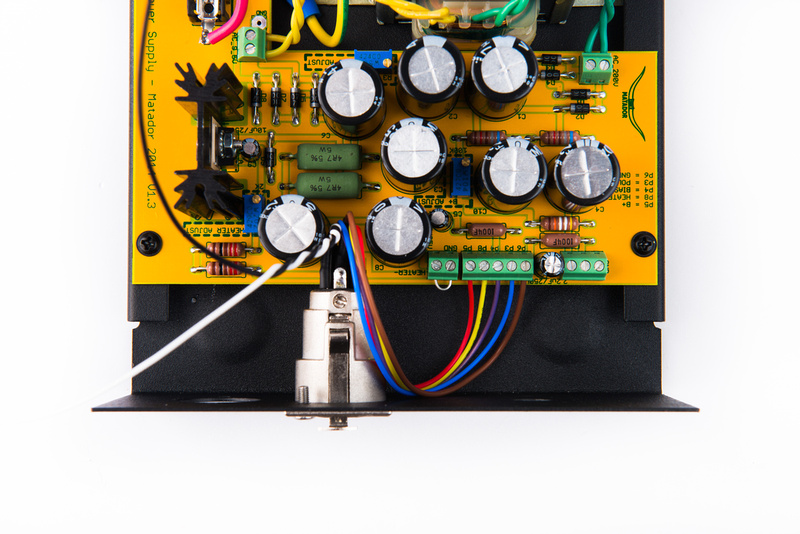
And route the wires to the designated screw terminals.  The pinout configuration can be whatever you determine for your microphone build.  It is critically important that these are consistent between the microphone and the power supply.  Confusion here can lead to all manner of problems.

p257351130-4.jpg


For this specific build, these are the pin designations that I selected:

pin1 = B+
pin 2 = heater
pin 3 = pattern
pin 4 = bias
pin 5= audio +
pin 6 = audio -
pin 7 = ground

For the most part, I have settled on this pinout configuration for all new tube microphone builds in the studio for consistency which allows me to place the 2 large gauge wires of the Gotham GAC7 cable that I use on pin 2 (heater) and pin 1 (Ground).  The only deviation is on U47 type builds that combine heater and B+ together, I utilize pin 2 for the B+ in those builds so my expensive cables remain interchangeable between all tube microphones.

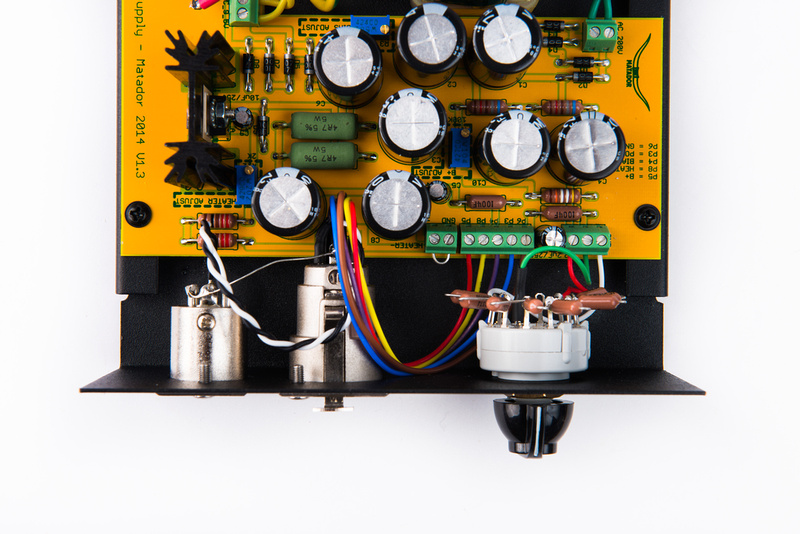
Here, you can see the 7 pin XLR wired to the PCB in positive heater supply configuration as the target microphone for this build is an AKG C12 clone.

p231963541-4.jpg


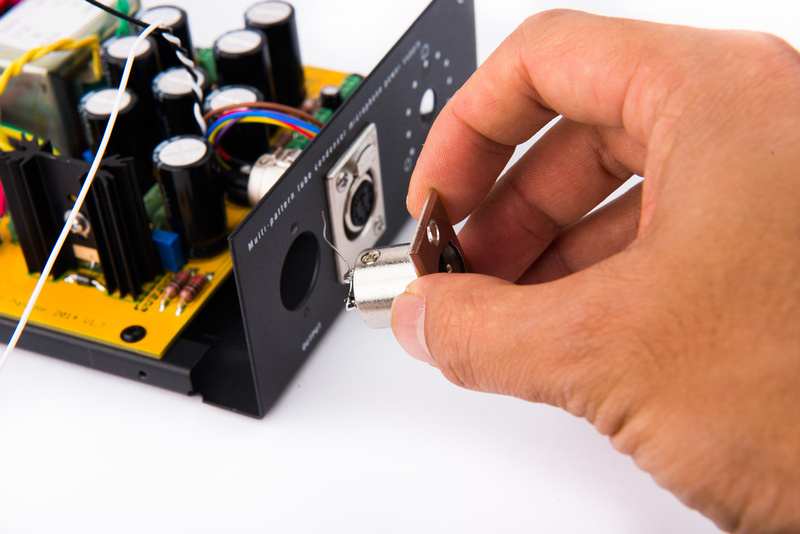
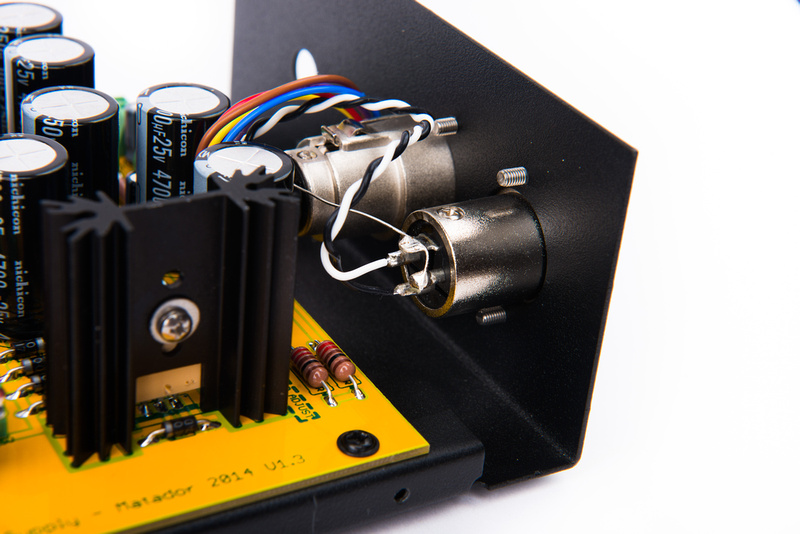
Next, install the 3 pin XLR.

p448975286-4.jpg


Reconnect the pin 1 chassis connection or create a new one.

p473825120-4.jpg


And connect the audio + and audio - leads.

p79036783-4.jpg


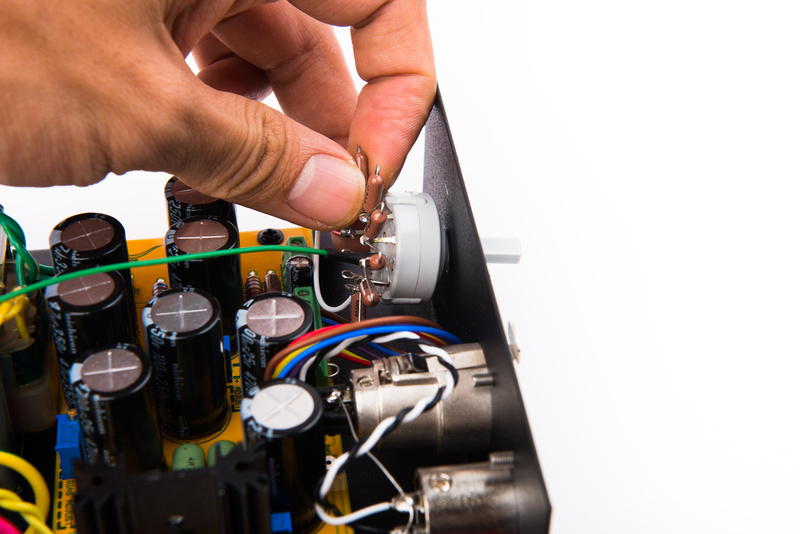
Locate the switch that we previously prepared.  If using the Lorlin switch, cut off the anti-rotation key peg.

p354283411-4.jpg


p429201901-4.jpg


Lock washer goes on the front side of the assembly.

p492441460-4.jpg


Followed by the nut.

For the C12, the switch wires should be located as follows: 

- outside = white
- middle = green
- inside = red

p246483845-4.jpg


The shaft for the switch seems a little bit long for the chicken knob that I like to use, so I remove about 1/8" with a dremel cutoff wheel.

p335747535-4.jpg


p67802262-4.jpg


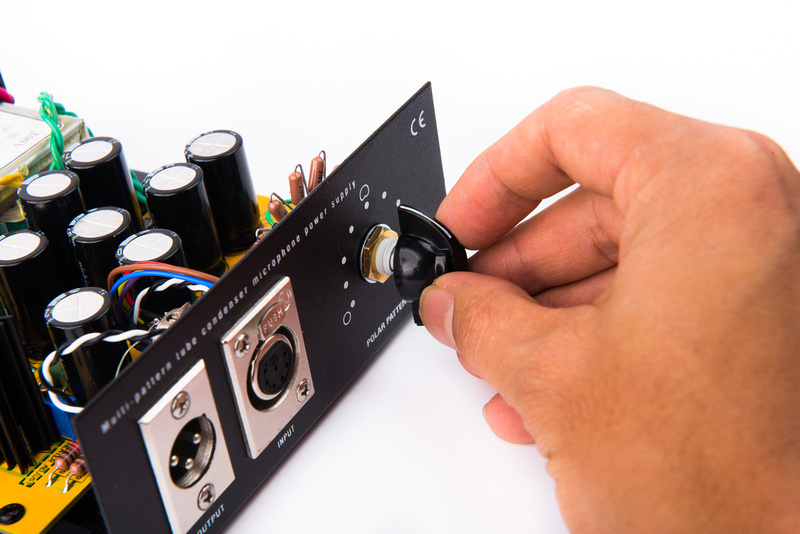
And install the pattern switch knob.

p417198240-4.jpg


Now, the power supply is completely wired and ready for testing.

p110042543-4.jpg


Install the 500mW fuse.

p615283-4.jpg


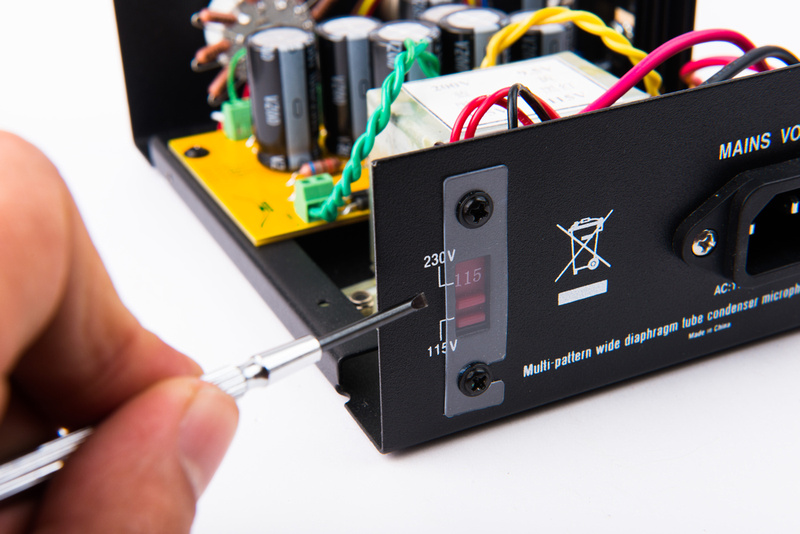
A switch on the back of the power supply selects between 230V and 115V mains voltages.  Because I am in the United States, I select 115V.

p159768759-4.jpg


The power supply is now complete.

p142287871-4.jpg


p268942381-4.jpg


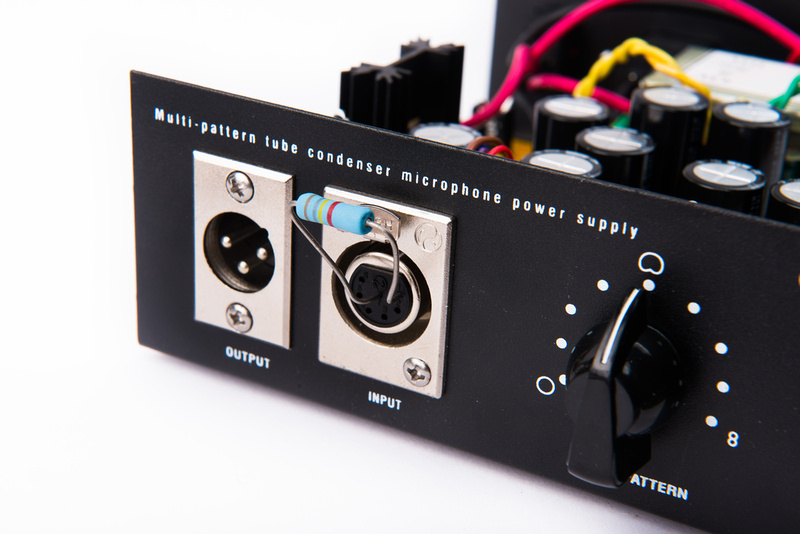
For our C12 application, a 180K 1 watt resistor will serve as a substitute for the actual microphone for initial testing.  This is a much safer way to confirm power supply function than risking an actual microphone.  You can place the resistor directly between pin 1 and pin 7 on the 7 pin XLR.

p291080247-4.jpg


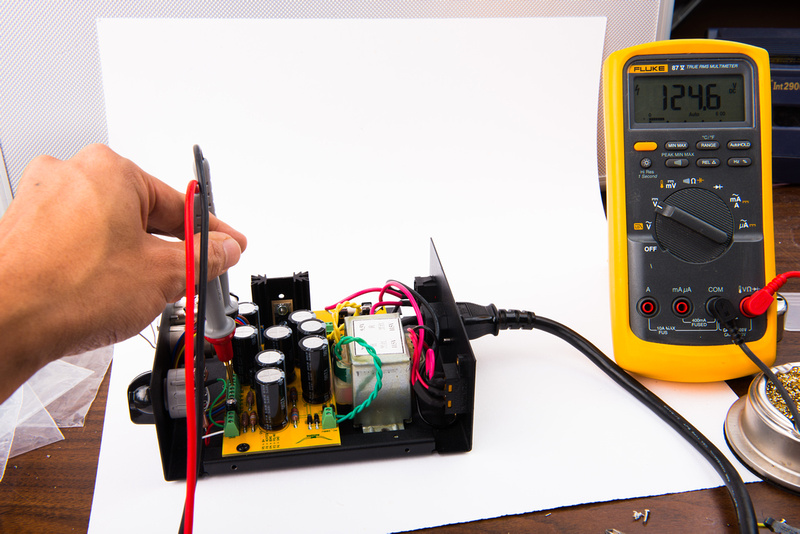
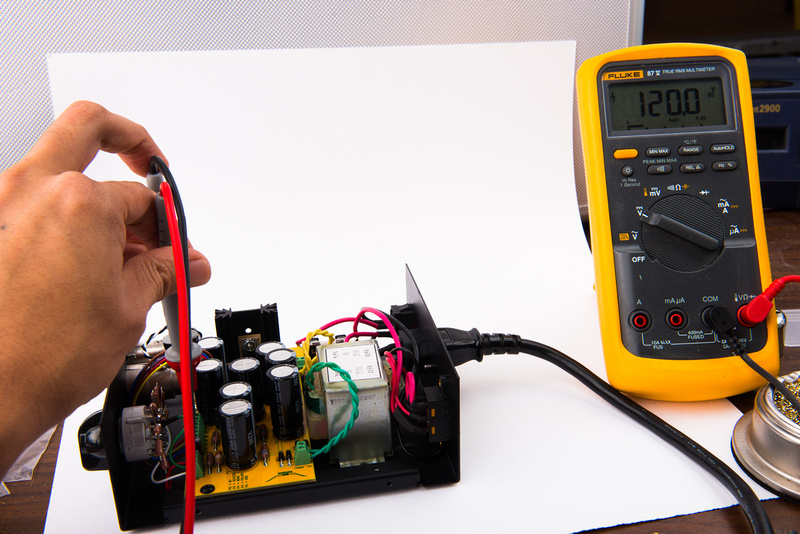
No surprises on this build, right out of the gate, we have 124.6V on the B+ which is very well centered. 

p410002736-4.jpg


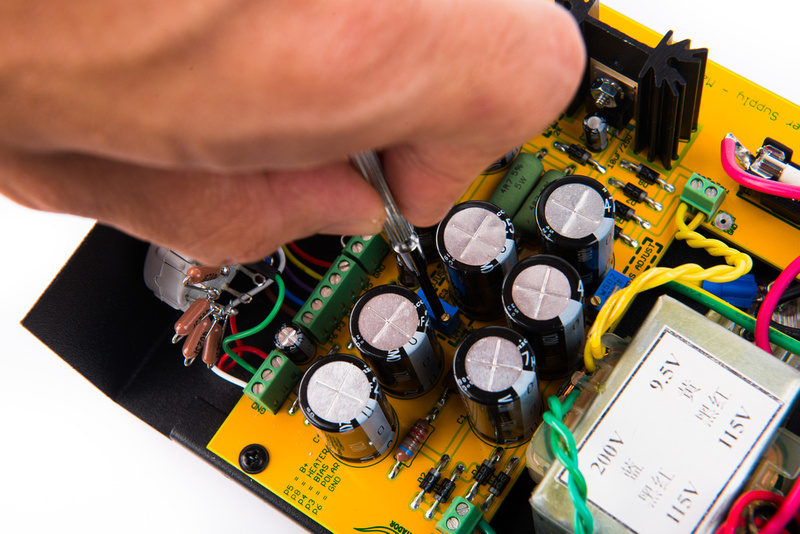
The B+ is easily adjusted to the nominal 120V by making a few turns on the B+ trim pot.

p105121306-4.jpg


p481122084-4.jpg


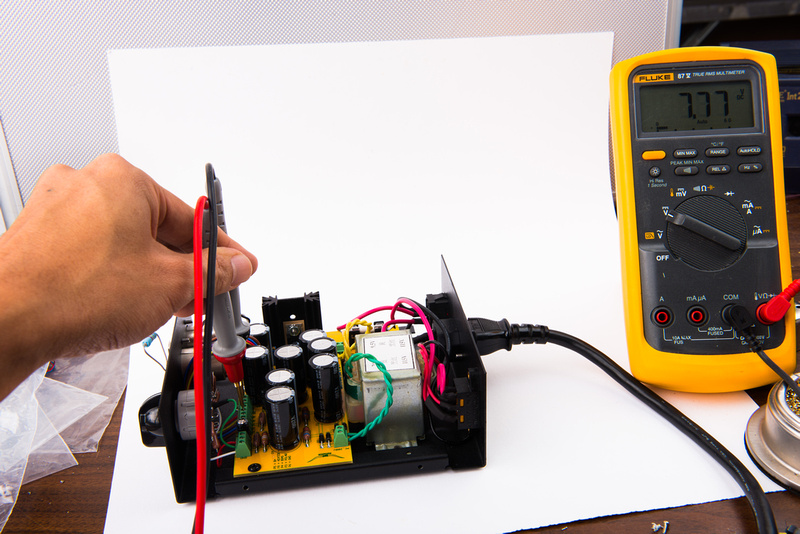
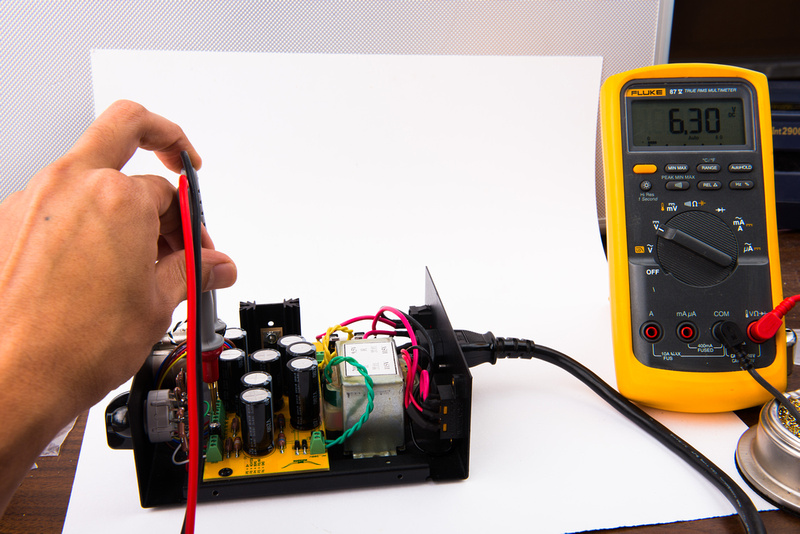
Right out of the gate, the regulated heater sits at 7.7 volts.

p241604794-4.jpg


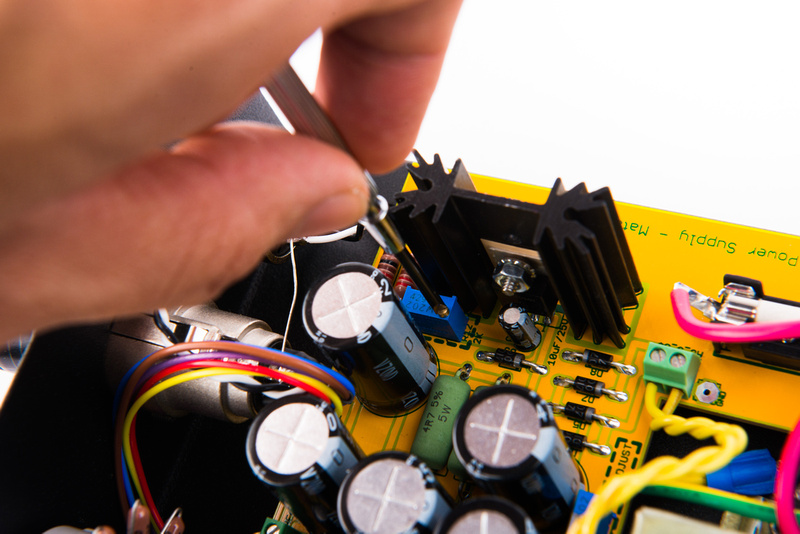
The heater trim pot quickly brings that to our target 6.3V.  Depending on the cable length and wire gauge, this should be re-adjusted on the microphone later, but for now .  . .

p124054339-4.jpg


p227512934-4.jpg


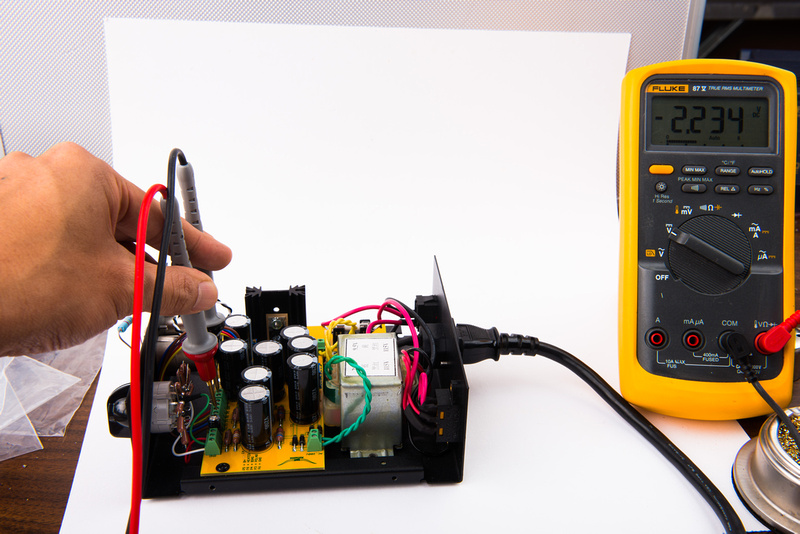
Many microphones will not use the bias output, but the C12 does. . . this will certainly need to be adjusted on microphone later, but right off, we have -2.234V.

p492571204-4.jpg


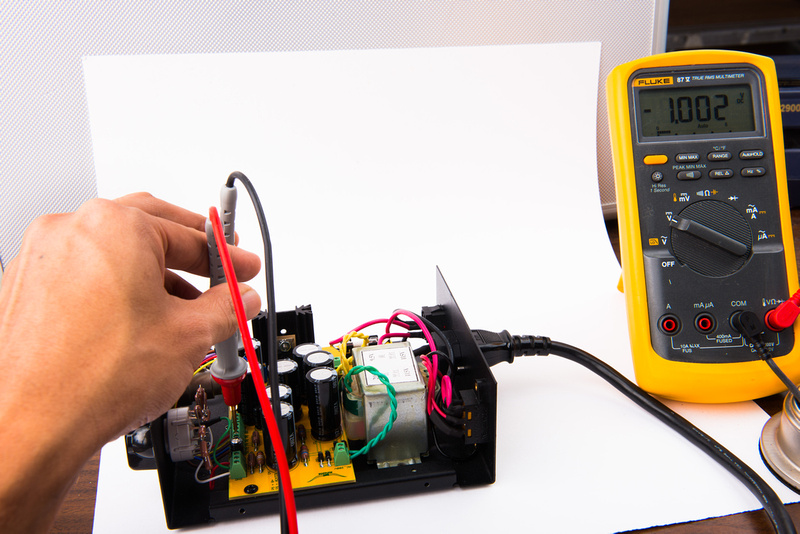
We can dial this to ~-1V for now and re-visit this when setting up the microphone.

p380591489-4.jpg


p13839957-4.jpg


The power supply is now roughly function tested and ready to connect to the microphone for final tweaking.
 
BOM change.  Filter capacitors changed to new nichicon series.  Resistor values adjusted on regulator circuit.  R1, R2 resistor value changed from 91k to 68k. 

Heater ground floated and screw terminal added to allow negative heater supply with jumper at screw terminals.

A couple more ground pads and screw terminals added.

Generally for C12 application, the scheme stays the same for the most part with very minor shifts.
 
The resistor and diode pads are also changed to oblong shape, as I've found these are much easier to solder and minimize the chances of leaving a cold joint.

Makes the routing a but more painful, but well worth the effort for DIY IMHO.
 
Great project and, as always, great build pictures with description.

Chunger...are you going to start carrying the parts packages for this (or a complete kit with the donor power supply) in the store?

Thanks
Mac
 
maq3396 said:
Great project and, as always, great build pictures with description.

Chunger...are you going to start carrying the parts packages for this (or a complete kit with the donor power supply) in the store?

Thanks
Mac

I haven't ordered a large run of these boards yet so this is still pending. This is built on a final revision prototype.  We should have these available relatively soon though because as expected, there were no unexpected complications with the build.  The changes to our existing C12 PSU were quite minor.  Once i get the production run of boards, i will make PSU kits available separate from the mic kits.
 
Hello,

Perfect timing on this (future) kit.  I've been wanting to upgrade my UM17 PSU, and this might just be the ticket.

Do you  have any performance data (e.g., noise) for the stock PSU vs the upgrade?

Thanks
Jim
 
I see you're going at that knob with a Dremel again... It's a simple clamp nut, so:

1) leave the cap on (no need to remove it)
2) turn it all the way to the last position on the left
3) then force turn it anti-clockwise whilst pulling on it

Every rotation loosens the clamp nut a bit, and within a few turns the knob will come off in one piece.  You can also do it without pulling, and you'll see the knob slowly unscrew and move outwards.

All done in under 10 seconds, and no Dremel or round-nose pliers needed. For those who are worried, open the case first and you'll see the switch itself doesn't rotate with the knob, with the wiring remaining fully intact.
 

Latest posts

Back
Top