PCBs are not available. Please don't ask for gerber files.
Manual, updated 2021/05/30: TTx OP76 Guide
1176-flavoured FET compressor with opamps - PCBs for an easy build without (almost) any wiring
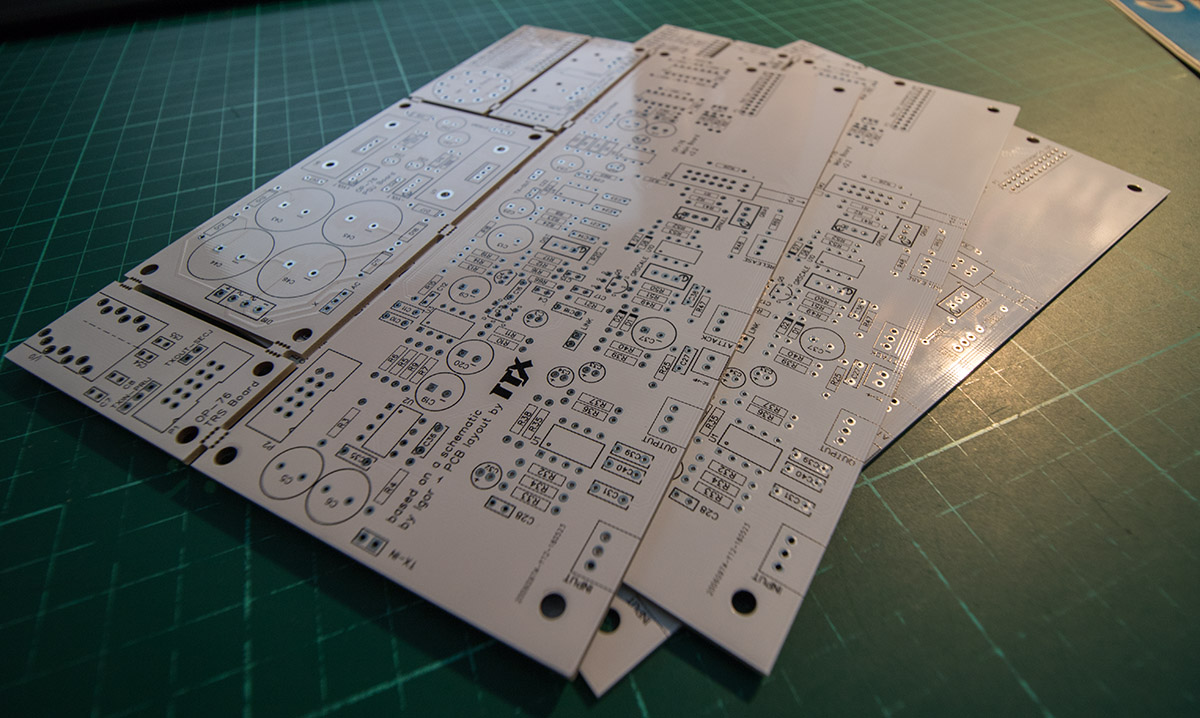
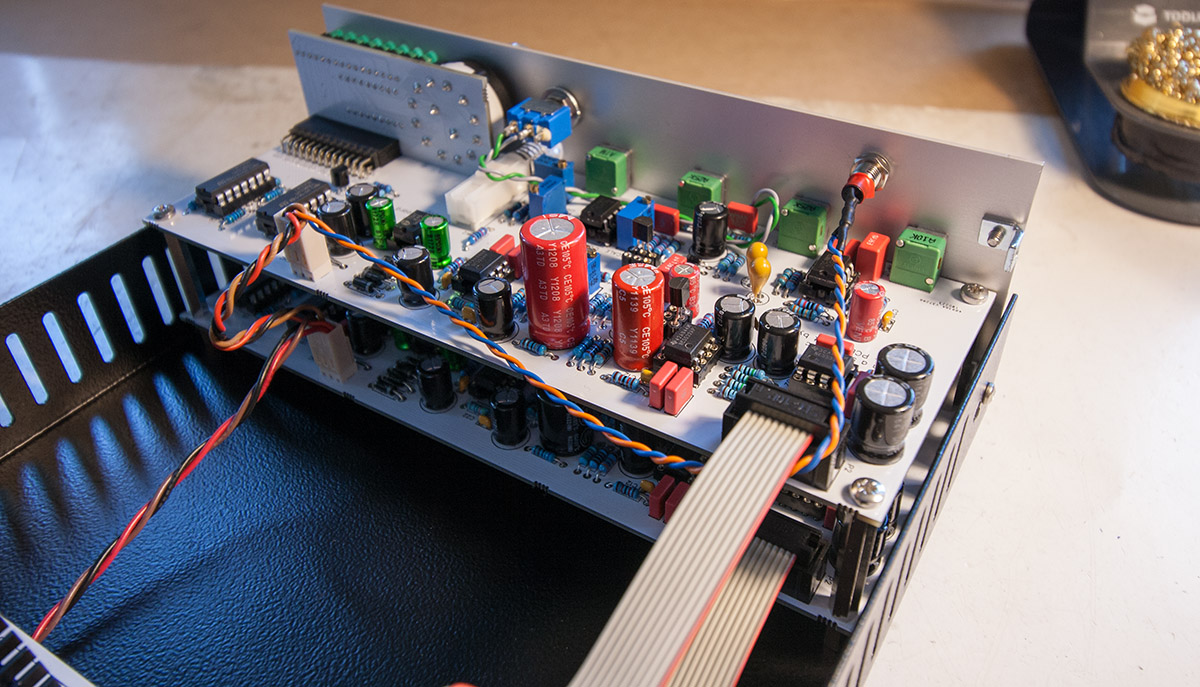
Oh no, not another 1176?! I know there are a lot of 1176 projects out there, but this one is not meant to be a 100% faithful recreation but merely a great sounding tool, that is quick and easy to build. The reason for this thread is to gauge the amount of interest in a run of PCBs for this compressor project. The pictured boards are revision 1. The next version (that I'm about to sell if there's enough demand here) will add a few new features and overall improvements.
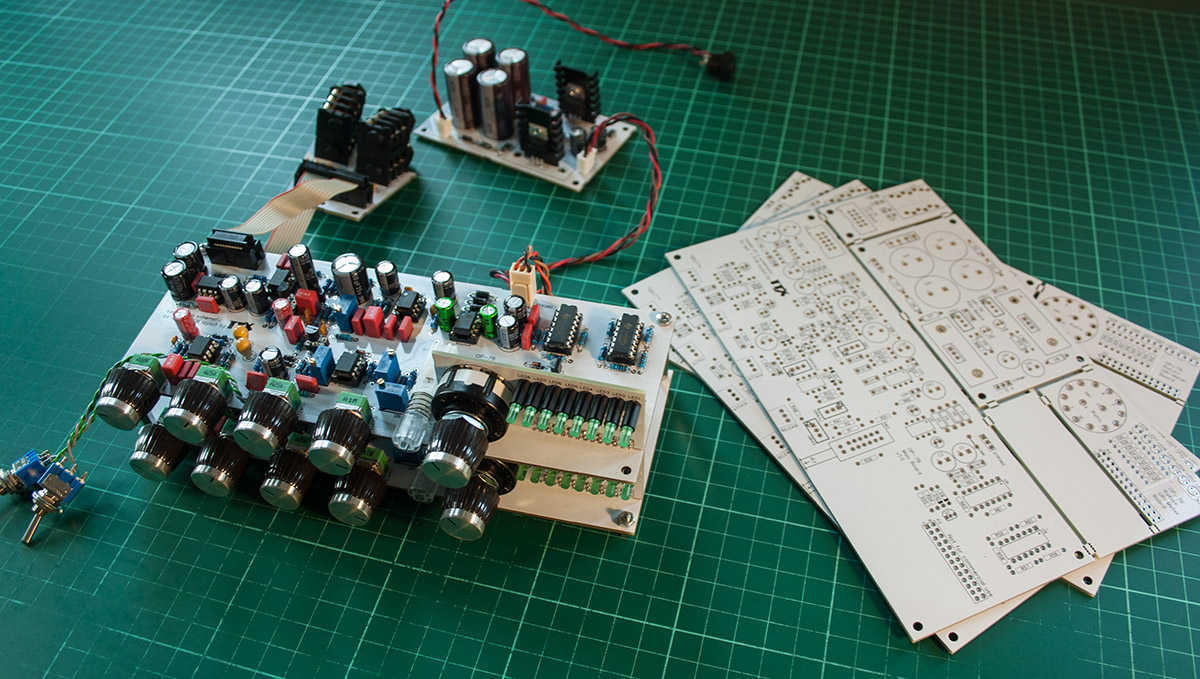
Similar to my TG1 Zener Limiter project this one started out as a PCB design for my own use at my studio and for live work. I already had one Mnats 1176 revision D but I wanted more channels of 1176-style compression with a smaller footprint and without the hassle of long-winded and error-prone wiring. Two stacked boards easily fit into Hammond Steel Instrument enclosures (1458 series) or side by side in 1U NRG Cases by frontpanels.de - or even better; two stacked pairs side by side in a 2U case for 4 channels
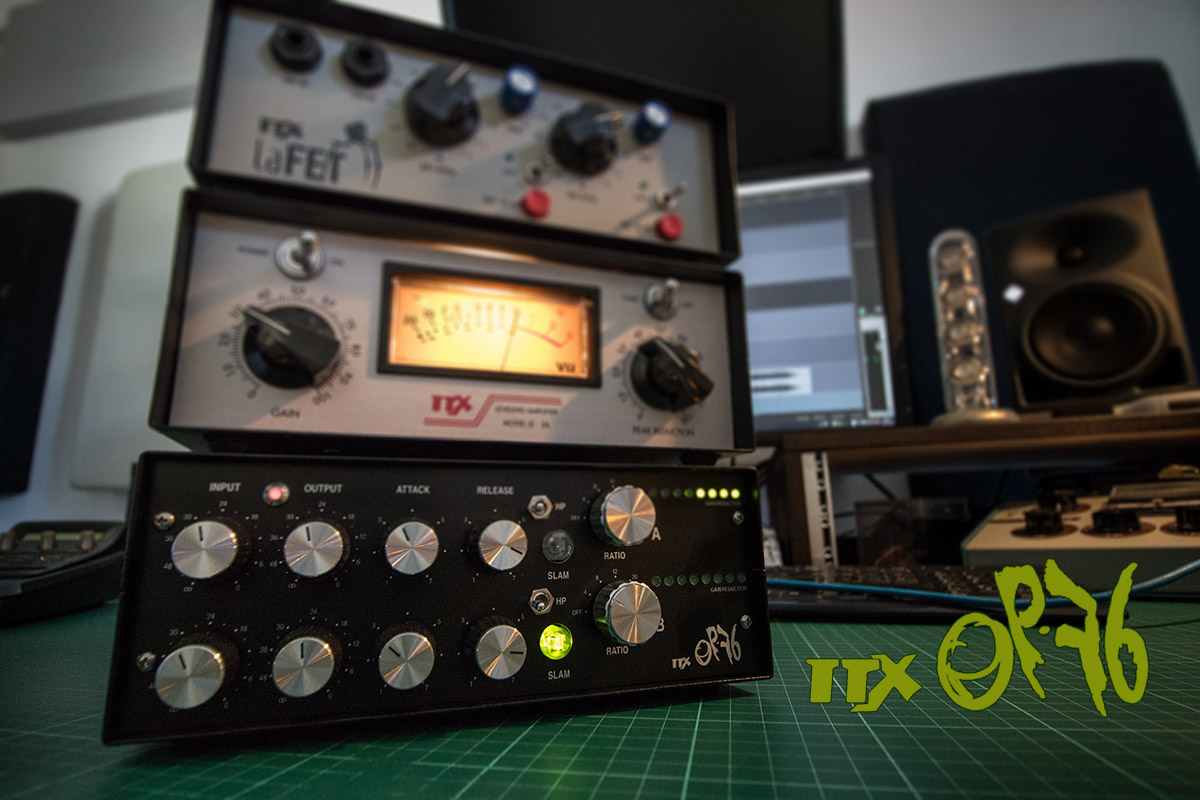
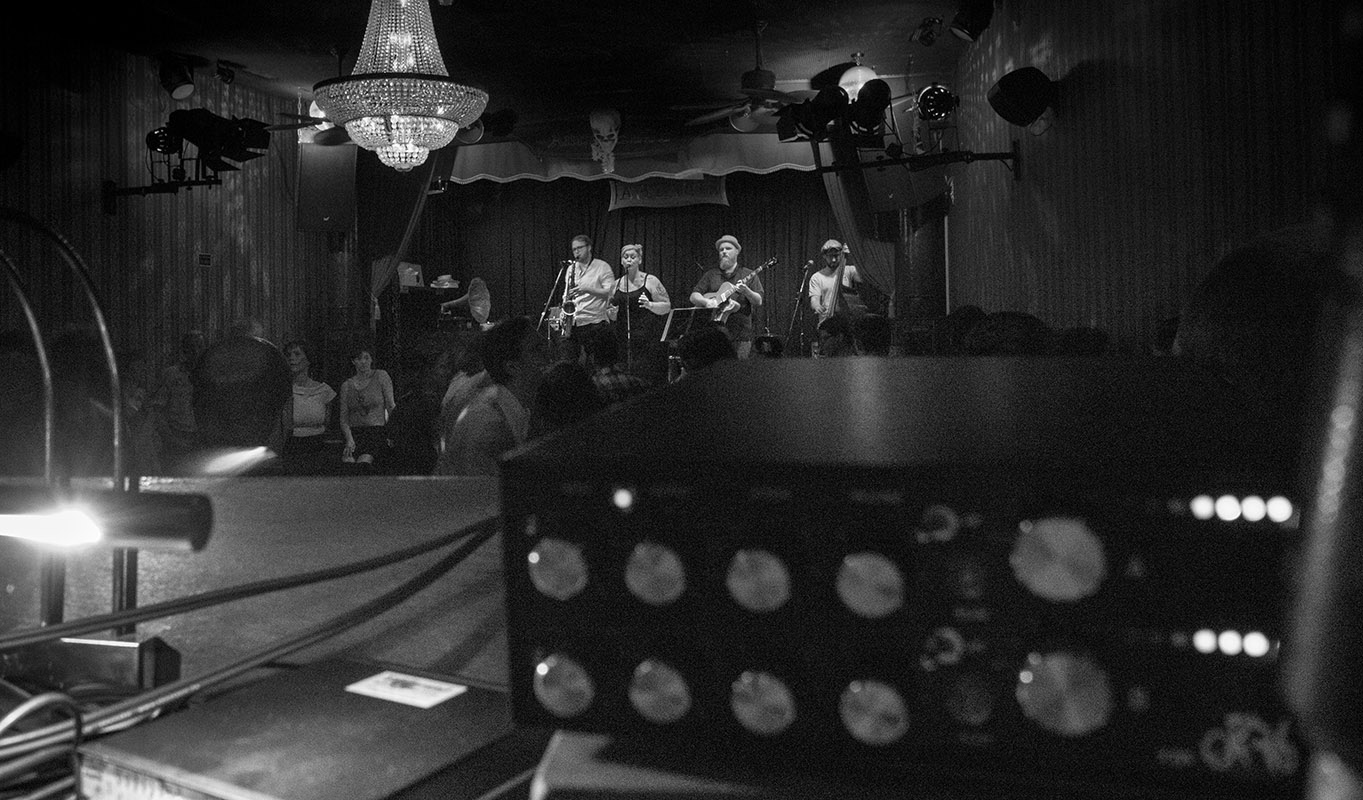
I'm a big fan of those Hammond enclosures as I can carry them around in my backpack when going out for live work. And they are half the size of a real 1176 but include two channels! Next picture shows it in use at a live show I was mixing back in April 2018. One channel was used for the saxophone, the other for her lead vocal - awesome
The circuit is based on Igor's opamp version of the 1176 with quite a few changes. The signal preamp expands on a mic pre design by Samuel Groner. The noise floor is much lower than on an original 1176, distortion is about the same (after all - it's a FET comp ). Compared to my RevD it definitely has the same character minus transformer colouration. All-buttons-mode is also included using an illuminated switch. Input and output are electronically balanced, gain reduction metering is provided by eight LEDs and a couple of comparators. Personally, I've found the boards very easy to stuff and setup and there are no unusual, expensive or hard-to-come-by components involved. The calibration procedure is basically the same as for an original - the video tutorials for e.g. Mnat's versions also apply here.
The next revision of the boards will have optional pads to connect input and output transformers (and in this case omit active components associated with I/O) and exposed pads for an optional LINK switch and the sidechain HP filter. However, all of those options include additional wiring or even additional components/circuitry. When built as originally intended, there's only one 10-way ribbon cable for I/O and a connection to the PSU board.
The complete PCB is a panelized board that includes the main compressor board, a power supply PCB (which can easily be modified for different AC input sources), metering PCB and two different I/O boards; one with XLRs and one with TRS jacks (both Neutrik) - whatever is preferred. Price for one panelized board (which is one channel) is 35 Euros plus shipping.
If there is enough demand for these boards, I will prepare another guide including BOM, schematics etc. as I did for my TG1 project - in addition to ordering the boards, of course... 8)
So, what do you think? Anyone interested!? ;D
Manual, updated 2021/05/30: TTx OP76 Guide

1176-flavoured FET compressor with opamps - PCBs for an easy build without (almost) any wiring
Oh no, not another 1176?! I know there are a lot of 1176 projects out there, but this one is not meant to be a 100% faithful recreation but merely a great sounding tool, that is quick and easy to build. The reason for this thread is to gauge the amount of interest in a run of PCBs for this compressor project. The pictured boards are revision 1. The next version (that I'm about to sell if there's enough demand here) will add a few new features and overall improvements.
Similar to my TG1 Zener Limiter project this one started out as a PCB design for my own use at my studio and for live work. I already had one Mnats 1176 revision D but I wanted more channels of 1176-style compression with a smaller footprint and without the hassle of long-winded and error-prone wiring. Two stacked boards easily fit into Hammond Steel Instrument enclosures (1458 series) or side by side in 1U NRG Cases by frontpanels.de - or even better; two stacked pairs side by side in a 2U case for 4 channels

I'm a big fan of those Hammond enclosures as I can carry them around in my backpack when going out for live work. And they are half the size of a real 1176 but include two channels! Next picture shows it in use at a live show I was mixing back in April 2018. One channel was used for the saxophone, the other for her lead vocal - awesome

The circuit is based on Igor's opamp version of the 1176 with quite a few changes. The signal preamp expands on a mic pre design by Samuel Groner. The noise floor is much lower than on an original 1176, distortion is about the same (after all - it's a FET comp
The next revision of the boards will have optional pads to connect input and output transformers (and in this case omit active components associated with I/O) and exposed pads for an optional LINK switch and the sidechain HP filter. However, all of those options include additional wiring or even additional components/circuitry. When built as originally intended, there's only one 10-way ribbon cable for I/O and a connection to the PSU board.
The complete PCB is a panelized board that includes the main compressor board, a power supply PCB (which can easily be modified for different AC input sources), metering PCB and two different I/O boards; one with XLRs and one with TRS jacks (both Neutrik) - whatever is preferred. Price for one panelized board (which is one channel) is 35 Euros plus shipping.
If there is enough demand for these boards, I will prepare another guide including BOM, schematics etc. as I did for my TG1 project - in addition to ordering the boards, of course... 8)
So, what do you think? Anyone interested!? ;D

Last edited:


