


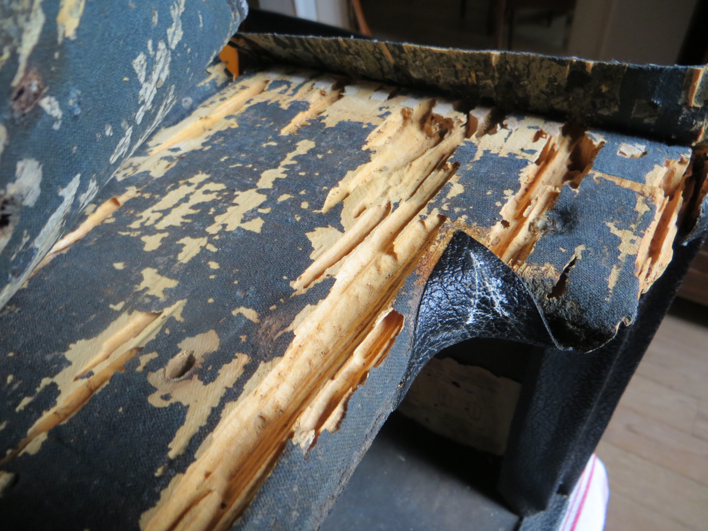
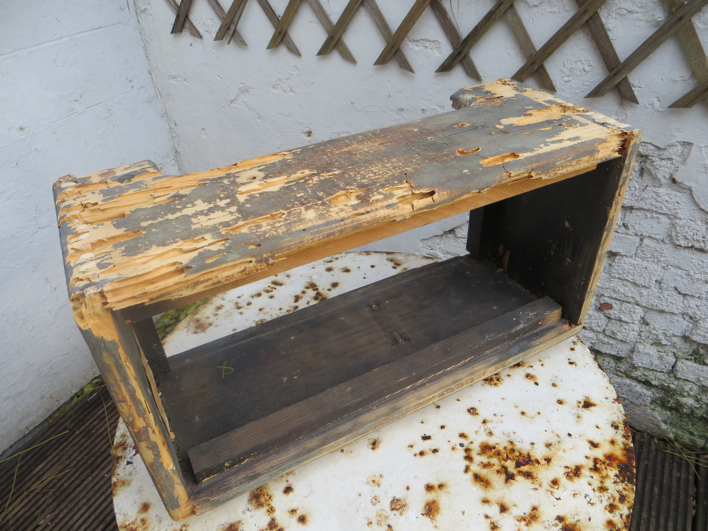
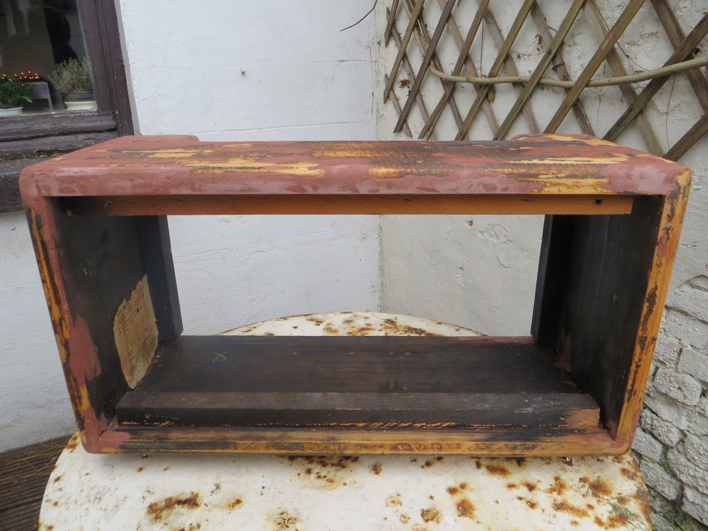
Some weeks ago I bought this old Fender Reverb unit. When it arrived I was surprised to see that it was in very bad shape. Woodworms had eaten away huge pieces of wood underneath the tolex. I debated building a new cabinet for the reverb unit, but in the end I decided to restore the original cabinet and keep the original tolex.
I also needed to replace the original 110V US power transformer with a 230V European transformer.
Now here's, just for the fun of it, a photo report of the restoration of this wonderful peacy of Fender history.
Starting with the tolex coming loose because of the woodworm-damage underneath.
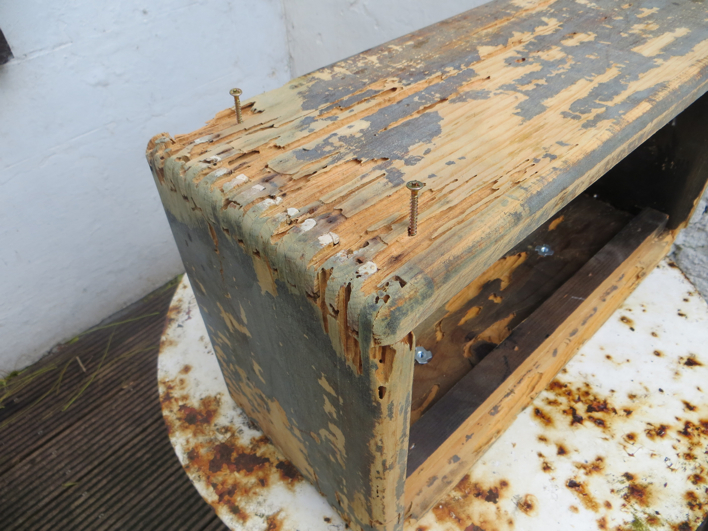
So I took off all the tolex in order to clean it and restore the wooden cabinet.
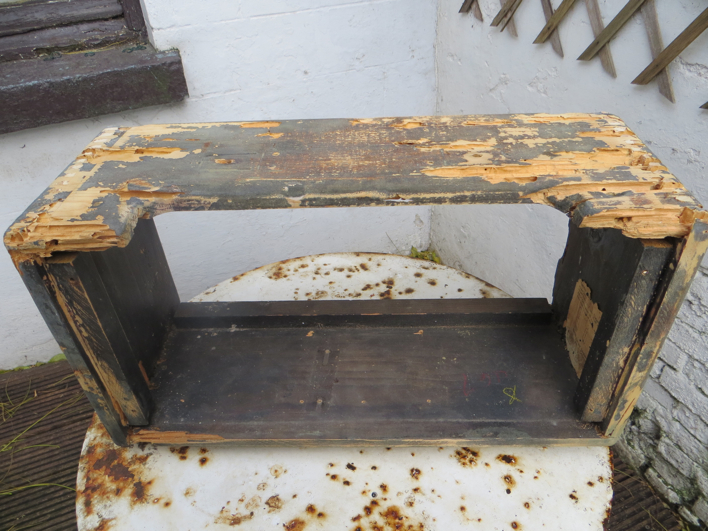
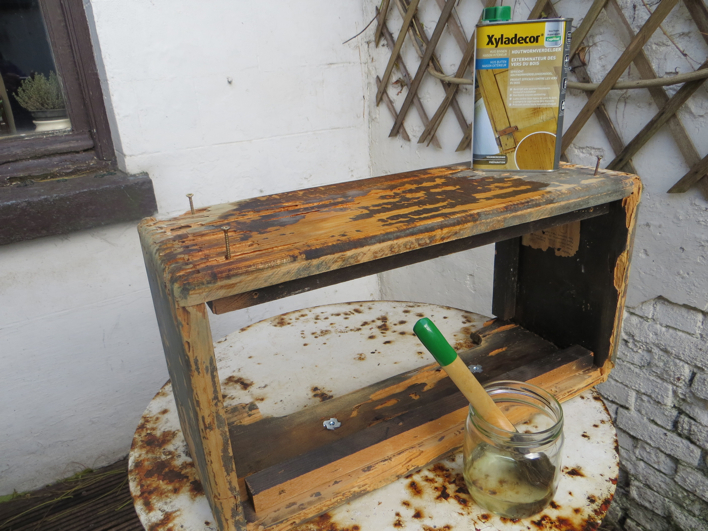
Then I treated the cabinet with an anti-woodworm product.
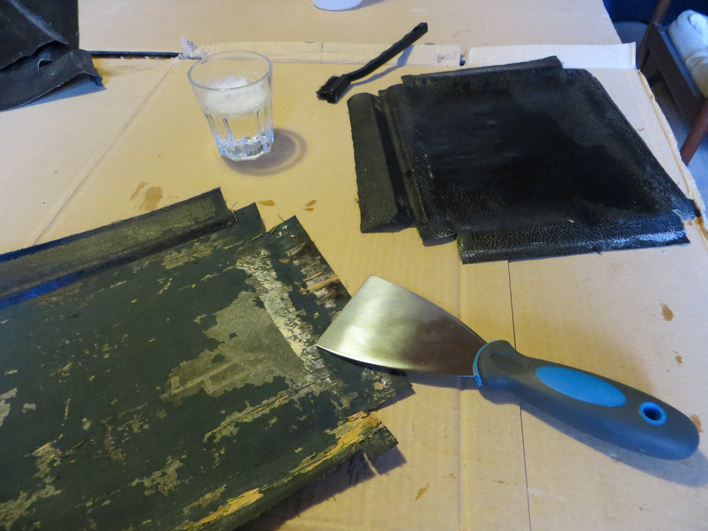
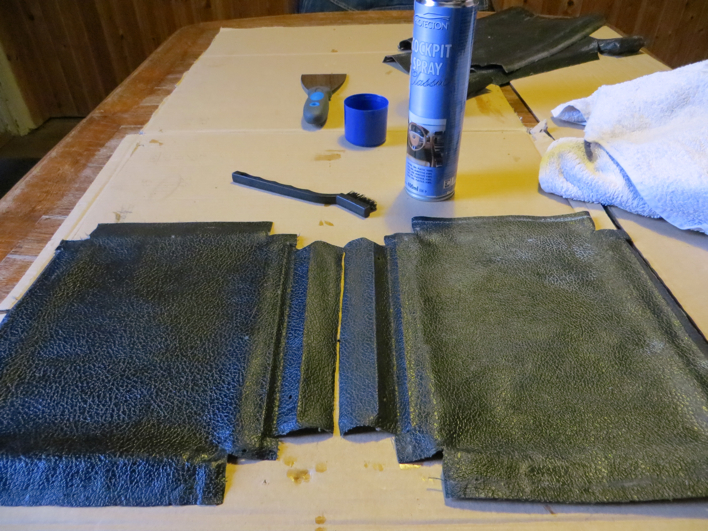
Cleaning both sides of the tolex to get rid of the glue and other dirt. I wanted to keep the original tolex because it was still in acceptable condition and it adds to the authentic vibe of the unit.
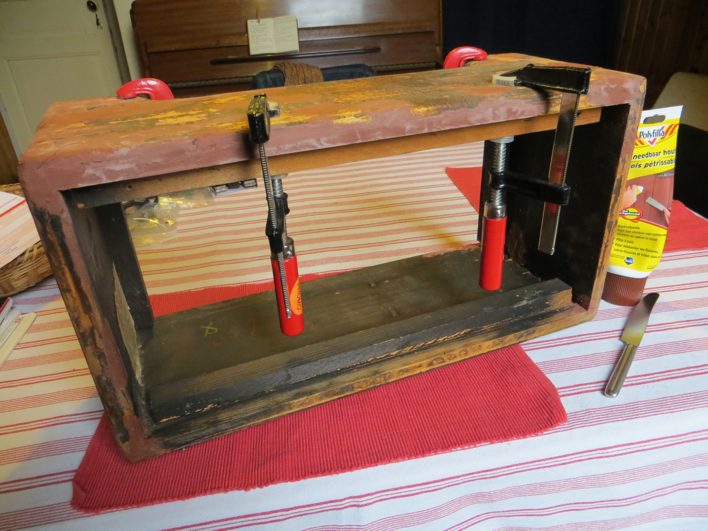
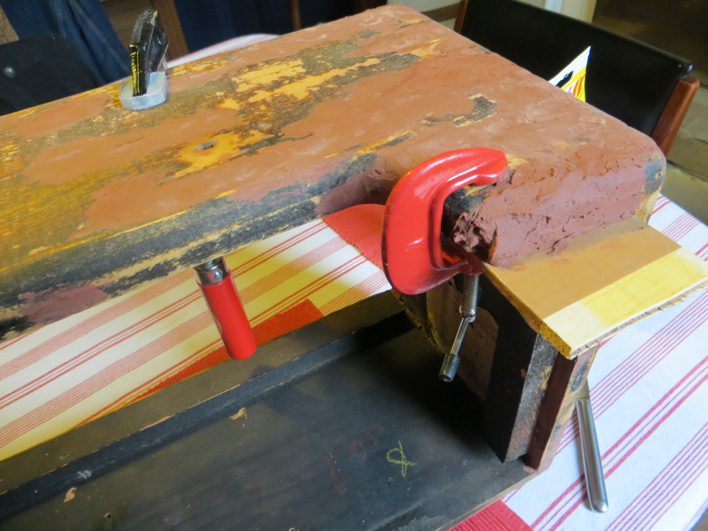
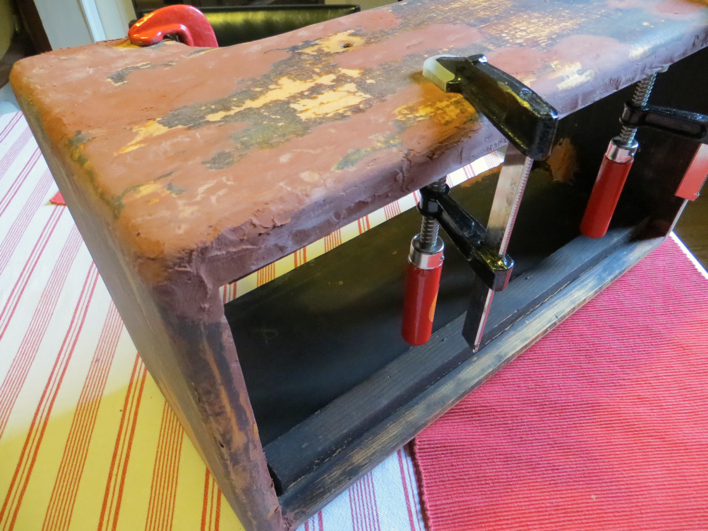
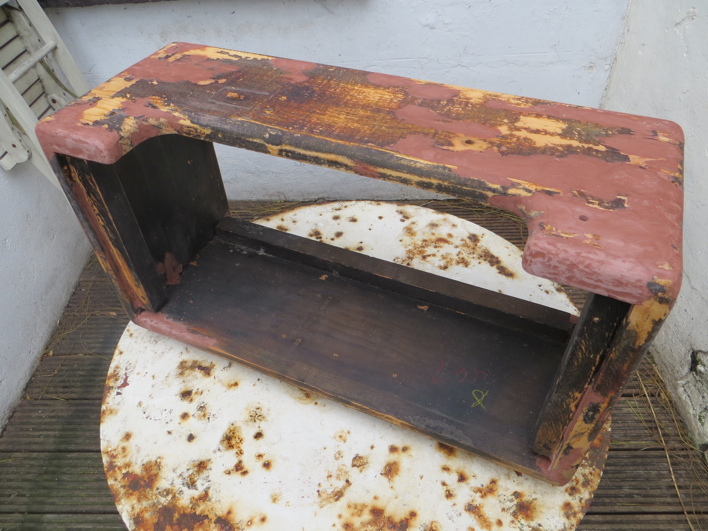
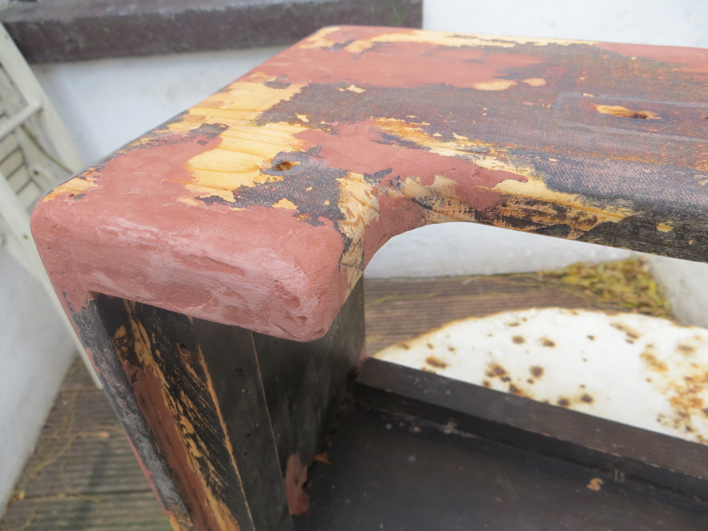
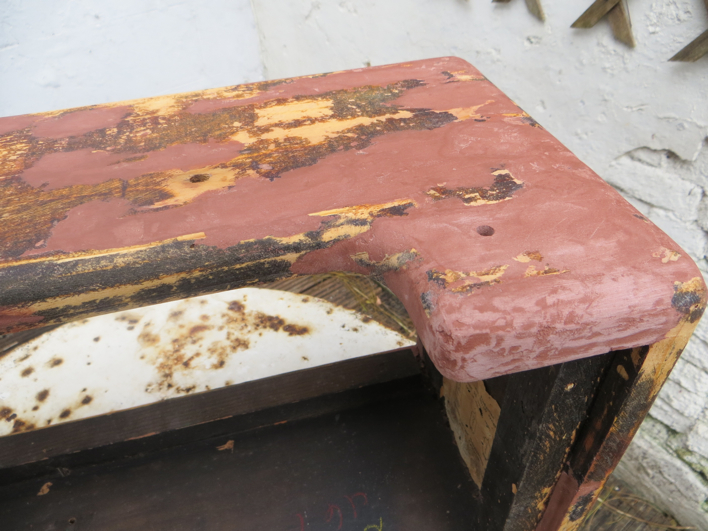
Then it was time for the biggest part of the work: restoring the wooden cabinet with wood filler. Especially the rounded corners where a challenge, because they were almost gone so I had to kind of 'rebuild' the wood with wood filler as if it was clay. I had to do this in different stages, wait for every layer to get dry and sand with sandpaper in between the stages. Quite time-consuming...
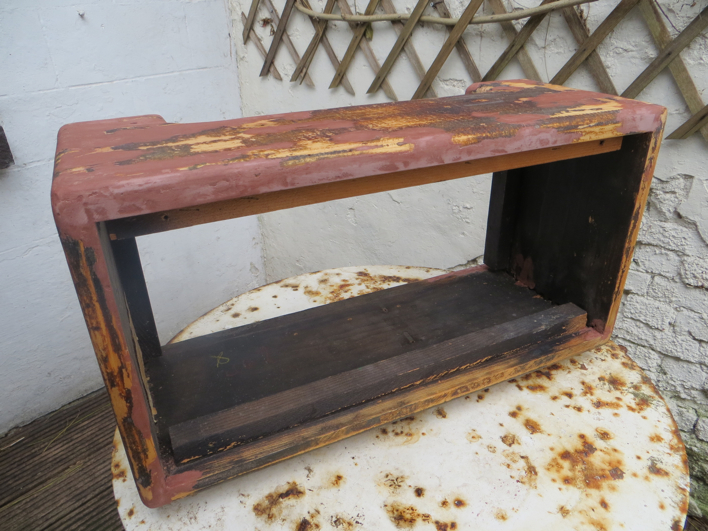
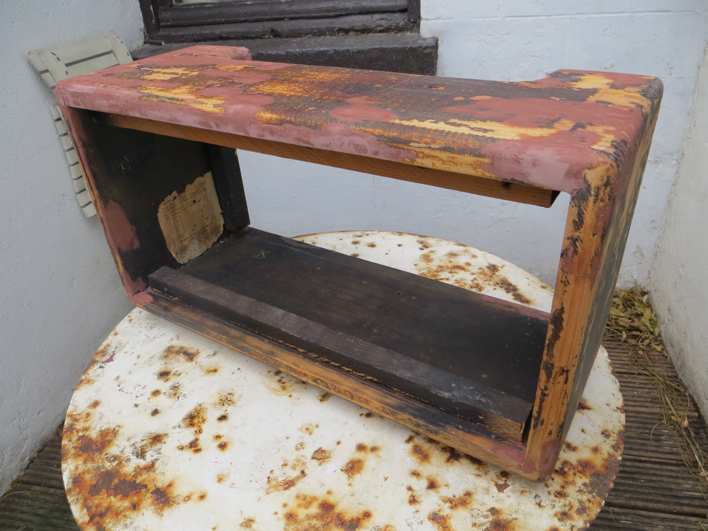
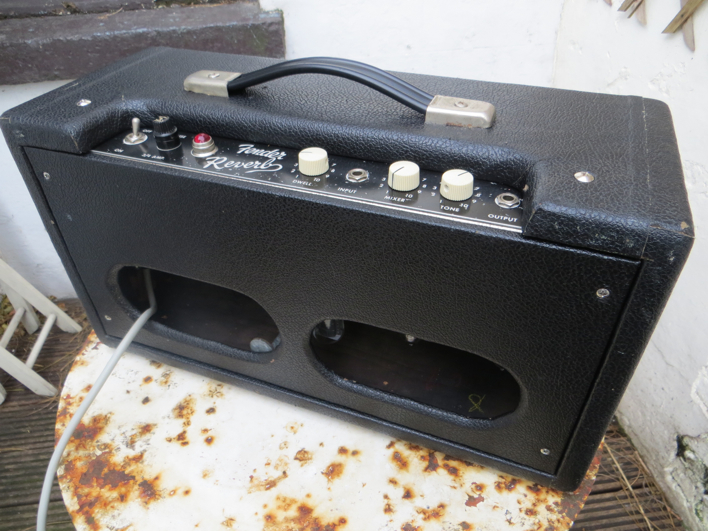
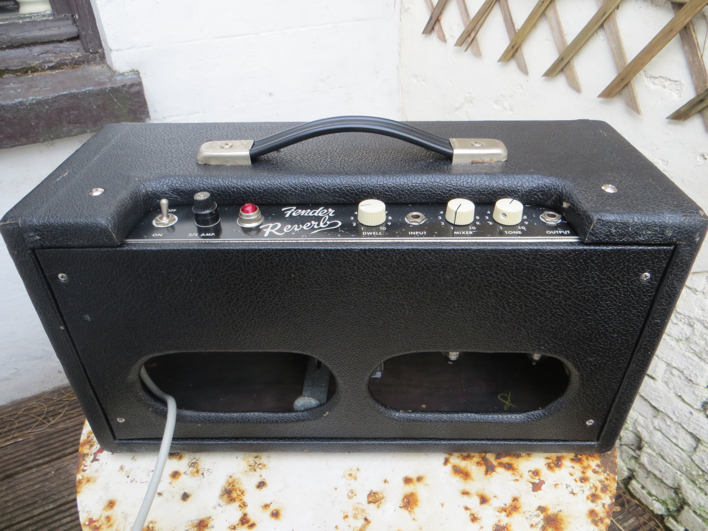
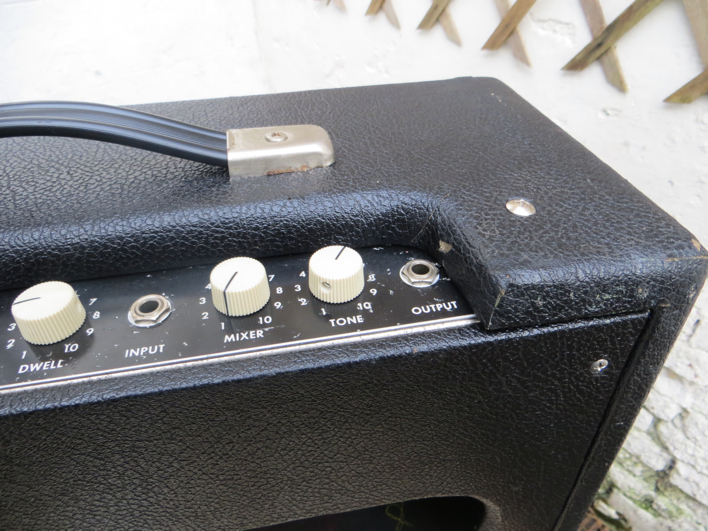
Finished, all sanded and now ready to glue on the original and cleaned tolex! Check out the corners, quite happy with the results.
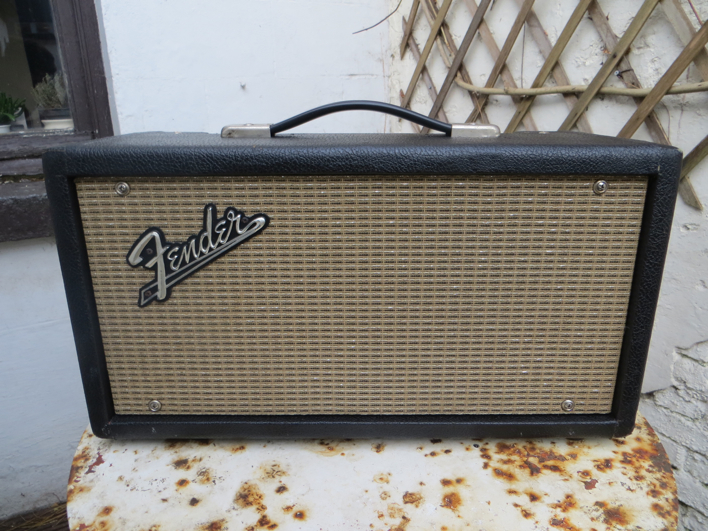
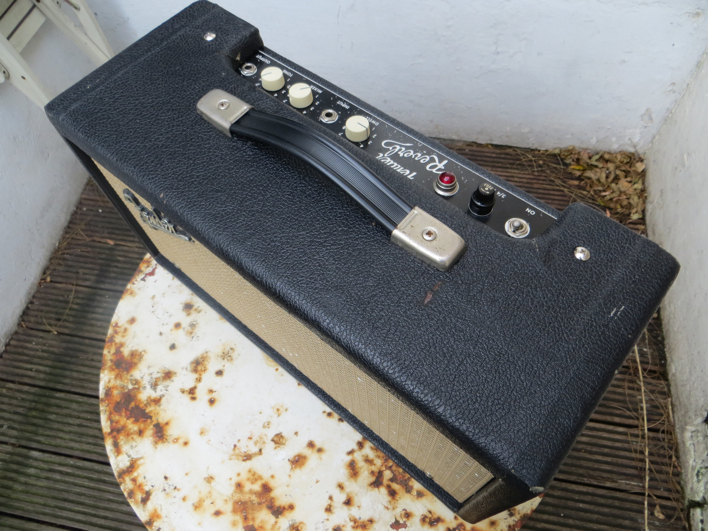
After gluing the tolex the unit looks wonderful and still has the authentic looks! Really happy with it!

The original 110V US power transformer.
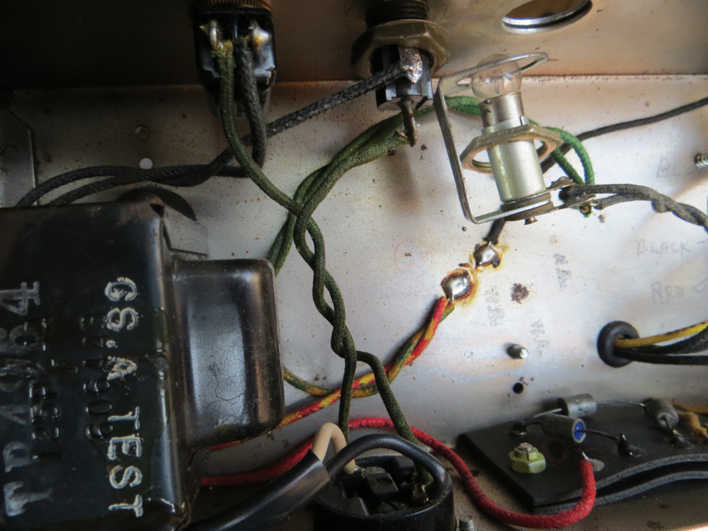
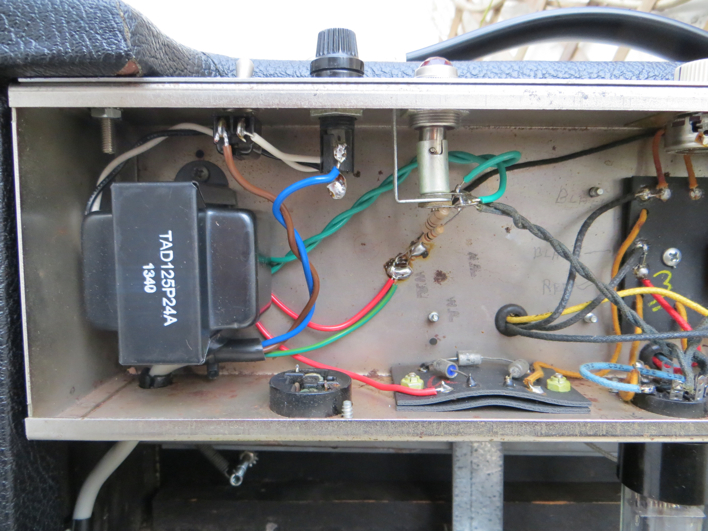
Now with a TAD power 230V EU transformer. These transformers don't have a central tap, so I had to make an artificial central tap by soldering two 100R resistors from the filament wires to ground. Also, this original unit still uses a half-wave rectifier, so there's only one HV lead that goes to the rectifier, the other HV lead goes to ground.
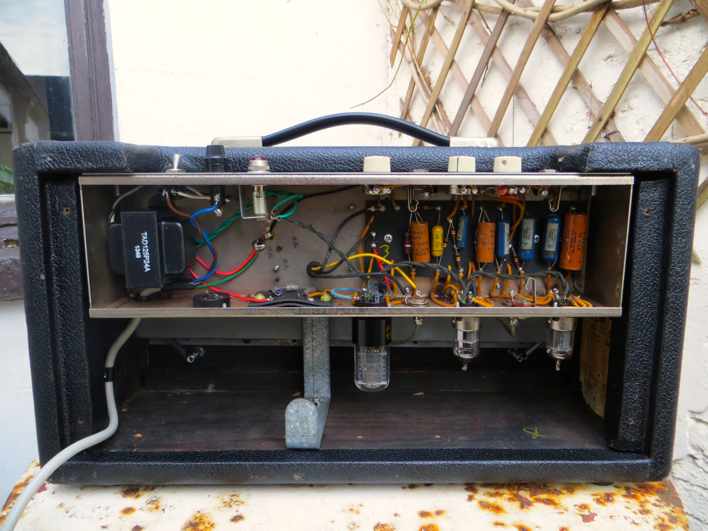
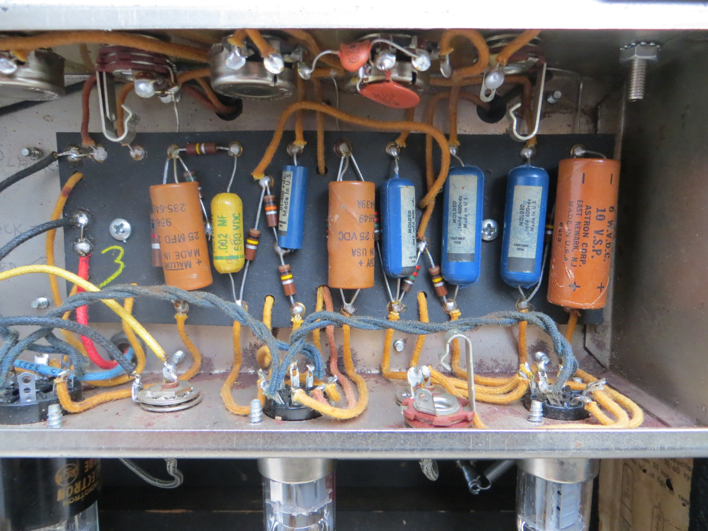
Still housing all the original components!
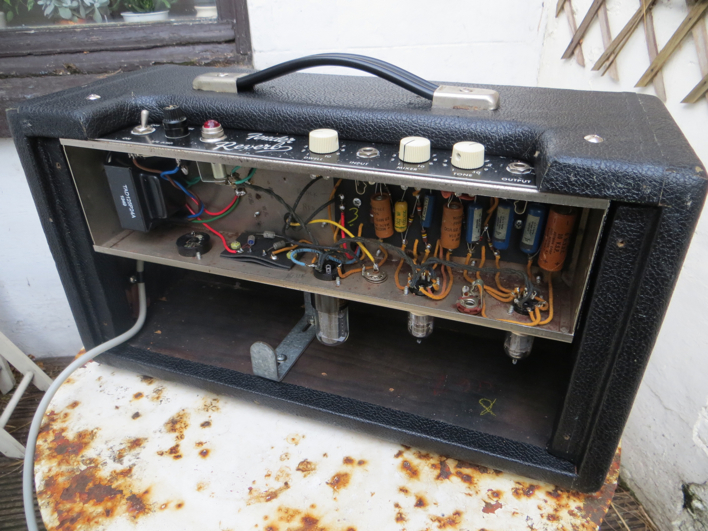
And the best thing is, it works! Sounds wonderful and very quiet.
I also needed to replace the original 110V US power transformer with a 230V European transformer.
Now here's, just for the fun of it, a photo report of the restoration of this wonderful peacy of Fender history.
Starting with the tolex coming loose because of the woodworm-damage underneath.
So I took off all the tolex in order to clean it and restore the wooden cabinet.
Then I treated the cabinet with an anti-woodworm product.
Cleaning both sides of the tolex to get rid of the glue and other dirt. I wanted to keep the original tolex because it was still in acceptable condition and it adds to the authentic vibe of the unit.
Then it was time for the biggest part of the work: restoring the wooden cabinet with wood filler. Especially the rounded corners where a challenge, because they were almost gone so I had to kind of 'rebuild' the wood with wood filler as if it was clay. I had to do this in different stages, wait for every layer to get dry and sand with sandpaper in between the stages. Quite time-consuming...
Finished, all sanded and now ready to glue on the original and cleaned tolex! Check out the corners, quite happy with the results.
After gluing the tolex the unit looks wonderful and still has the authentic looks! Really happy with it!
The original 110V US power transformer.
Now with a TAD power 230V EU transformer. These transformers don't have a central tap, so I had to make an artificial central tap by soldering two 100R resistors from the filament wires to ground. Also, this original unit still uses a half-wave rectifier, so there's only one HV lead that goes to the rectifier, the other HV lead goes to ground.
Still housing all the original components!
And the best thing is, it works! Sounds wonderful and very quiet.
")

![Soldering Iron Kit, 120W LED Digital Advanced Solder Iron Soldering Gun kit, 110V Welding Tools, Smart Temperature Control [356℉-932℉], Extra 5pcs Tips, Auto Sleep, Temp Calibration, Orange](https://m.media-amazon.com/images/I/51sFKu9SdeL._SL500_.jpg)


