Since I started getting into DIY of pro-audio electronics (about 1 year ago), I always enjoyed looking at other people's projects, which I eagerly studied with respect to technical and design aspects. This has been a valuable source of information and ideas. Because of this, I decided to share the results of my first completed project with you.
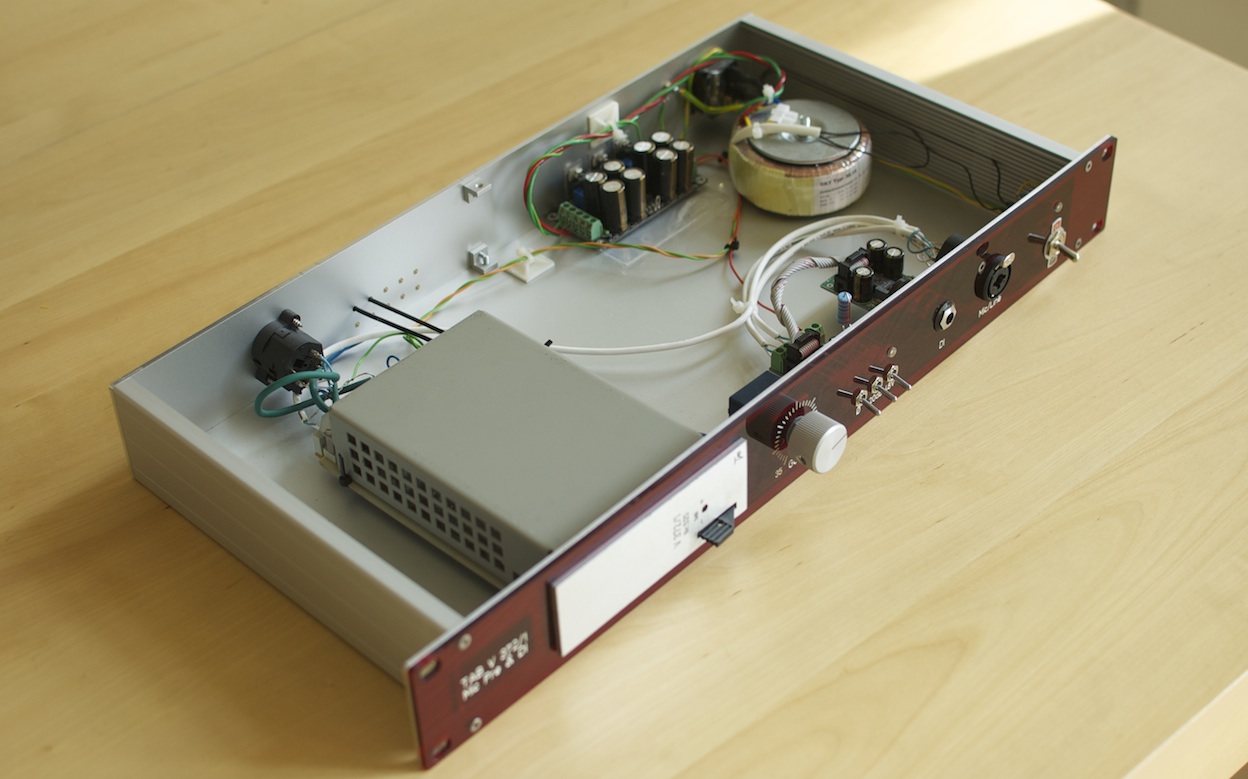
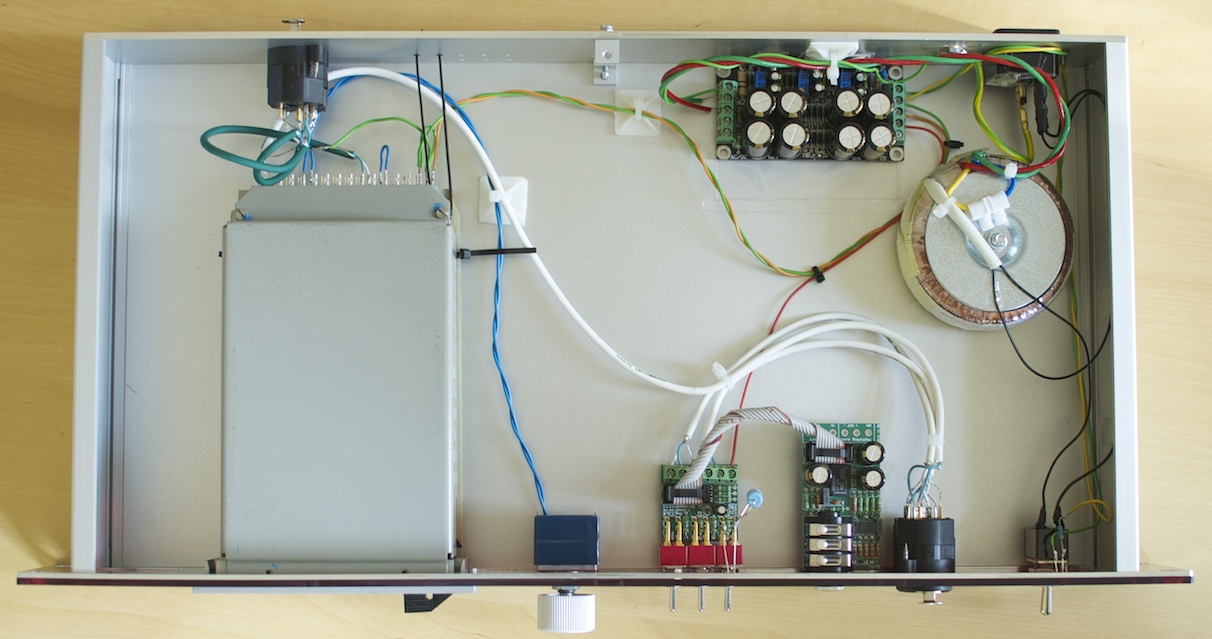
To begin my DIY experience, I decided to start with something not too complicated. So I got a TAB V 372/1 universal amp off Ebay that I wanted to rack as mic preamp. The large Pikatron in and ouput transformers, as well as the NTP M100 opamp promised much better quality than everything I had so far. I found some good information here: http://www.gearslutz.com/board/geekslutz-forum/524536-tab-v372-1-mic-pre-racking-help.html and thanks to Joe Malone I could easily find what I needed in terms of additional circuits in the JLM Audio shop. I used the AC/DC power supply with the tree rails set to +48, +24 and -5V (the last one is only used for the power on LED). Also, I used the Go-Between kit to add phantom power, pad and polarity reverse as well as a FET DI kit.
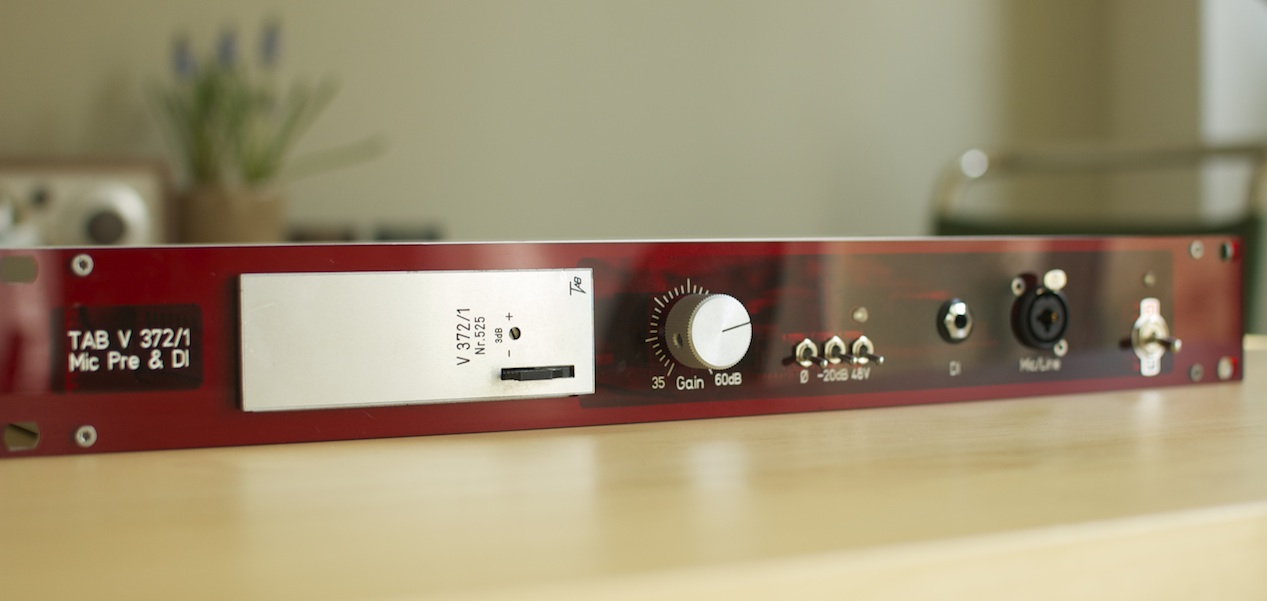
The topology is probably pretty obvious: mic and DI input go into the Go-Between. The line input switches into the way from the Go-Between to the V 372/1 module. I used a switching combo jack for mic and line input: Mic is the XLR, line is the TRS jack. This has the advantage that, even if switched on, there will be no phantom power on the line jack, which makes it safer with respect to misuse. However, I only realized later that doing it this way I cannot use pad and polarity reverse for the line input. I will have to see how much that bothers me (probably depending on how much I actually use the line input to add coloration to line sources) and if needed modify it later.
Two other small faults that I noticed later are:
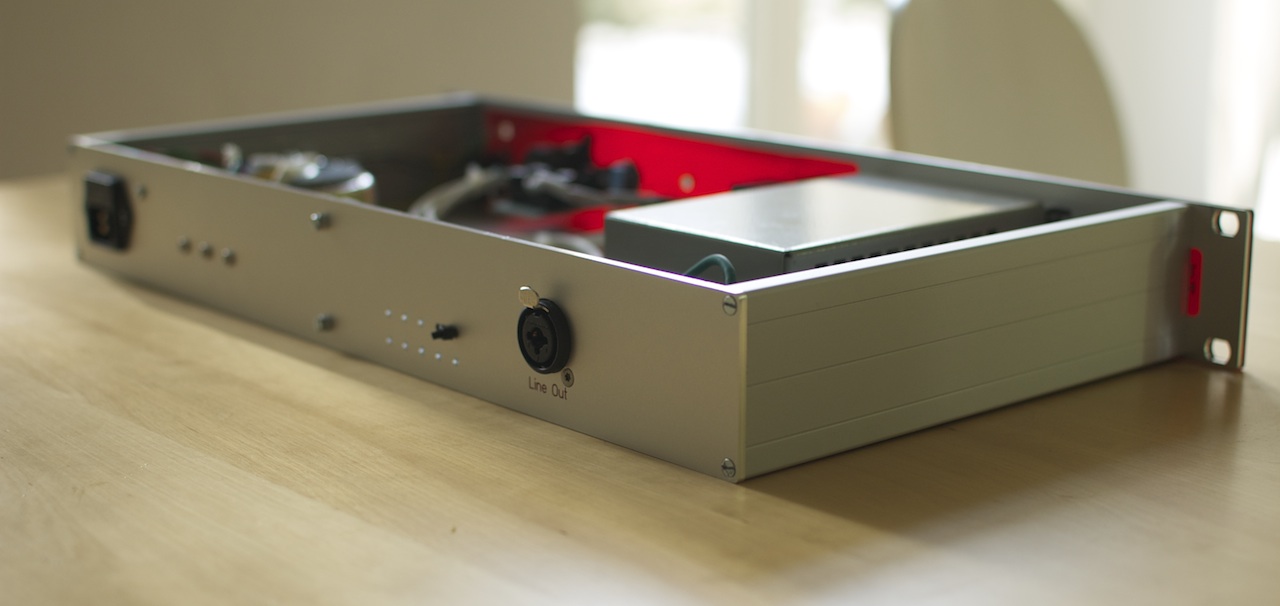
I used a female XLR/TRS combo jack for the output, too, which I guess is not very typical. It will not be a big problem for me though, since the output goes into my patchbay so that I can easily use an TRS/TRS or male XLR/TRS cable.
Because of the looks I chose a single pole power switch, so that I can only switch one side of the power connection, never knowing exactly if it is the live or neutral wire. Again this is not a big problem because I usually switch it on and off together with the other gear via a central switching power strip.
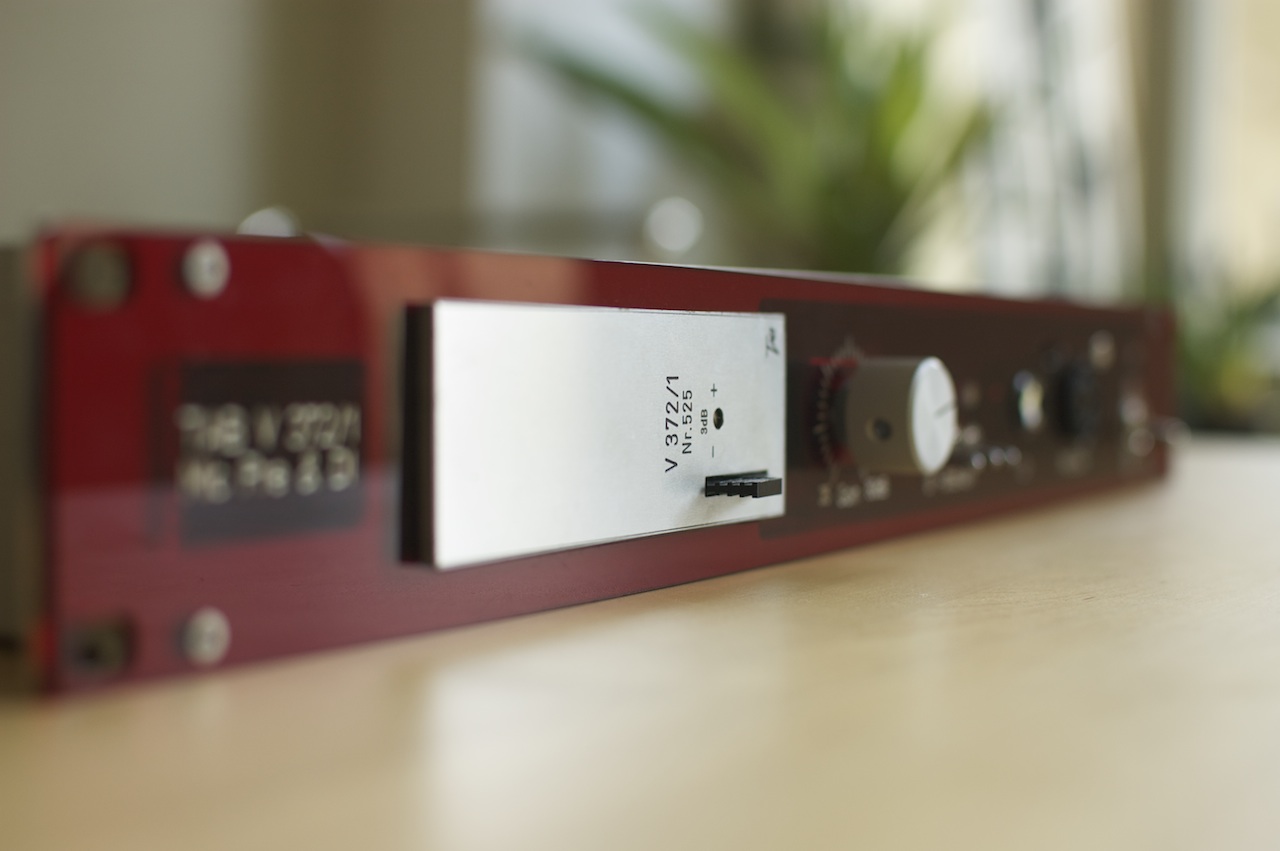
The case was done by Front Panel Express, or rather its German part Schaeffer AG. It ended up costing more than I initially thought, but in the end I wanted everything to look nice... The front panel is two-layered: on the outside I have red acrylic, backed up by an aluminum plate with large cut-outs to provide the necessary stability for mounting, but still letting light through and faintly showing the insides.
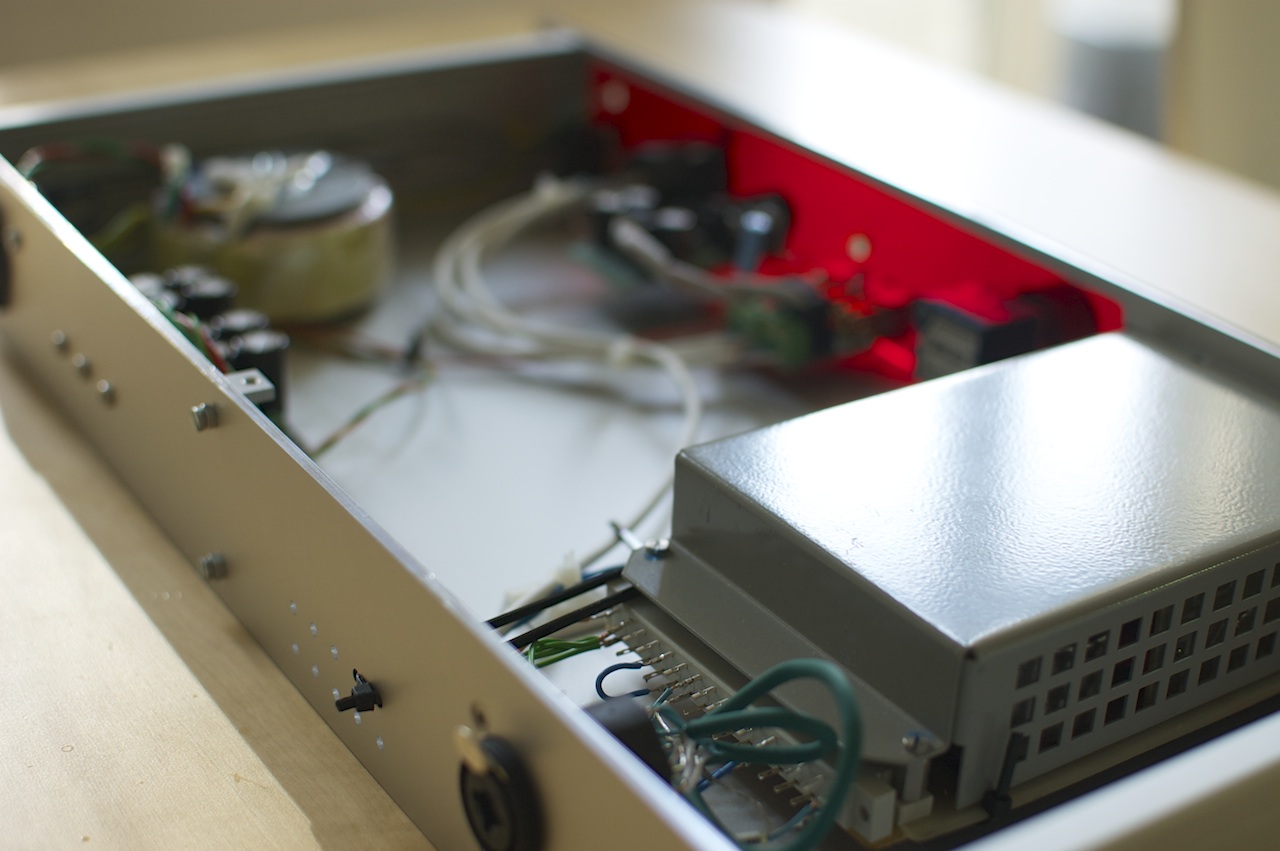
Below you can see some pictures.
Cheers, Mattia


