Hi all,
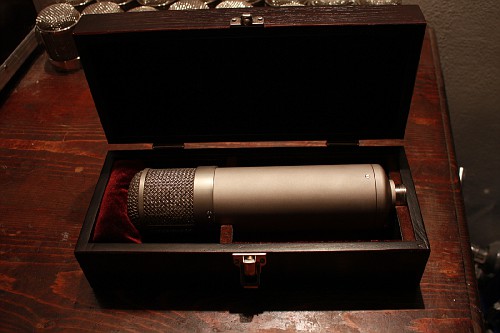
I know you are smart enough to assemble the mic, but still I would like to give assembling/disassembling instructions.
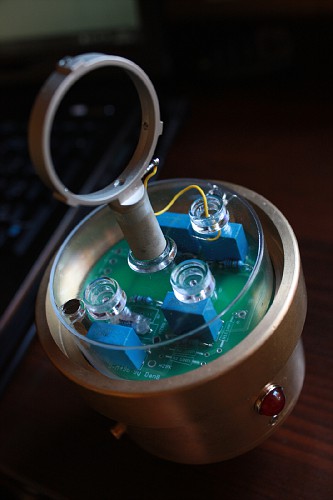
Please note that mic body kit used for photographing was assembled from parts which did not pass the quality requirements, so you might notice some scratches, dents etc. I've used a wide angle photo camera lenses, so visual mic body proportions are distorted in some images.
Tips:
Keep working place clean;
Use rubber gloves to avoid fingerprints;
Nickel plating is wear resistant enough, but still you must be very carefull from scratching the surface with a screwdriver.
You will only need a slot shaped screwdriver and a 5.5 mm wrench for M3 nuts (small pliers will also work for this).
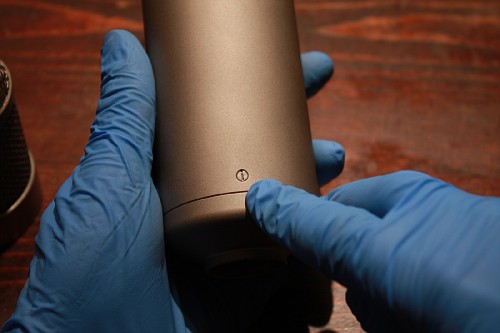
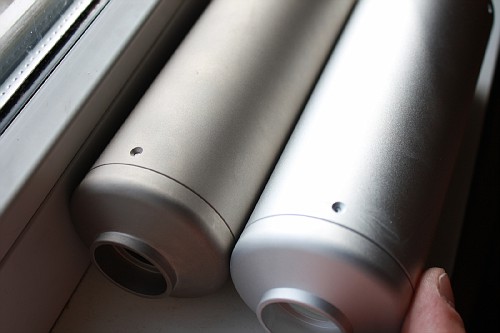
1. Remove the bottom screw:
2. Remove all 3 headbasket screws:
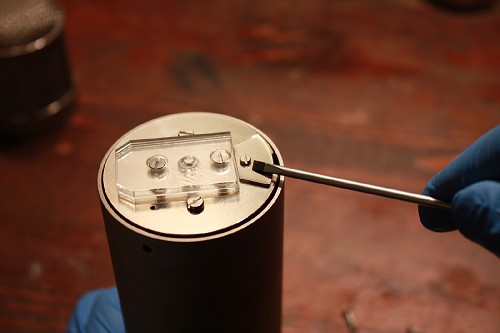
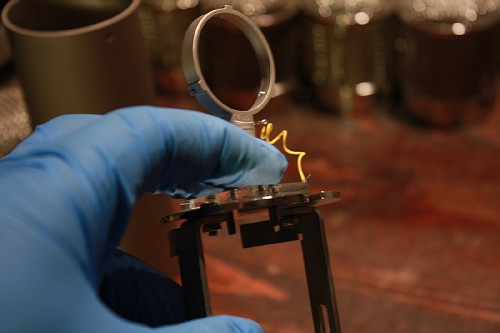
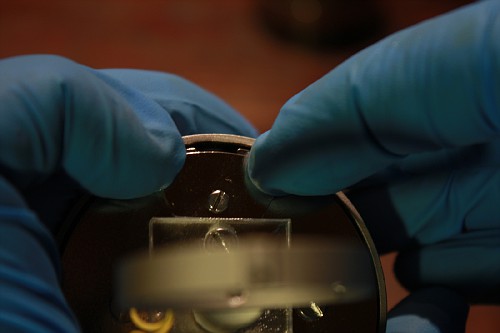
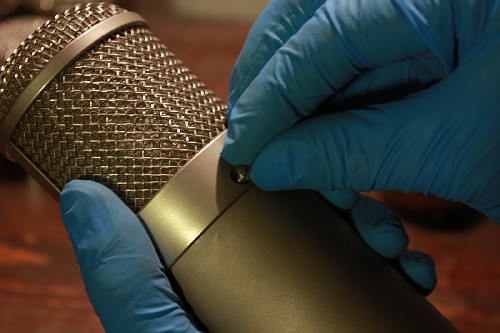
3. Remove an M2 screw from a small lid of capsule disc:
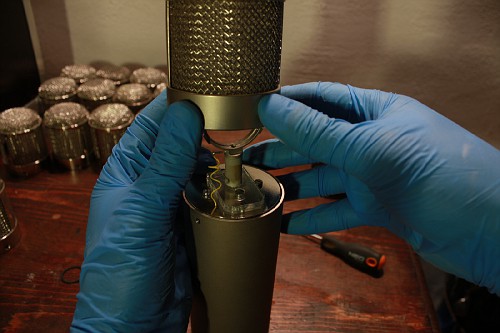
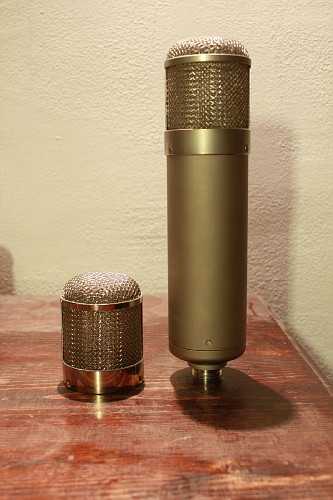
4. Remove the body tube:
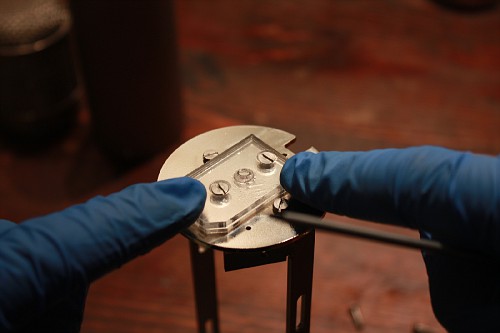
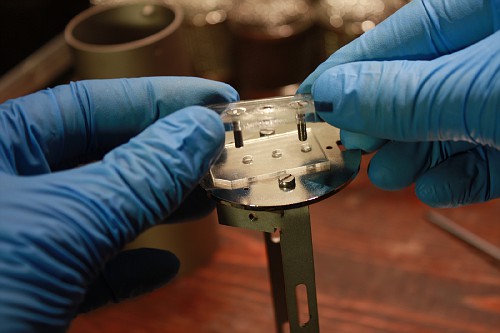
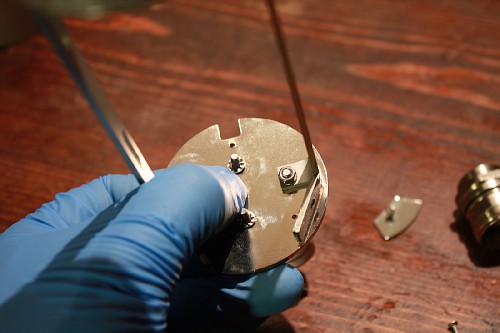
5. Remove 2 capsule platform screws:
6. And separate an acrylic capsule platforms (either one or both capsule platforms can be used):
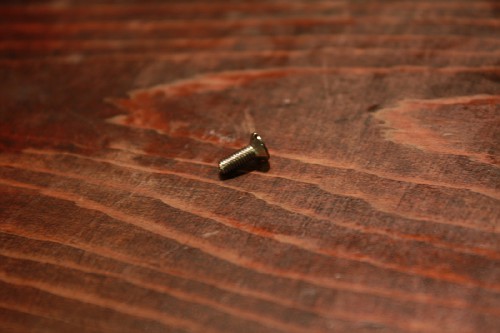
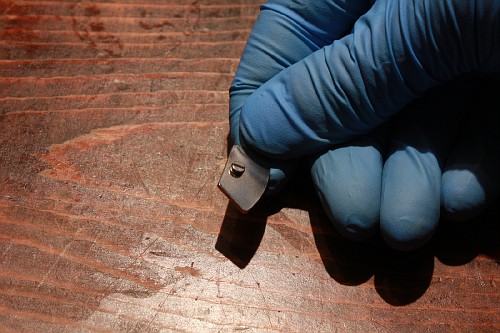
7. The M3
countersunk mounting screw (
DIN963) of capsule holder should be provided by manufacturer:
8. Use this screw for fixing the caspsule holder to the platform.
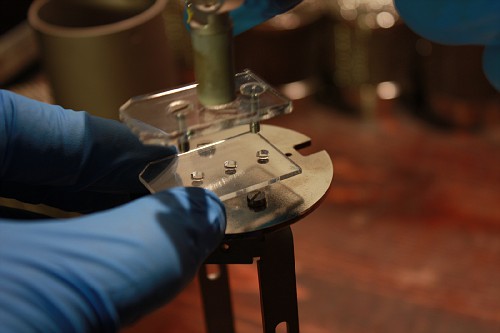
9. Two chamfers of holes for mounting acrylic platform to metal capsule disc must go up:
10. If needed place the thinner acrylic platform first and then the other together with capsule holder:
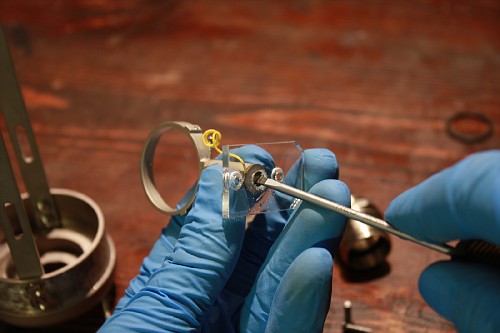
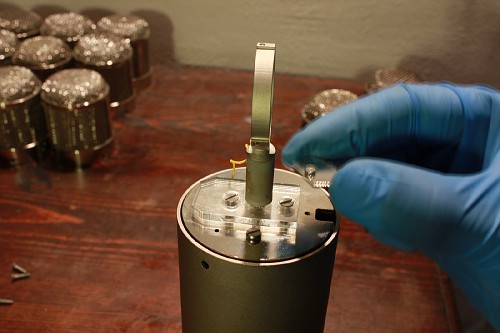
11. Hold both screws with two fingers and flip over the construction:
12. Put the winged washers and tighten the screws with M3 nuts:
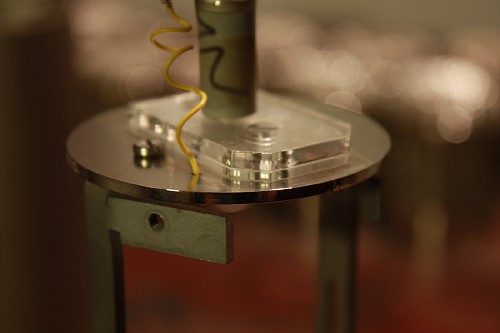
13. For better electric insulation it is recommended using both acrylic platforms, however in all cases capsule holder mounting screw will not have a contact to the metal construction:
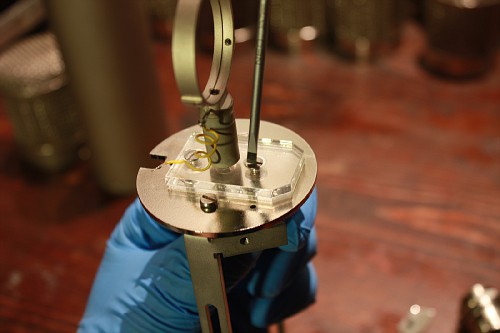
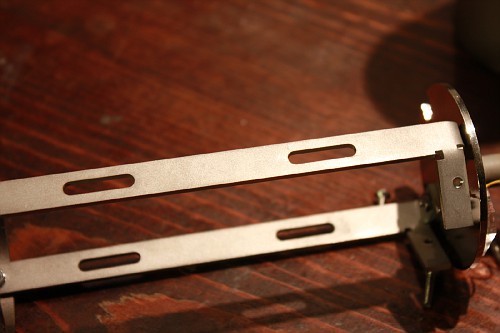
14. Use precut slots in rails for mounting your PCB:
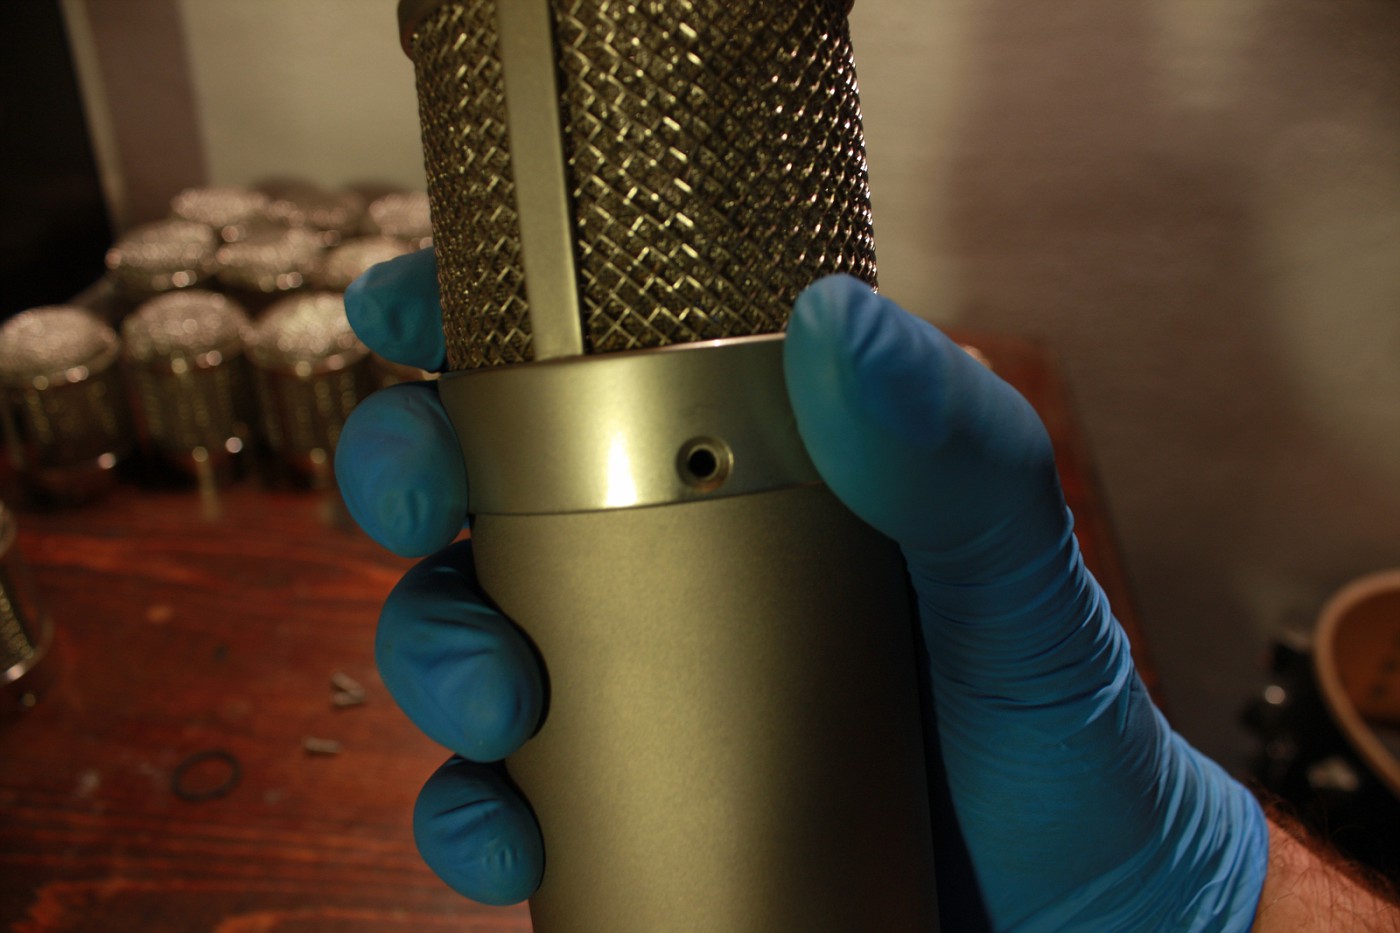
15. After assembling all electronic components carefully slide on the body tube aligning rivet nut with the hole in a capsule disc:
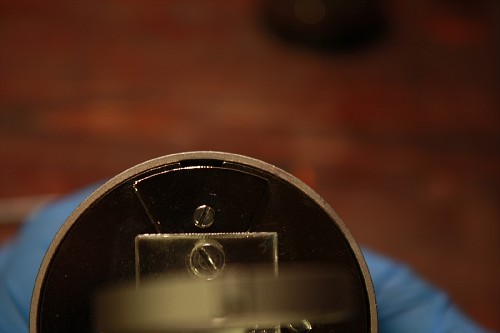
16. Place an M2 screw into the capsule disc lid:
17. Carefully align the lid screw to threaded hole on a capsule disc:
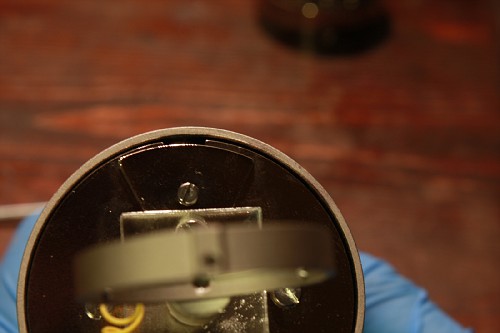
18. Do not fully tighten the screw. If the round edge of a lid is not concentric with the edge of a capsule disc, make it concentric adjusting it with fingers:
19. Carefully place the headbasket:
20. Make sure the holes of a headbasket, body tube and PCB rails are aligned (position of rail holes can be adjusted using some kind of pointed tool):
21. Put the screw through holes and catch the thread using your fingers:
22. Screw all 3 headbasket screws to their half length:
23. Then tighten them to the end:
24. Place back the bottom M2 screw:
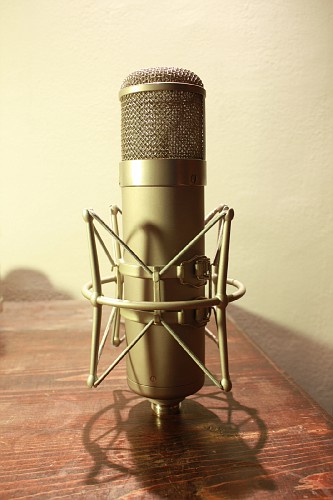
25. And you are done:
Kind regards,
Andrew


") Hands in the Air ;D
Hands in the Air ;D