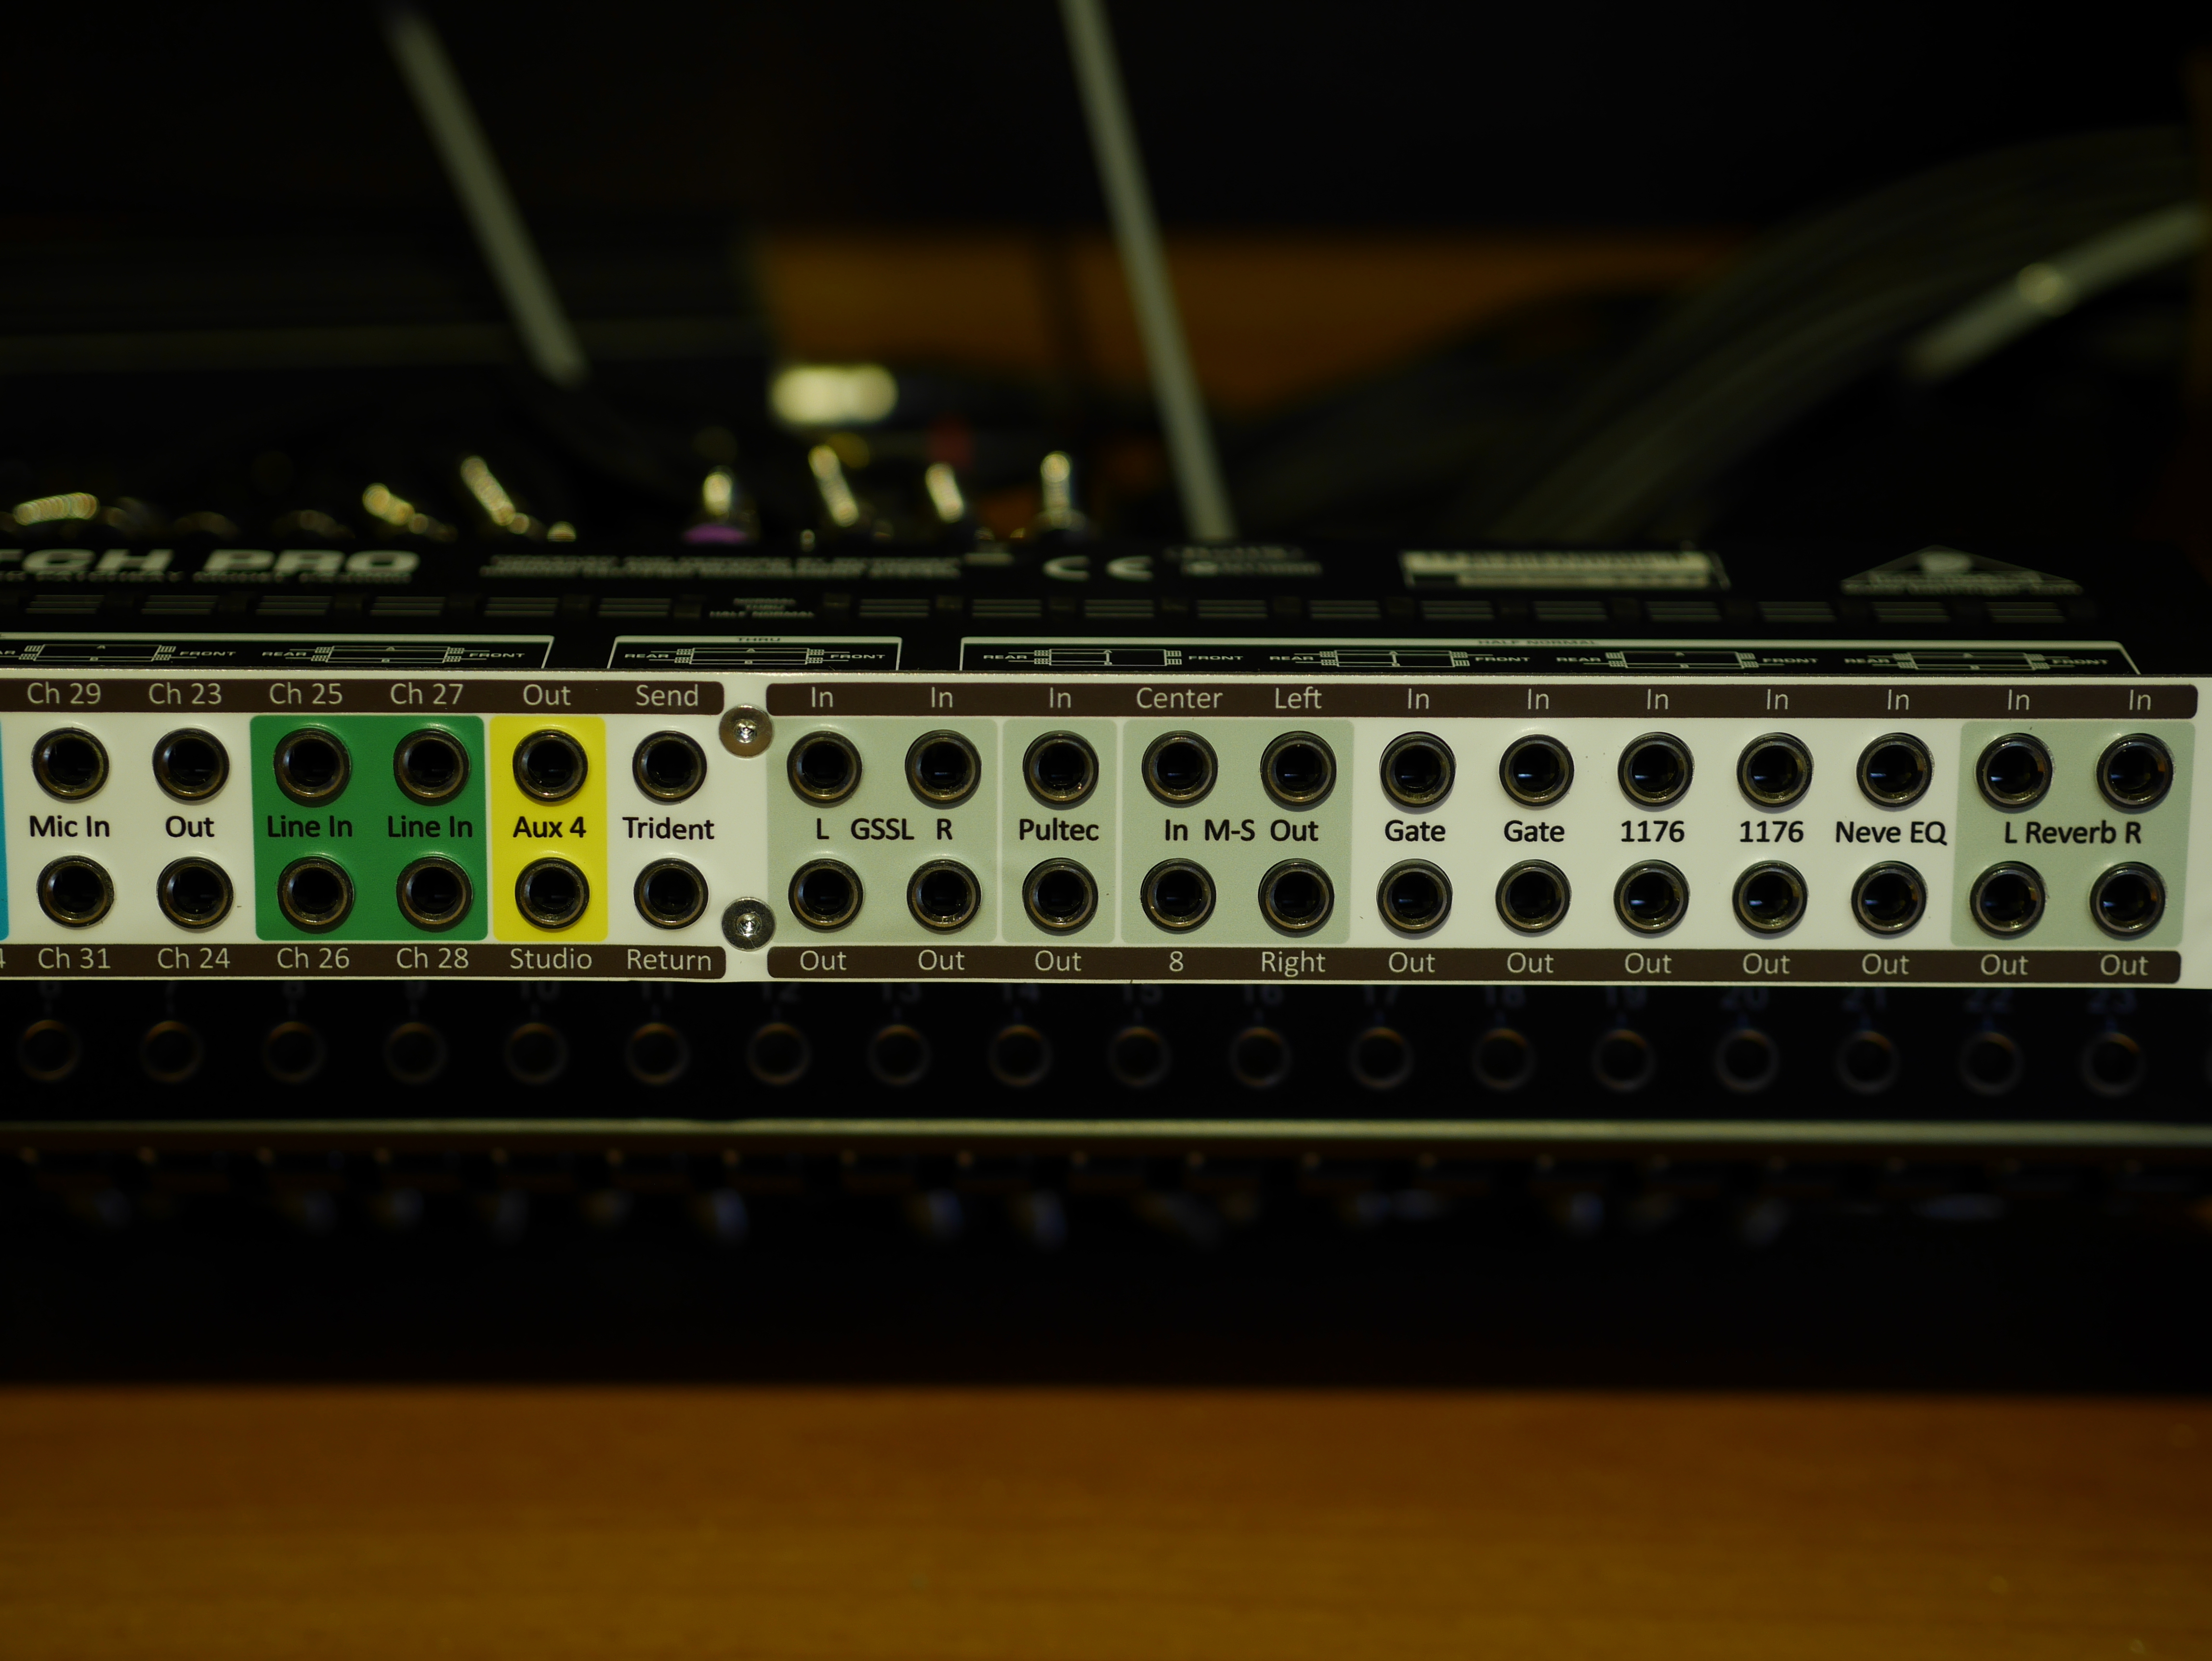
lookin' to label my patchbay...?

GroupDIY Audio Forum

Help Support GroupDIY Audio Forum:

This site may earn a commission from merchant affiliate links, including eBay, Amazon, and others.

jetboatguy

Well-known member
Joined
Sep 26, 2005
Messages
202
Location
Atlantic CANADA
any known programs with specific templates for that illusive pro studio look ?

I have a few of those cheapo Behringer Ultrapatch PX-1000 frames to label.


look... this penmanship hardly looks pro !

PX-1000.jpg
 
You can make a nice dez-strip in Excel. It takes some tweaking to get the spacing just right, though, so be prepared to waste a few sheets of paper. Of course, once you get it right, be sure to save the blank template!
 
I have used Excel and actually prefer Word. I use the TABLE functions in Word and can get spot on better than I can in Excel.
SSL spacing is .69 inches, so I can create a template of .69 inch width table cells or alternating .34/.35 if I am dealing with outboard. The merge/split cells seems to work better for me than in Excel. Sometimes a cell will be center aligned, sometimes not and custom aligned to fit the job. Custom borders of different thicknesses can be done as well, seperators and outlines.
It really does take finessing, but once you do the spacing on the first strip the hard work is finished.
As far as finishing, color-coding with simple highlighting markers works well, but you have to practice to eliminate over-lap. It becomes obvious over time as the color fades. The pro way to go is using translucent colored tape that graphic artists use.
Call me boring, but I always use Helvetica Bold type. It even looks good on older Neves.
Mike
 
[quote author="sodderboy"]SSL spacing is .69 inches,[/quote]

It depends.


Sounds maybe right for 96-point TT's, but they also made 112-point TT 1RU strips, and I also have 160-point TT 1-rack-unit strips... :shock:

Anyhow, I start in excel with a single, centered '*' symbol in each box. Tweak to fit, and make each row two boxes high. You can do wonders with "merge & center" on the upper row, and individual texts on the bottom.

Keith
 
...and you can pre-colour in excel also...

Okay, you guys asked for it... -It's ass-kickin' time! -I'm going to take & post some close-up pictures of a patchbay that I recently did...

...You know what it means when I take patchbay pictures! :wink:

Keef
 
Well then BUH-raaaaang it! I will be able to take a pic tomorrow of my most recent console patchbay. Double height Audio Accessories bays.
I can hear the banjoes already. . .
Mike
 
Humf. I am sure you have an interesting technique (lips keep moving due to bad dubbing).
(grabs two double sausages and executes nunchaku maneuver) I will present at the arena tomorrow.
(bows)
 
Alright... Here's how you do it.

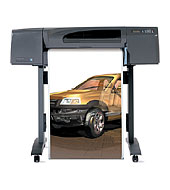
You start with an HP Designjet 800PS printer (which would be about $4k if you want to buy one, but usually better to use one at a graphic print house.)
c00405562.jpg


Then you print out your excel file in colour. You buy a sheet of 3M clear adhesive-backed plastic with the stiffness of card-stock (not sure of the catalog number; I have to go to the art store and buy more...) and stick it on top of the printout.

Then you cut it into labeling strips (it's already 'laminated',) and insert.

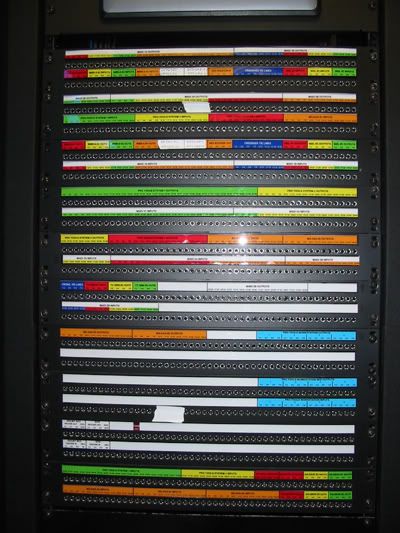
Here's a picture of a patchbay that I'm working on right now... Please ignore the small bits of tape with temporary notes on them... change order markers etc.
Patchbay_02.jpg


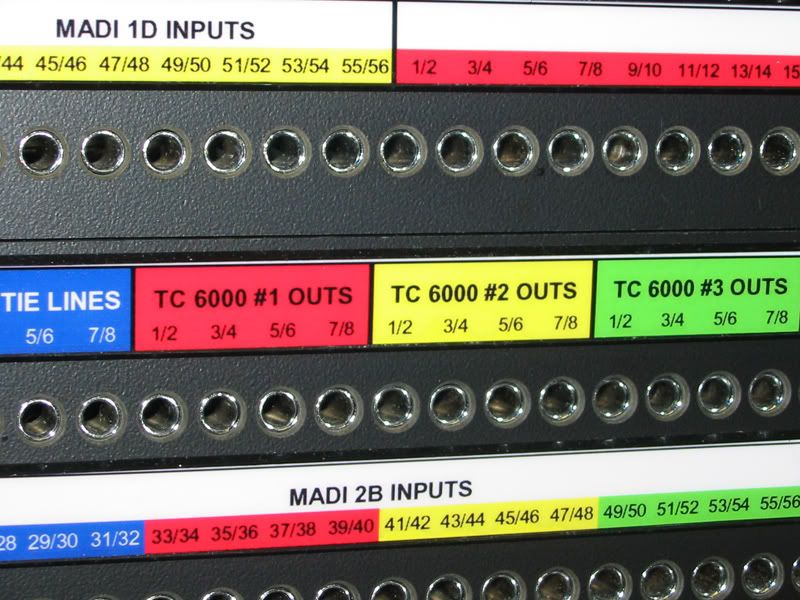
...And here's a close-up of the detail:
Patchbay_01.jpg


-You really can't see how shiny this is in the second picture, because of the flash bounceback I've had to take the picture slightly off-axis... But in the first picture, the flash bounceback may give you some idea.

The overall effect is one of being 'sealed behind glass' due to the plastic overlay, (NOTHING like laminating, where there's a slight 'dulling'). You can see in the middle of the patchbay that the flash is reflected on the labeling strips, and hardly reflected at all from the patchbay itself. This really is better looking than SSL, Neve or any other manufacturer that I can name.

As you can see, it prints white lettering on dark backgrounds, or black on white backgrounds, or any colour letters on any colour background come to that...

Now... Whatcha got?

-Have you had enough, or do you want some more?

:twisted:

-Don't make me take pictures of the wiring round the back... Other men have had their lives destroyed by such humiliation! :wink:

Keef
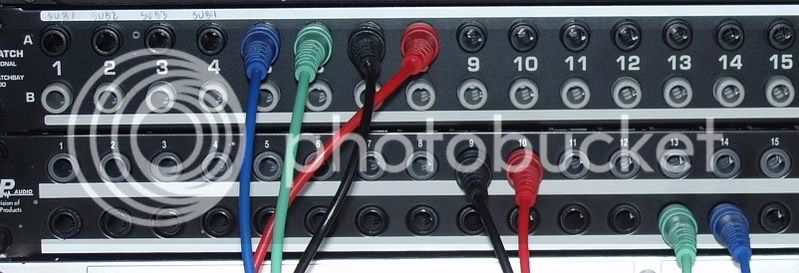
 
keef you should repost that picture of the patchbay you wired last year work of machiavellian(sp) art. The paper you may be refering too is non other then Photo paper with adhesive a few companies make that and is usually available at the local office supply store.
 
...Don't make me do it Pucho... -You know I feel bad when I make a man weep... :wink:

No, it's not a 2-part paper as such: It's a protective adhesive film that I use to cover screen printing in high-wear areas: like round the control room volume pot on consoles which don't have the SSL Spinal-tap mod. It's quite stiff and very useful, with a fairly high-gloss finish.

Which picture were you talking about, anyway?

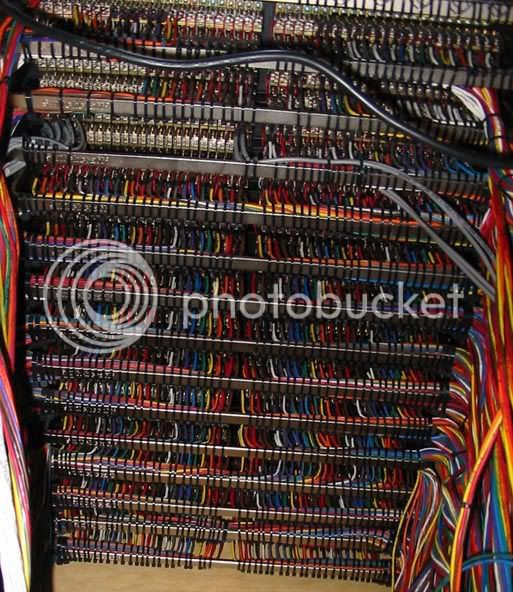
-This one?
Patchrear1.jpg


:twisted:

Keef
 
Keef. I don't think that is the one I was thinking of but it will do nicely.
now where is that drool emoticon :?

Edit: a few weeks ago they had one of those printers listed under free items on craigslist. I would have picked it up but what the hell would I do with that? make uber nice patchbay labels. I recon
 
WHOA! That's beautifu- OWWWWWW (sausage nunchakau smacks him in drop-jawed face)
If there is any crying here, it is tears of joy and inspiration. The aqua desigs are REALLY hot!
I will shoot my desigs in the afternoon.
Till then I posted the file for anyone who wants a start on DIY desigs (in Word):

http://groupdiy.twin-x.com/displayimage.php?album=130&pos=1

For the bays originally posted, if you don't have the Ferarri printer and paper budget, I carefully use one or two layers of clear packing tape to do a lamination. A lam on the back as well makes a stiff strip from, uh, regular paper and makes a good base to tape the desig onto the bay.

Mike
PS: the rack back is a true glory. Zenilicious.
 
OK. My mac was confiscated until I replaced a door and planted some trees.
These desigs are my latest, done in word for both Switchcraft and Audio Accessories double-height strips.
Full bay:
full_bay.JPG


Externals:
externals.JPG


Multi rows:
close_up_2.JPG

These were done on a $50 printer ($60 ink cart :wink:) with no lamination.

If there is no install strip for the desigs on a bay, the po' boy packing tape lams I mentioned earlier work very well.

So let's see some other desigs around the world? Mutual inspiration!
Mike
 
Good, tidy work.

I'm actually incorporating the design change orders for that patchbay which I photographed at the moment, which will require re-printing and redoing that TT patch.

There's also another one alongside it in a partial state of completion and a video patchbay close by with hand-written labes while it gets populated.

I'll try to take pictures of the complete process from pencil sketch to final product... -may take a while, but it will be comprehensive. :grin:

Keef
 

Latest posts

Back
Top