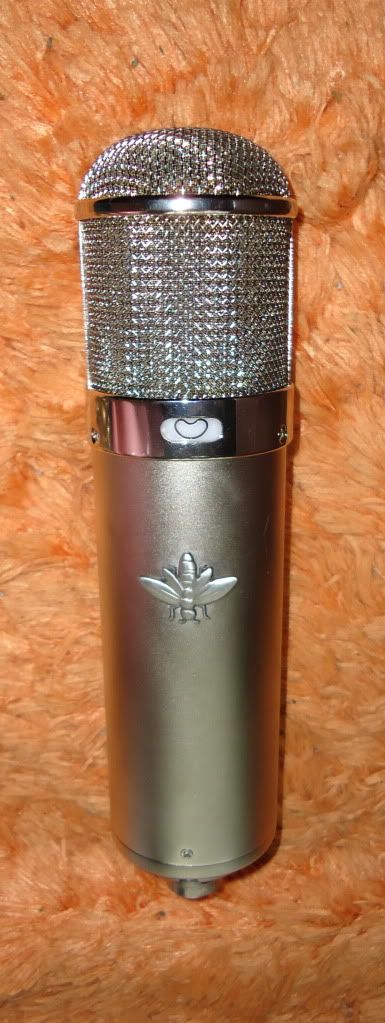
It mildly bothered me that my mic didn't have a badge where the original Neumann badge went. Looks too plain for my tastes without
something there.
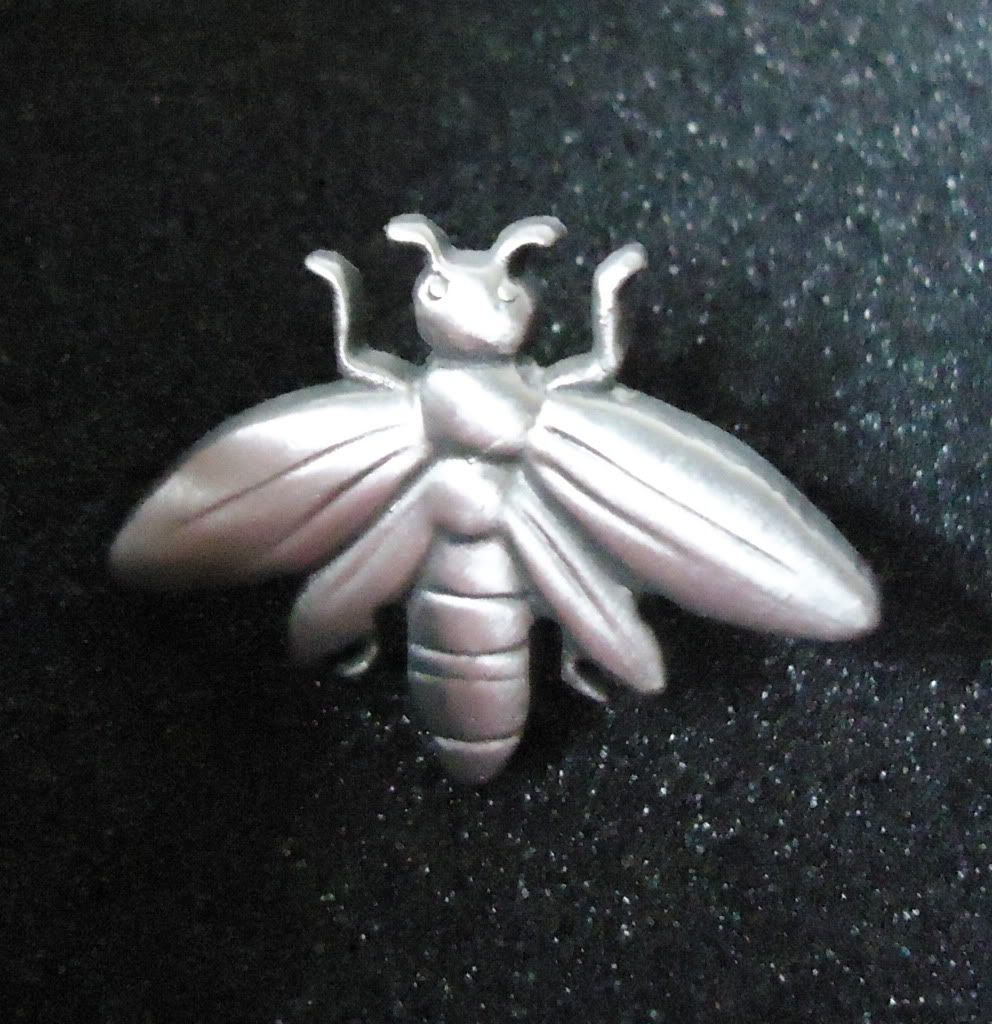
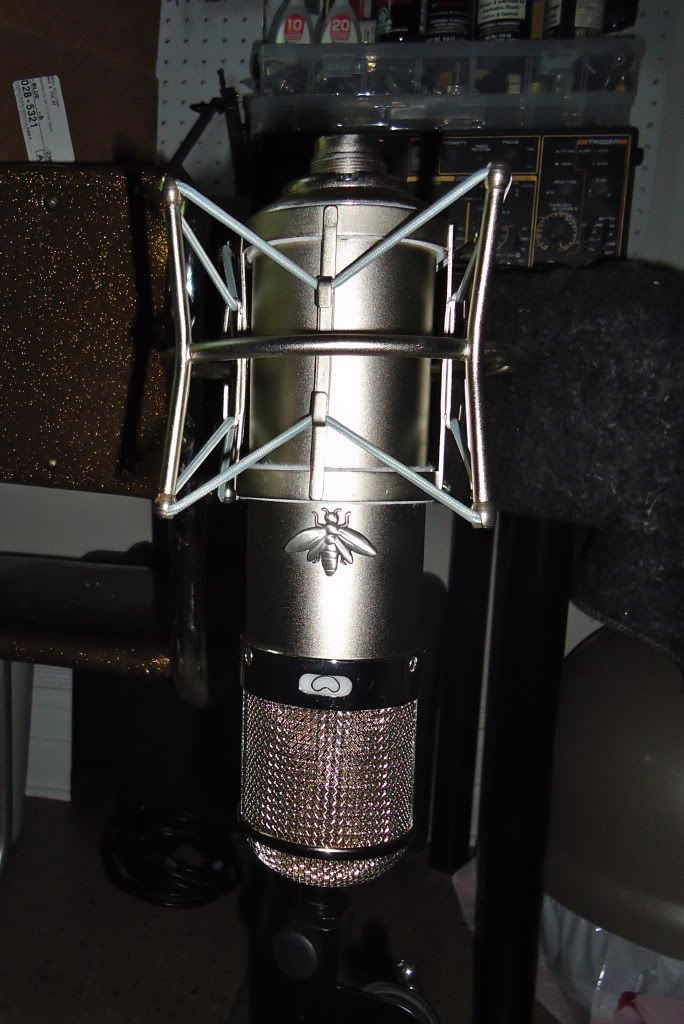
So I got creative. I found for a couple of bucks each online an 'antique silver' lapel pin that looked like a bee. My name starts with "B" so I guess you could make it a play on my initial if you wanted, but in reality I just thought it was the coolest looking pin they had. I bought two.
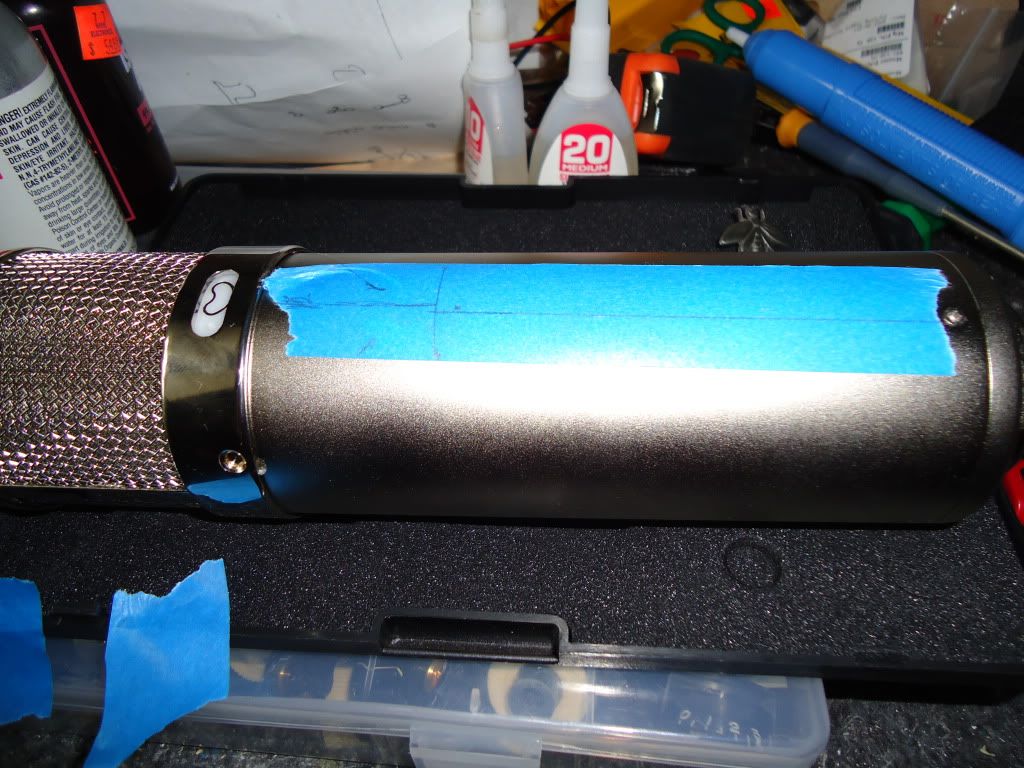
For whatever reason, the pattern selector switch cutout is slightly off-center with respect to the two headbasket screw holes it resides between (and with the body attachment screw near the base of the mic). Being aware of this, I measured and marked a location to split the difference so nothing would look too ill-aligned with respect to my cool bee.
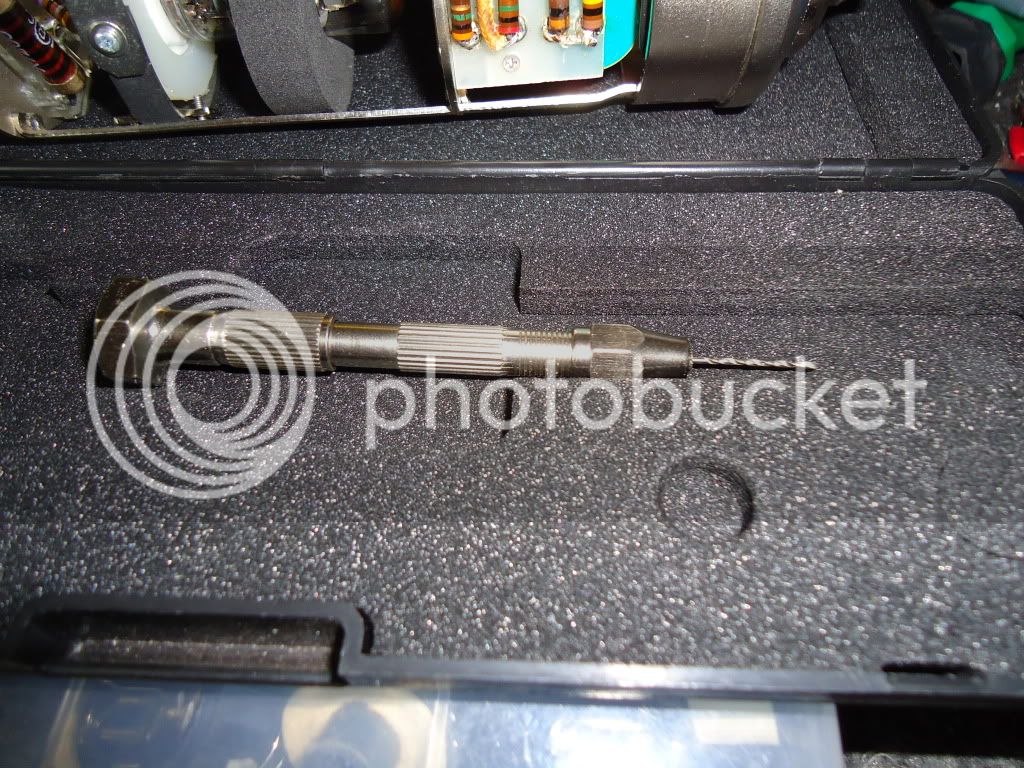
Using a micrometer, I measured the lapel pin's post. Then I selected a wire gauge drill bit the same size. I put the wire gauge bit into a small pin vise. I want to drill this hole by hand-- the mic body is too nice (and expensive) to screw up, so I only get one try.
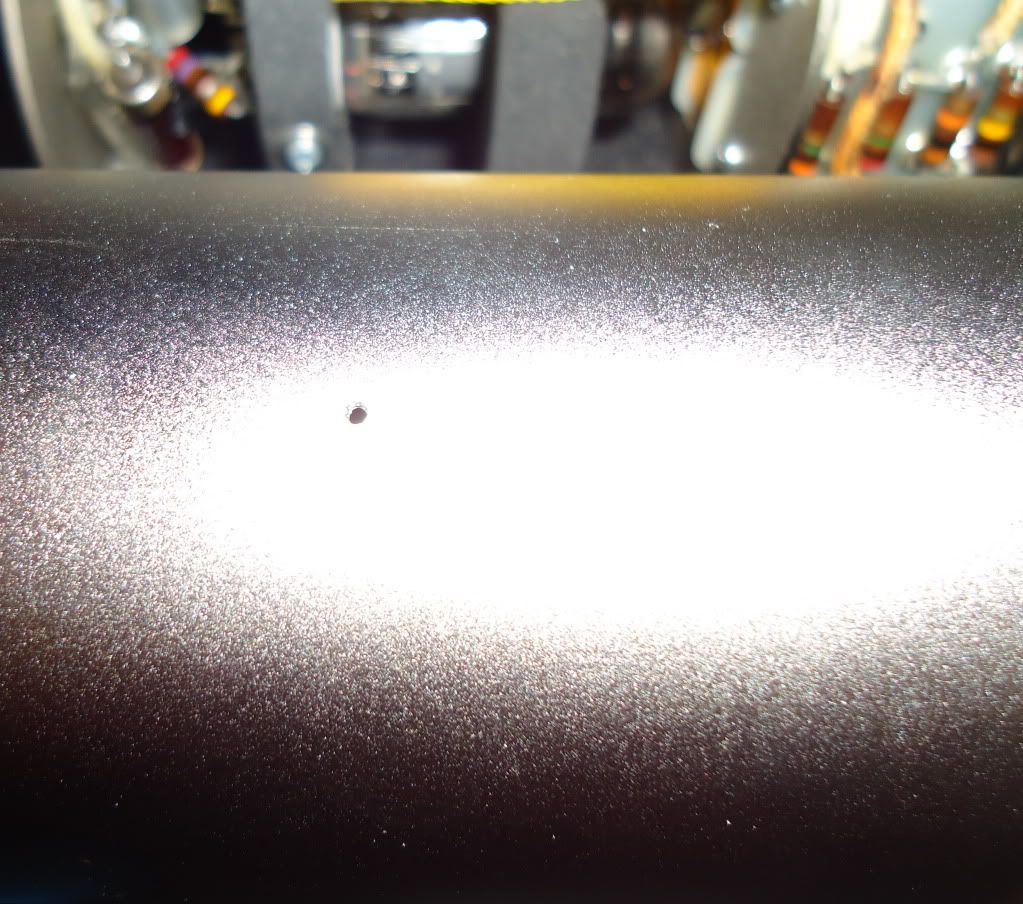
I left the blue tape on to avoid marring. It came out pretty good.
Using wire cutters to cut the post off short, I put the pin in the mic (it required just a bit of resistance to push the post into the hole, which is what I wanted). One thing I didn't plan for-- the post had a bit of a flange near the top. My options were: 1) drill a bigger hole for the flange, or try to countersink the hole somehow; 2) file the entire post off and use cyanoacrylate glue to hold the pin to the mic body; or 3) allow the pin to be stood-off the mic a bit, securing it with CA glue. I chose 3 for now-- I could always do one of the other two if the pin interferes with the shockmount, case, or proves to be too unstable. It actually looks really cool stood-off the mic a bit. Very dimensional and slick looking, so I hope it works.
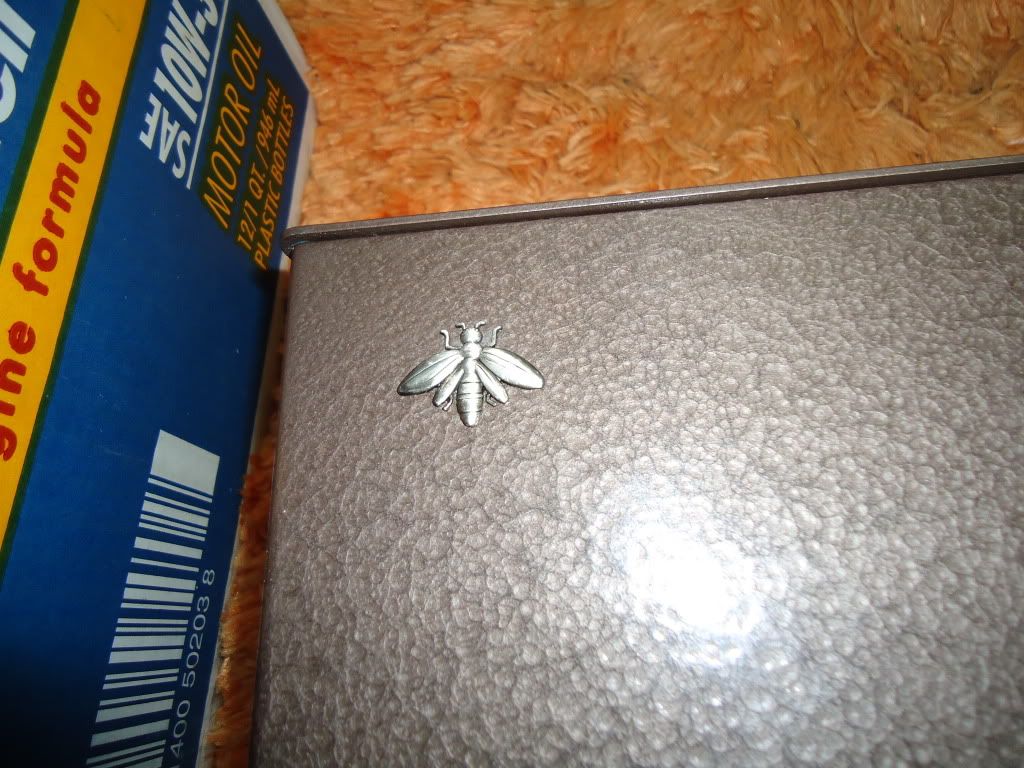
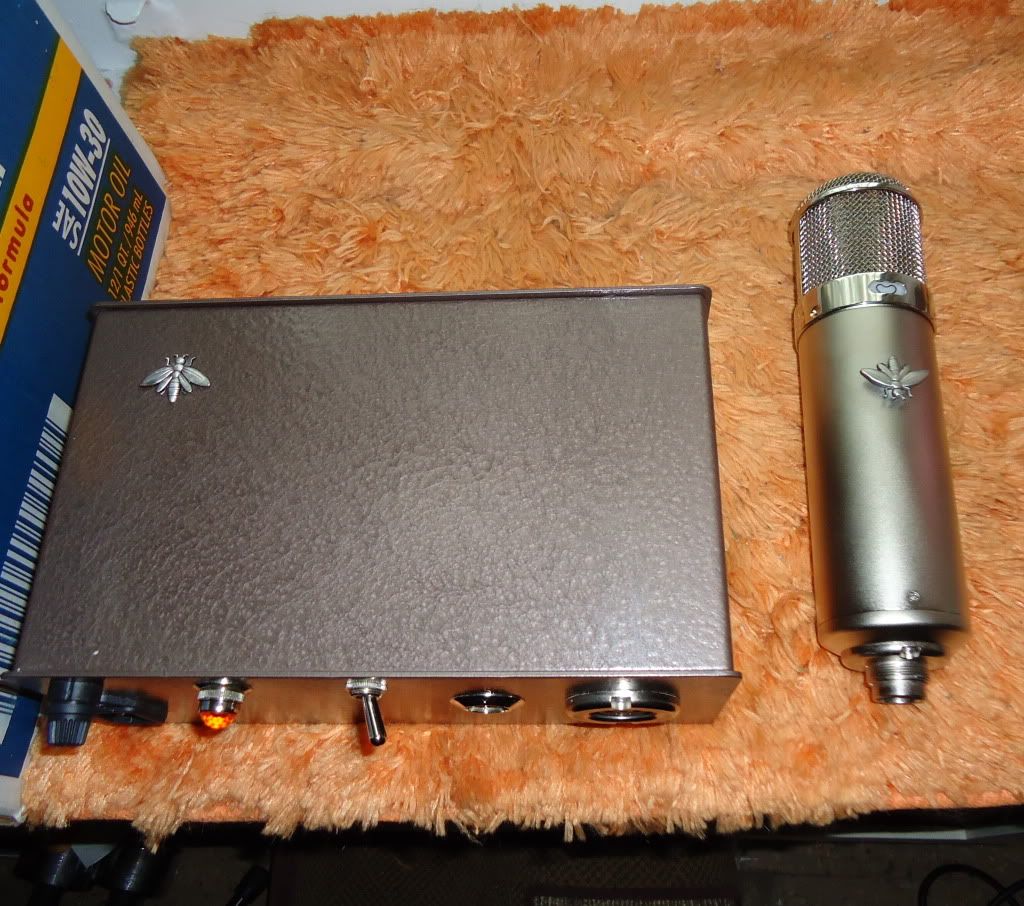
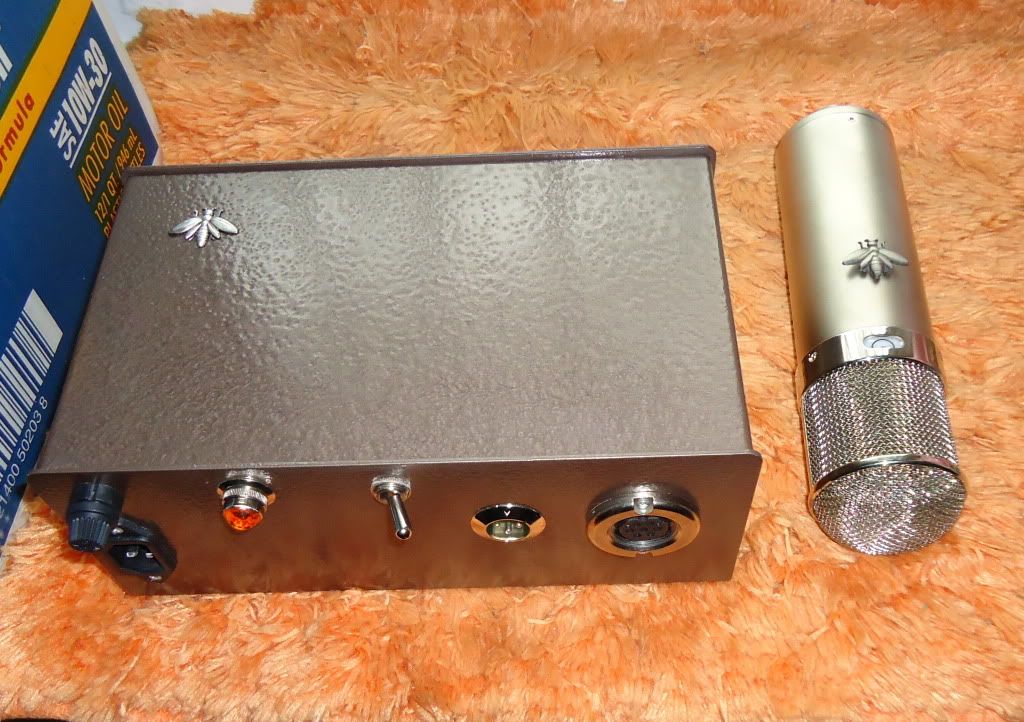
I had bought an extra pin in case I screwed up the first. Well, I didn't, so I took that opportunity to drill a bigger hole in the PSU case, file off most of the post, and use CA glue to attach it, completing the 'set'.
Here you can see the added dimension of the stood-off insect pin.
Since this mic will have an old-school PVC diaphragm it will spend most of its life hung upside-down to protect the diaphragm from the tube's heat. As such, I positioned the insects so they'd both be pointing the same way with the mic in its most typical position.
Now it doesn't look quite so naked. A couple more weeks until my capsule arrives. It better get here soon, or I'll have the whole mic bedazzled, frocked, and decoupaged by the time it gets here.




![Soldering Iron Kit, 120W LED Digital Advanced Solder Iron Soldering Gun kit, 110V Welding Tools, Smart Temperature Control [356℉-932℉], Extra 5pcs Tips, Auto Sleep, Temp Calibration, Orange](https://m.media-amazon.com/images/I/51sFKu9SdeL._SL500_.jpg)


