kato
Well-known member
As usual, the internet is full of conflicting advice, and regurgitated suggestions presented as fact. So I come to the Lab for some truth.
I've offered to recap a friend's Vectrex - an old video game console with a built in CRT screen. Even thought it's been unplugged for 10 days, I still want to discharge the CRT because there's no guarantee it's not ready to bite. The Question: Can I short the CRT's anode to chassis without risk of damaging the tube, or is a bleeder resistor inline required? And if so, what is happening?
I'm afraid the advice of using a bleeder resistor is mixed up with stock advice for discharging electrolytic caps. (I realize the CRT is basically a creating a giant capacitor with the glass as dielectric.)
Some claim you must use:
I'm thinking a 20kV jolt will zip through a 2MΩ resistor just about as fast as it will a 2k.
Also, I'm happy to try a bleeder resistor if it will prevent damage but all my high wattage resistors are low ohmage. <100Ω
Although I do have a 7w 2k resistor which may be a happy medium. But with a resistor, I won't hear the spark telling me I've made contact.
Any thoughts?
I've offered to recap a friend's Vectrex - an old video game console with a built in CRT screen. Even thought it's been unplugged for 10 days, I still want to discharge the CRT because there's no guarantee it's not ready to bite. The Question: Can I short the CRT's anode to chassis without risk of damaging the tube, or is a bleeder resistor inline required? And if so, what is happening?
I'm afraid the advice of using a bleeder resistor is mixed up with stock advice for discharging electrolytic caps. (I realize the CRT is basically a creating a giant capacitor with the glass as dielectric.)
Some claim you must use:
- A high resistance part (couple MΩs.)
A high wattage part (but only to keep the charge from arcing over a 1/4w) Some suggest 25 watts.
A string of 100k resistors.
I'm thinking a 20kV jolt will zip through a 2MΩ resistor just about as fast as it will a 2k.
Also, I'm happy to try a bleeder resistor if it will prevent damage but all my high wattage resistors are low ohmage. <100Ω
Although I do have a 7w 2k resistor which may be a happy medium. But with a resistor, I won't hear the spark telling me I've made contact.
Any thoughts?
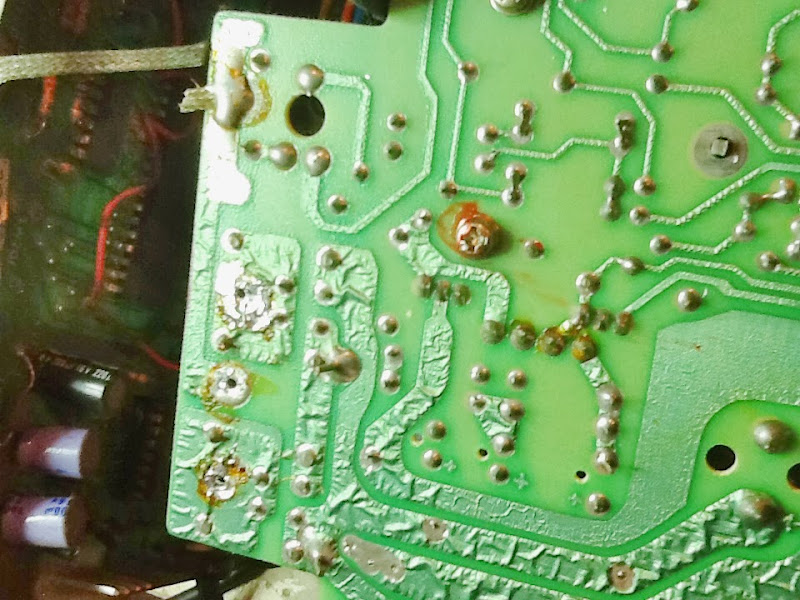
") Should be a straightforward job. A couple curious things:
Should be a straightforward job. A couple curious things: