Gefell UM70S disassembly

GroupDIY Audio Forum

Help Support GroupDIY Audio Forum:

This site may earn a commission from merchant affiliate links, including eBay, Amazon, and others.

OneRoomStudio

Well-known member
GDIY Supporter
Joined
Jul 8, 2004
Messages
673
Location
Minneapolis, MN, USA
I have a Gefell UM70S from the '90's that has started cutting out. It seems to happen somewhat randomly, but I can cause it by breathing close to the diaphragm. My guess is that the capsule has gone bad (or needs a cleaning). In either, case, I need to be able to get into the headbasket to inspect it, but I can't quite figure out how to do so. I have the model with the metal pattern-selector ring, like this one:
UM70-tall.jpg


Has anyone opened one of these before? Any tips? Thanks!
 
Breathing on the diaphragm and having it crap out is pretty much a definitive test for a diaphragm with holes in it.
 
I have not worked on one but I have opened the detachable grill capsule one
Are there two small plugs on the rotating part under the grill?
 
Contact Gefell and ask them?
They will only offer to service it (with very expensive shipping and service charges), they won't give me any information on opening it myself.
I have not worked on one but I have opened the detachable grill capsule one
Are there two small plugs on the rotating part under the grill?
Yes, there are two black plastic/rubber plugs on either side of the rotating part. I read that others have had to drill/tap these to pull them out in order to access the screws below.
Breathing on the diaphragm and having it crap out is pretty much a definitive test for a diaphragm with holes in it.
That's my assumption. Either holes or dirt/debris shorting out the diaphragm to the backplate, which I may be able to clean off.
Very likely a bad capsule that reacts badly to moisture, like @NoisyIndividual mentioned. You should contact Gefell- they will get it right without any further possible damage. Great mic, btw!
I have another Gefell M7 that has been reskinned by Thiersch, so if this one can't be repaired, I can replace it without having to ship it back to Gefell.
 
Ok, I gave it a go and I'm glad I did. Details here for anyone looking to do this in the future:

Step 1: Removing the plugs
There are two black plastic plugs embedded in the pattern selector ring, one on each side. These need to be removed. In my microphone, the plastic was quite brittle, and I found it easiest to work them out with a fine jeweler's screwdriver (careful not to scratch the finish)!
UM70s_plug.jpeg
Step 2: Remove the screws. These are 2mm hex, and they have been fixed in place with something like loctite, so it takes some effort to get them free.
UM70s_screw.jpeg
A shot of the screws (they are short):
UM70s-screws.jpeg
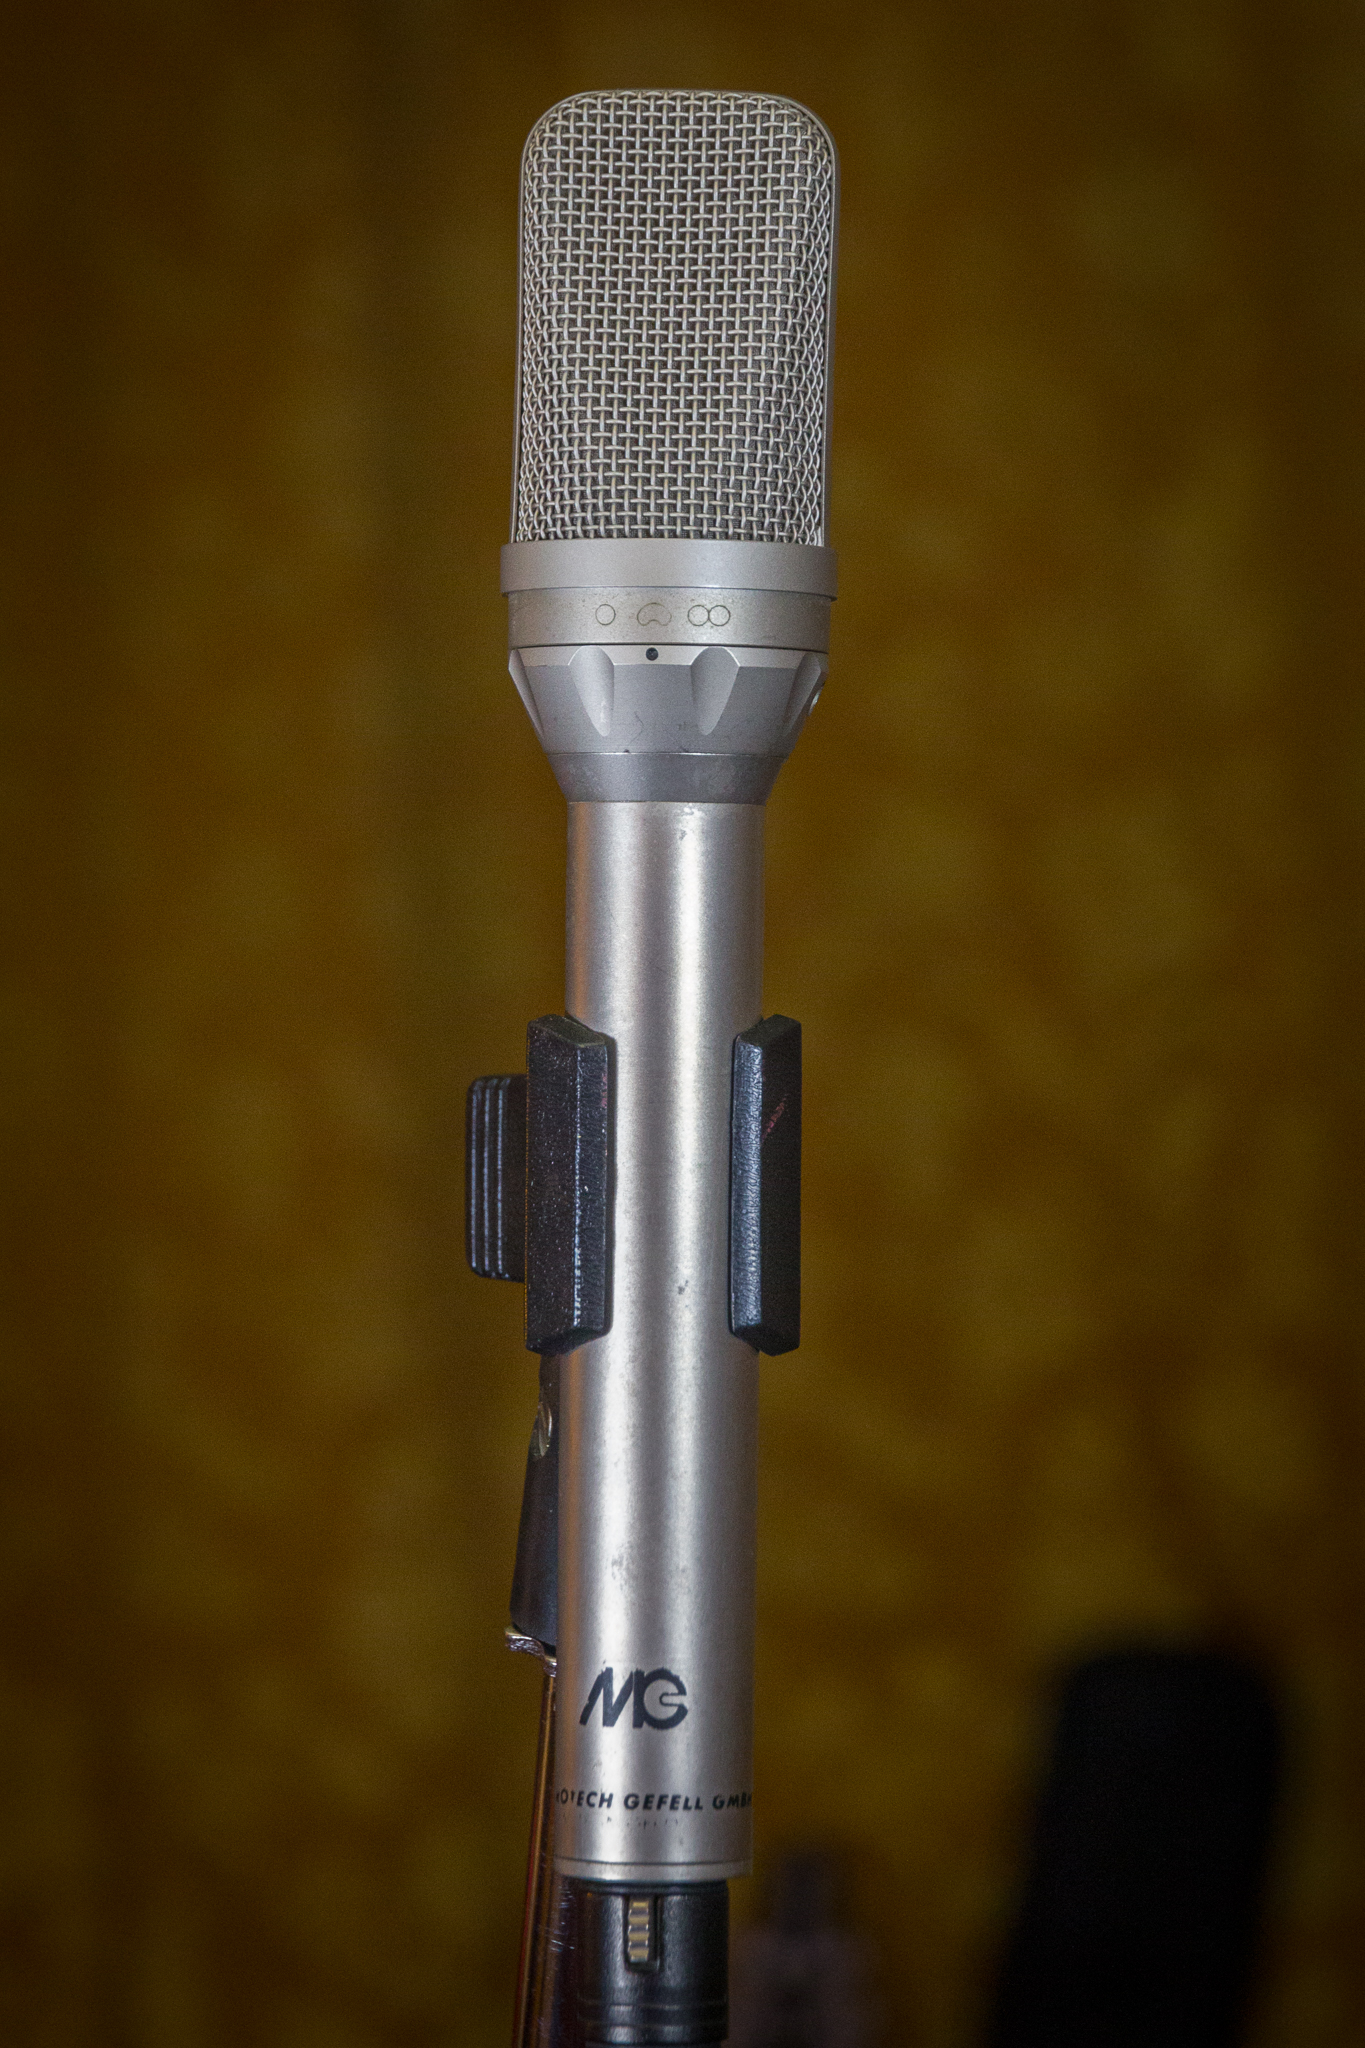
Step 3: Remove the pattern select ring (it slides down over the handle). Here is the mic without the pattern select ring:
UM70s_wor.jpeg
Step 4: Remove the thin plastic insulating disc (it also slides down over the handle):
UM70s_ring.jpeg
Step 5: Remove the foam and screws fixing the head basket to the base. Two notes - 1) the foam can easily be pulled out with some tweezers, and 2) be VERY CAREFUL when removing the head basket - there is a spring and ball bearing inside that will pop out if you are not careful. I heard this would be the case, so I carefully "ejected" the spring onto a rubber mat.
UM70s_foam.jpeg
Here are the parts (note small spring and ball):
UM70s_parts.jpeg
Step 6: Remove the headbasket. Here are shots of the inside of the base as well as the inside of the headbasket:
Base (note, for reassembly, the ball bearing goes into the hole to the left of the left most gold contact, followed by the spring, which sits on top of it):
UM70s_head.jpeg
Headbasket:
UM70s_undercapsule.jpeg
Step 7: Remove the remaining screw on the bottom of the headbasket, followed by the two bullet-shaped screws, which require a very small, stiff tool, or delicate work with pliers.
"Bullet" screws seen from the side:
UM70s_bulletscrews.jpeg
And removed:
UM70s_bulletscrews2.jpeg
Step 8: Carefully pull the capsule assemble out of the headbasket. Here's what made all of this worth it - the capsule is intact!
Front diaphragm:
UM70s_M7a.jpeg
Rear diaphragm:
UM70s_M7b.jpeg
Now I just need to clean it!
To confirm everything else was working properly, I temporarily stuck my M71 headbasket on the UM70S body, and it worked like a charm (and sounded great)!
UM70s_M71.jpeg
I'll report back on the cleaning of the capsule.
 
Just to report back. Despite cleaning, the capsule is still having issues. I think the PVC is starting to breakdown. Luckily, the Thiersch capsule I had sounds great in there (better than I ever remember the original sounding), so I have a great mic back from the dead. I think M7 I removed will have to be reskinned though (maybe for a future DIY U47?).
 
Last edited:
Back
Top