NV73 preamp - journey

GroupDIY Audio Forum

Help Support GroupDIY Audio Forum:

This site may earn a commission from merchant affiliate links, including eBay, Amazon, and others.

canidoit

Well-known member
Joined
Apr 6, 2009
Messages
1,192
Location
Australia
******************* Disclaimer ****************************
This is just my experience regarding this build and is the opinion of myself. Use this information at your own discretion and responsibility.

*******************************************************

The PCB board rev I have is Rev 3.02 and this thread is in accordance to the BOM list I obtained from the date I started this thread. Onlymee has made some changes to the latest BOM list to correct some errors I have discovered in my journey.

Here is a word 2007 ordered parts list for those who may want to use it for guidance or reference. I think most of this list is the same as what Don is giving out except I have some parts in there that I had to purchase from Digikey due to stock issues.

Mouser and Digikey ordered parts list:
NV73 pre-amp Parts Ordered List Word version 2007 - 22/11/10

If you would like to take notes of some of my build process for your own build, best to read the whole thread because the info is not spread in a systematic order. The core of my build process is made up of 2 pages.

The journey has begun...
 
Support thread and supplier

Where to buy
http://www.thedonclassics.com/nv73diy.html
http://www.groupdiy.com/index.php?topic=41147.0

The support thread
http://www.groupdiy.com/index.php?topic=36831.0
 
I think Tomato's talking about the Peavey. Can we get a moderator to clean up this thread? Or maybe just let it go and start over?
 
Preparation

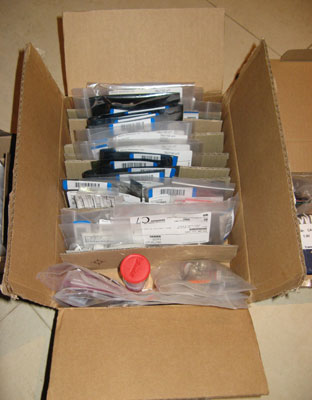
Finally received all my parts for both builds and began working on a filing system that would allow me to access the countless resistors, caps, etc... as I build both the NV73 and EQN projects.

Even though it took several hours to do, I know it will eventually pay off.

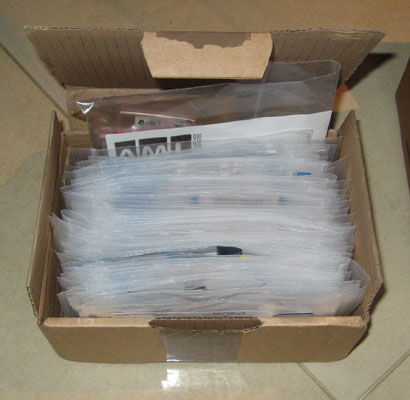
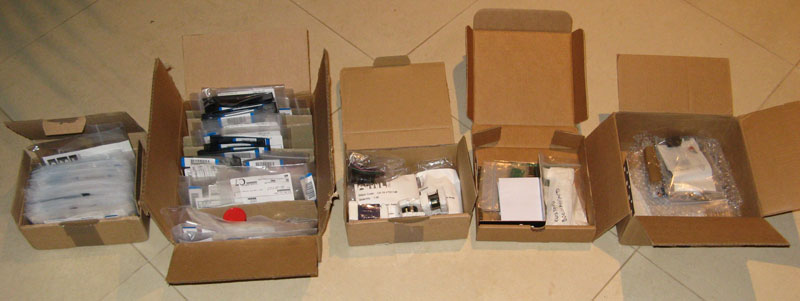
Using the boxes I received for the parts and kits, I started dividing them with cardboard inserts.

Resistors in proper numerical order, ohms, k, m...
nv73Journey-1.jpg


Caps in numerical order. I'm not good with my pf, uf, nf... etc. so I thought I would just sort them by numbers and work out which part to use when I come to it. I wouldn't advise this method though, because I think you are most likely to make a mistake especially when you have been soldering away and you have been working on a build for hours.
nv73Journey-2.jpg


All boxes ready to be accessed...
nv73Journey-3.jpg


I printed out all documents that related to this build from the BOM, Mouser/Digikey/AM/Supplier list, PCB scan prints, pictures of builds, schematics, forum posts, collection of notes, etc...
 
51x tab

Sawed off the 51x tab since my main use for this build would be for the API lunchbox (16 volts).

I first considered making this swappable with the 51x rack by keeping the 51x tab on but I had already spent money on the DC-DC converters and parts and did not plan to go 51x, so I decided it wouldn't be worth it for my purpose.

nv73-tab.jpg


Just be careful if you decide to saw this tab off. Be sure to have the board secured well because I felt that with the swinging motion and sometimes the saw gets jammed that there may be a possibility that you snap the board while sawing it.
 
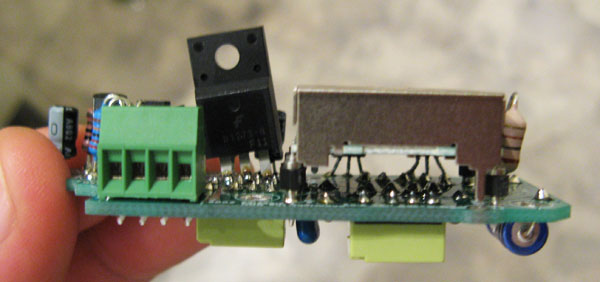
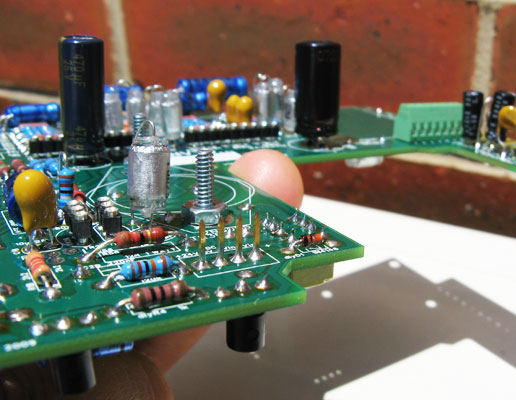
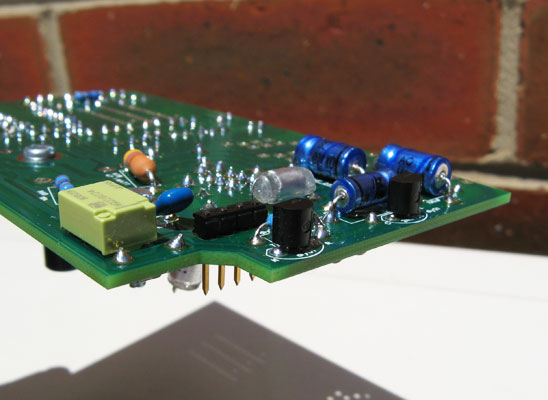
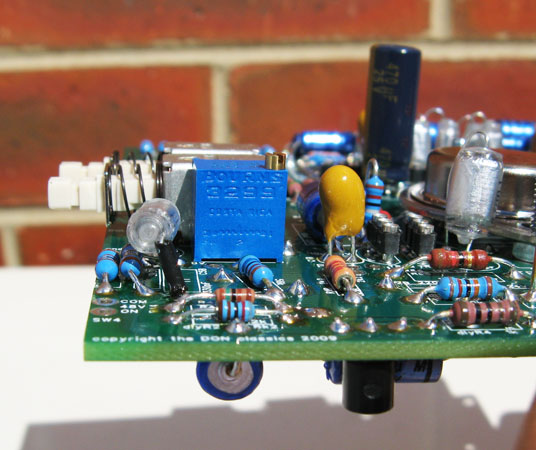
Underside of board height requirements

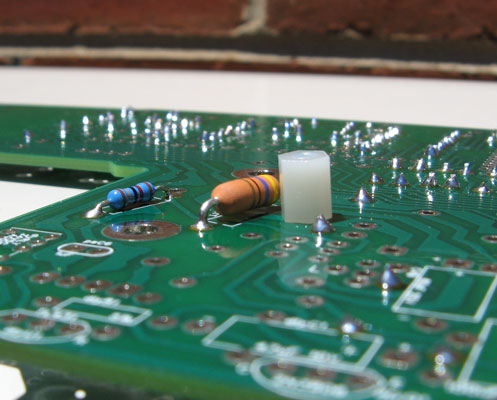
Soldering the components on the underside, checking to see that it does not exceed the height of the standoffs whilst still allowing a gap for the higher watts resistors against the PCB.

nv73-clearance.jpg
 
Polarity on caps is a little confusing for me so I used this link to find out what caps uses polarity.
http://www.piclist.com/images/www/hobby_elec/e_capa.htm

I also referred to the component data sheet which you can find at Mouser which can help you confirm which lead or leg is the positive or negative.

In this build, the following component I discovered so far that do not require polarity are:
- Multilayer ceramic capacitors
- Film Capacitors
 
BC184C transistors and sockets

These sockets from what I recall were not in the BOM cart list. Luckily someone had posted these sockets in the main NV73 thread which I added to my order. These sockets are in my BOM list.

3 pin sockets - 535-03-0513-10
6 pin sockets - 535-06-0513-10T

The 3 pins you would break up individually for the DC-DC converter.

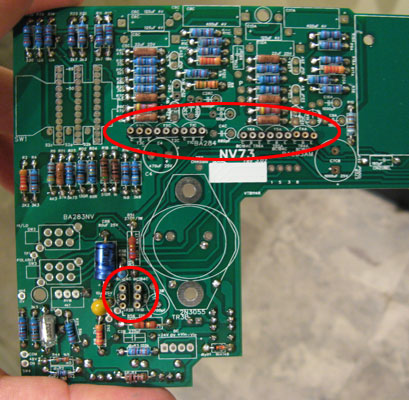
You would also use the 3 pin socket set for the transistors which are lined up 9 legs in a row on the board. So you would use the 6 pin socket set in conjunction with the 3 pin socket set to form 9 pin socket set in a row.

All the BC184C transistors go on these sockets so that they can be removed. That means T1C, T2C, T3C, TR1B, TR2B, TR4A, TR5A, TR6A on the BOM list.

nv73Journey-11.jpg
 
psL3 or 100uH on the small PCB board

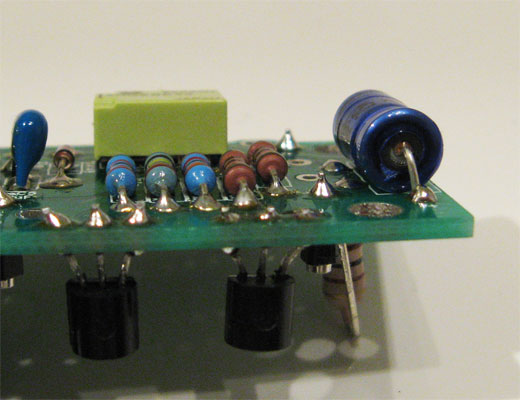
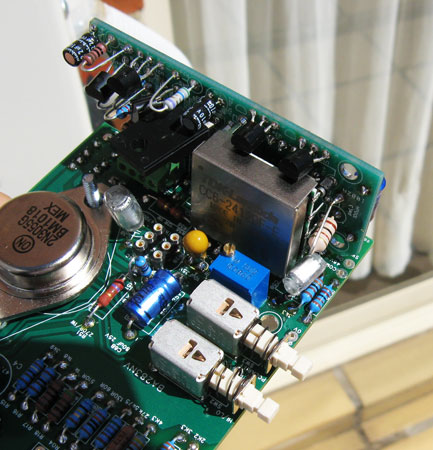
I soldered and cut the legs short on psL3 - 100uh on the small PCB to allow room for C5 100uf 25volt cap on the underside of the small PCB.
nv73Journey-4.jpg


nv73Journey-5.jpg


On the board it is printed as C5 100uF 35 volts. C5 is not in the onlymee BOM so I replaced it with the part for C7b which is 100uF but 25volts. C7b is not printed on any of the boards so that is why I have used that component instead for C5.
 
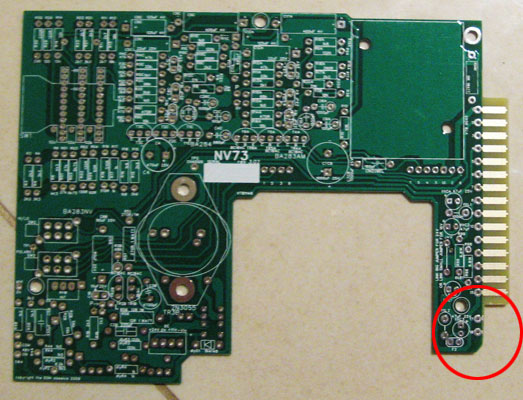
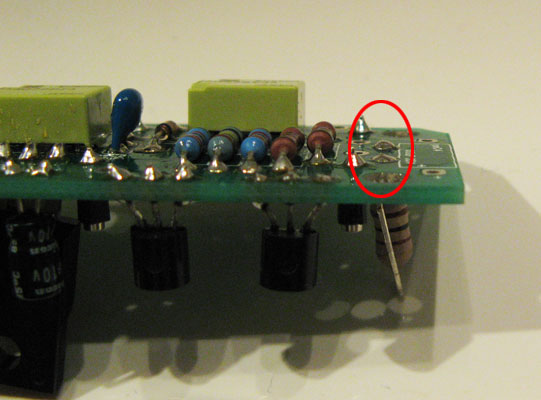
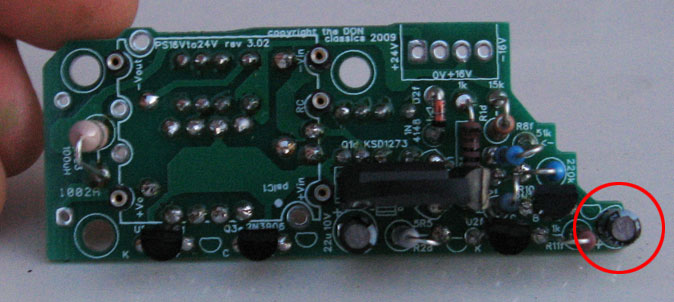
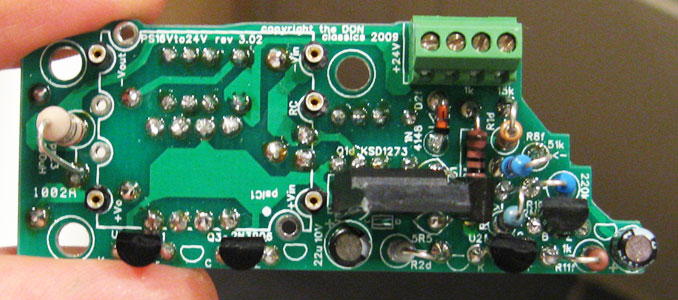
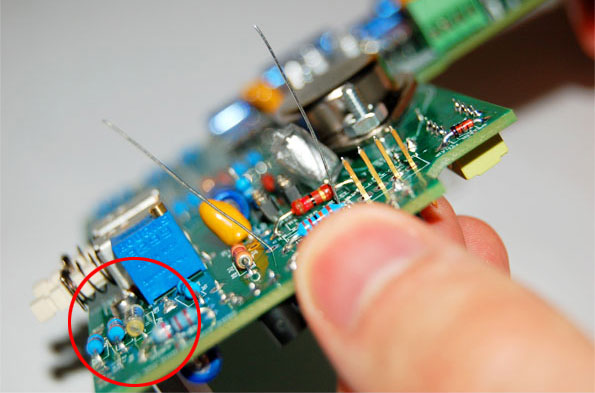
Cf2 or 22uf component on small PCB board

The small PCB has 22uf printed on it but no voltage or part number. I used the component under c2f on the BOM list, which is 22uf 10volts. Refer to red circle.

partUnknown-c2f.jpg
 
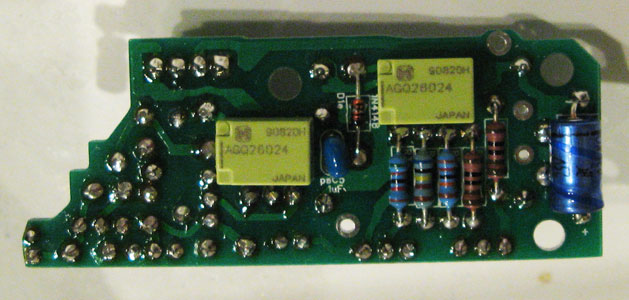
Back or underside of main PCB board

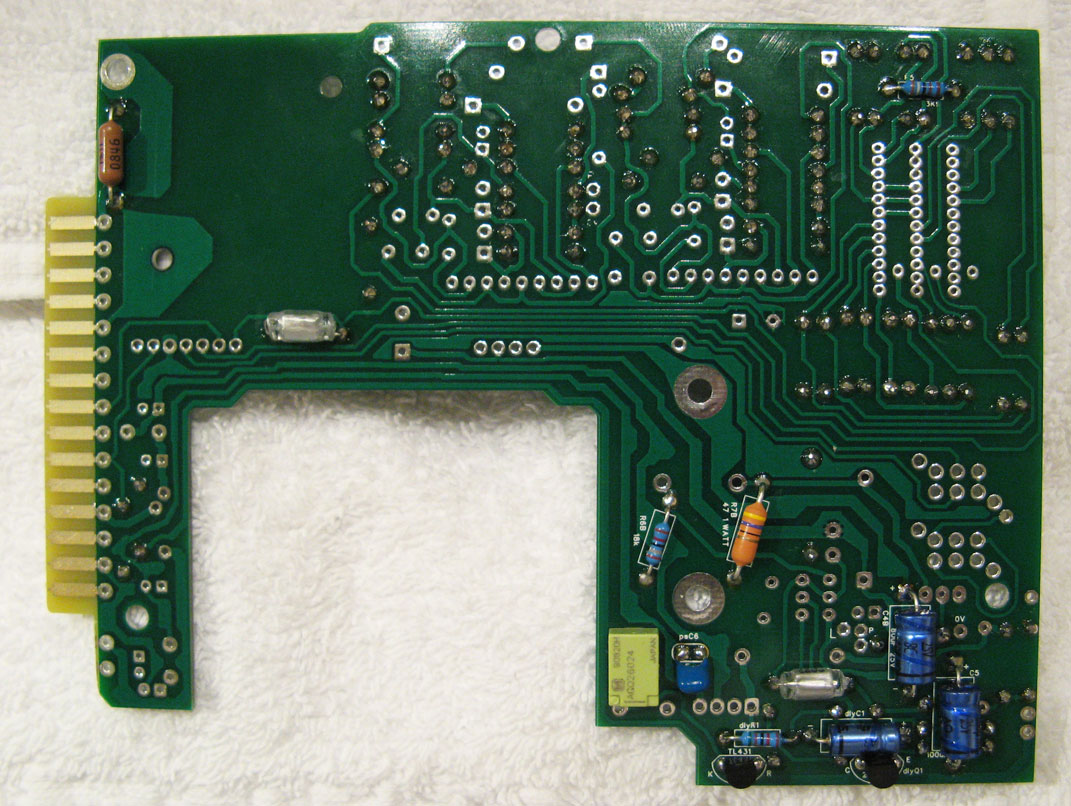
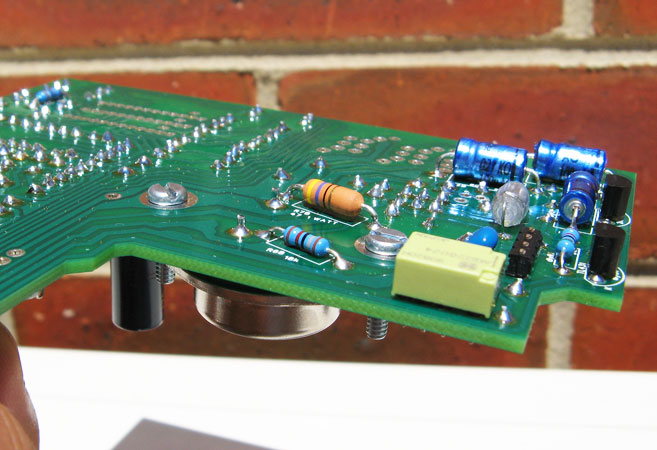
This is the back of the main PCB board with underside components soldered on.

** Remember that the underside components must not exceed the height of the standoffs **

nv73Journey-9.jpg


Note on the underside board:
- C5 uses C7b of the BOM list
- dlyC1 uses dlyC2 of the BOM list

 
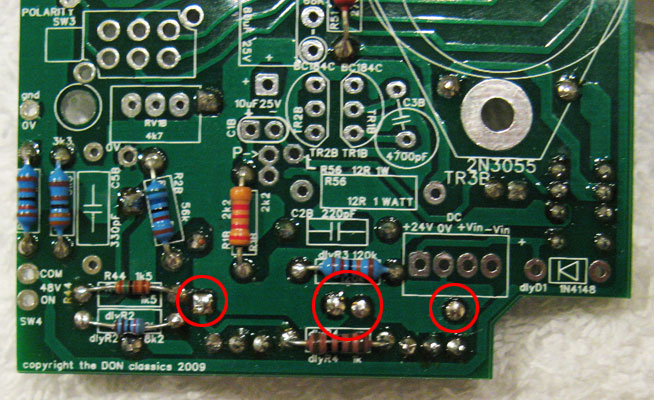
R44 and dlyR2 and small PCB spacing

I left a space between the resistors of R44 and dlyR2 to allow for the small PCB to slot in. Note that the solder points circled in red are the underside component legs which are fairly flush with the board to also allow for the small PCB to push tight against the main PCB board in that area. As stated in the manual, the small PCB board needs to be tight against the main PCB board to ensure that the build width makes the width requirement once all parts are put together.

nv73Journey-10.jpg
 
Top work.
All good..  resistors R44 and dlyR2 are exactly right (maybe my description wasn't too bad!)
C30 should be OK too like that.  The small PCB doesn't sit exactly flush, there's a small gap.  Fit the boards on the metal work to see.  The styros from mouser are slightly bigger than the styros of yesteryear, which is why it's a bit fiddly.
 
DC pins

I used the Headers & Wire Housings 36P STRT 1 ROW GOLD and cut 4 off.

I aligned all 4 pins into the PCB and soldered one pin lightly. Then I heated the solder on that pin so that I can make fine adjustments to the alignment. I left a gap where the black plastic part is against the PCB because I prefer some solder to seep to the other side of the board for a more solid hold of the pins. Be careful if you do this, incase you accidentally oversolder and short the pins from the back.

nv73Journey-13.jpg


I cleaned the pins at the front after with flux cleaner to ensure maximum contact.

I also trimmed the pins from the back to prevent it shorting to the metal case when installed.

nv73Journey-14.jpg

 
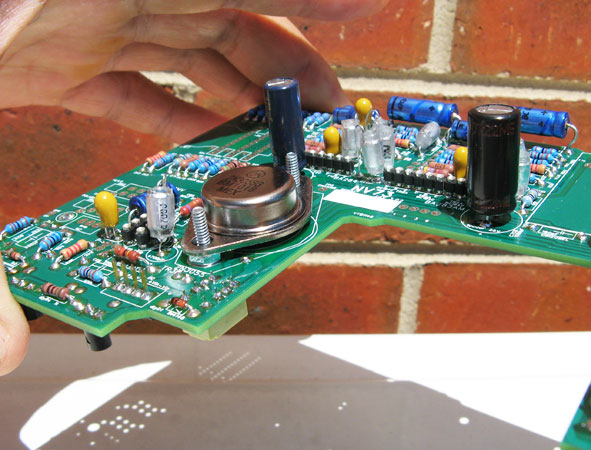
2N3055G

I installed the bolt and 1 nut first for both sides on the board. Then I positioned 2N3055G and soldered the leads from underneath. These component from what I know is part of the heatsink system.
nv73Journey-15.jpg

I followed how the writing on the 2N3055G is facing on onlymee's manual when installing it to the board.

Trim the leads from the underside of board to prevent shorting when installed in the case.
nv73Journey-16.jpg
 
For larger C5B component

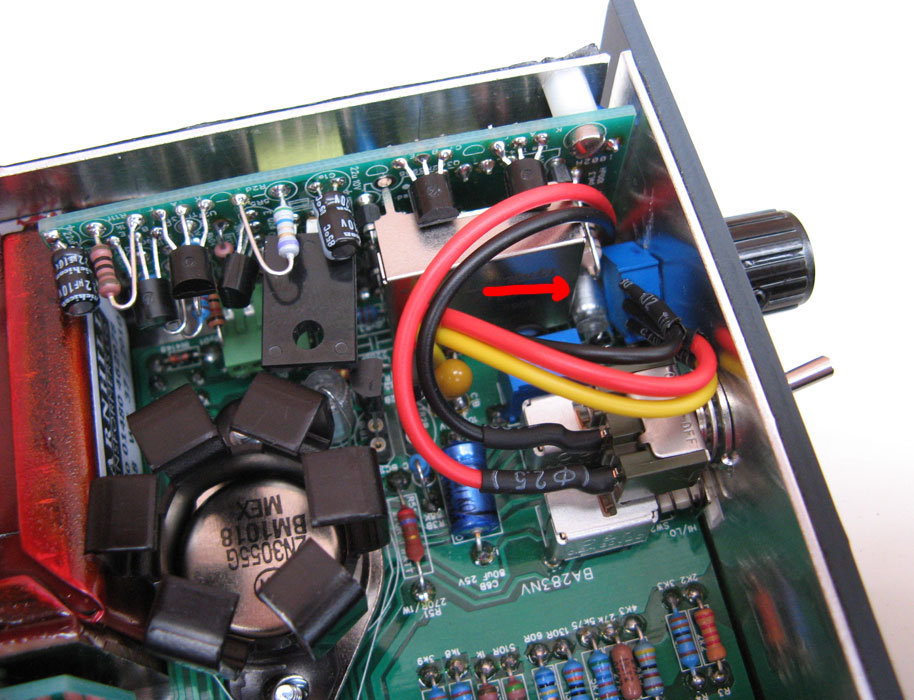
I had to redo C5B and R5B because the positioning did not allow for the small PCB.

If you look at onlymee's C5B component he has used and the component on the actual BOM, the size difference is huge. His C5b component is the size of a resistor.
dblawn-edit.jpg


Customizing it is essential and I used heatshrink to cover the C5B leads from shorting something. Better to be safe than sorry. Lucky I had enough C5B leads left after I had trimmed and soldered it initially.

nv73Journey-17.jpg


nv73Journey-18.jpg


nv73Journey-23.jpg
 
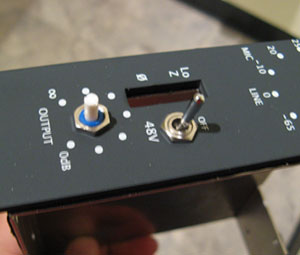
Output pot and phantom power switch tab holes

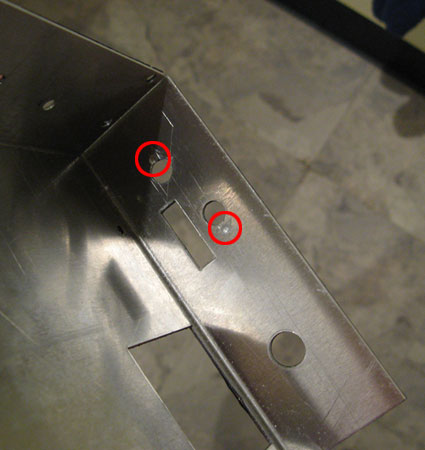
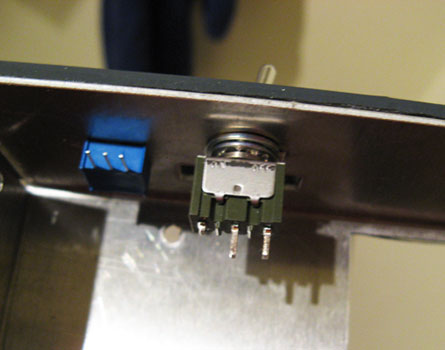
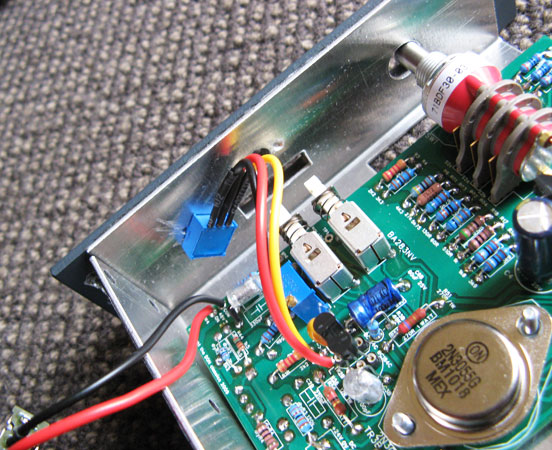
The pot and switch has a tab on it that prevents it from moving. On the case, I have used an engraver with a small grinder attachment to create the holes for these tabs. I gave the case a good clean after to make sure that there were no bits of metal in the case that may cause the unit to short.

nv73Journey-19.jpg


These allow the pot and switch to mount flush against the inner case and ensure it will not move once I have screwed the nuts on it in place.

nv73Journey-20.jpg

nv73Journey-21.jpg


I prefer components not touching each other and due to the size of the C5B component, I had to angle the output pot so that it minimized the amount of area touched by the C5B component. I drilled a new position for the tab hole for the output pot.
build3.jpg


Latest posts

Back
Top