You are using an out of date browser. It may not display this or other websites correctly.
You should upgrade or use an alternative browser.
You should upgrade or use an alternative browser.
Help Support GroupDIY Audio Forum:
This site may earn a commission from merchant affiliate
links, including eBay, Amazon, and others.
S
sintech
Guest
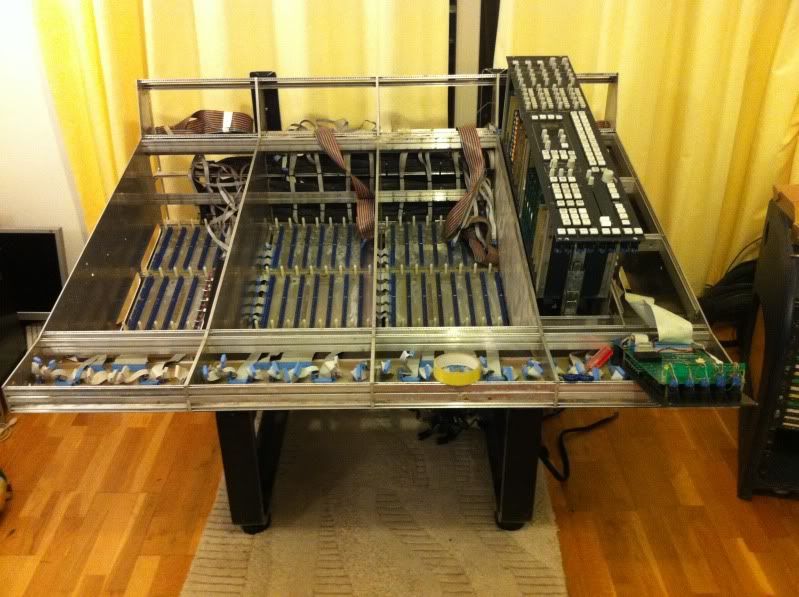
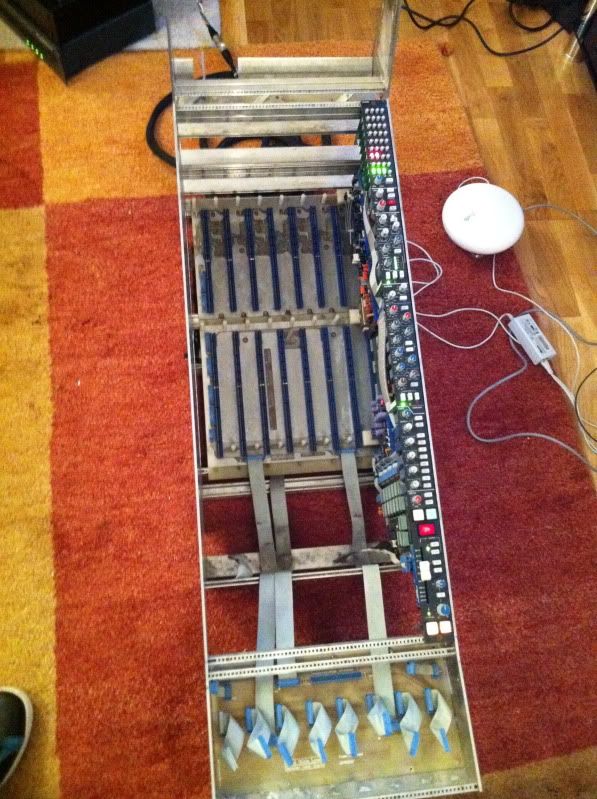
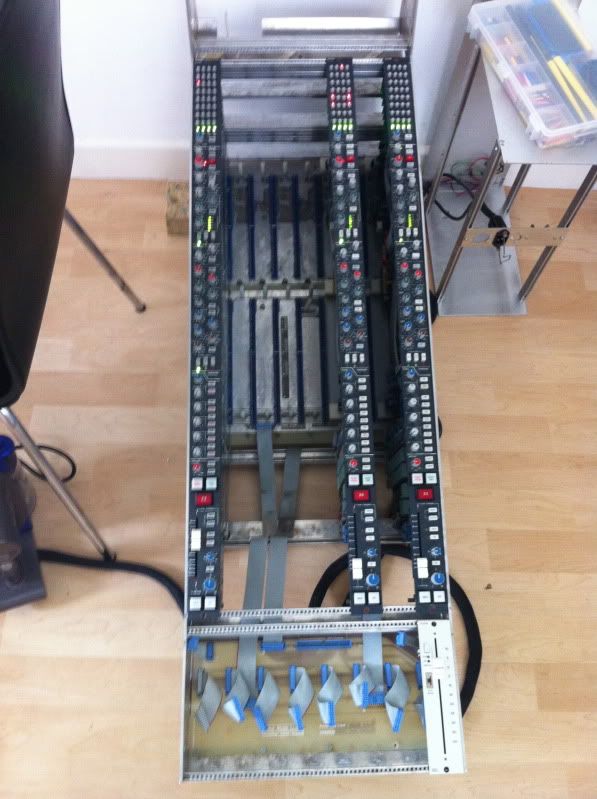
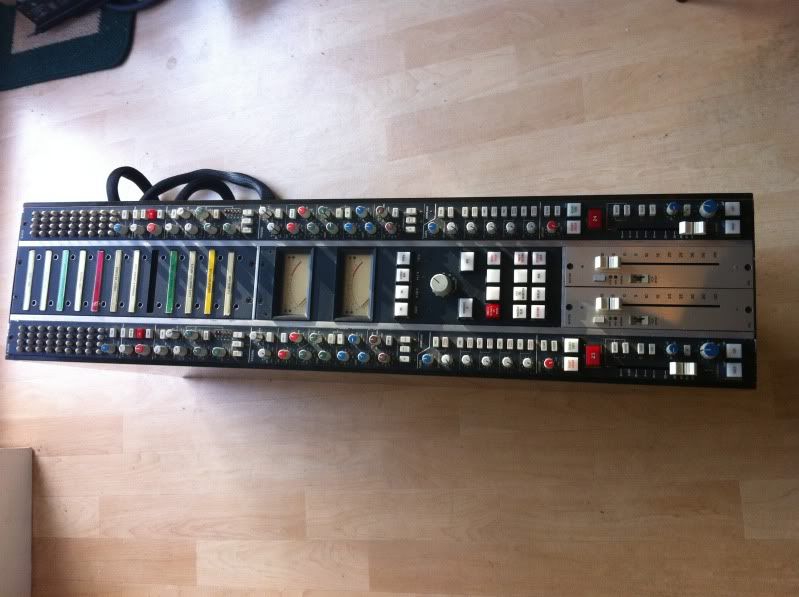
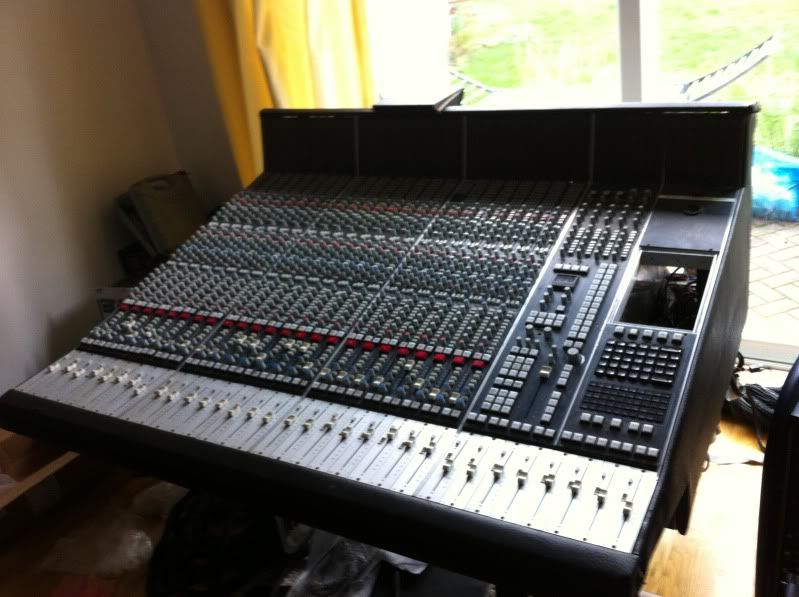
Todays progress: Back as a 4024 

S
sintech
Guest
On the bottom of the 651, I have homes for all the connectors and ribbons, apart from one marked: S93E any ideas guy's? 8)
Walrus
Well-known member
In my old manual, S93E is listed as...
82E113 Floppy Disk Front Panel
82E114 Floppy Disk Rear Panel
Pin No Description
1 Left Unit "R"
2 Right Unit "R"
3 +24 Volt Return
4 +24 Volts
5 +5 Volts Return
6 +5 Volts Return
7 Run Lamp II
8 Run Lamp I
9 System Reset
10 Not Used
Don't think your setup will need it.
82E113 Floppy Disk Front Panel
82E114 Floppy Disk Rear Panel
Pin No Description
1 Left Unit "R"
2 Right Unit "R"
3 +24 Volt Return
4 +24 Volts
5 +5 Volts Return
6 +5 Volts Return
7 Run Lamp II
8 Run Lamp I
9 System Reset
10 Not Used
Don't think your setup will need it.
S
sintech
Guest
Kevin, brilliant, thanks for solving that mystery 
nielsk
Well-known member
1st suggestion, get rid of the plasma meters & put in VUs. The plasma meters inject noise into the mix buss, and are expensive & a PIA to keep working. It is exciting when they smoke, though :
Why did you solder links to bypass the computer? All you need to do is plug in jumpers, then it can easily be reverted if ever required. I would suggest reversing this change.
If there is a TR computer (a 2 card sub computer in the main frame) I have a client in desperate need of one...
Why did you solder links to bypass the computer? All you need to do is plug in jumpers, then it can easily be reverted if ever required. I would suggest reversing this change.
If there is a TR computer (a 2 card sub computer in the main frame) I have a client in desperate need of one...
S
sintech
Guest
Thanks Igor 
S
sintech
Guest
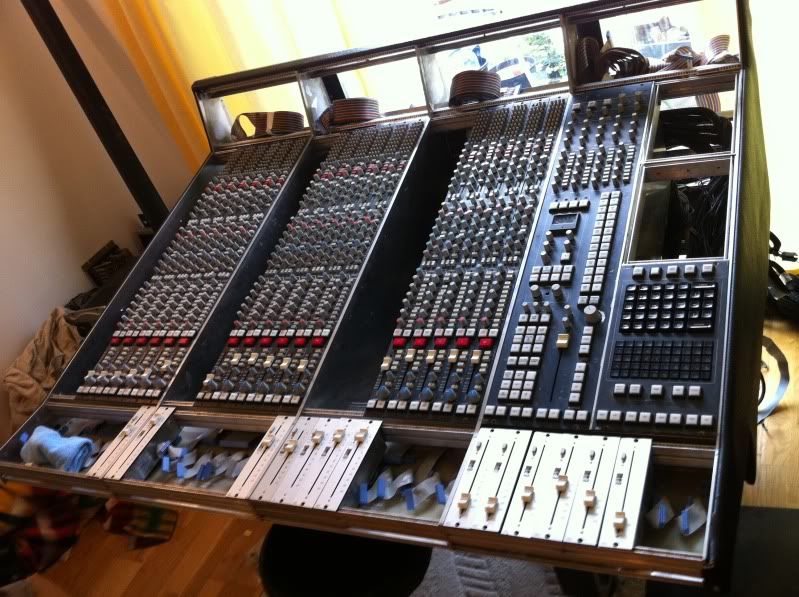
4024E as of this morning
paulfergy
Member
Thanks for sharing this project Sintech, it is great to see such detailed photos of a 4k!
S
sintech
Guest
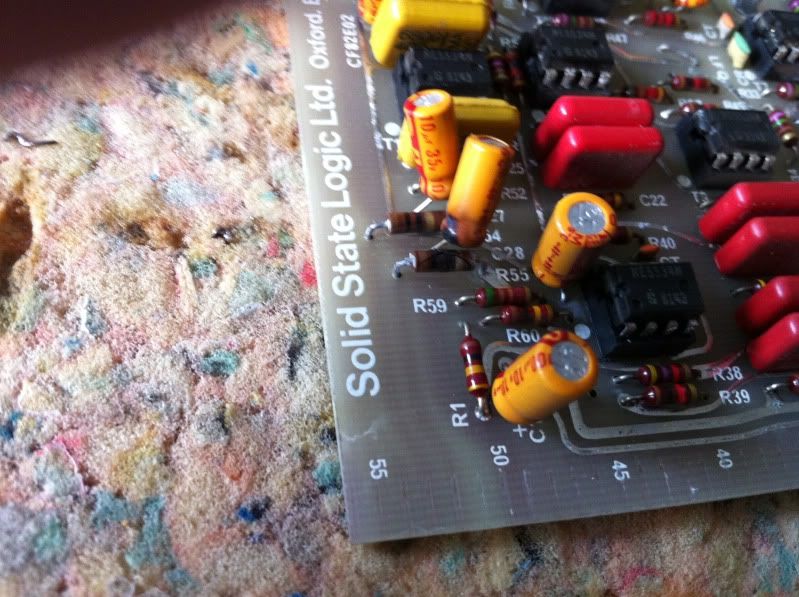
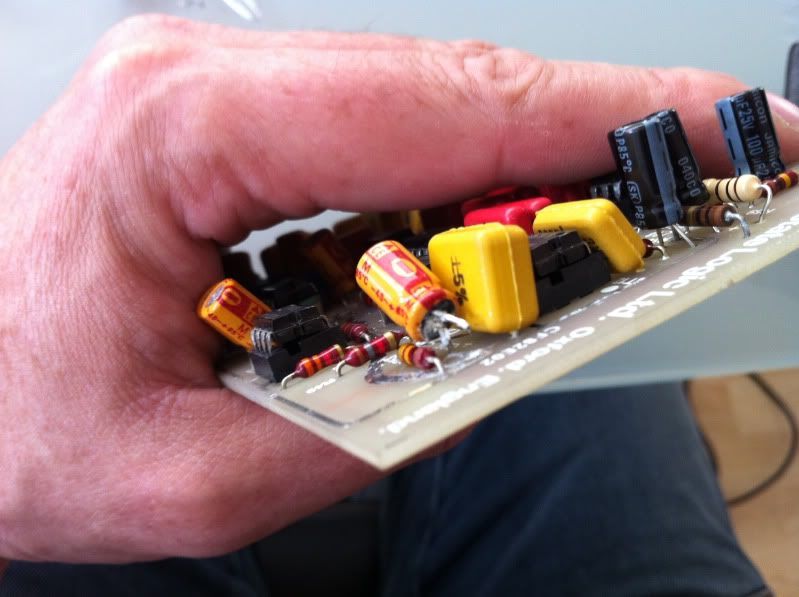
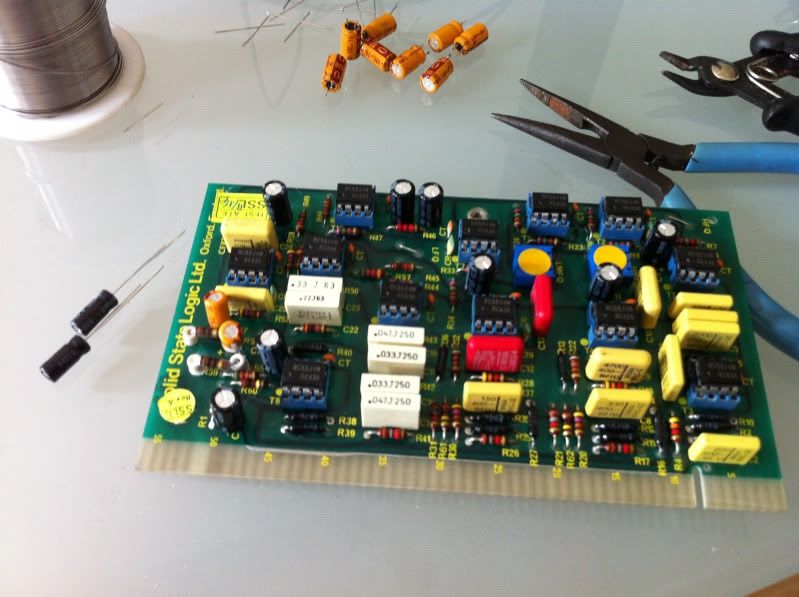
More bad caps, but it's a breeze to change caps being so modular 
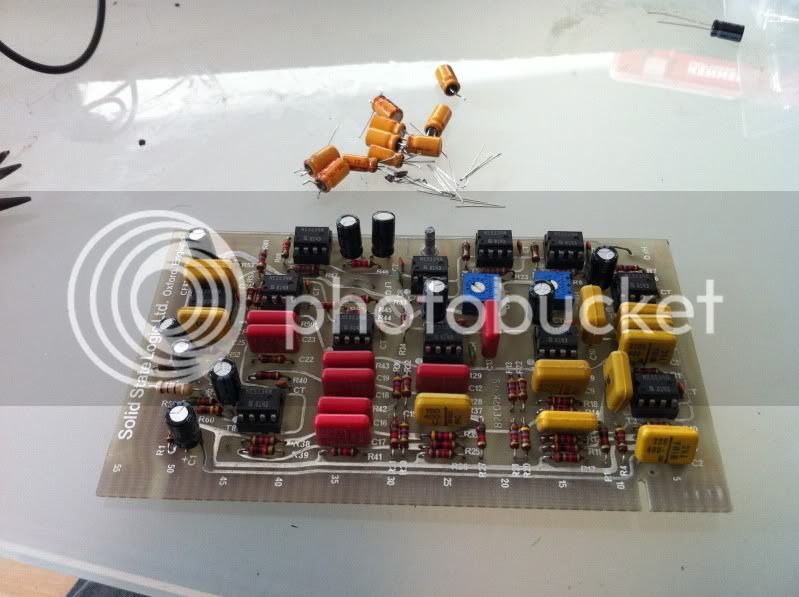
Wiring one of the spare buckets
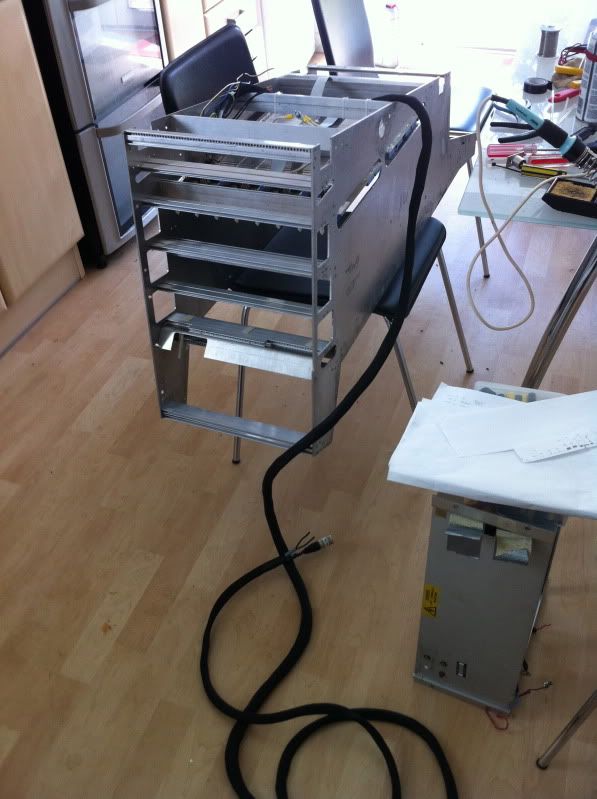
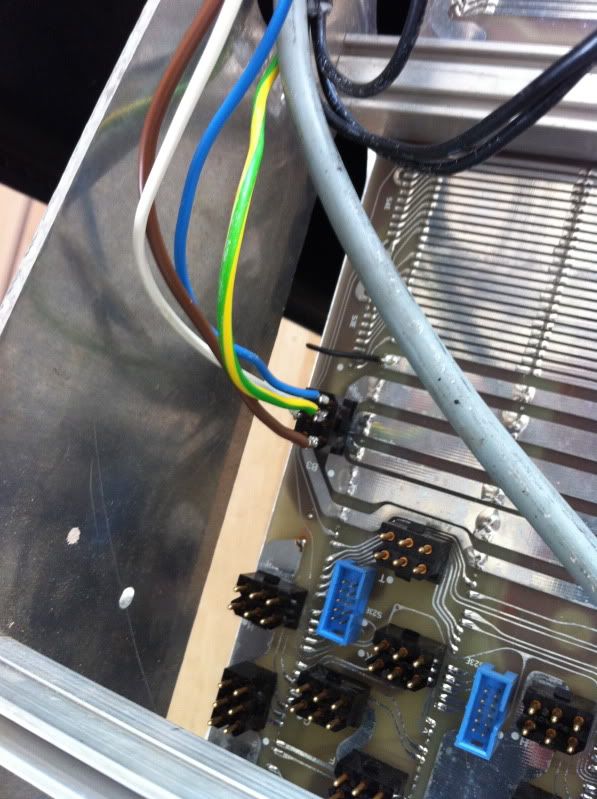
Allen&Heath switch mode console supply feeding the bucket +/- 18v , an extra 7v power supply is tied to the +18v subtracting, to give +11v on it's common, making the logic Hi (+18v) and logic low (+11v) states
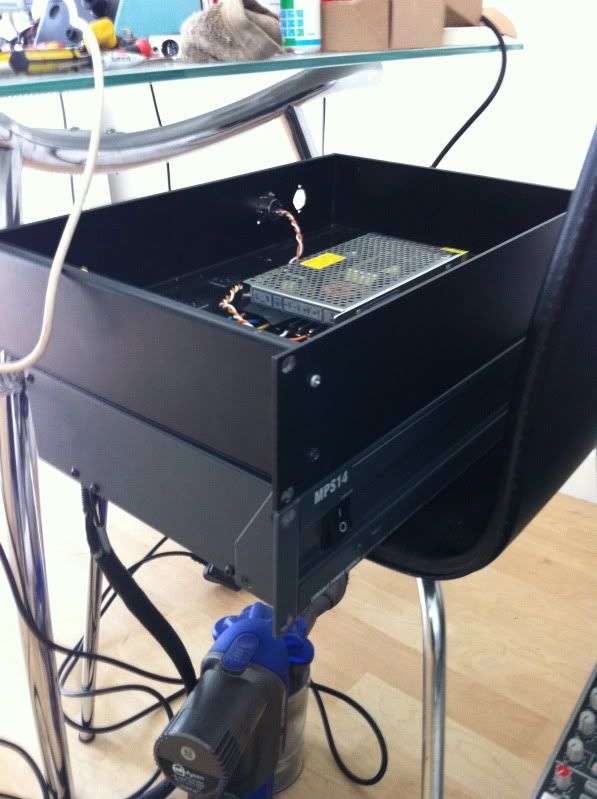
Power!!!


Wiring one of the spare buckets


Allen&Heath switch mode console supply feeding the bucket +/- 18v , an extra 7v power supply is tied to the +18v subtracting, to give +11v on it's common, making the logic Hi (+18v) and logic low (+11v) states

Power!!!


Walrus
Well-known member
What's happened to the computer rack.....??
nielsk
Well-known member
You will notice the the resistor next to the burnt cap in your photo is toast, looks like the fusing resistor. This means there is a short on the card, probably not the burnt looking cap...
3nity
Well-known member
i was about to point that too..
Gareth Connor
Well-known member
Nice project, Sintech. This is a project that I follow with interest.
My partners and I do similar stuff to Neve and Calrec consoles.
My partners and I do similar stuff to Neve and Calrec consoles.
S
sintech
Guest
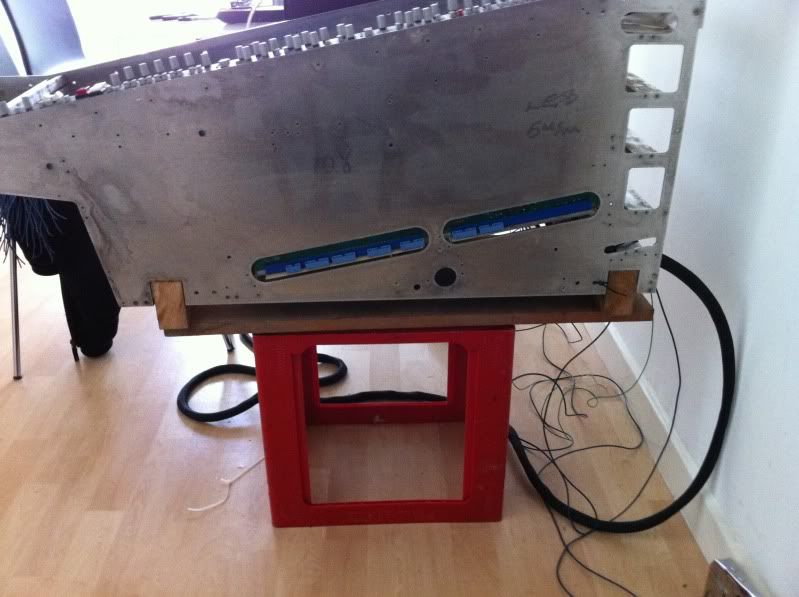
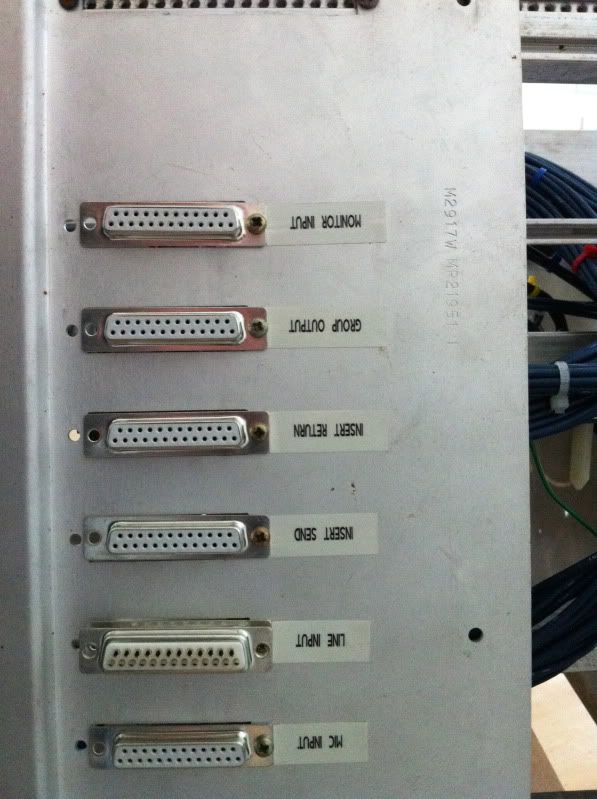
Hi, yeah, it's all done, here's some more pic's of how it all looked in the end.
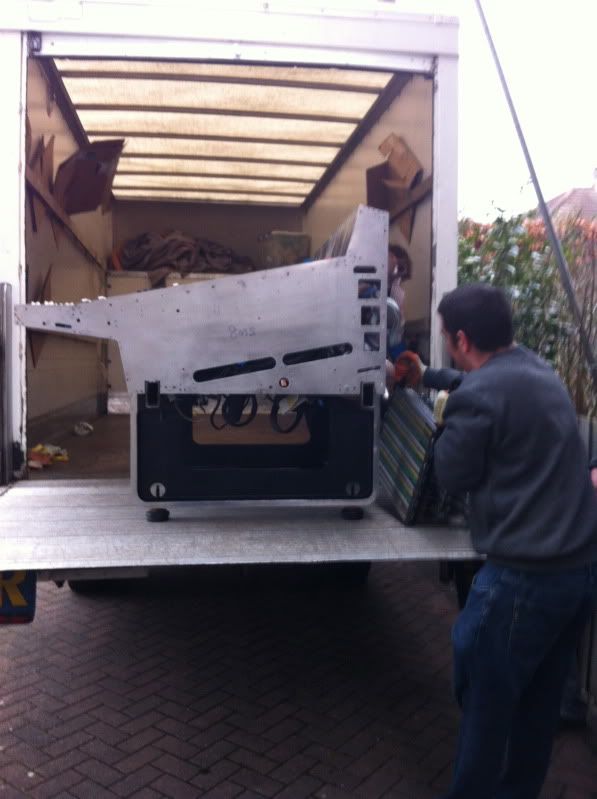
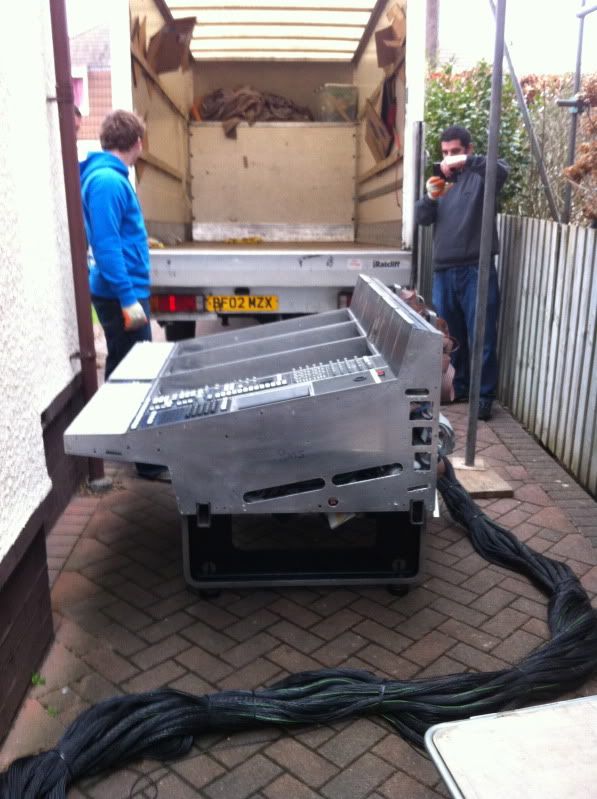
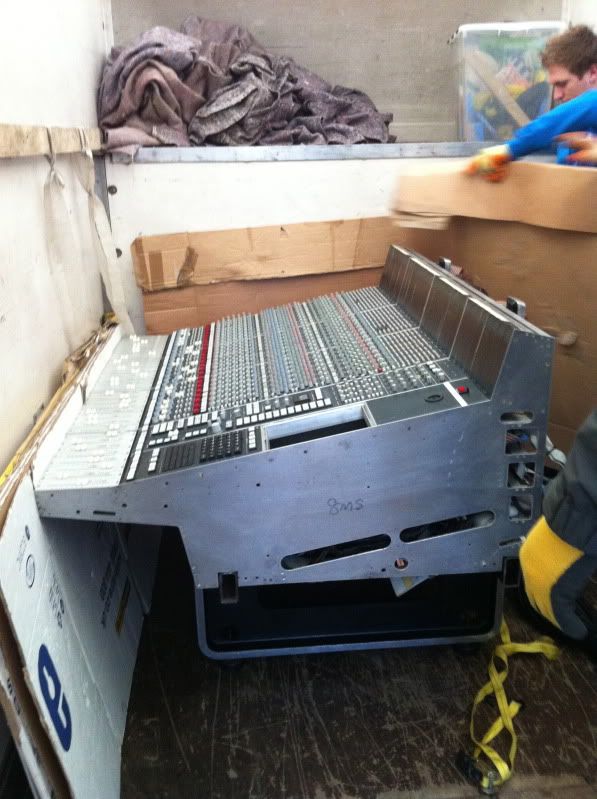
Light portable stand
D-subs
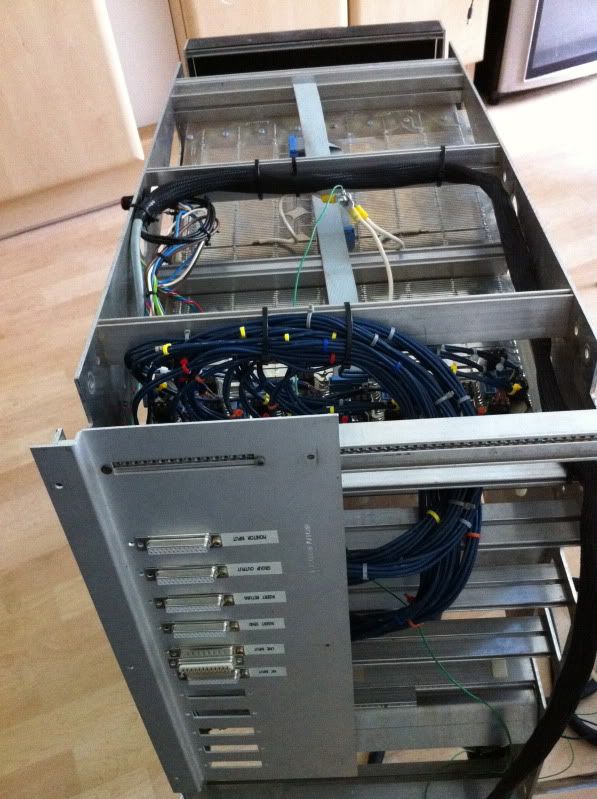
More Recapping
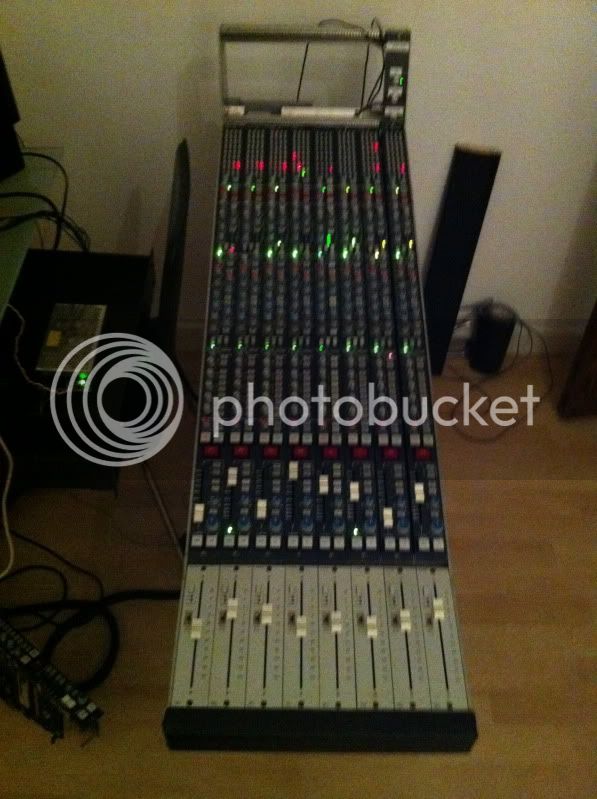
Power up test
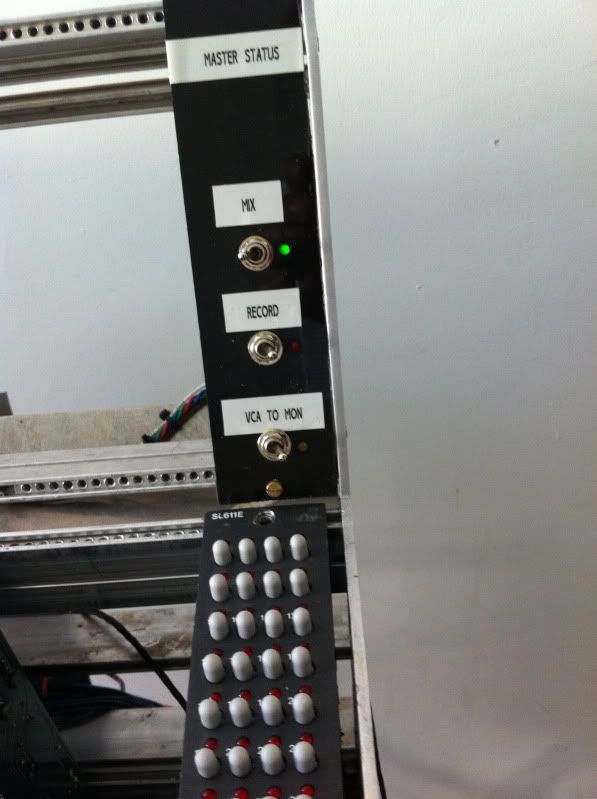
Master Status
4002E!!
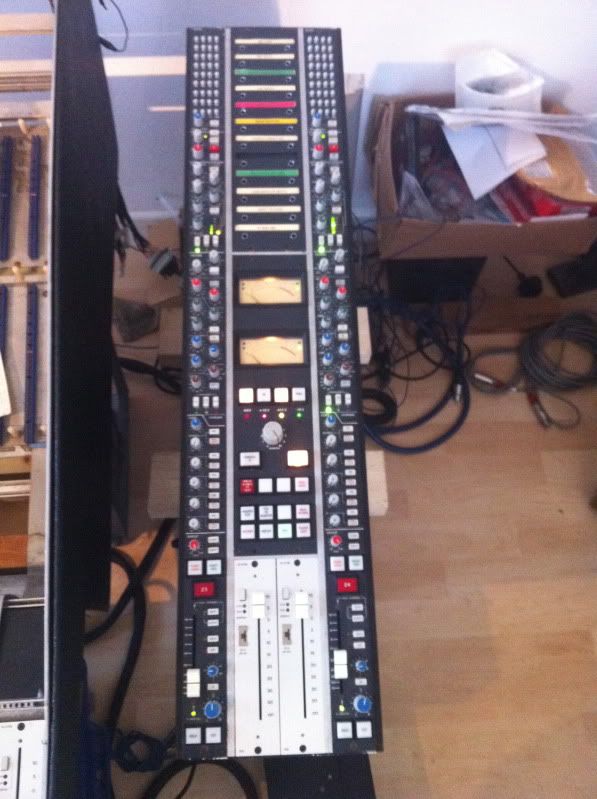
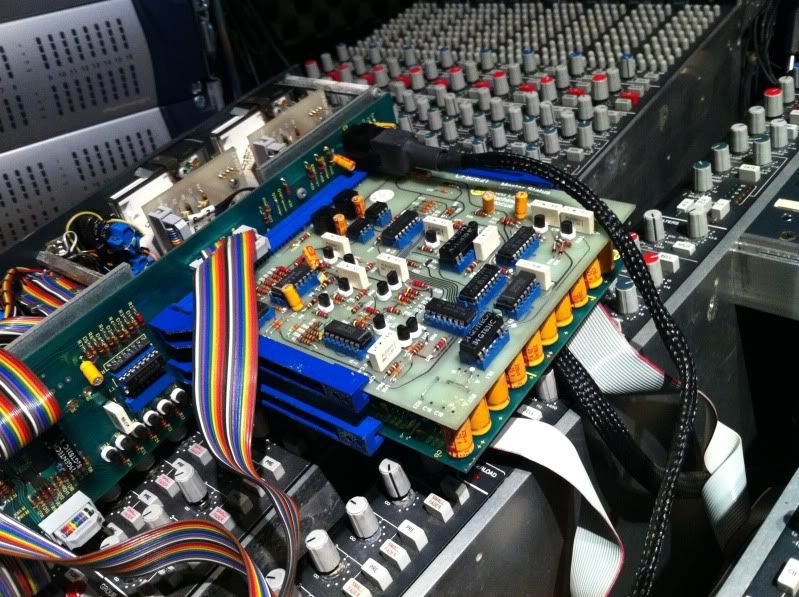
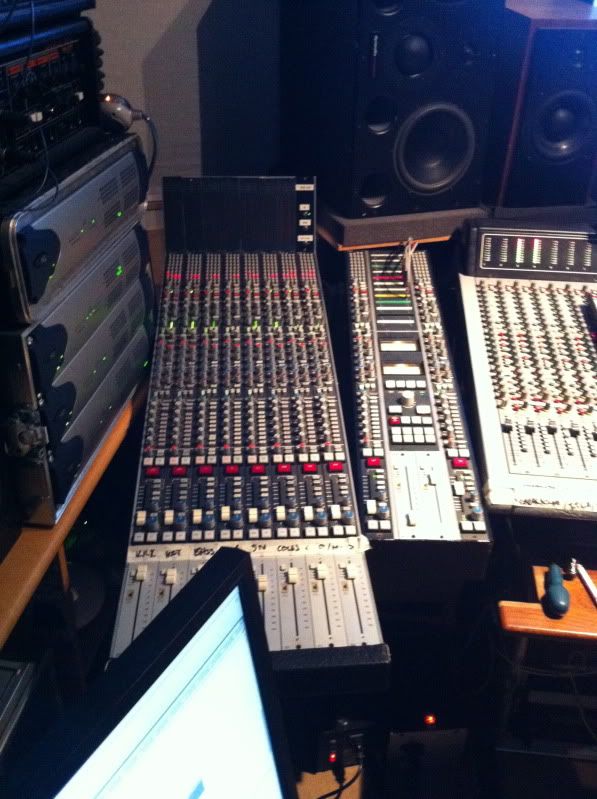
First 8 bucket done
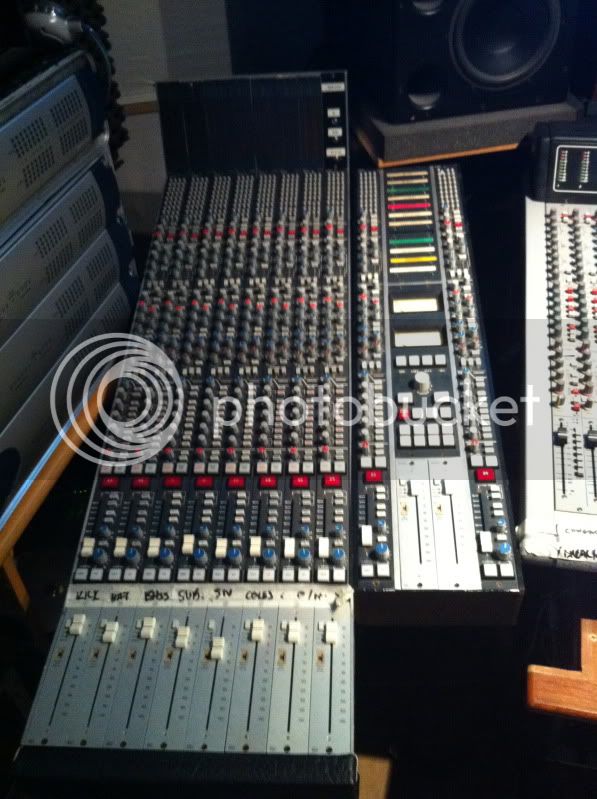
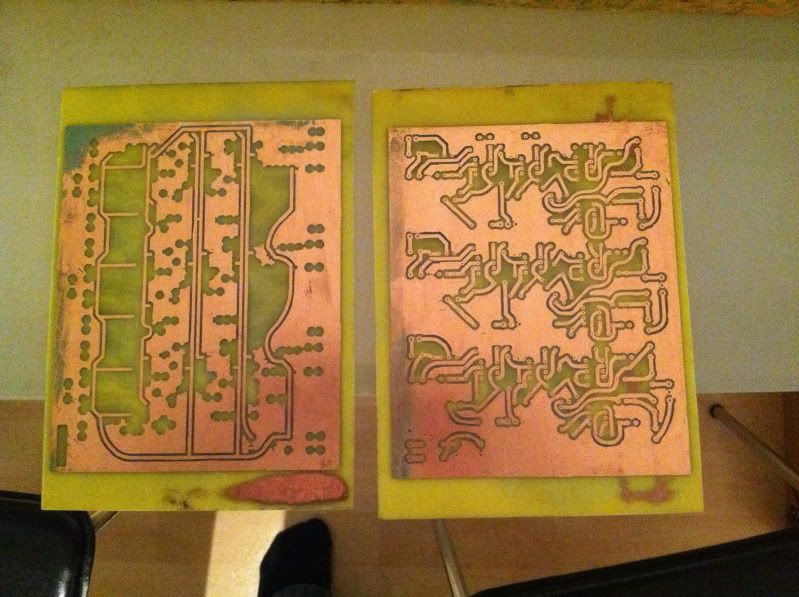
Self Etch Cue Amp card
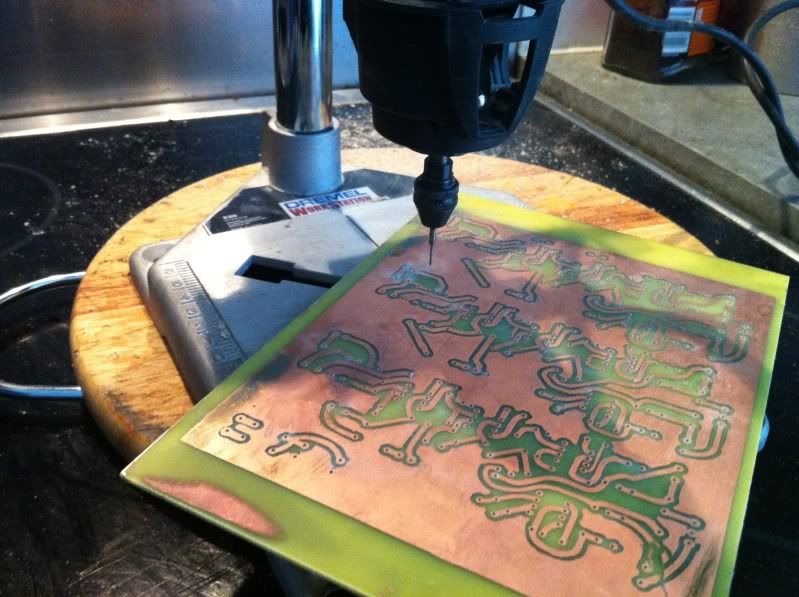
The 24
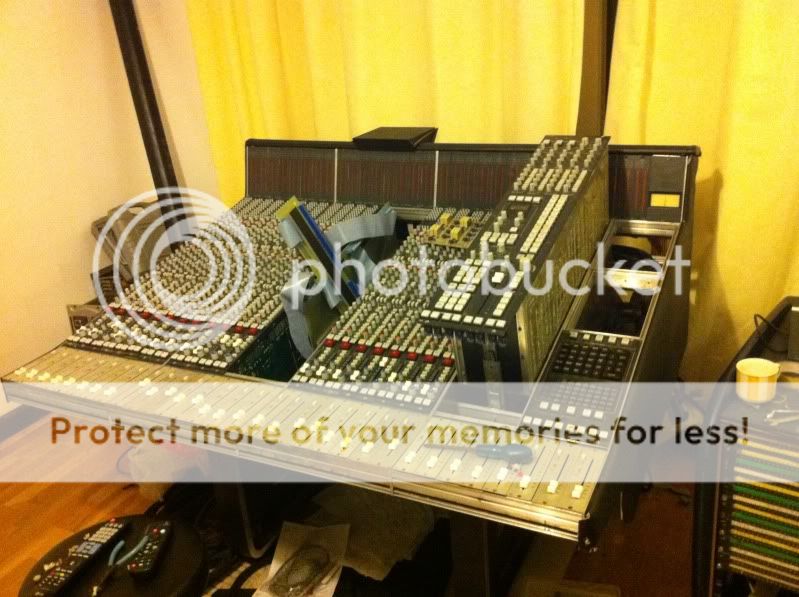
Second Bucket
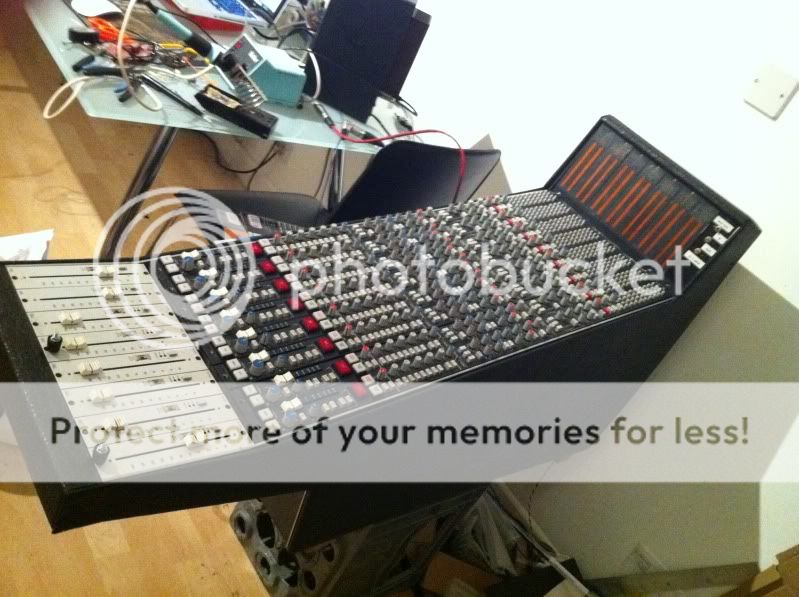
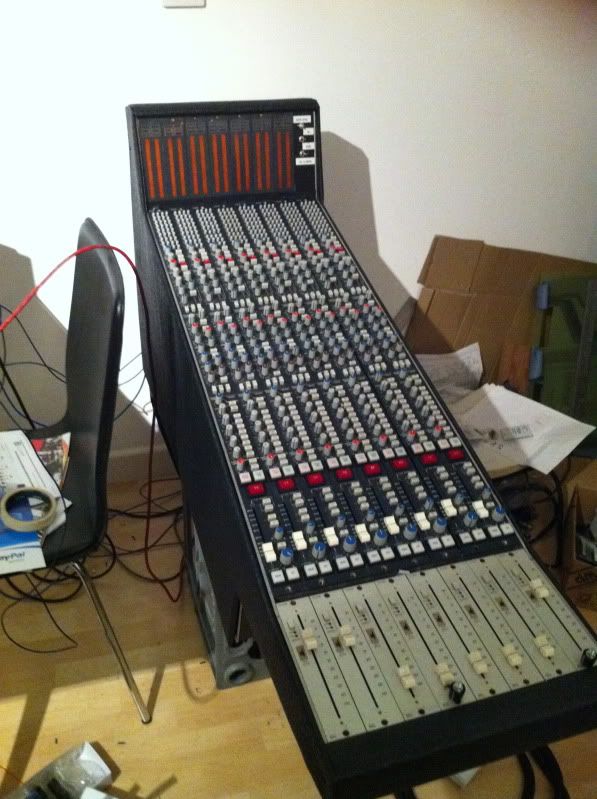
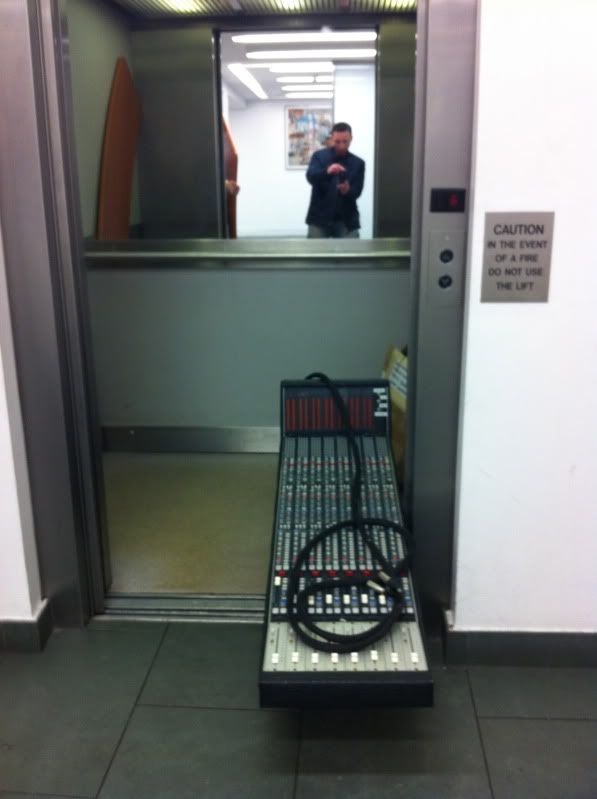
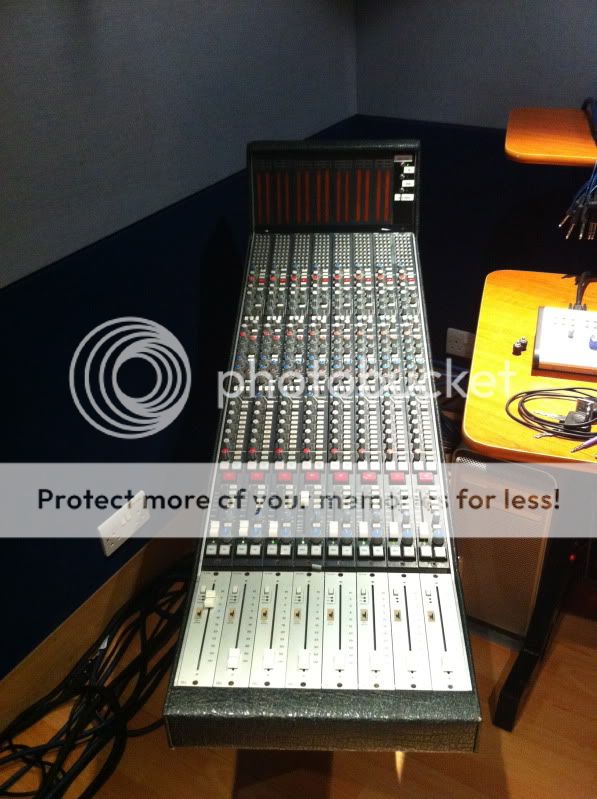
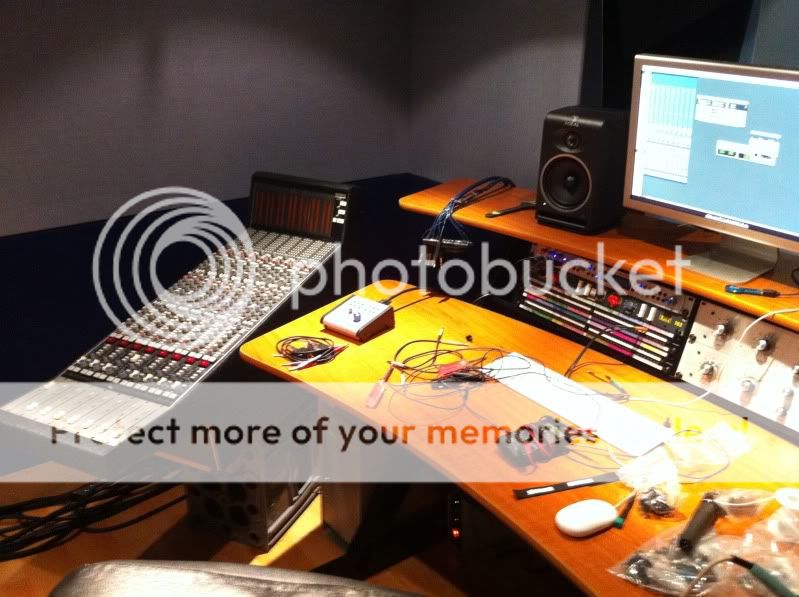
Light portable stand

D-subs


More Recapping

Power up test

Master Status

4002E!!


First 8 bucket done


Self Etch Cue Amp card


The 24


Second Bucket


Similar threads
- Replies
- 13
- Views
- 6K


