Hot of the press !
AKG D12E strip
I have not included pics of the housing stripdown ,just the capsule (Bass chamber removed)
You will need good eyes, or a magnifier, and most important....Patience
Here we go..............
Mark a line down the side of the capsule,...i used the two mounting holes on one side as a guide, and put a line on the top cover ,to aid orientation on reassembly.
NOTE......Be careful with the screwdriver at all stages as the magnet will pull it into the centre of the capsule and destroy the diapham in an instant!!
One the screws are loosened use a plastic driver or implement.
Carefully loosen the six screws at 60deg intervals.
Remove the two screws with wire clamps attached.
Gently Bend the sleeved lead-in wire up.....(the thin diaphram wire enters the sleeve at the bottom)
You can now remove the sleeves .....mine was free to lift off,revealing the solder joint
Remove the remaining four screws and ...........gently break any seal (if not loosened already) .......
by very gentle leavering of the cover on one side and then the other
Slowly remove the capsule cover.......mine seperated between the first and second gaskets,which left the fine wires pinned down..
another one may not.....at all stages........Be Carefull !.....Slowly does it !
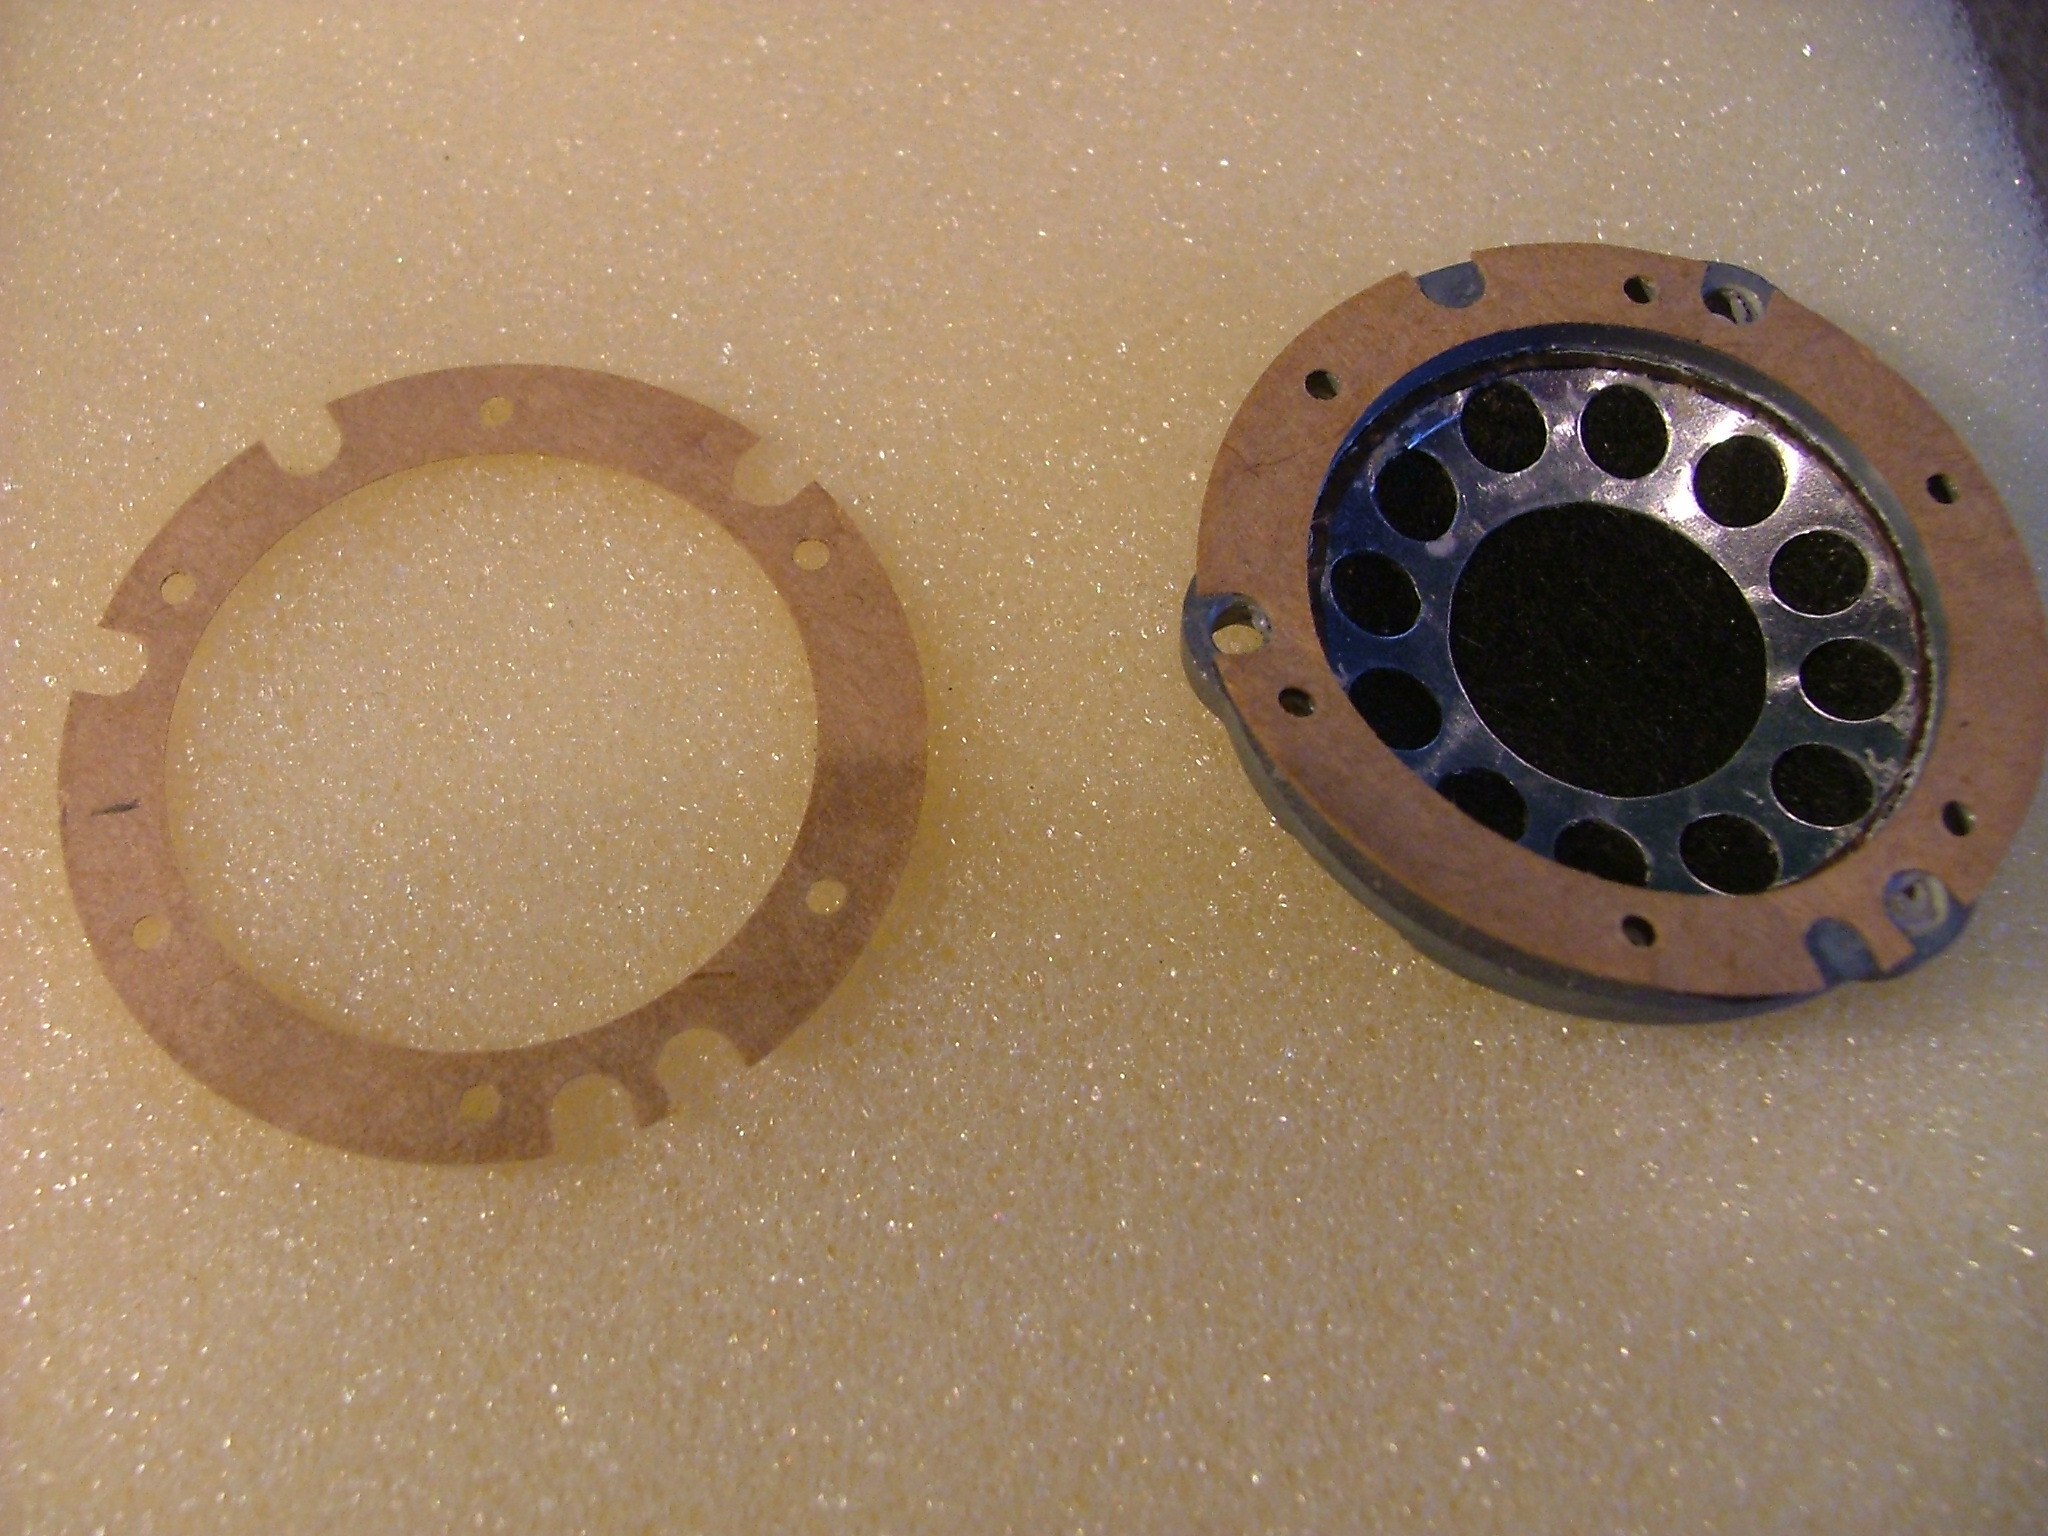
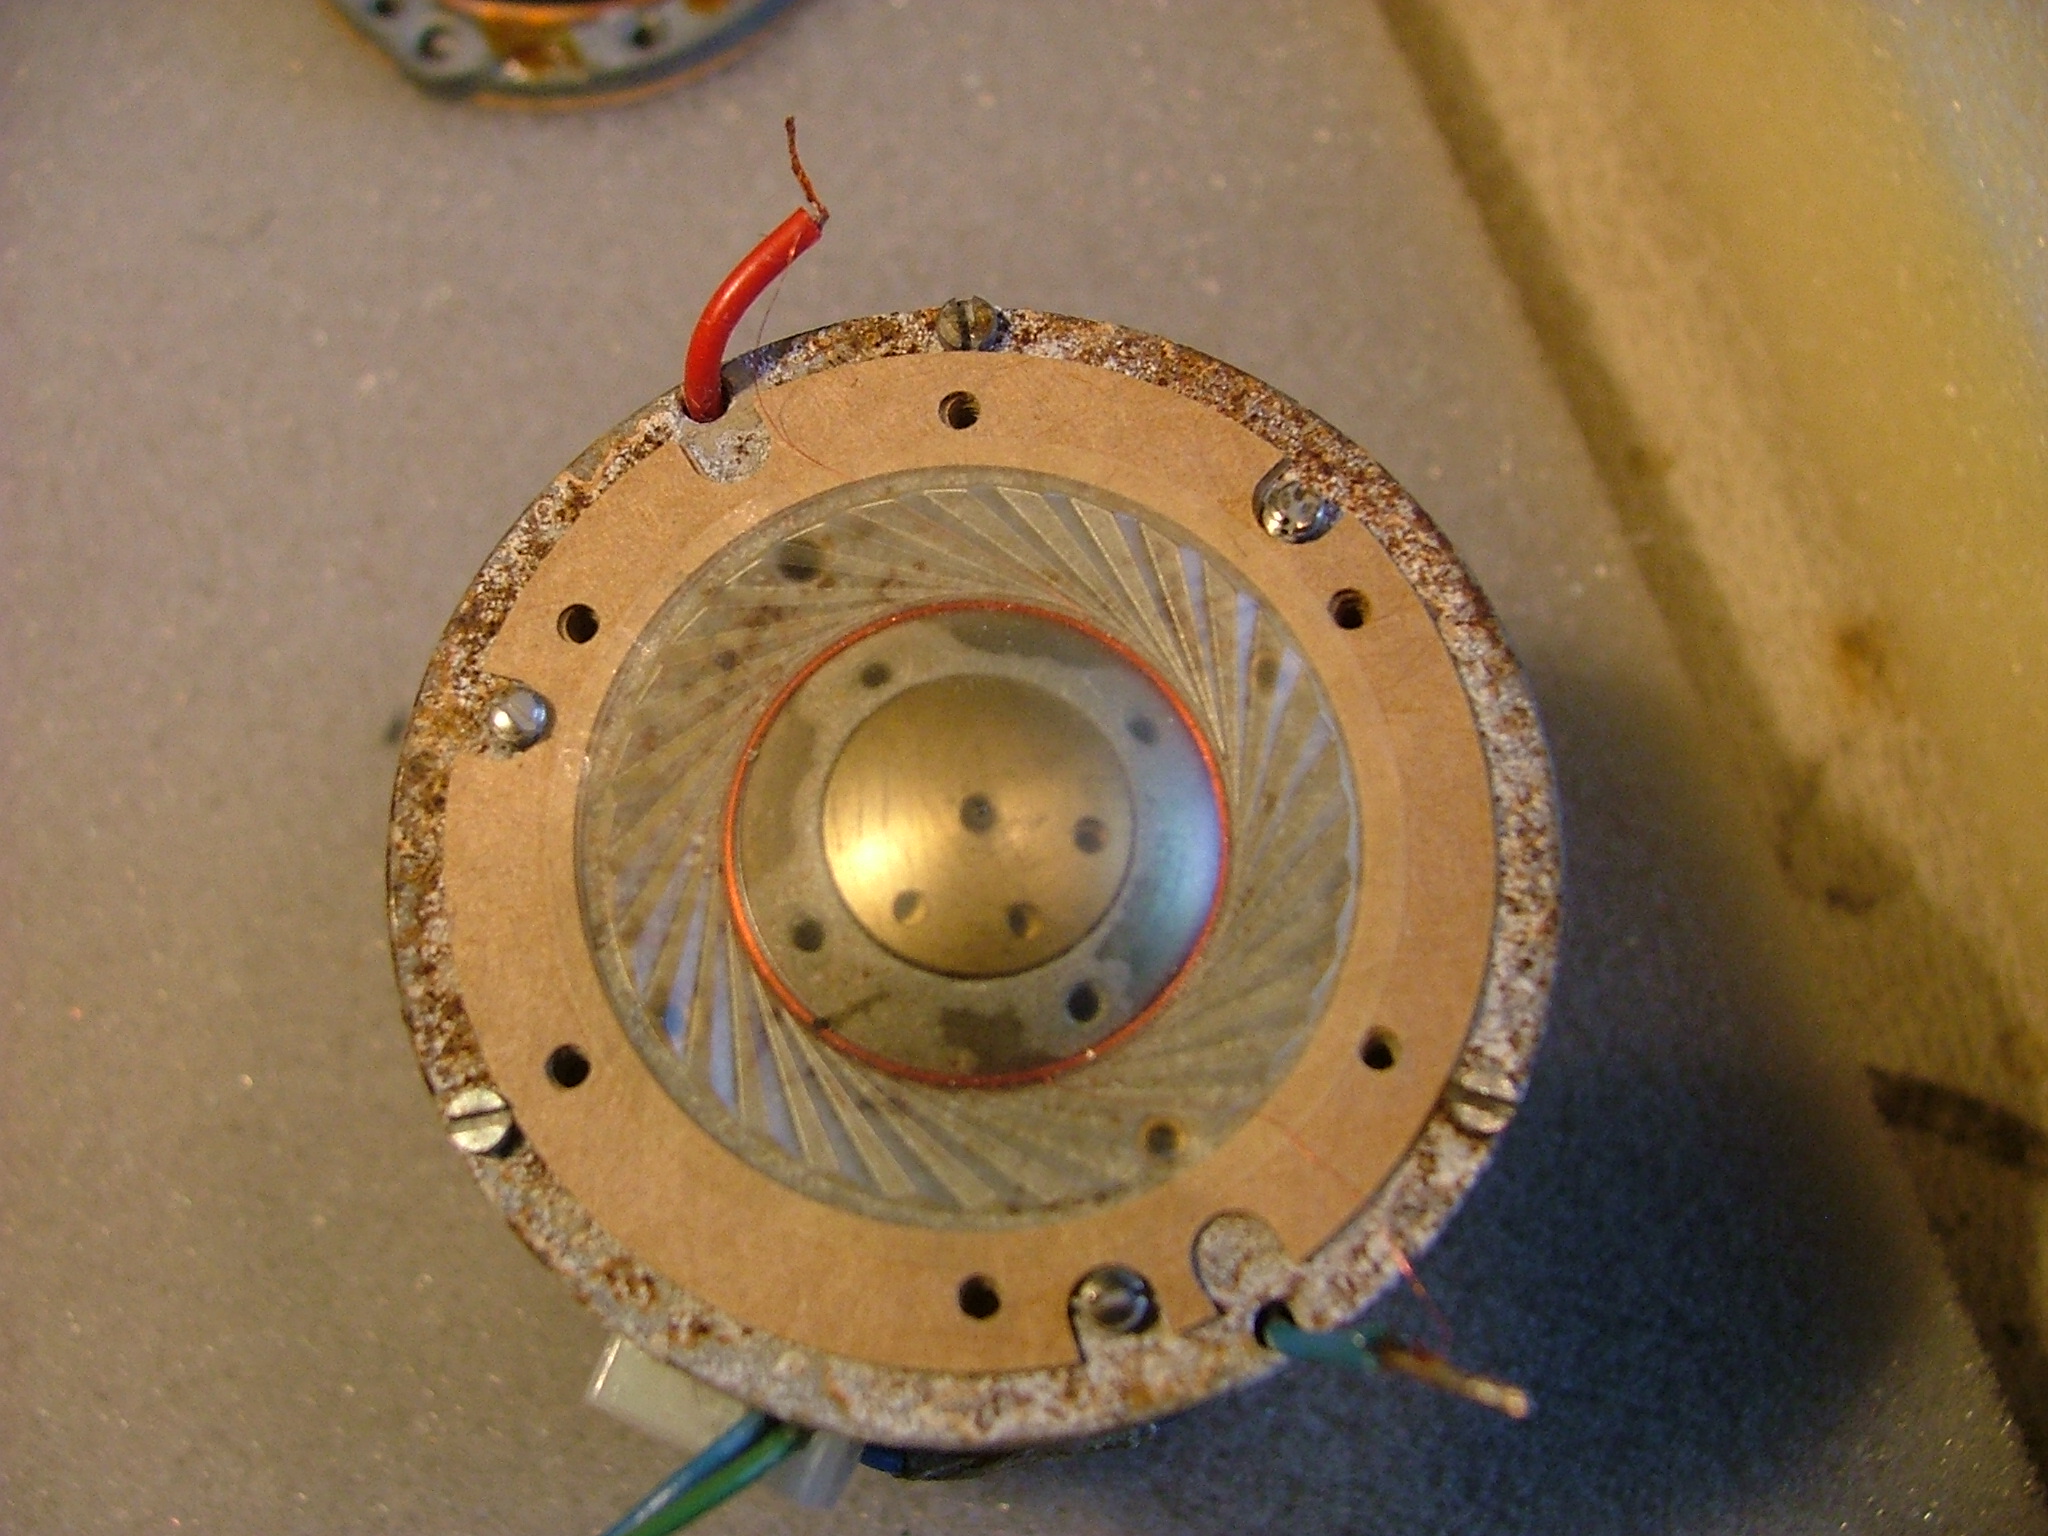


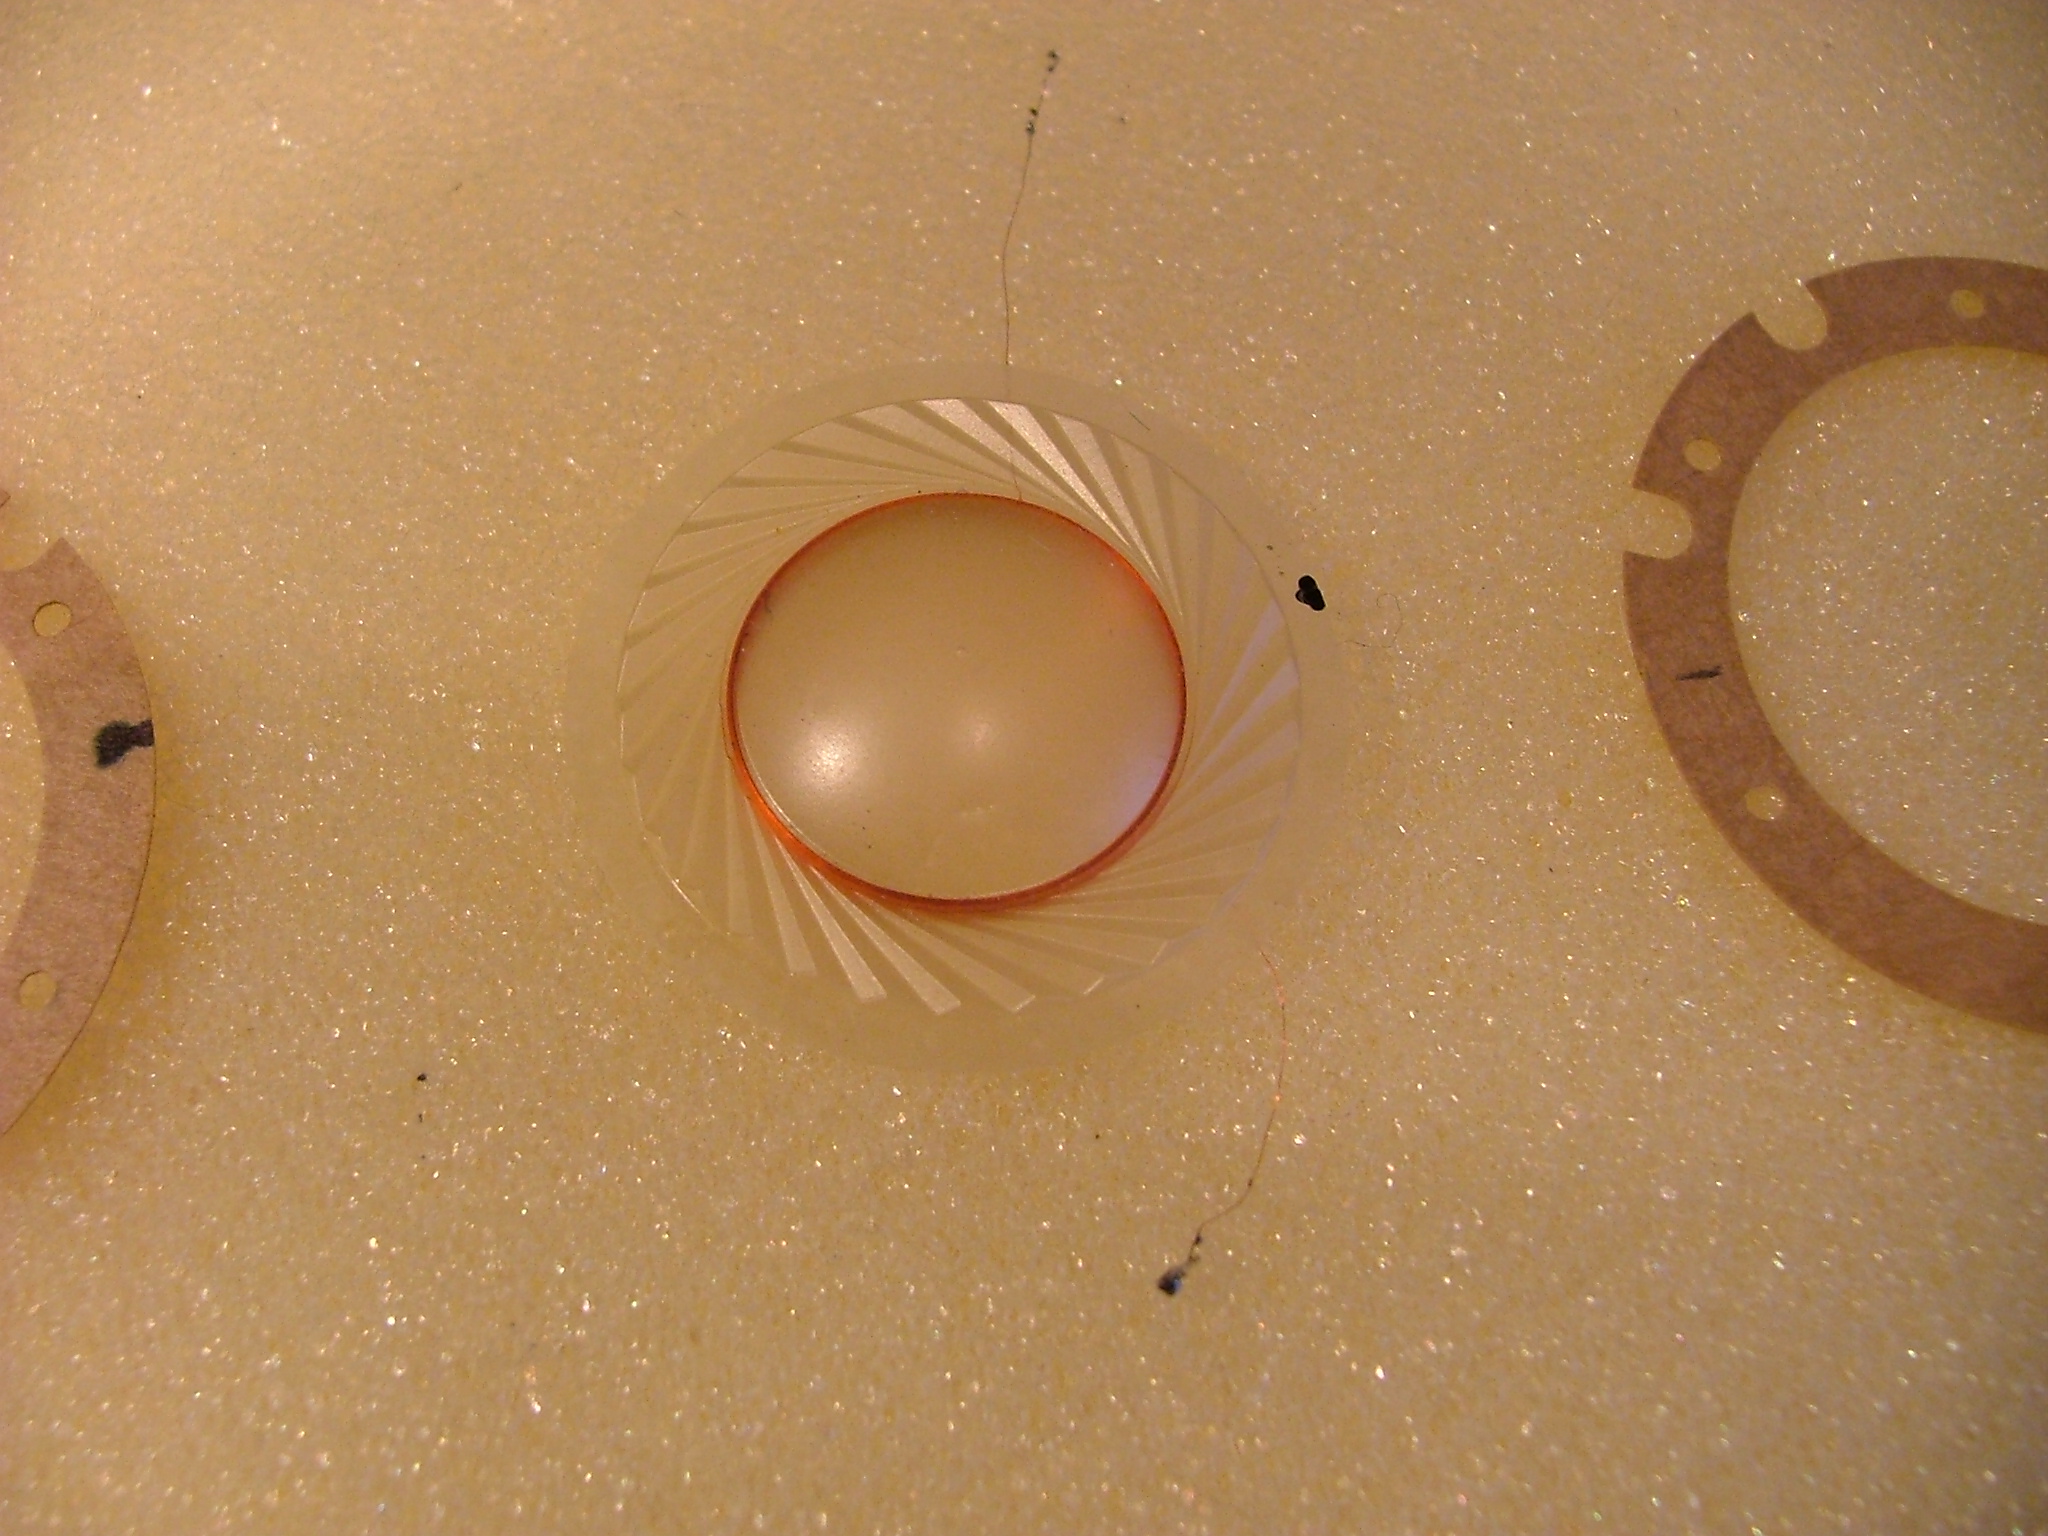
You can now see the diaphram and gaskets.............one which I left attached to the cover.
There are four gaskets......two above and two below the diaphram .
The Moisture damage (Oxide) is now evident,and by gently pushing on the diaphram ..it stuck ..due to the oxide dust and dirt in the gap !
I marked the gaskets and capsule with a line to align with the body mark made earlier.
Gently remove the second gasket to free the thin diaphram wires.

Get the iron hot and re tin the joints with a small solder application, I used an extra drop of SML flux at this point to keep it clean .
While keeping the solder at melting point GENTLY tease the fine wire to the top of the lead in wire ...
I used a small plastic tiewrap end along with the iron to stroke the fine wire to the tip and finally to freedom !
Repeat for the other side
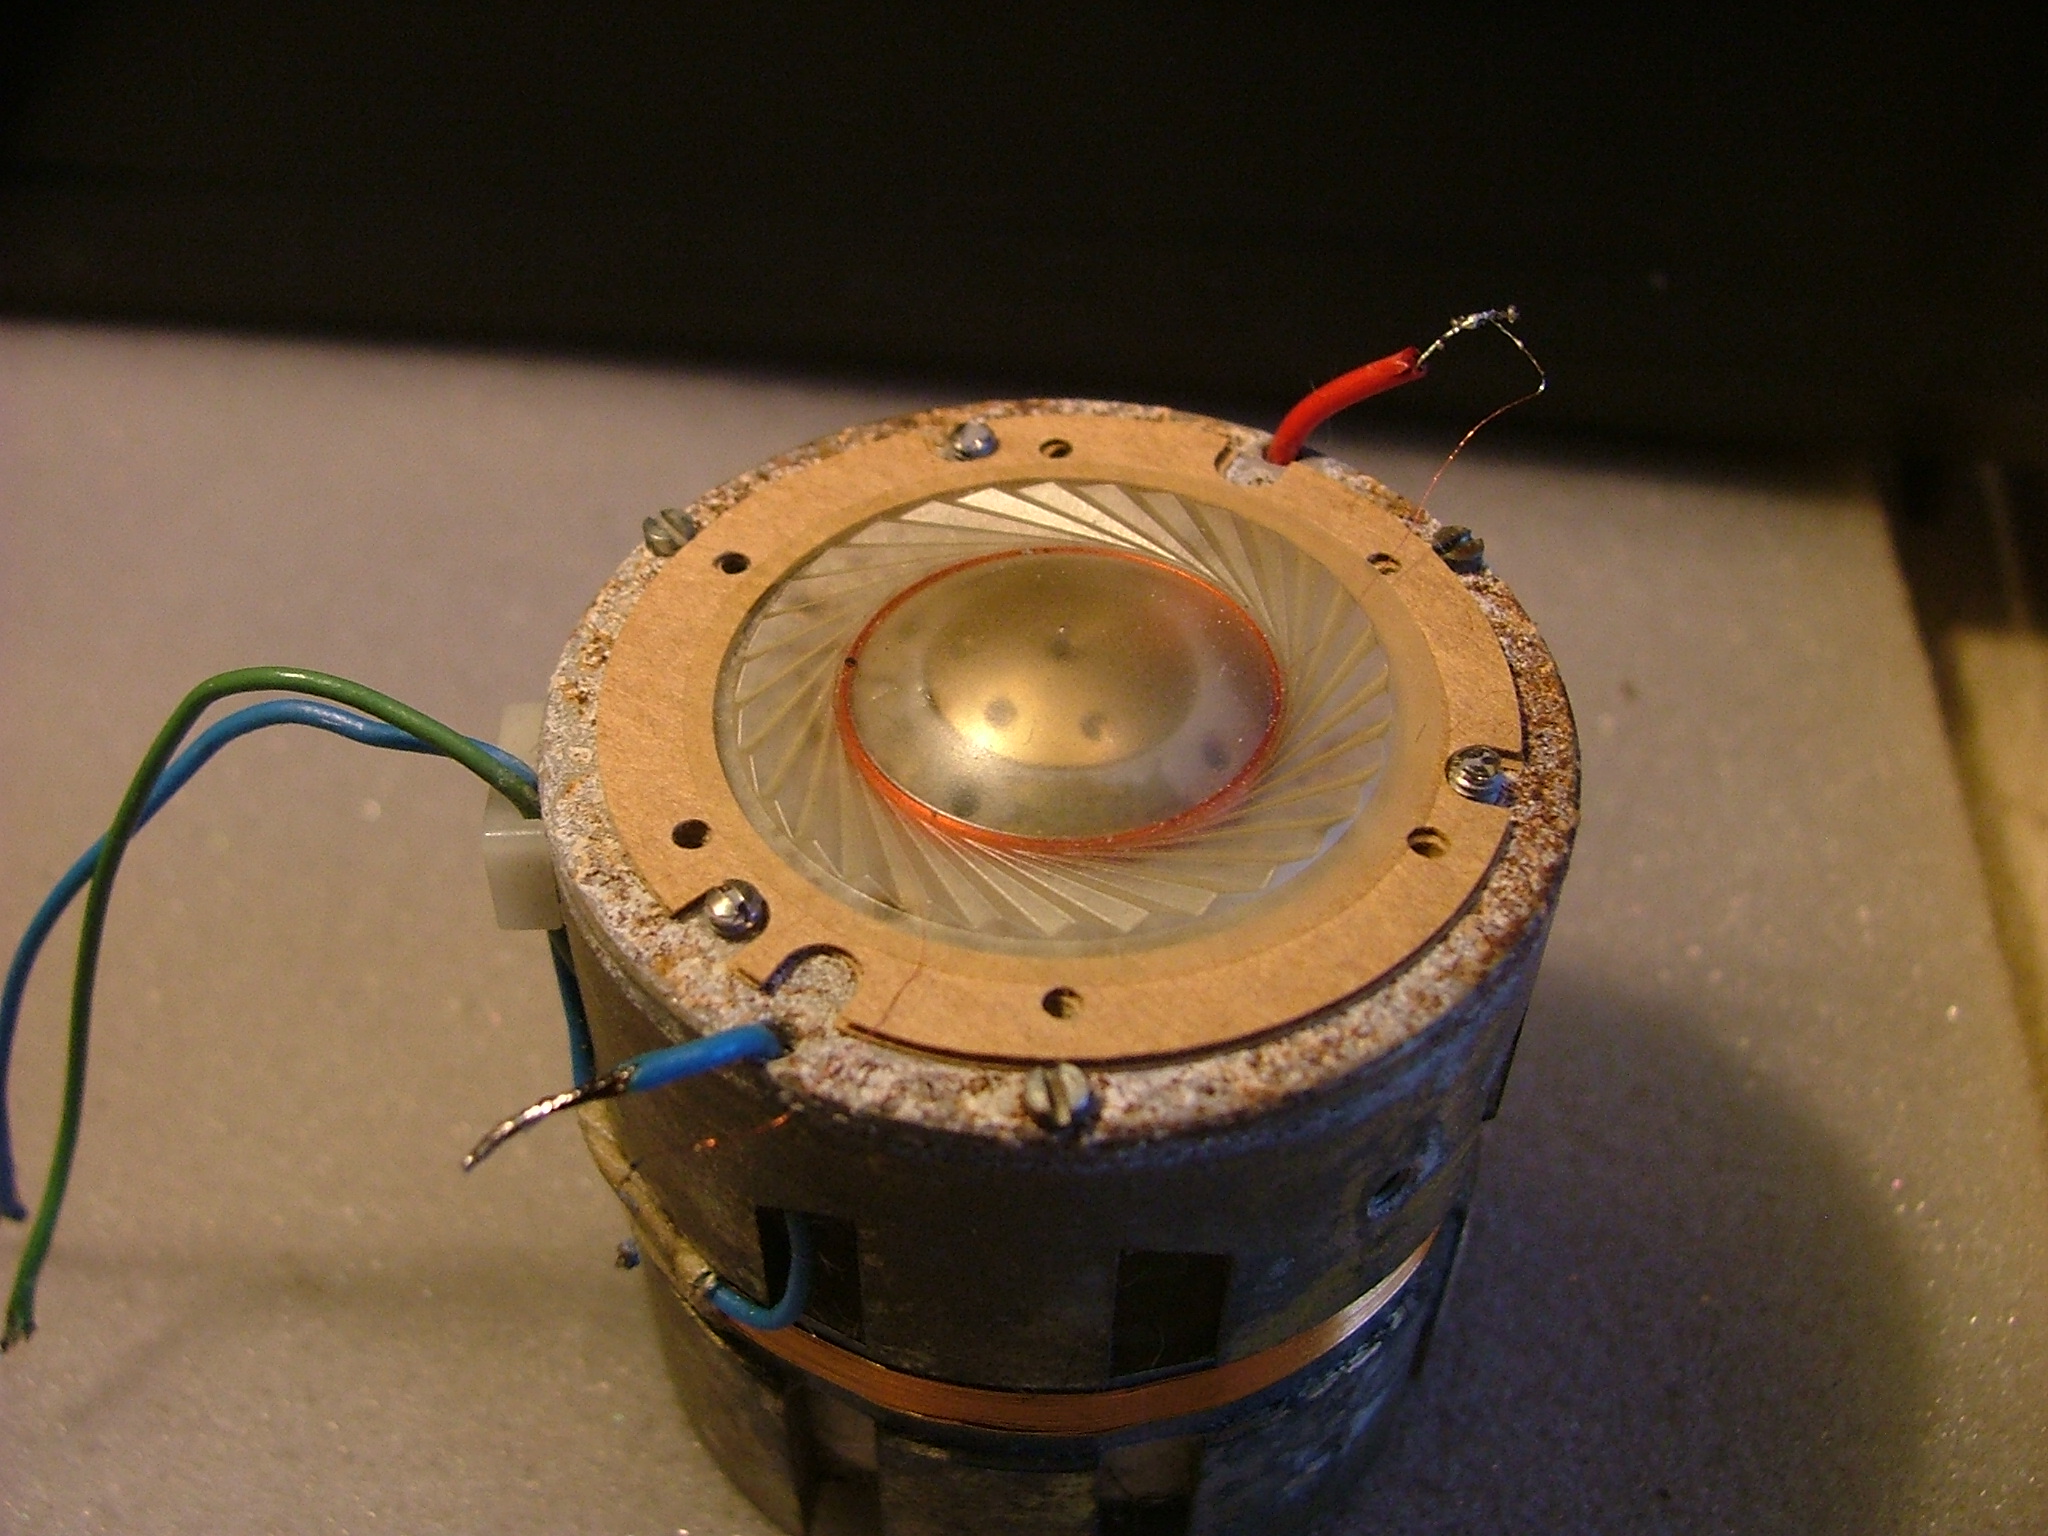
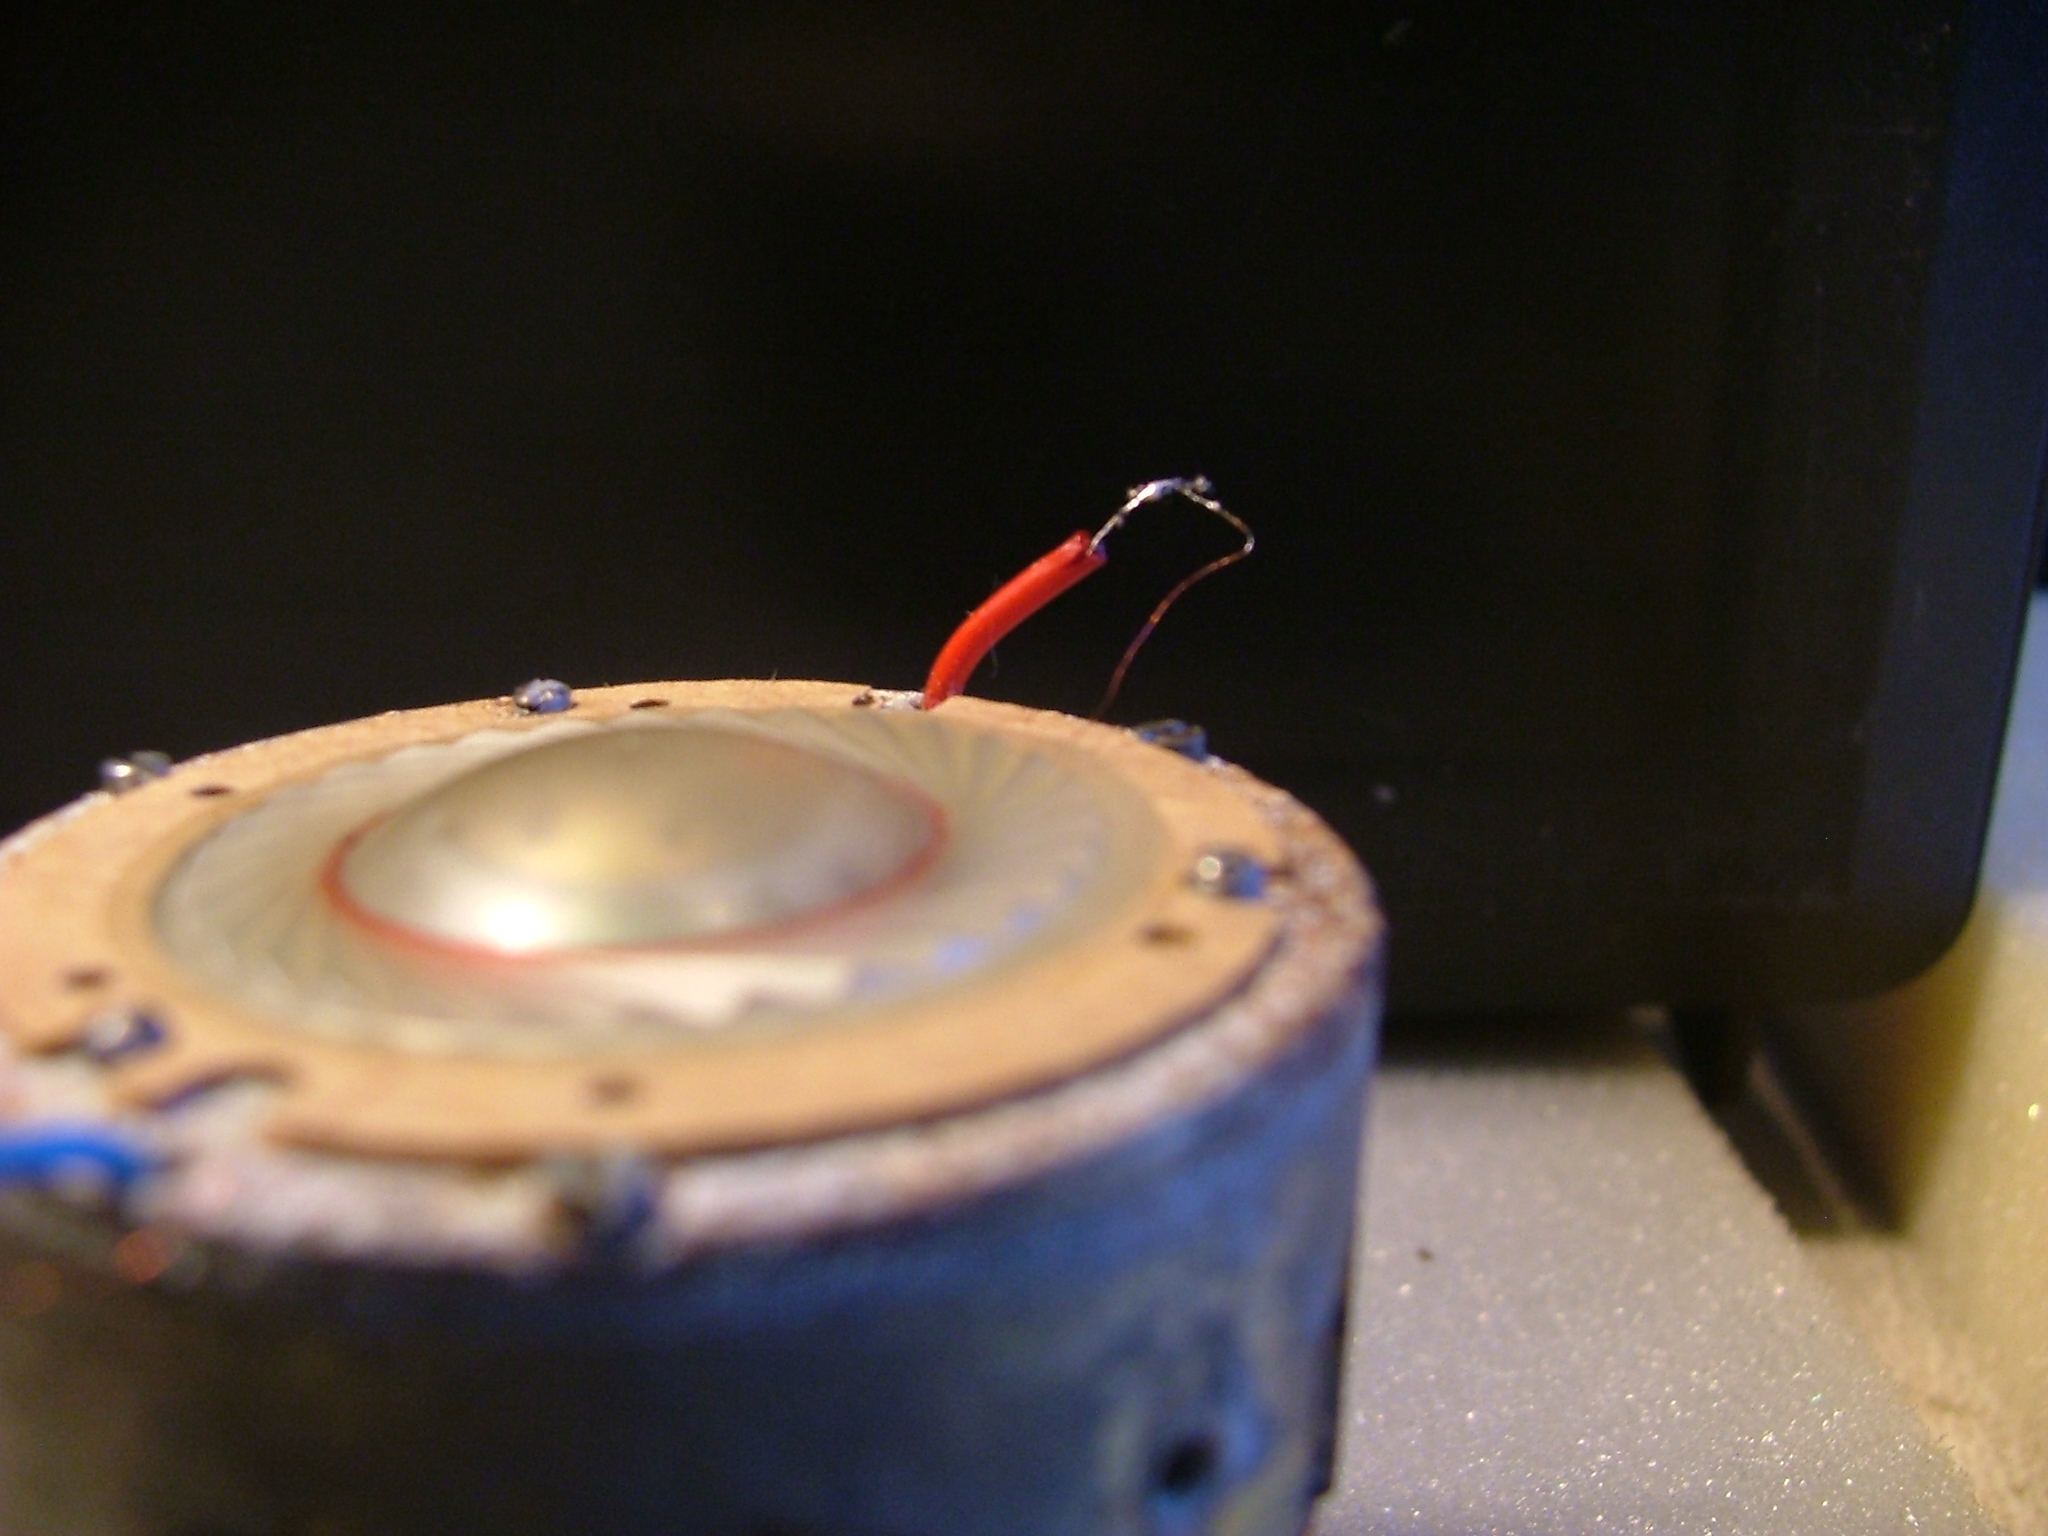

I found the best way to lift off The Diaphram ,was to delicately pinch each wire end between thumb and forefinger (two hands) and slowly lift / tease it to a safe haven !
A Deep Breath (easily blown away)
The Diaphram can now be lifted to safety .......................!!
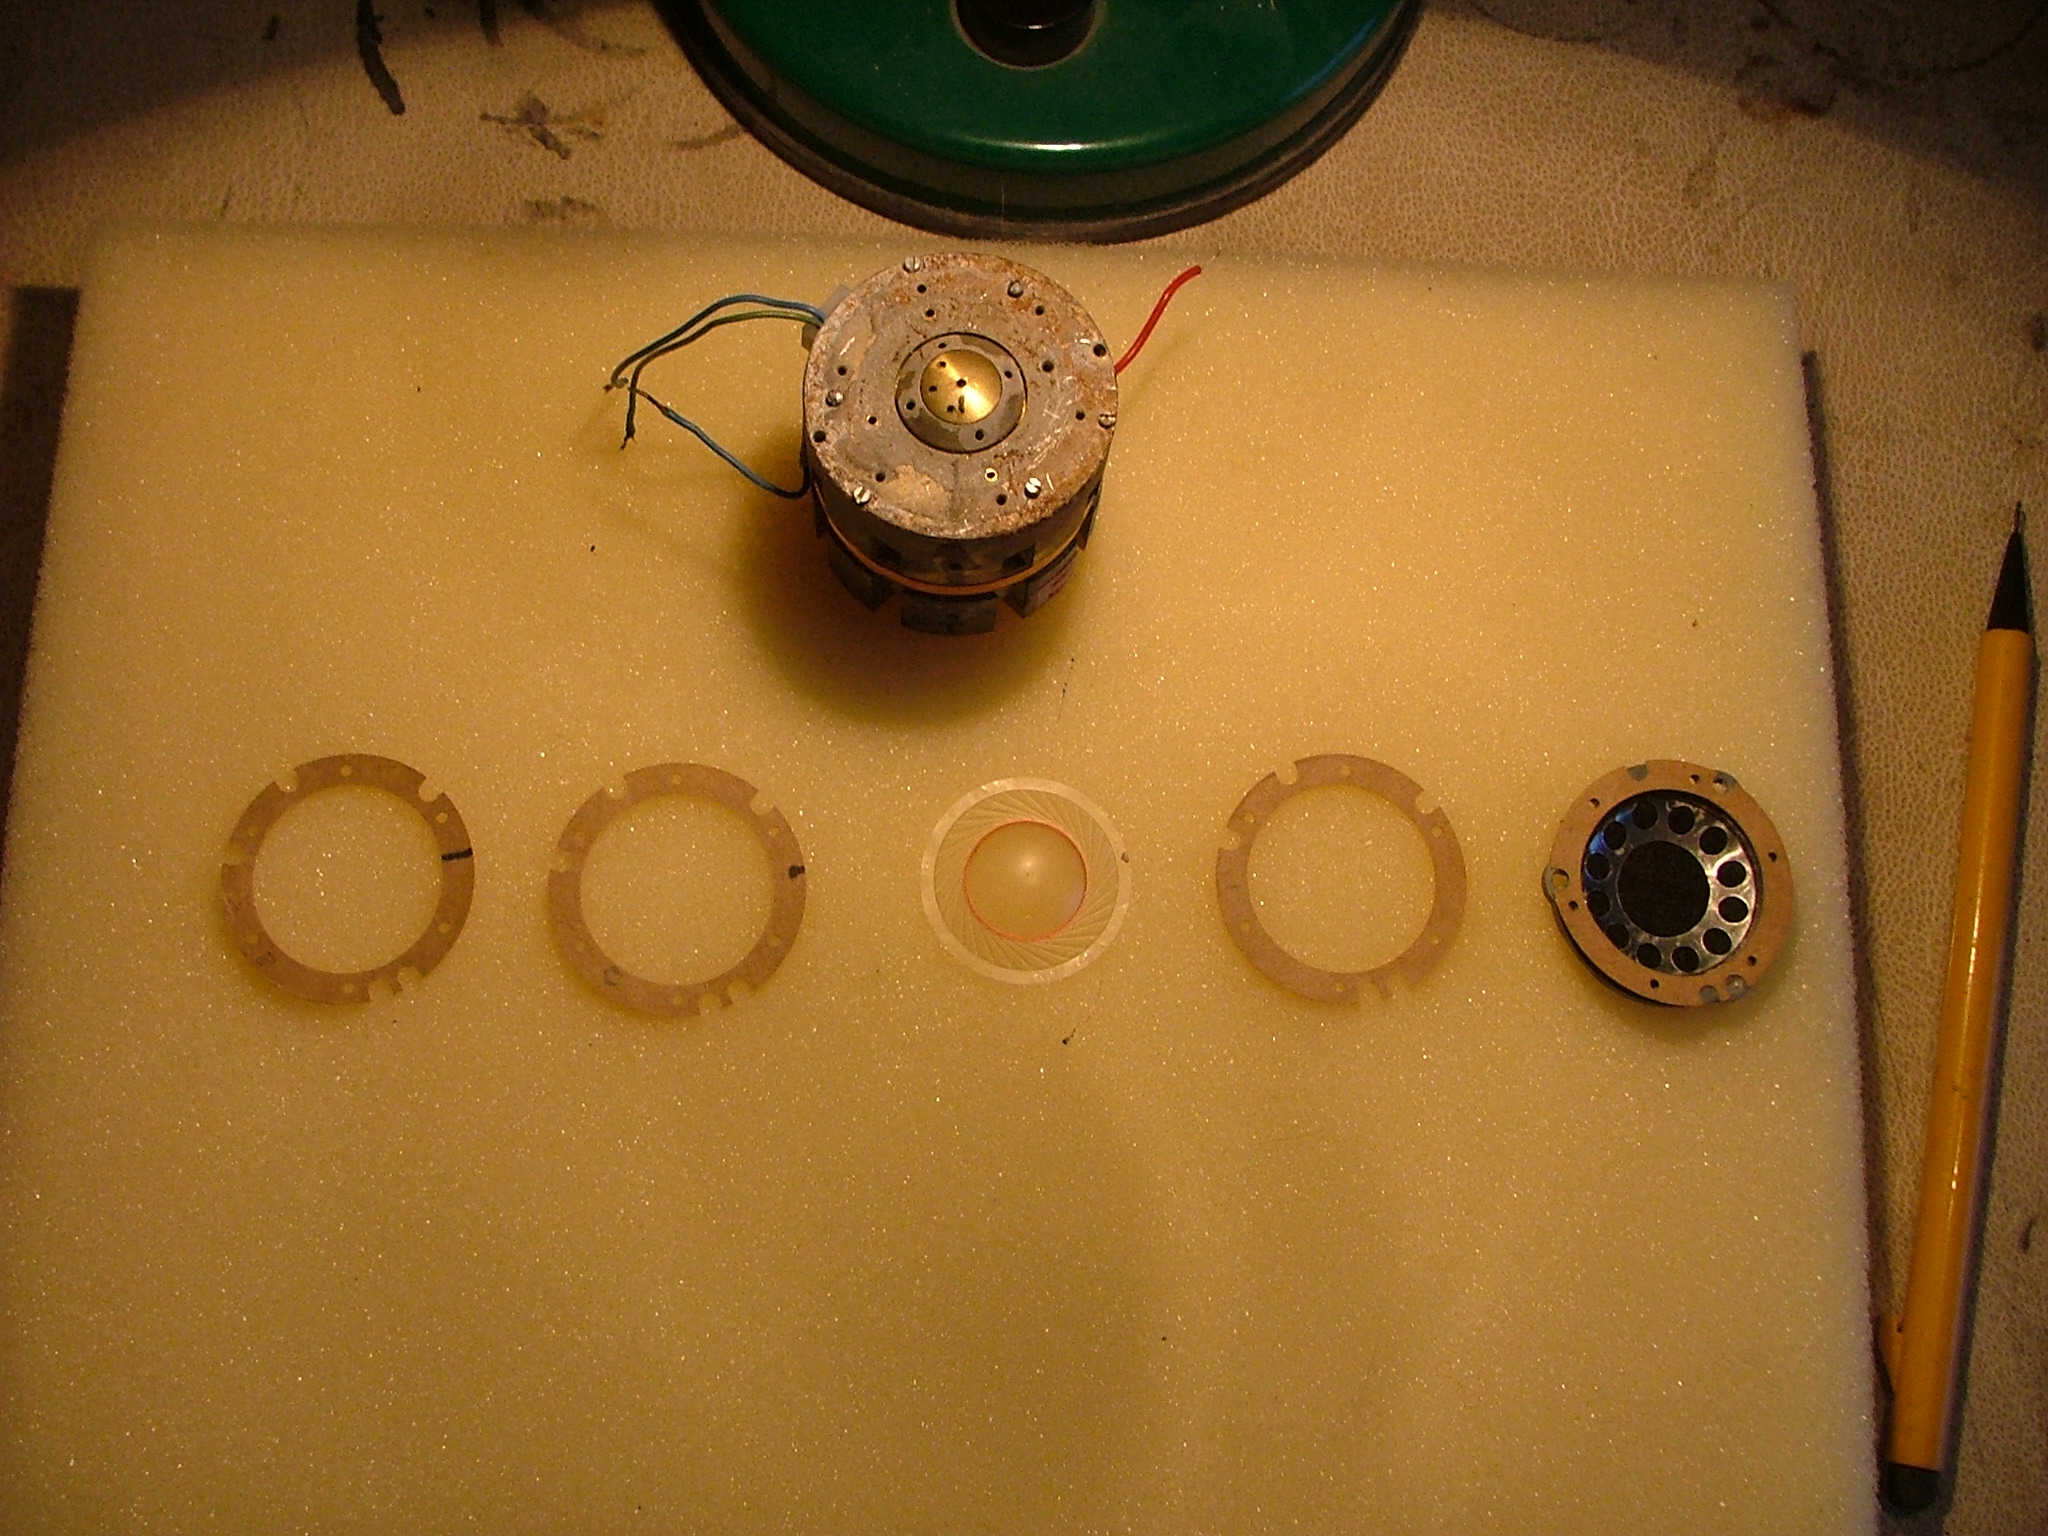
Internals in order of dissasembly (R to L)

The two lower gaskets (which i numbered for reference). The bottom one was stuck firmly to the body...
Which had to be gently freed and removed to facilitate cleaning of the oxide deposits from the surface.
Pull back the lead in wires from the entry holes (secured out of harms way by a tiewrap round the body).
You can see the corrosion, the oxide comes off in a white dust............
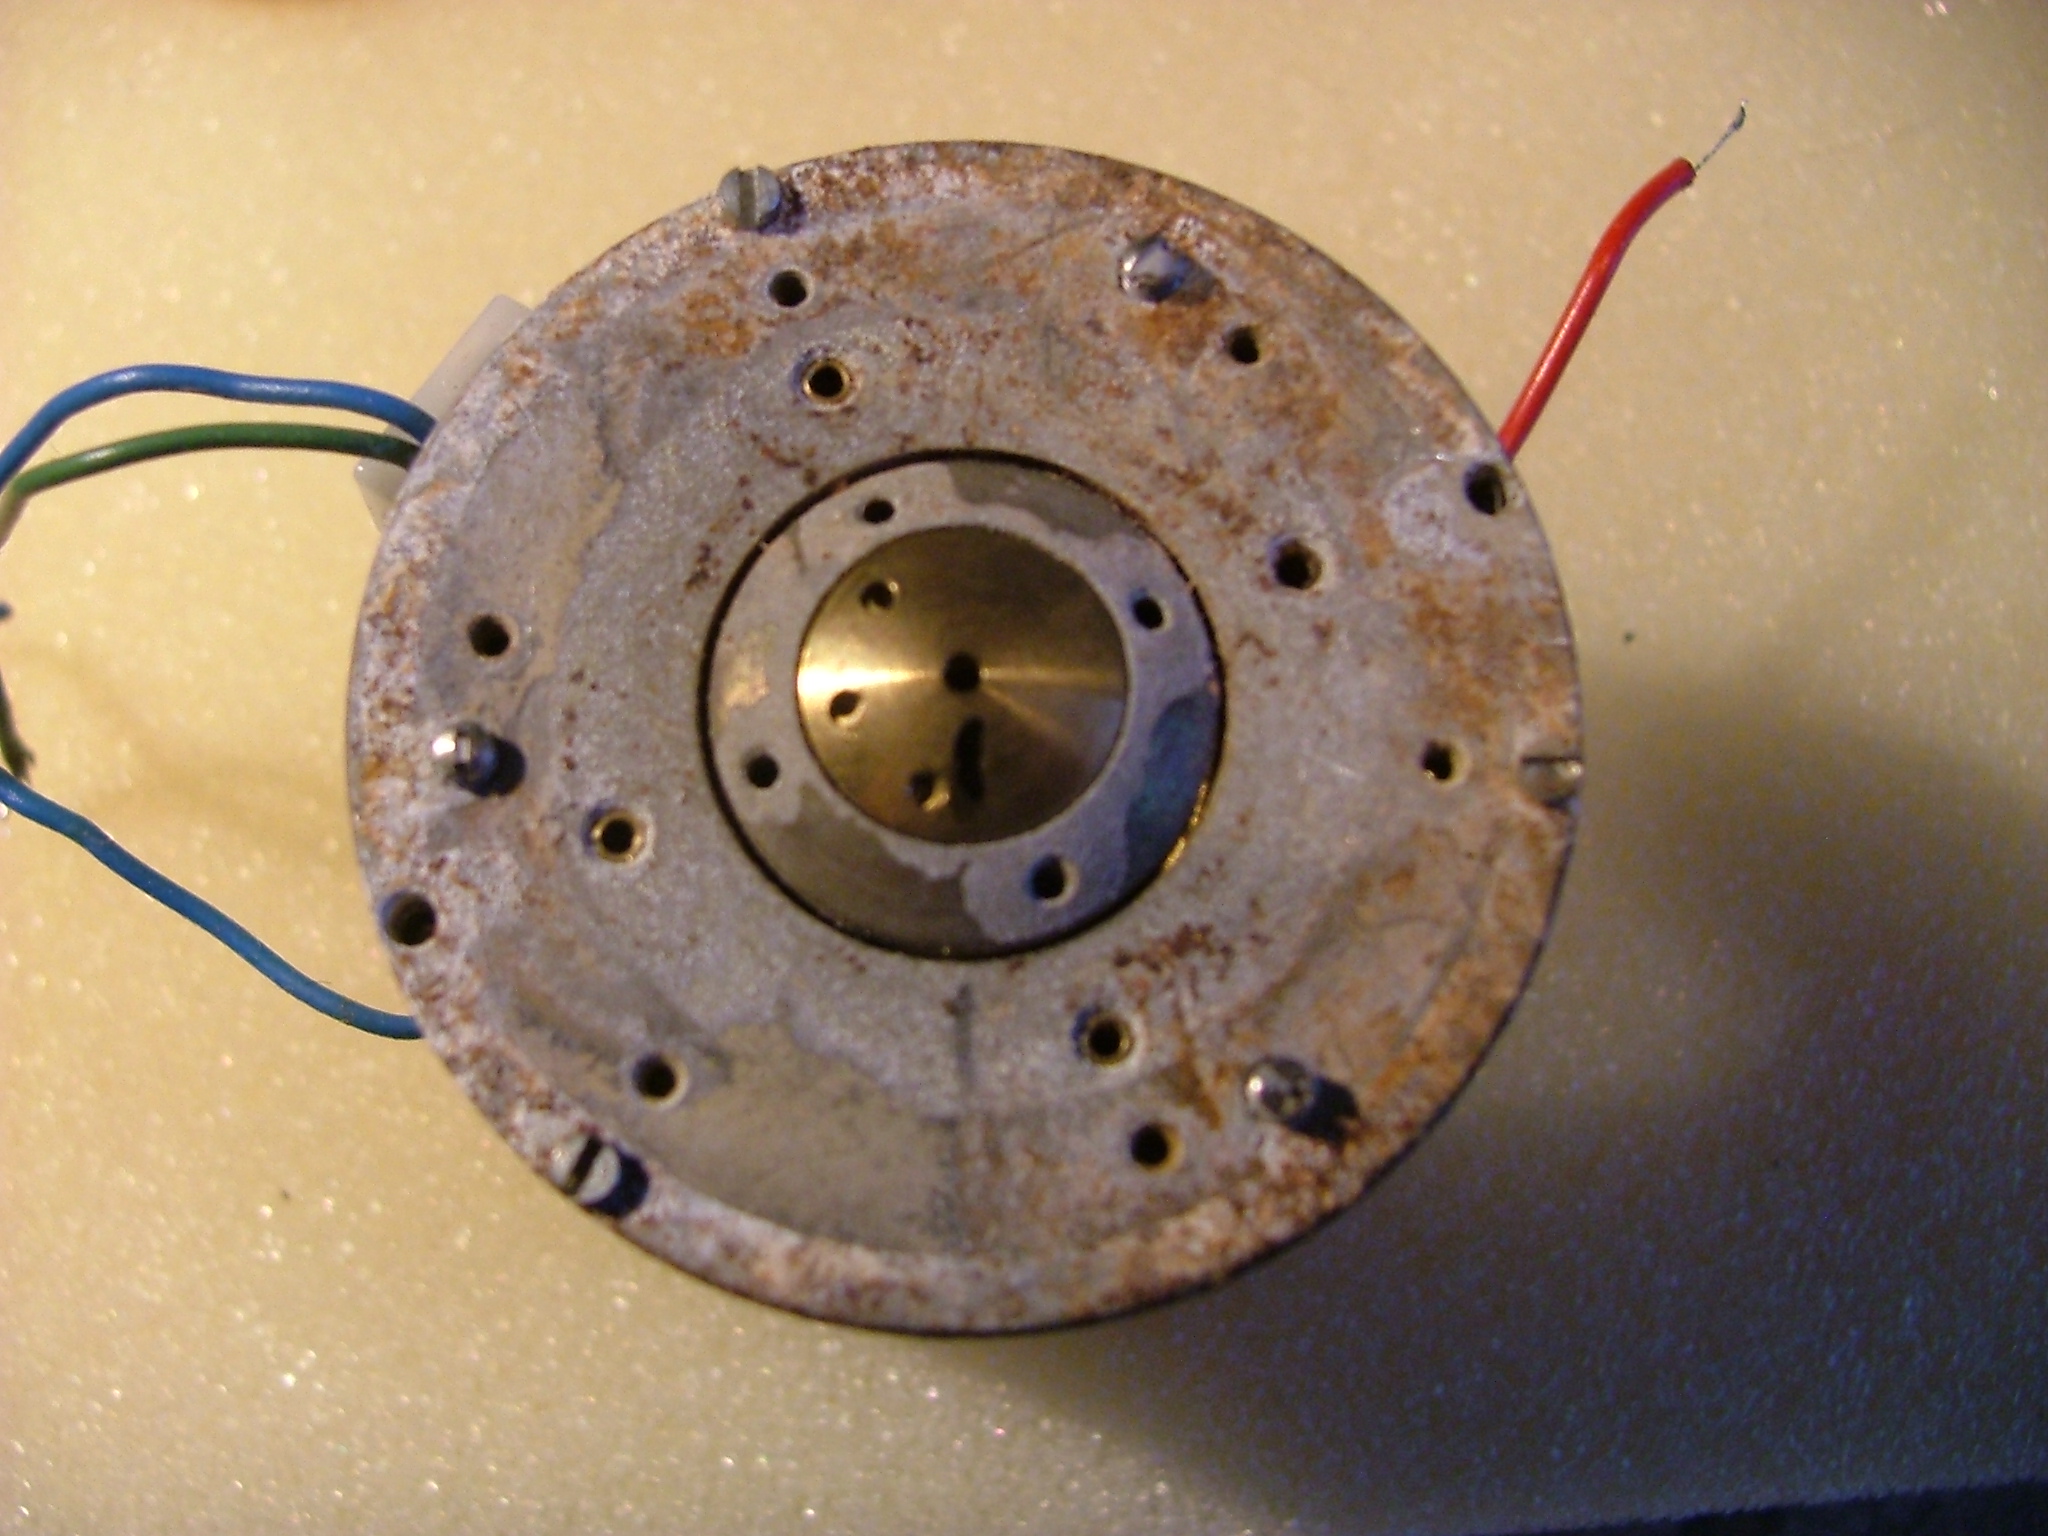
Ready for a clean !
Cleaned the oxide and rust away with a piece of scotchbrite followed by fine emery,
The all important diaphram gap was scraped with a scraper cut and shaped from a lighting gell sheet .
Scape round and round till your wrist hurts !
Finished the gap and top with a stiff bristle (bristles cut short) paint brush.
Then a good blow out with a compessed air blower..................no damage was sustained during this process and it also cleans the small holes that lead to the acoustic chamber
Most important......keep away from iron particles....and then
Place the body in a clean plastic bag to keep it CLEAN !!........... until ready for reassembly.
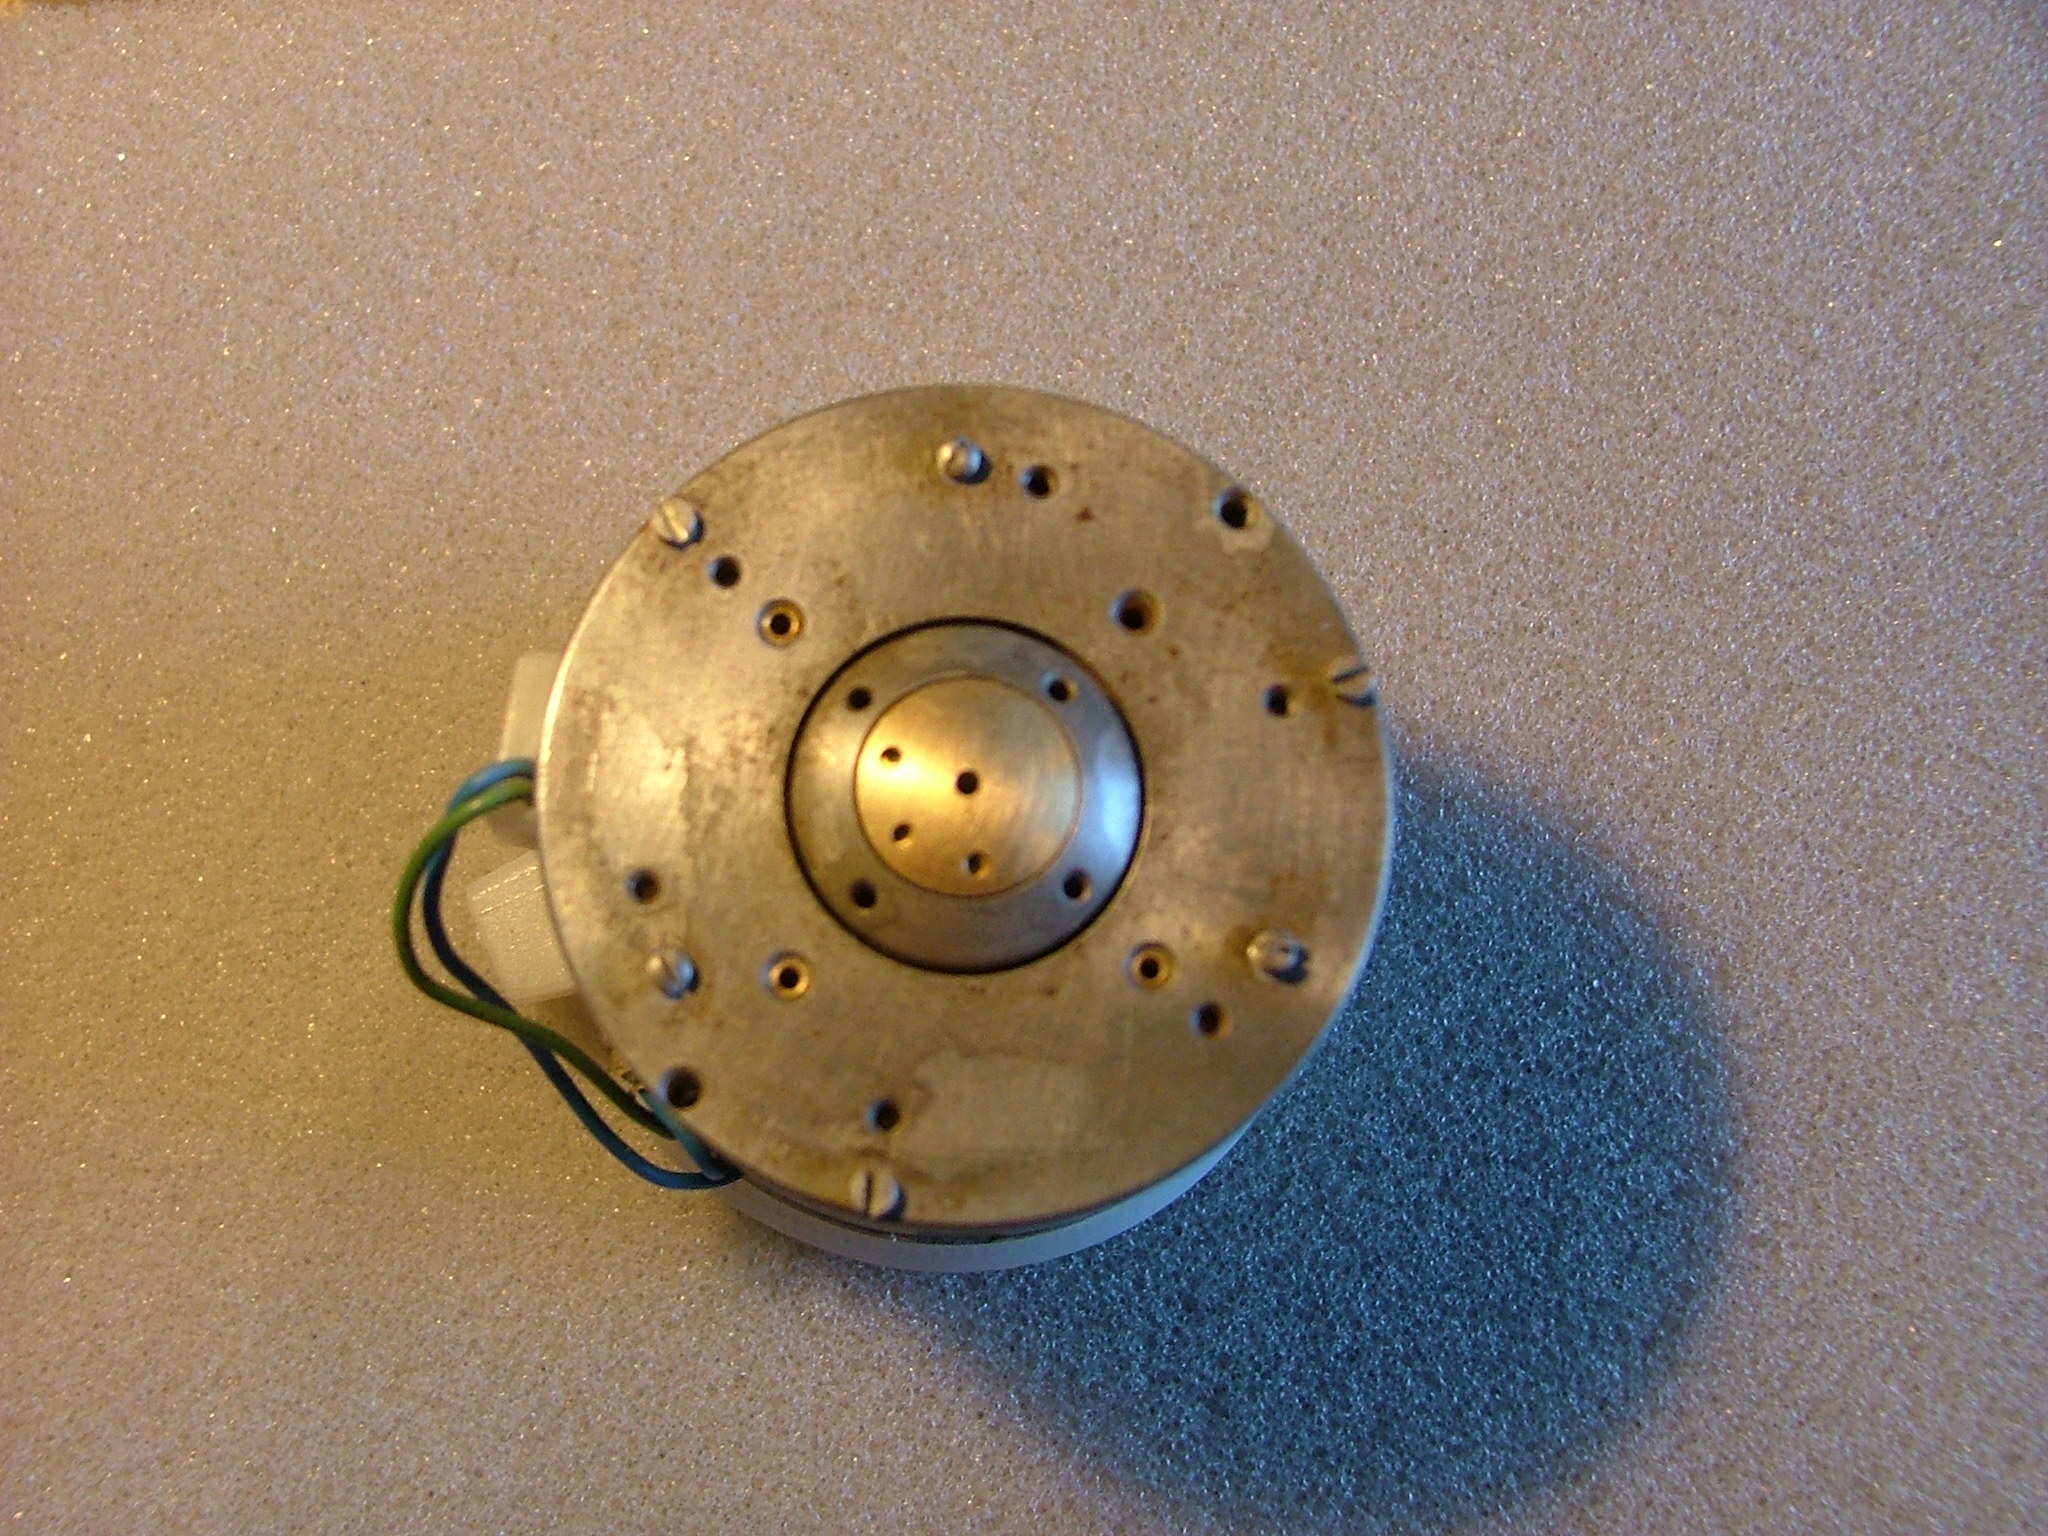
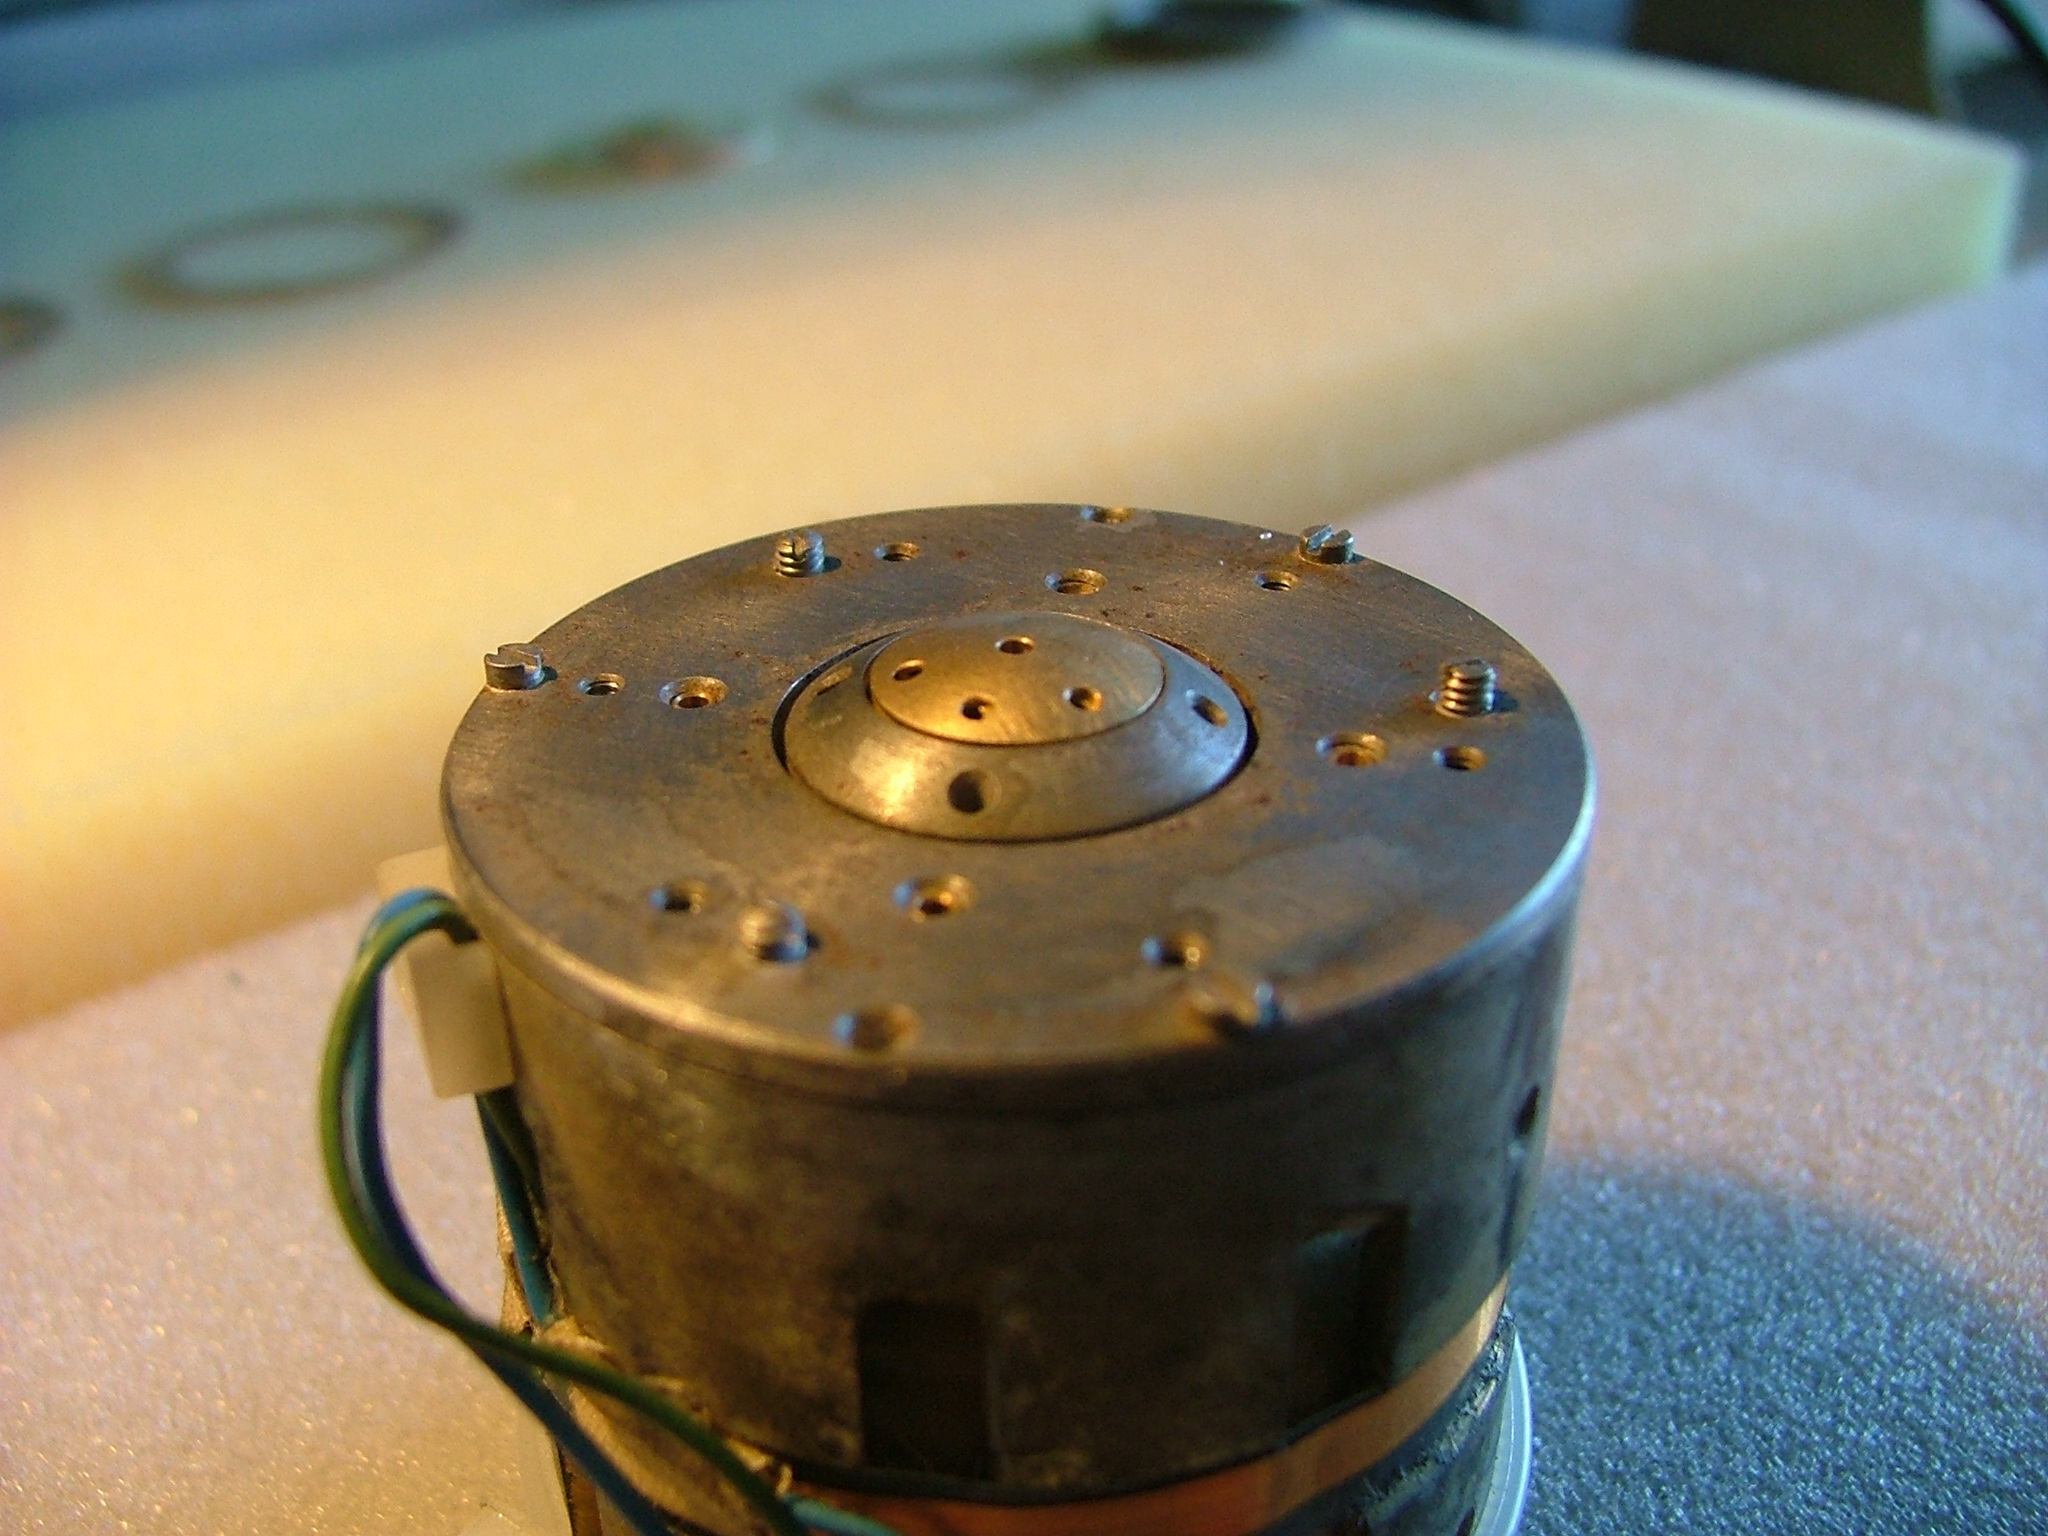


At this point I also cleaned all the other mic parts,suspension,etc......the grills were also blasted with comp air as a lot of the fibers on the inside were loose and free....
Brutal but the result was a very good proportion remained intact ....
Reassembly Time .........
Fit the fourth (or last removed) and third gaskets,using the guide marks made earlier
Using the Diaphram lift,method...... refit the diaphram........using the align mark...
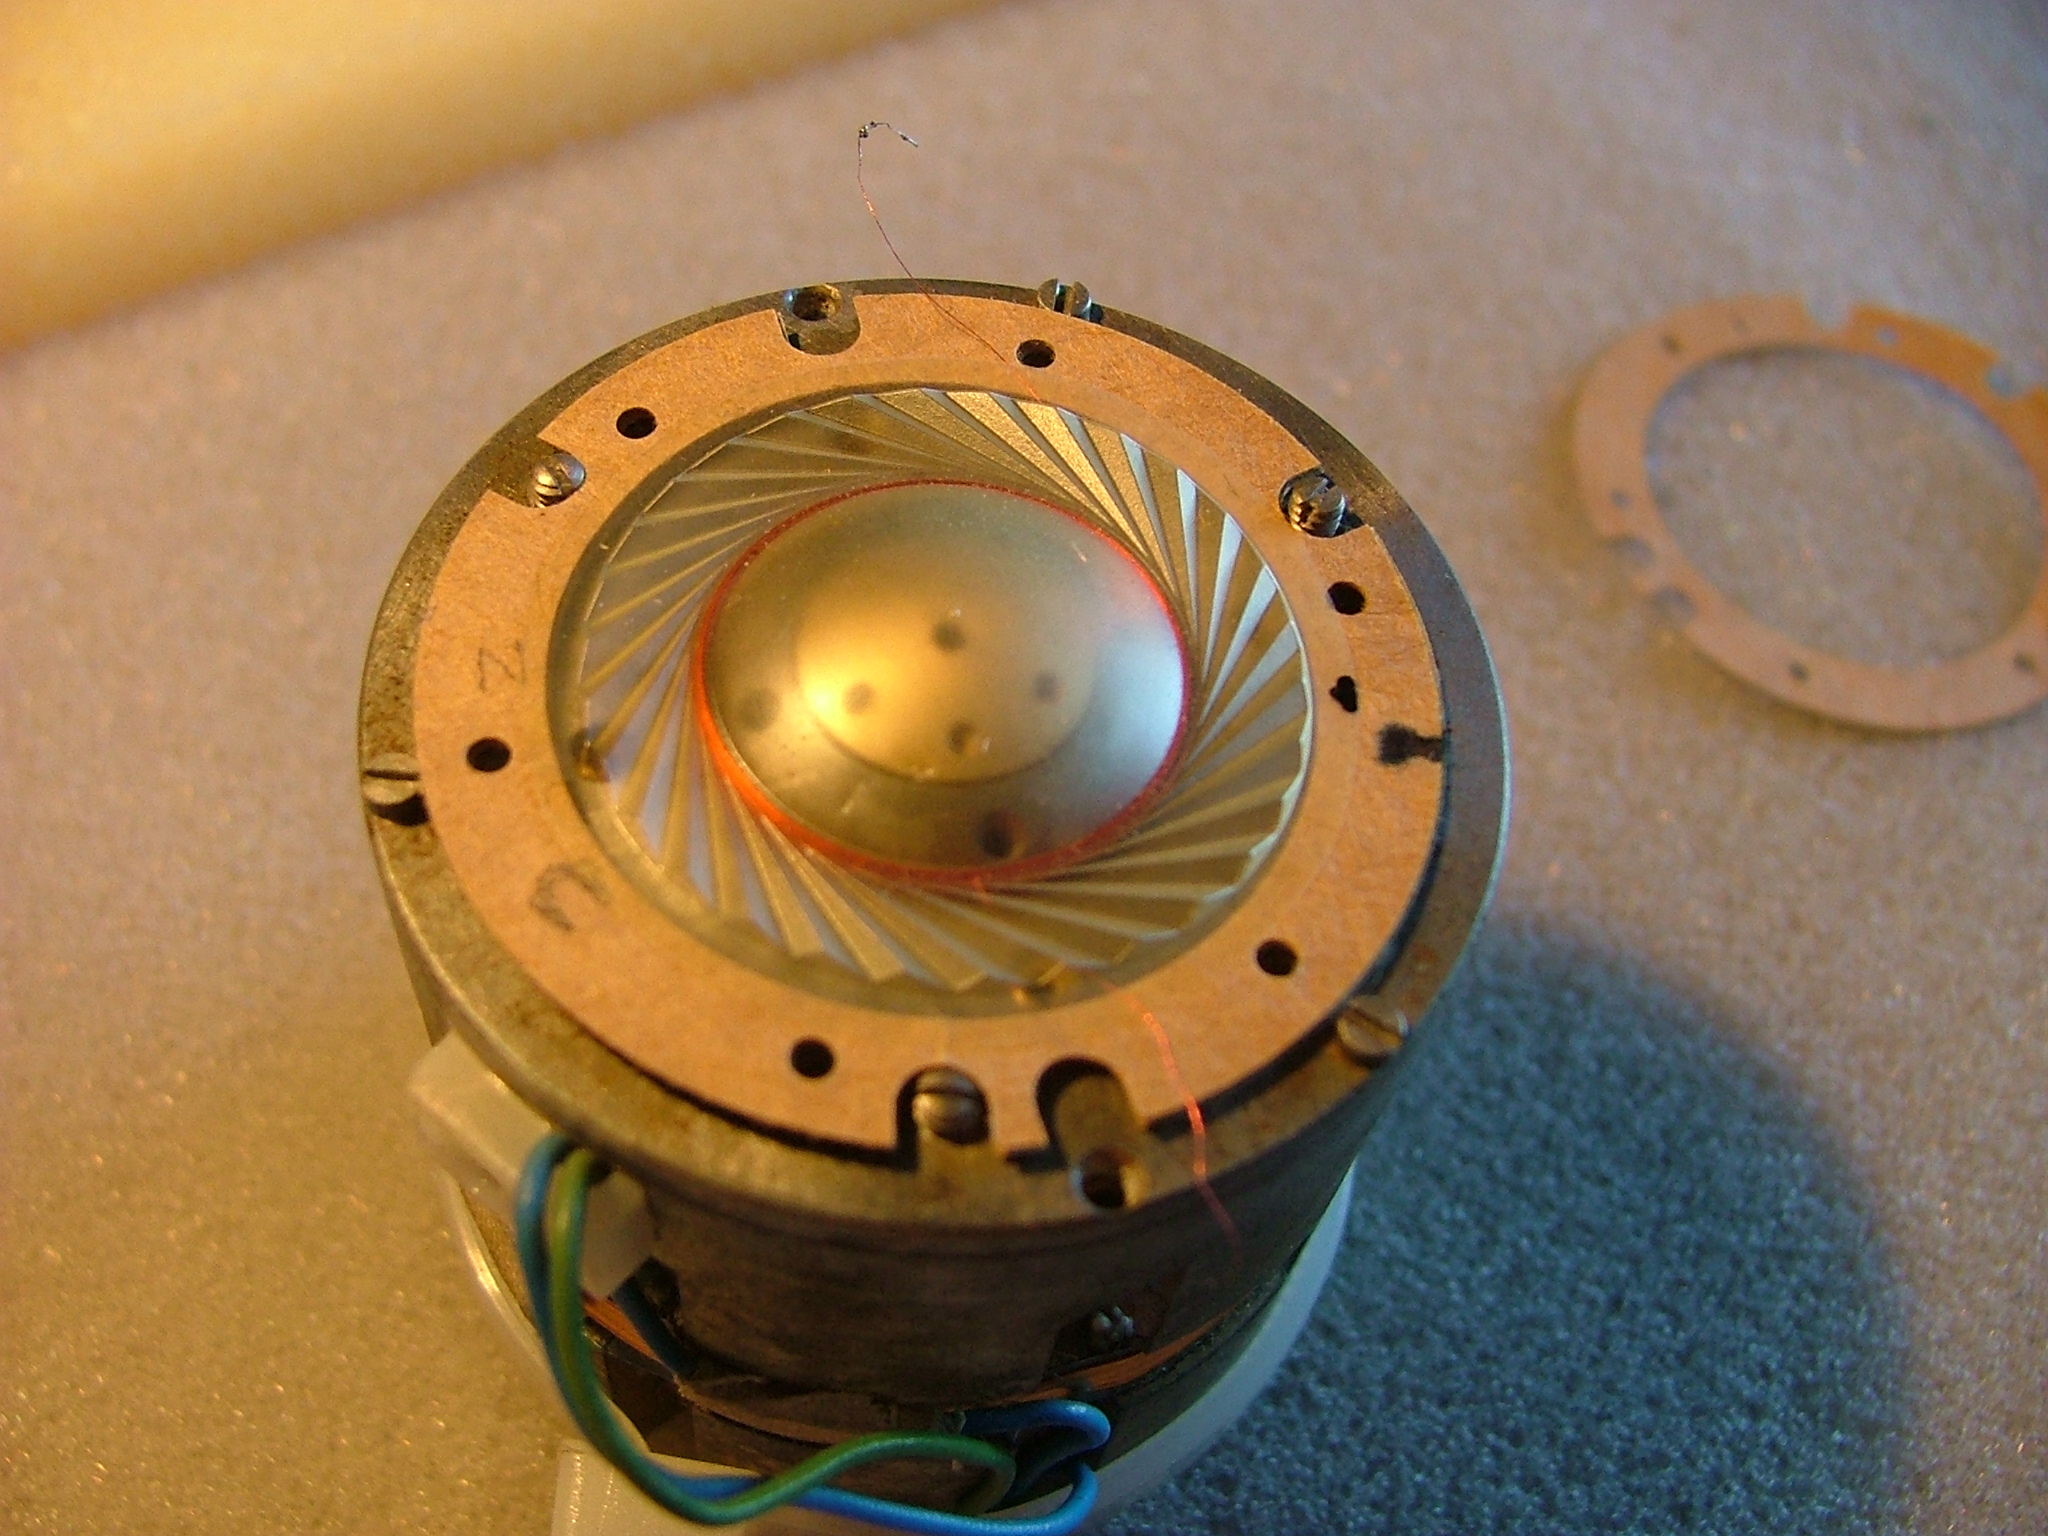


To align the bottom gaskets/diaphram I delicately teased the wires into the positions as to exit the gasket near the
lead in wire holes..........when happy that diaphram looks central....... and wires are in position,
drop on the second and first gaskets
A very light touch (use small piece of thin flat plastic) to the dome should reveal silky smooth movement.
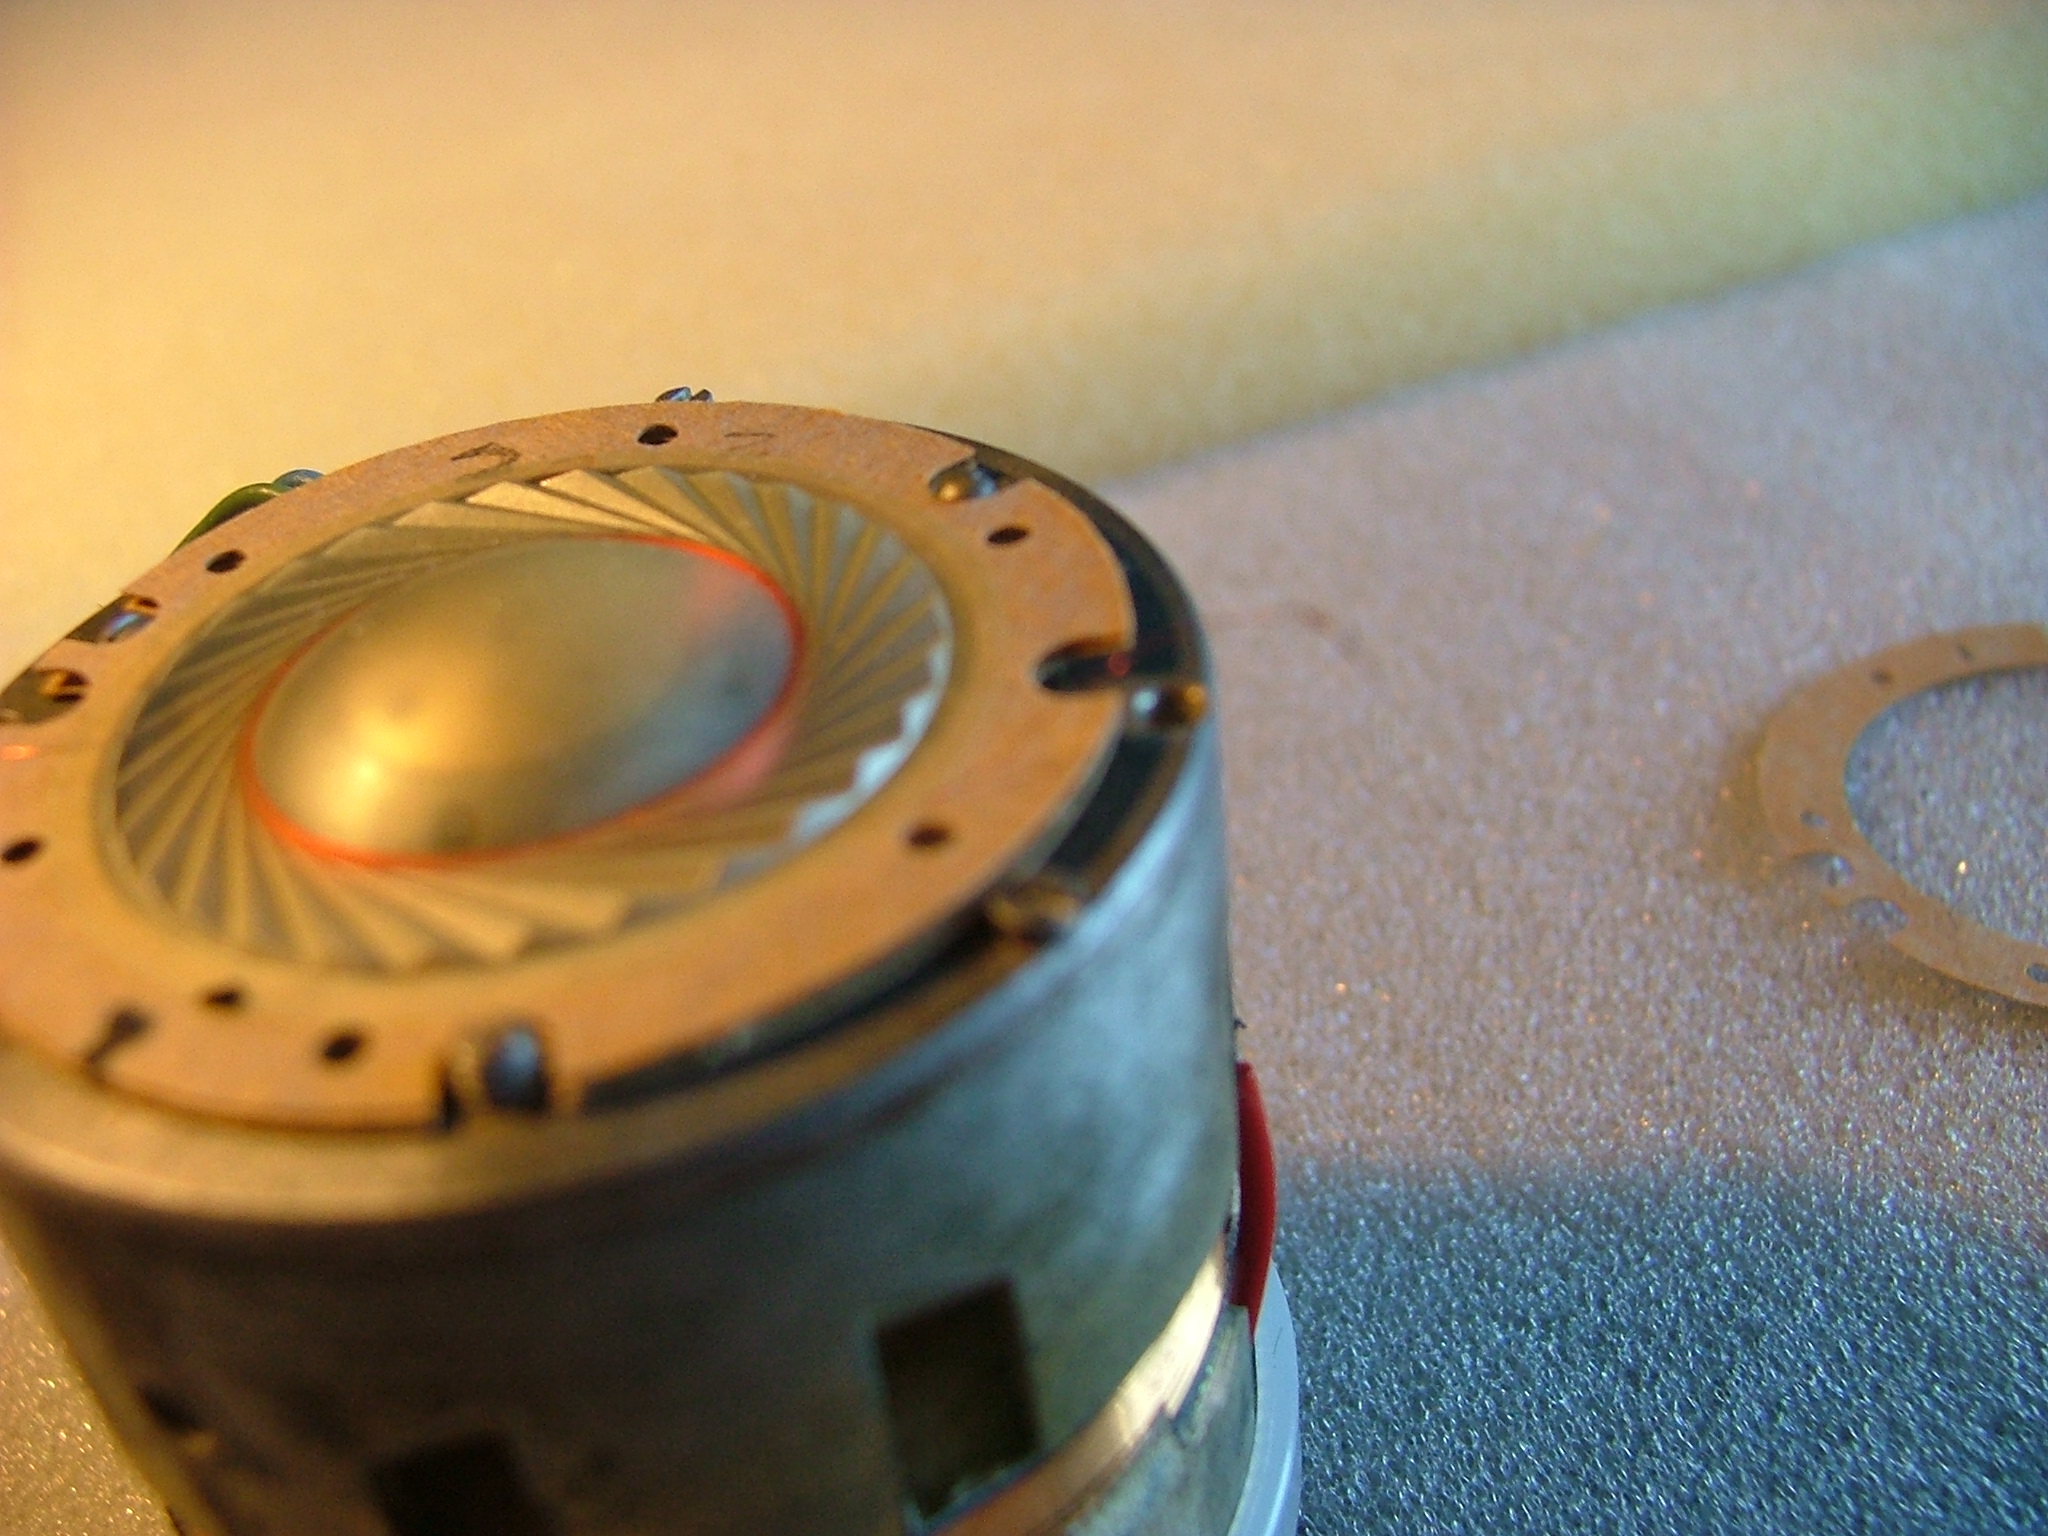
Fit the Capsule top and fit four of the screws,(not the clamp bracket ones) tighten to pull down the top....(check the position of those wires !)
then release the tension so as to leave the top slightly loose.

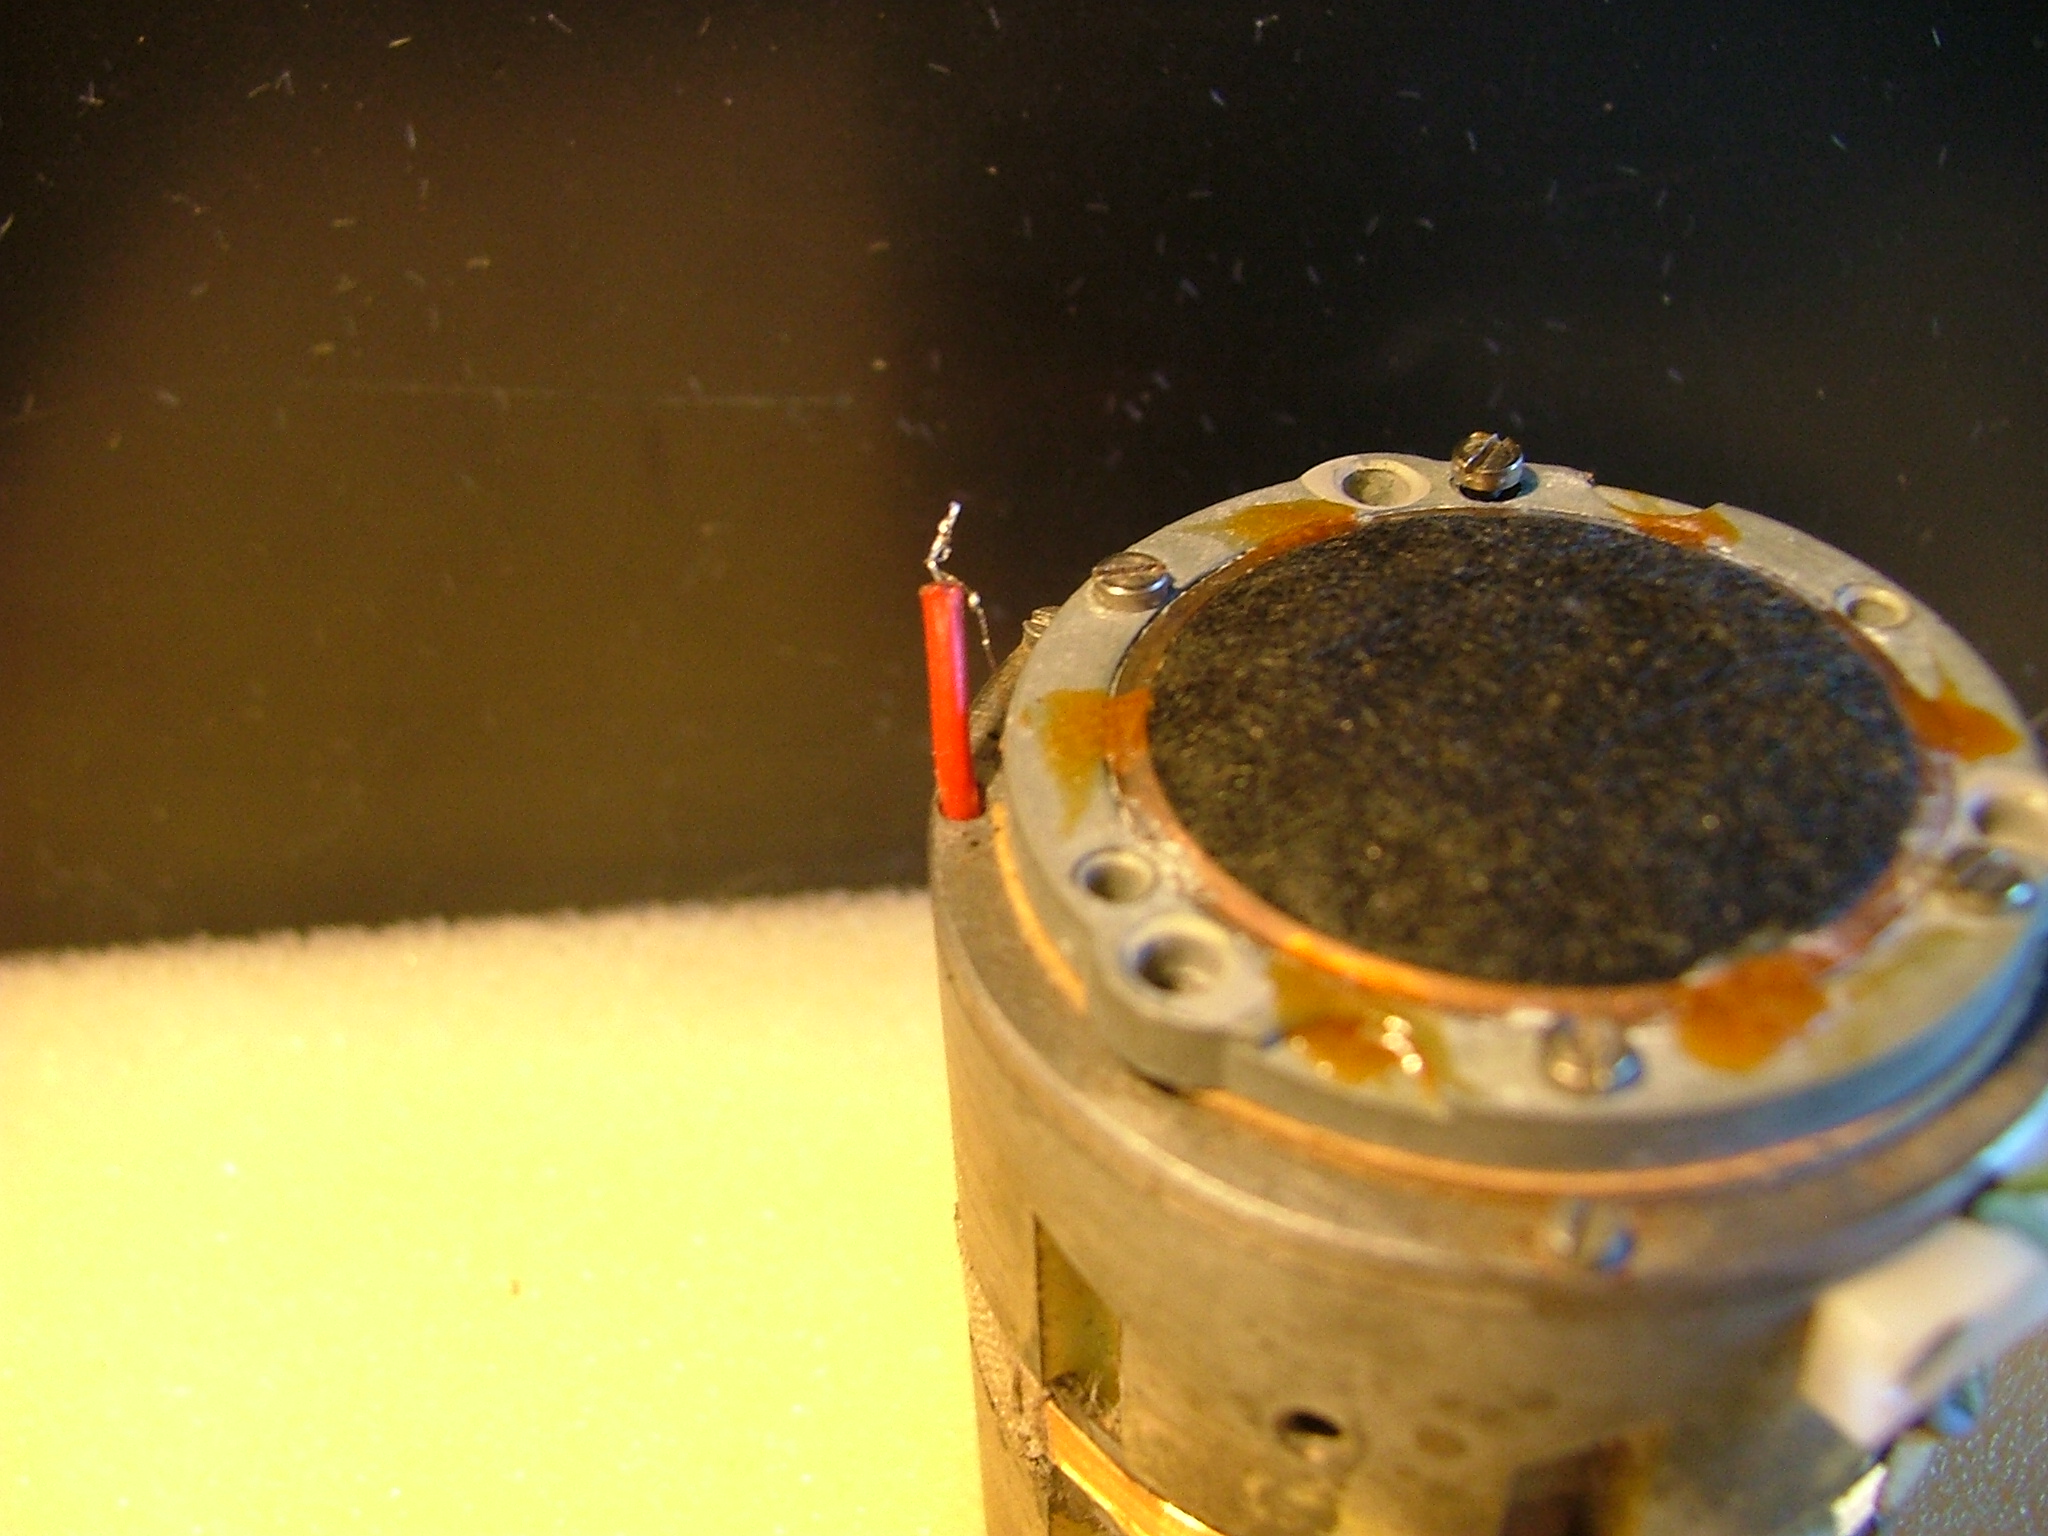
Reinstate the lead- in wires and (the tricky bit) tease the diaphram wires onto the lead-ins, leaving a small bit of slack.
NOTE the diaphram wires must run up parallel with the lead-in wire,so as not to break them when replacing the sleeve and clamping .
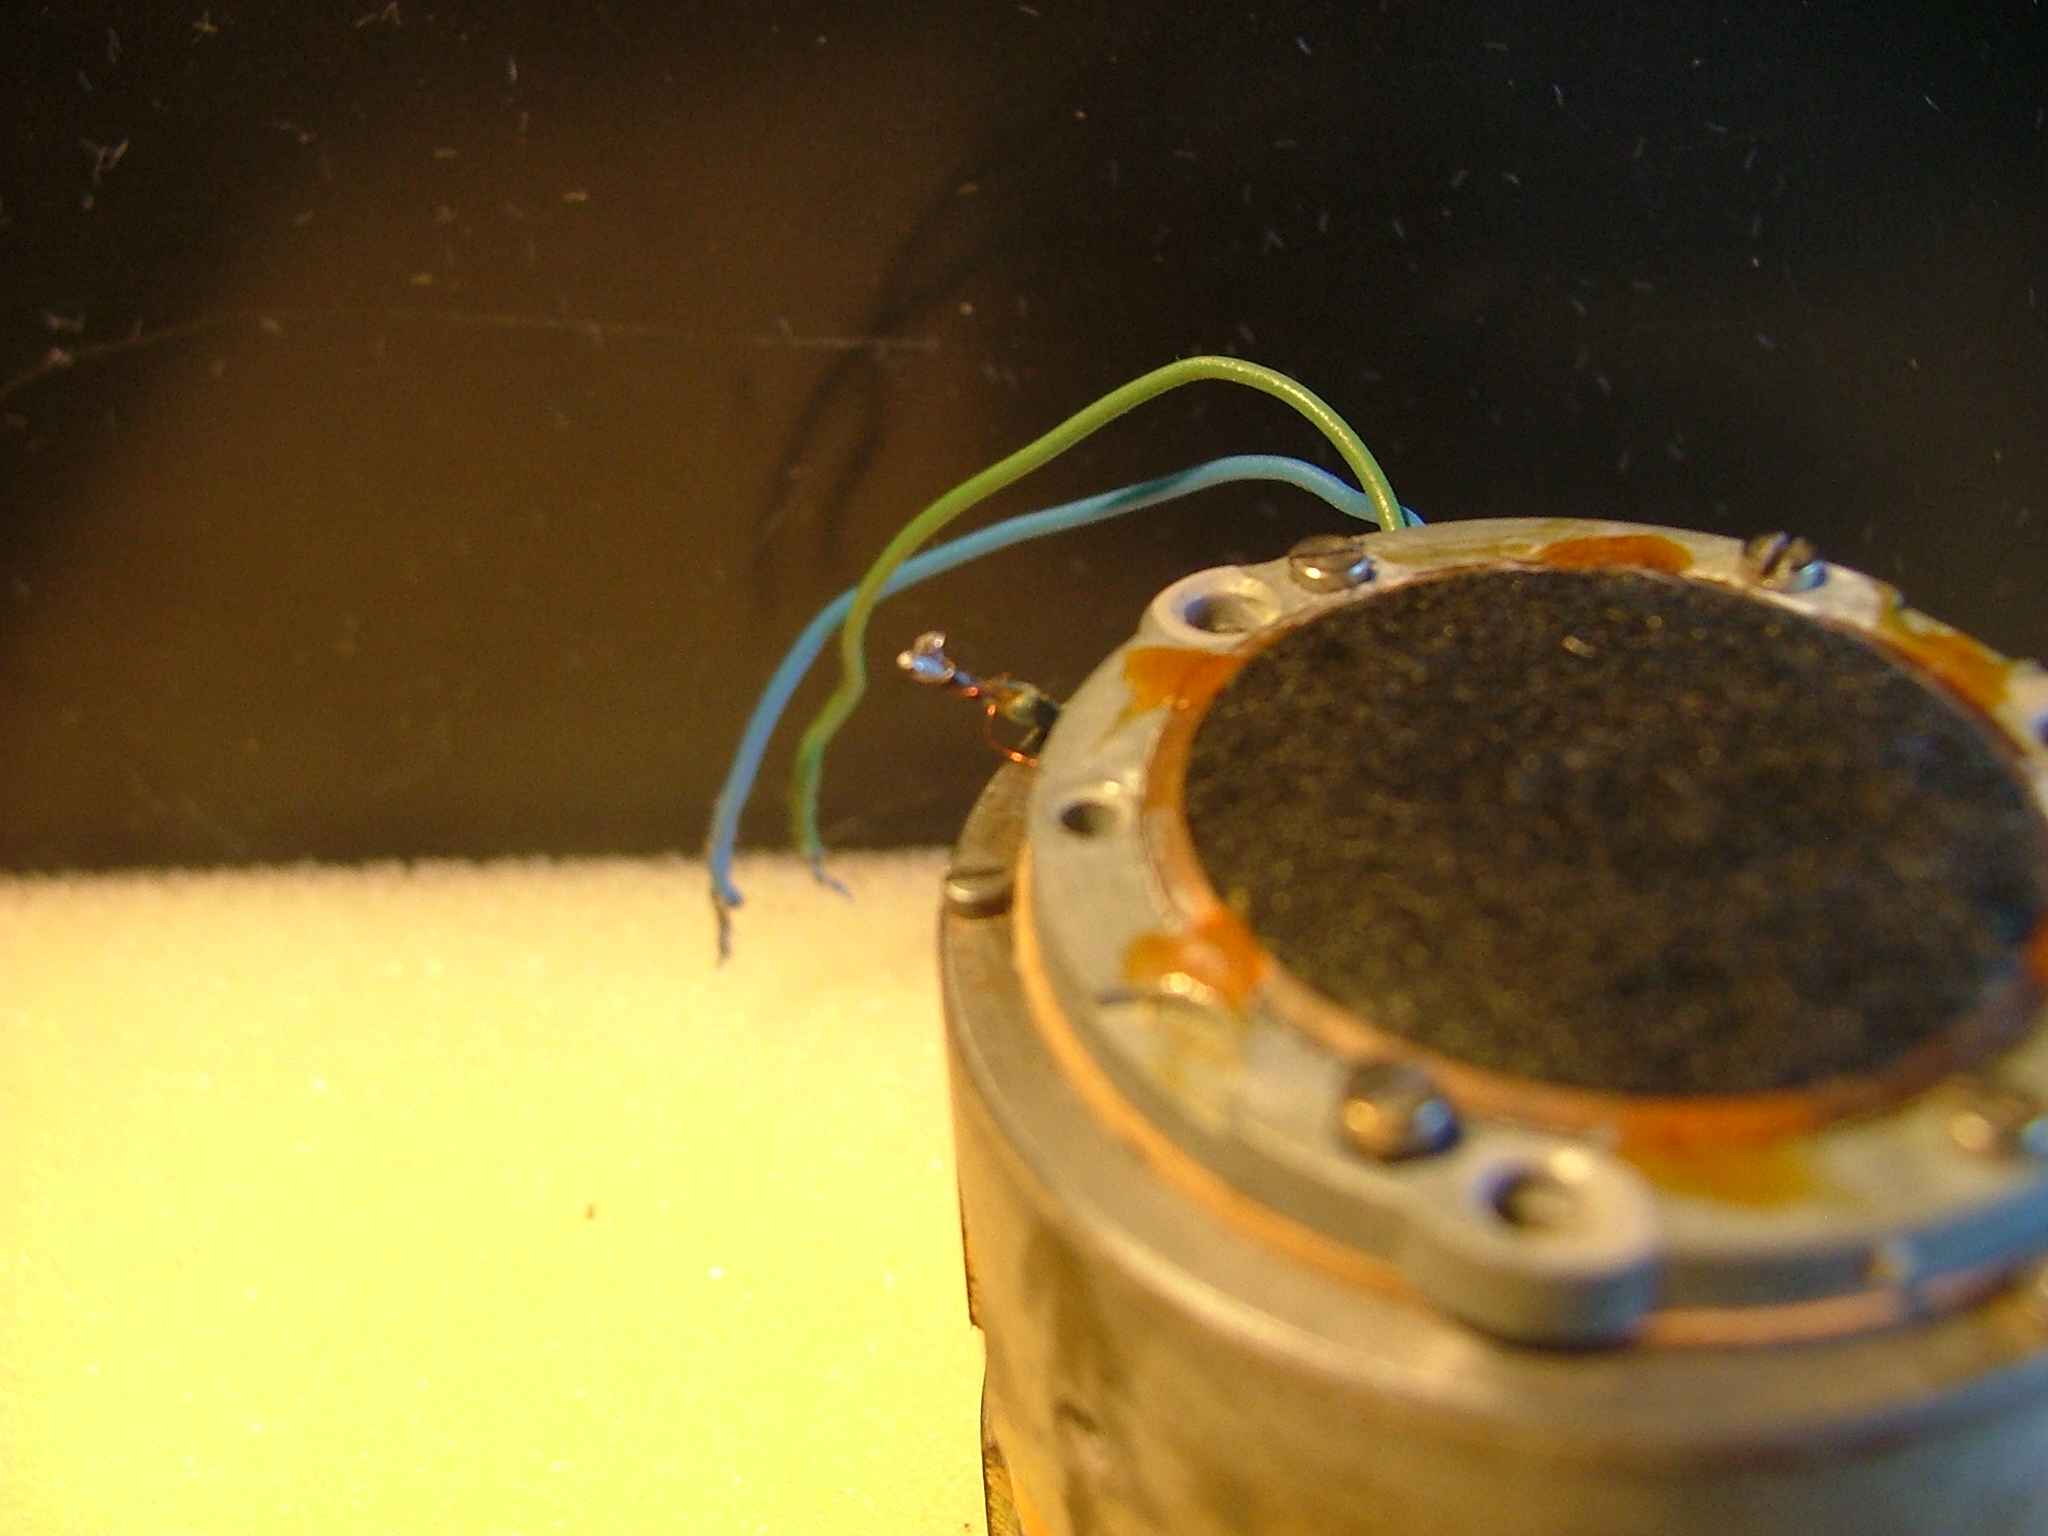

Resolder and check for continuity ....210 ohms in my case.
Next Test and align as per Roddys procedure ( carefull with the exposed wire ends)
When its singing happily,and the screws are tensioned to feel.........tight ......but not to tight !!
Slip the sleeves over the wire ends,......gently bend them over (watch the diaphram wires.!!) and........
Replace the clamps and screws, tightening as per the first four
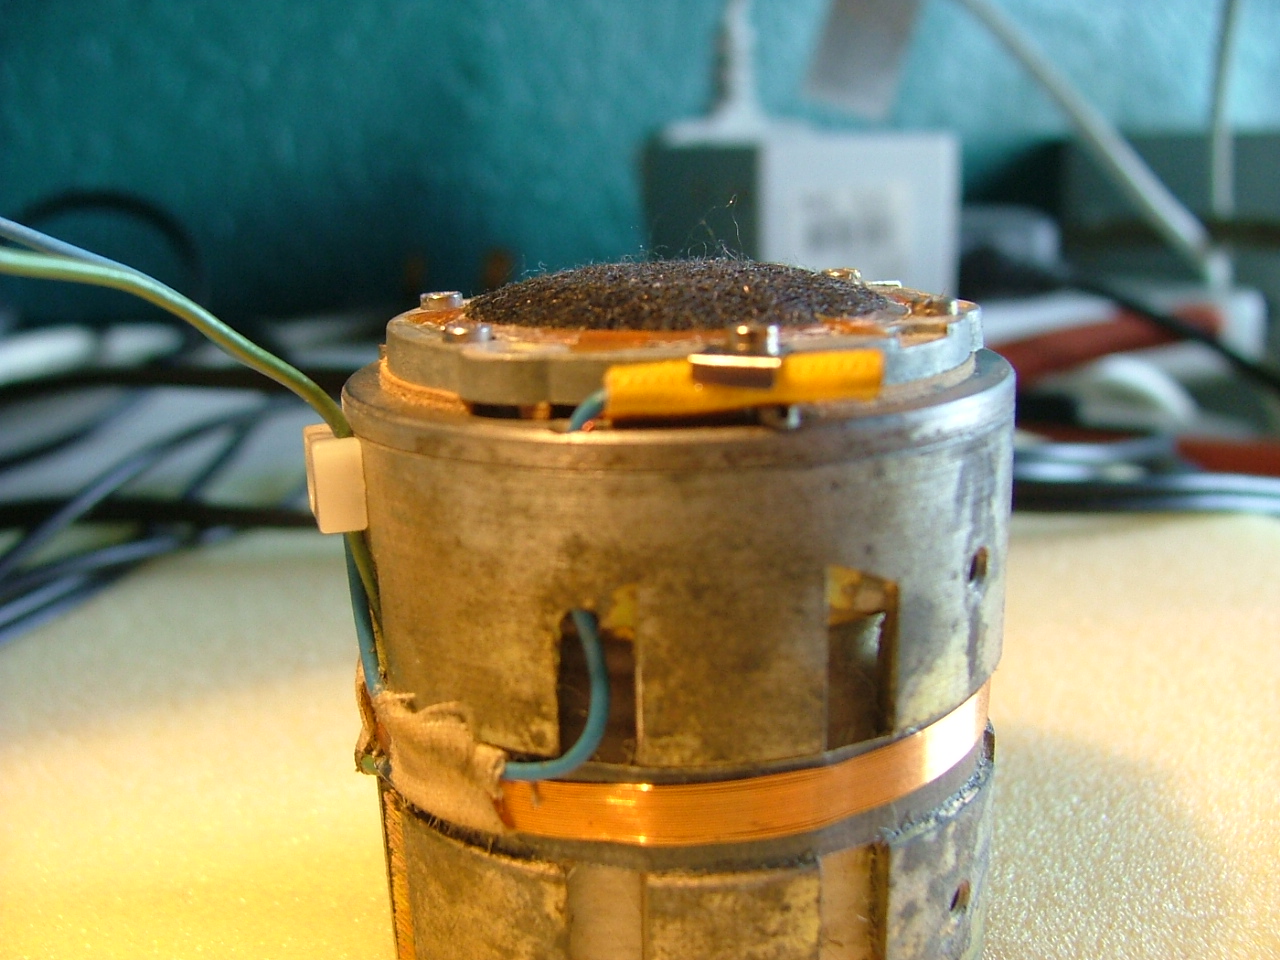
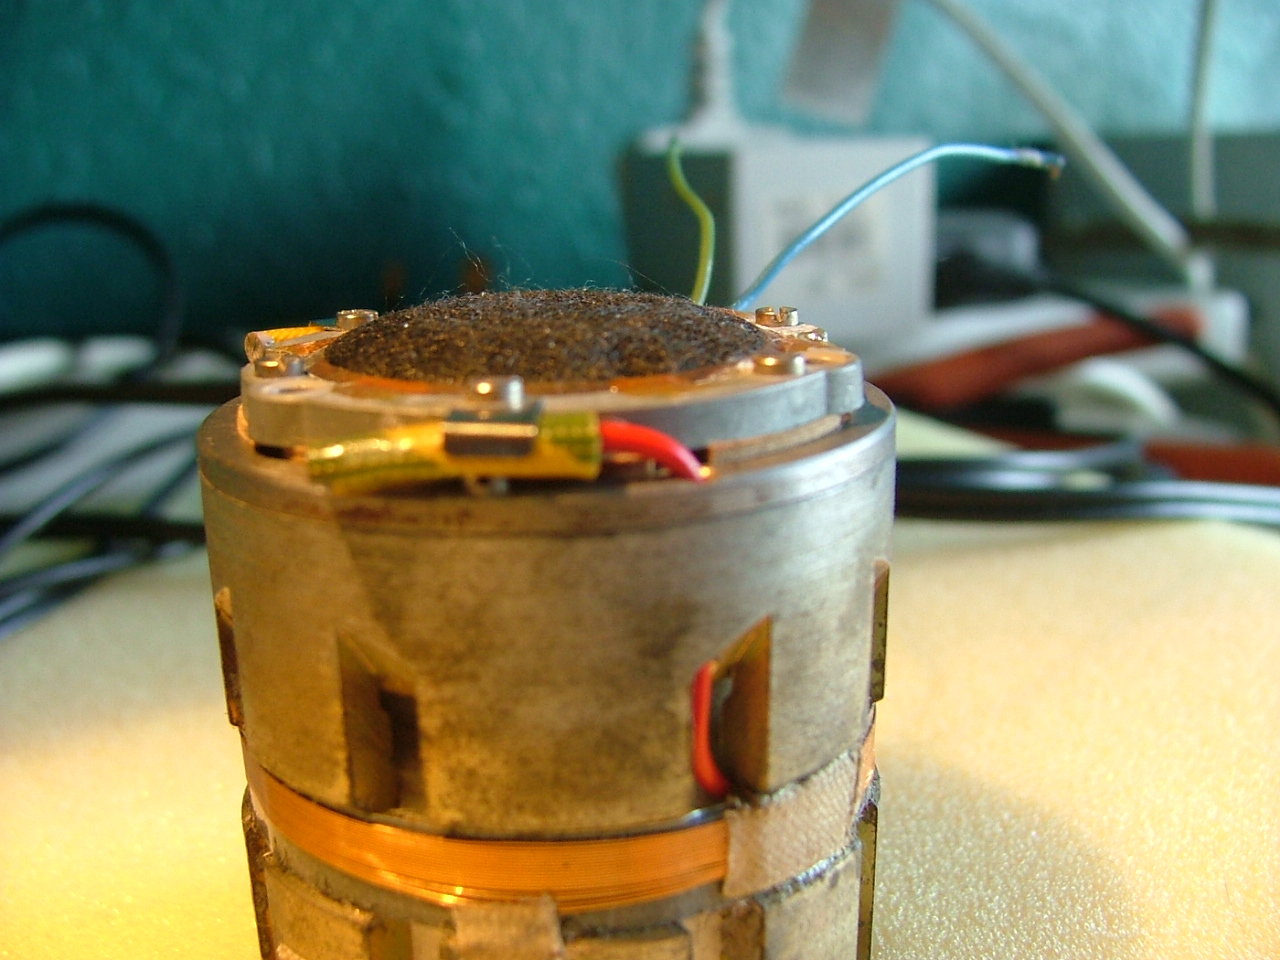

Retest with a sweep on the sig gen ...(small errors can be corrected at this stage,if all tested good the first time
Reassemble the mic complete and Hey Presto a full working D12 with...."Deep, stentorian bass!" quote Keef
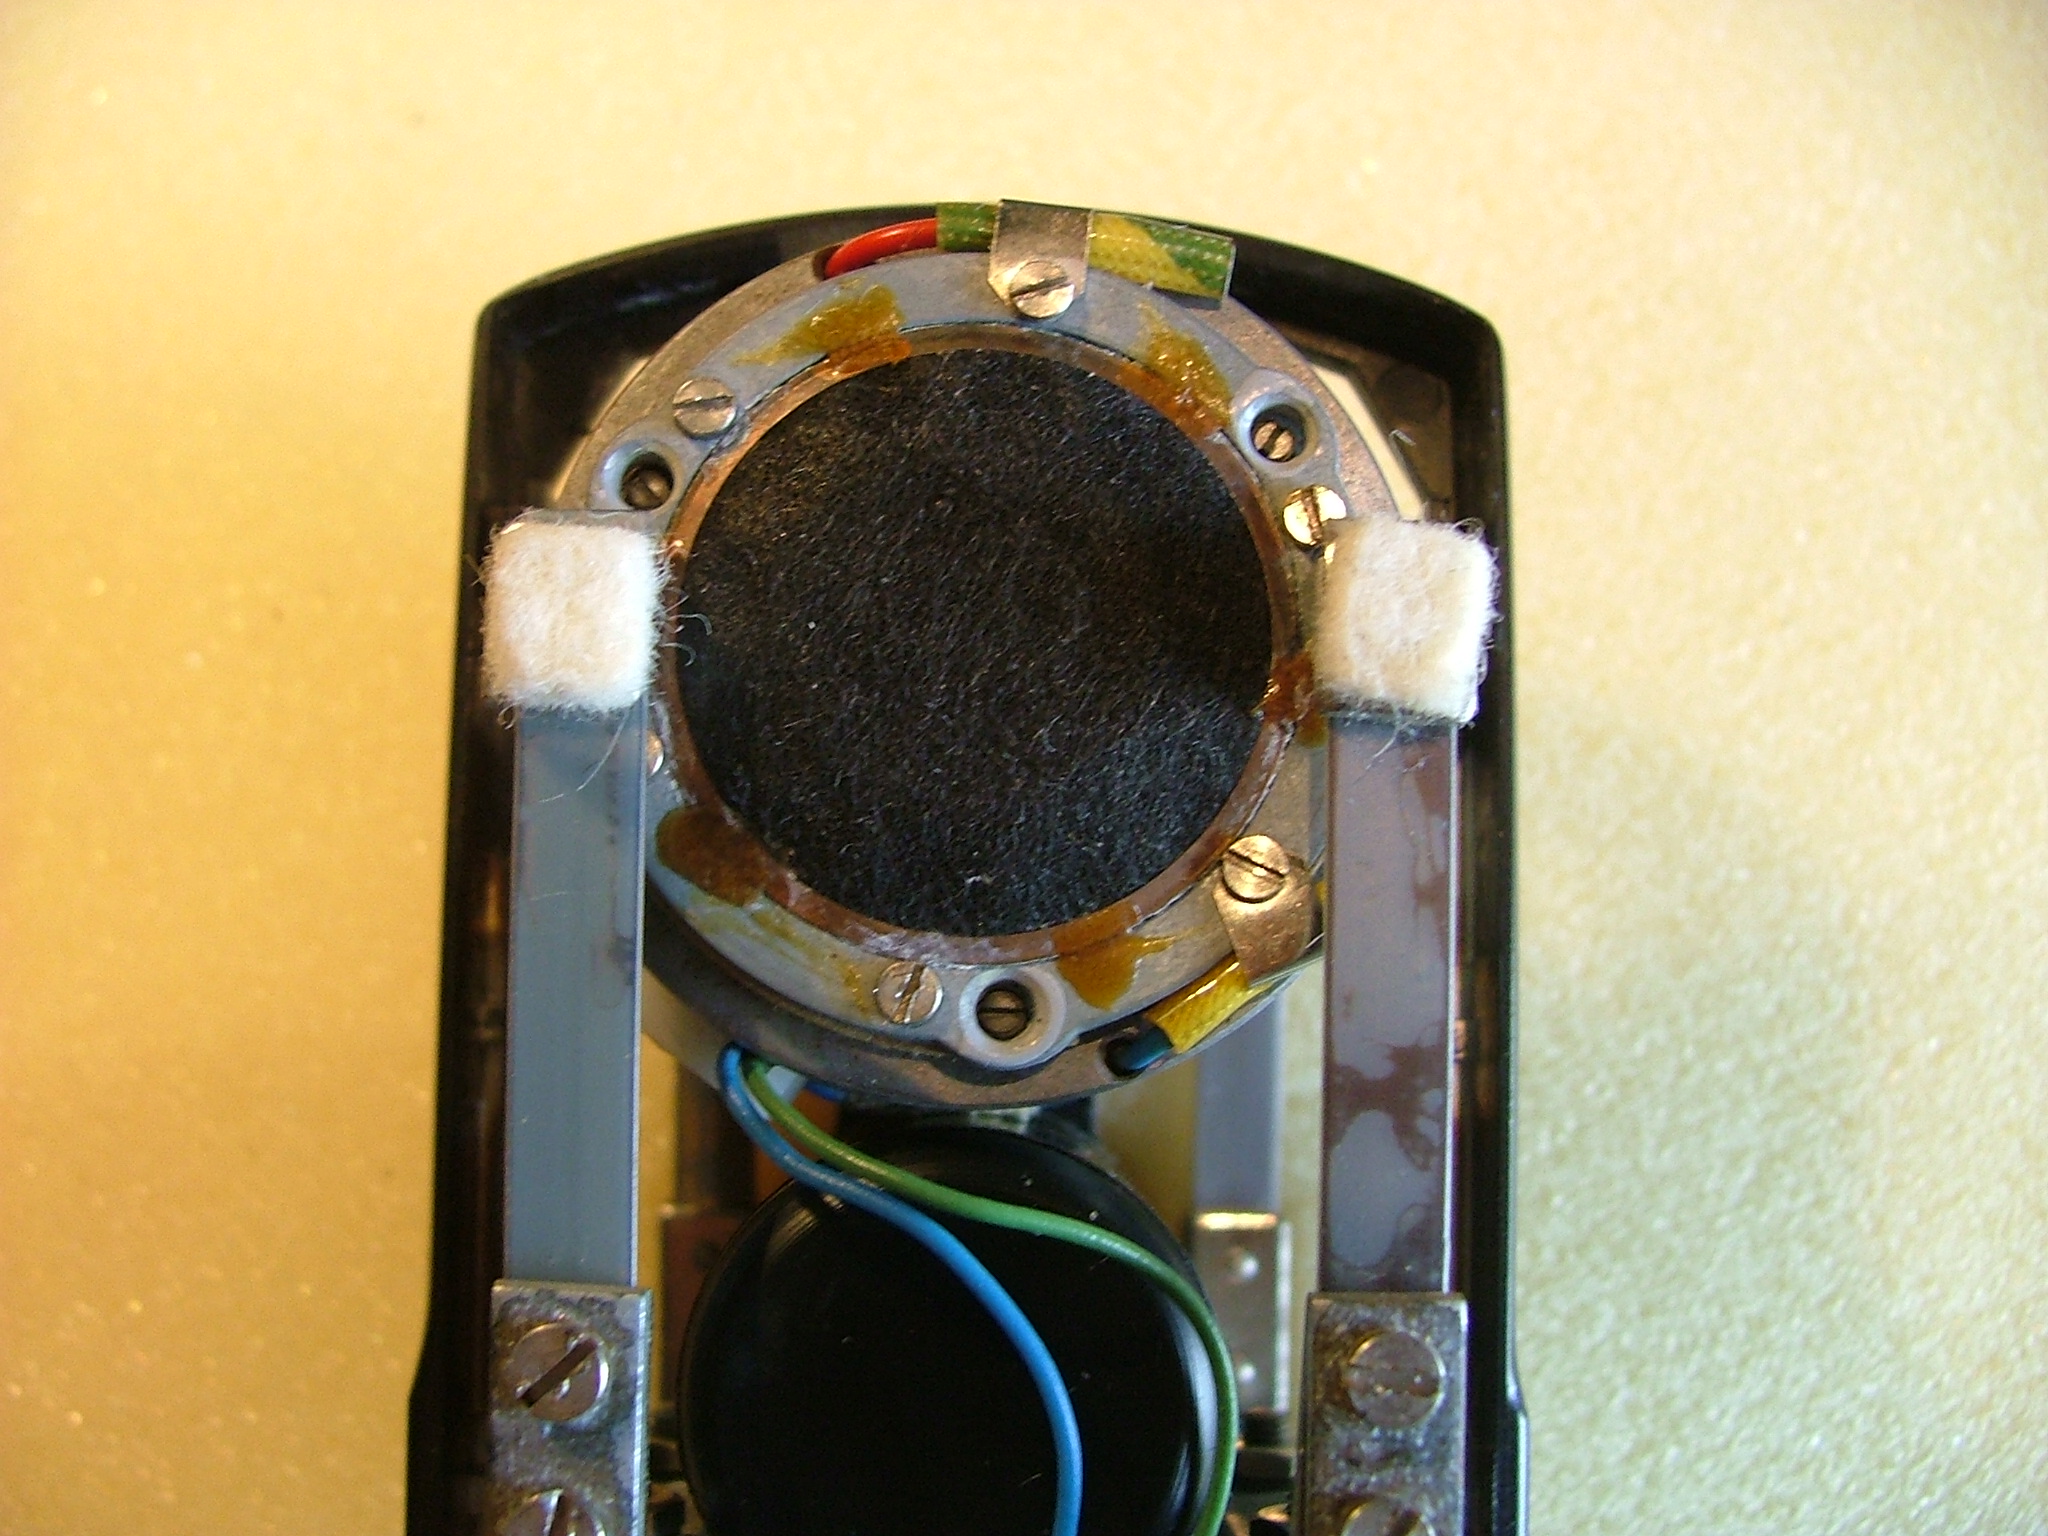

Many thanks to Roddy for his posting of the sig sweep method ... and Keith for bringing the subject up for scrutiny
Images re uploaded with edits 30-12-24
Regards s2udio
Hope this is of help to a few ageing D12's


 You can now see the diaphram and gaskets.............one which I left attached to the cover.
 Get the iron hot and re tin the joints with a small solder application, I used an extra drop of SML flux at this point to keep it clean .


 At this point I also cleaned all the other mic parts,suspension,etc......the grills were also blasted with comp air as a lot of the fibers on the inside were loose and free....


 To align the bottom gaskets/diaphram I delicately teased the wires into the positions as to exit the gasket near the


 Many thanks to Roddy for his posting of the sig sweep method ... and Keith for bringing the subject up for scrutiny