


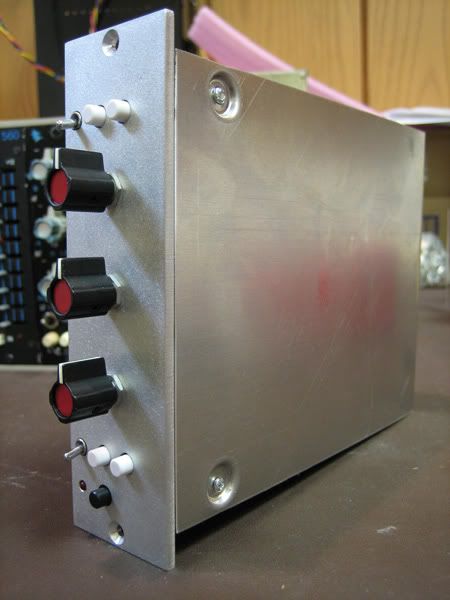
Neat stuff man! I wish I had a sheet metal brake, a water jet, and a spot welder... we are out of space :-(So, I decided to challenge myself a little on my next 500 series module. I went for the full metal enclosure. The frame is .05” steel and the cover is .025” steel. The parts shown are the proto’s from my metal shop. The final version will be cleaned up a little and yellow zinc plated.
We are having a custom tool made up since my embossed hole design is not exactly stock. That tool isn’t ready yet so they used the next bigger size for the proto parts. That’s why the embossed holes look a little big.
I am just happy as my layout for both parts worked the first time out. I have no changes to make for either part. Now, if the boards were right on the first Rev.....I would really have something!!
Anyhow, here are a few pics.
Front, right side.
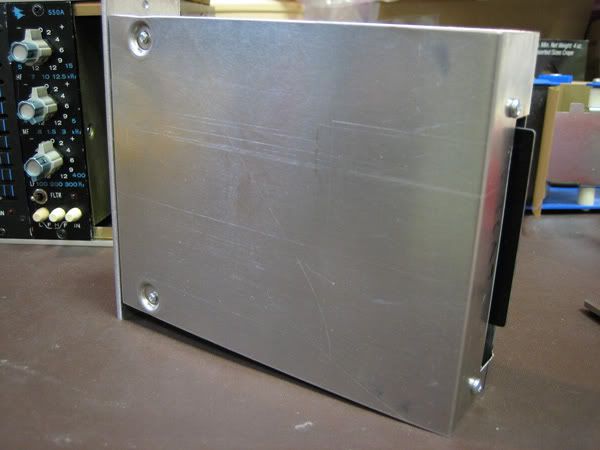
Rear, right side.
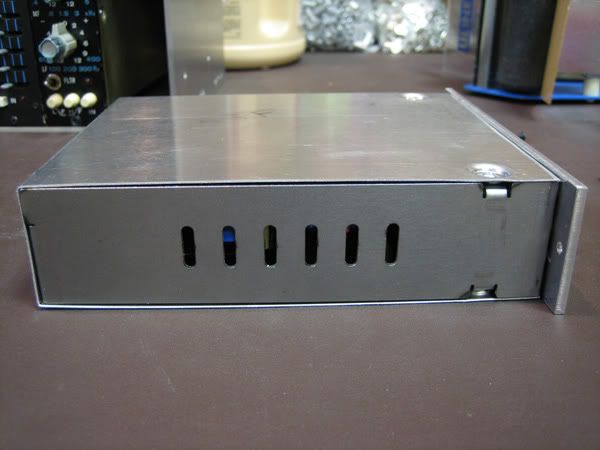
Ass-end. Note that the notch is large enough to slip over the 18-pin connector in a 51x rack.
Top. I couldn’t resist using my logo for vent holes. The space in the middle can be for a product ID tag.
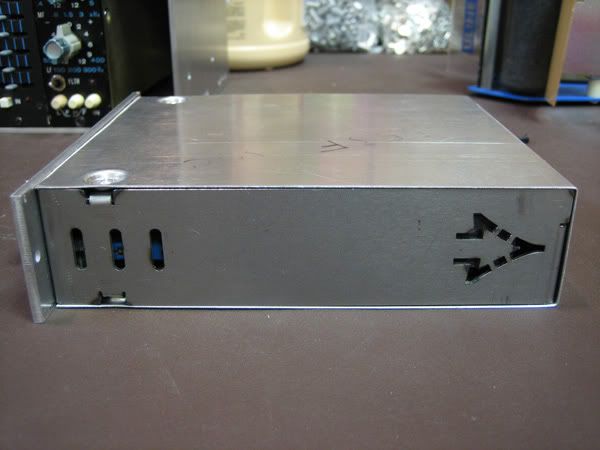
Bottom, vent holes.
Inside. I see a 2503 that needs a haircut. This is a vintage transformer as I was out of Ed’s version when I built this. I saw no need to cut the leads for a proto build.
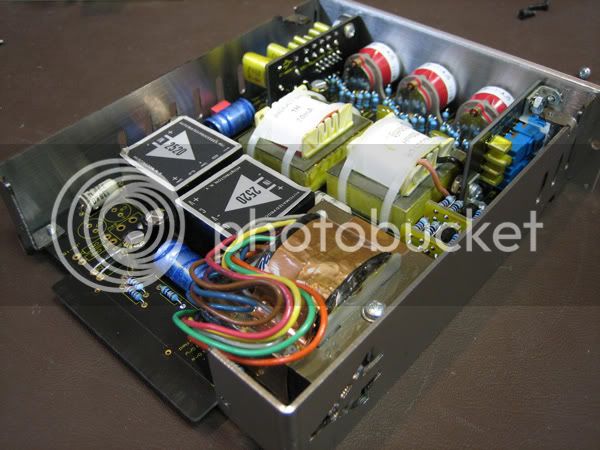
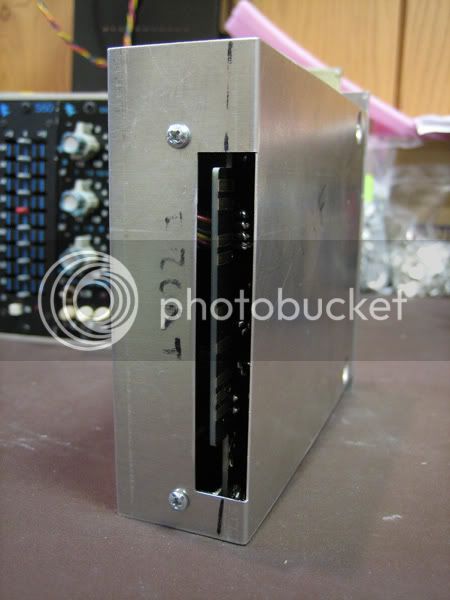
Leaving the back of the frame open makes it easy to drop the PCB in. The frame flexes in and out pretty easily.
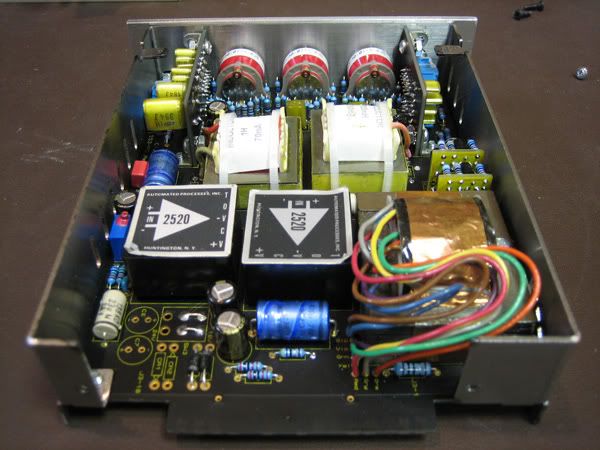
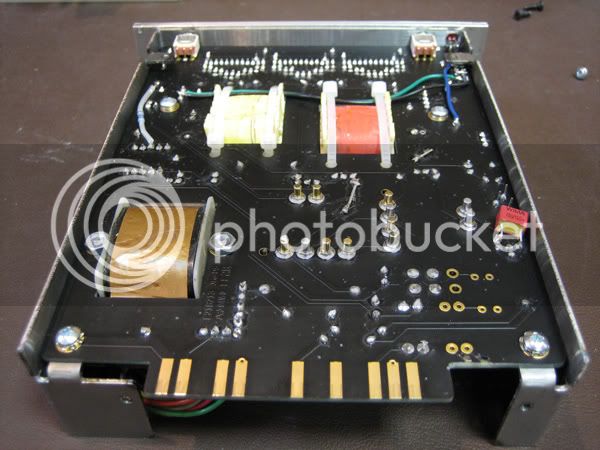
The board fastens in the rear with a couple of 4/40 screws to the steel frame. This PCB was my first Rev so that’ll explain a few components, jumper wires and cut traces here and there.
Cheers, Jeff")
Keep at it!