tommypiper
Well-known member
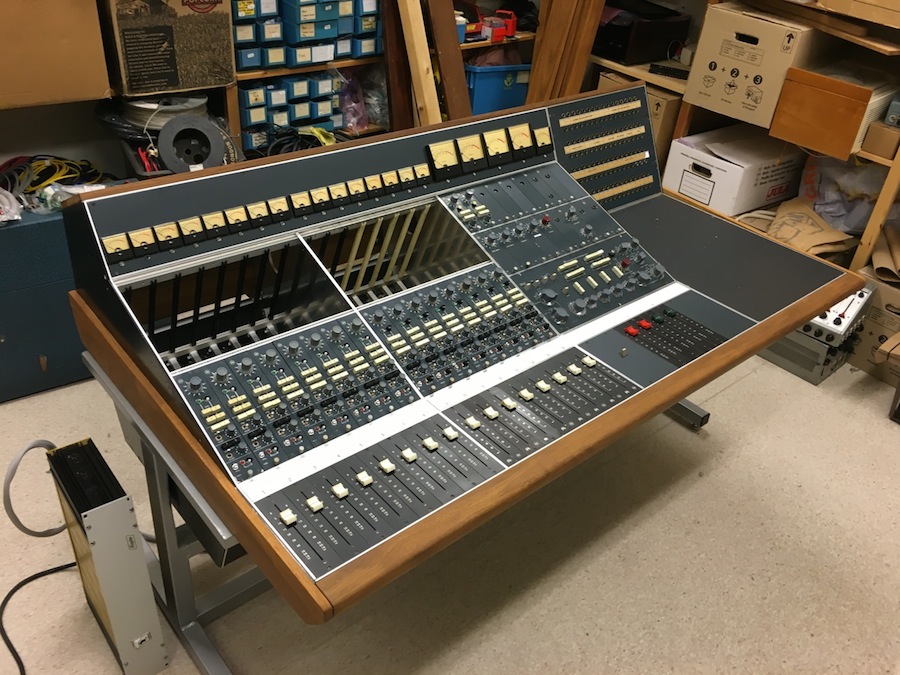
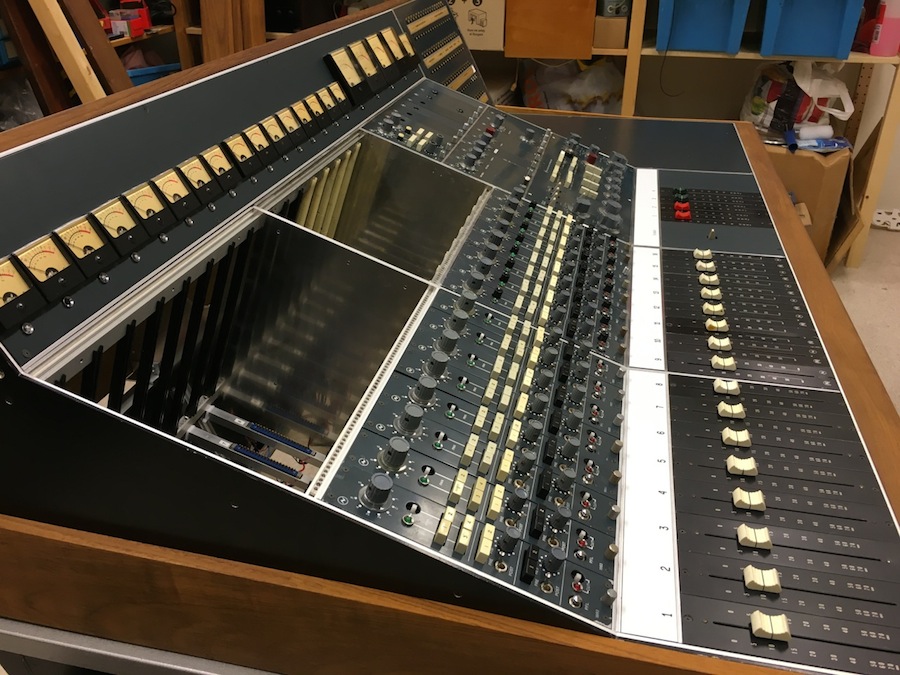
API said:Of course i had to do a fancy nameplate for these extra inputs....
Awesome thread. How do you make those nameplates? Are they plastic or metal? Do you have a machine for them?


API said:Of course i had to do a fancy nameplate for these extra inputs....
When I started doing electronics you could buy lots of typefaces from Letraset, and make your own labels.API said:mjrippe, i totally hear you and agree.
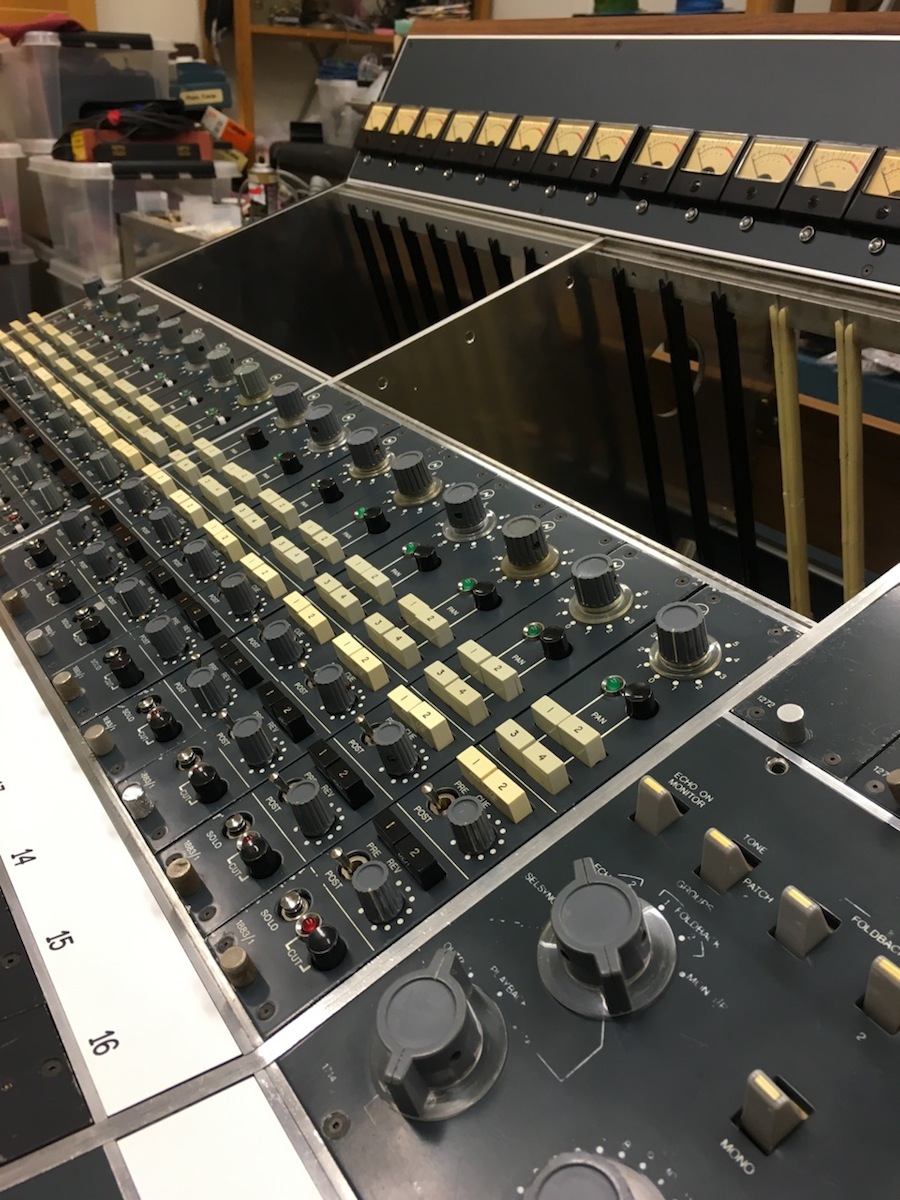
I have been thinking alot about this as well but have not yet figured out a way to add the numbers in a nice and pleasant way yet.
I actually thought about engraving the new VU covers with numbers, just like how the old ones were engraved.
Since i added the peaklead in the center under each VU it will not look good there and above the VU´s would look strange to my eyes as well.
But i agree, they would be handy.

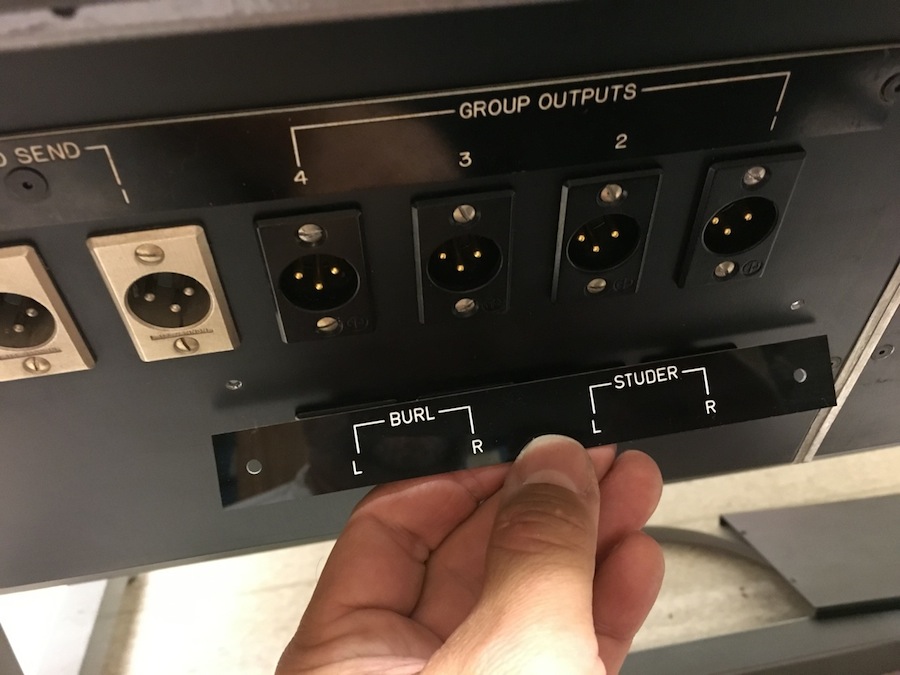
API said:I have been looking for the old and correct material which is usually called Traffolyte
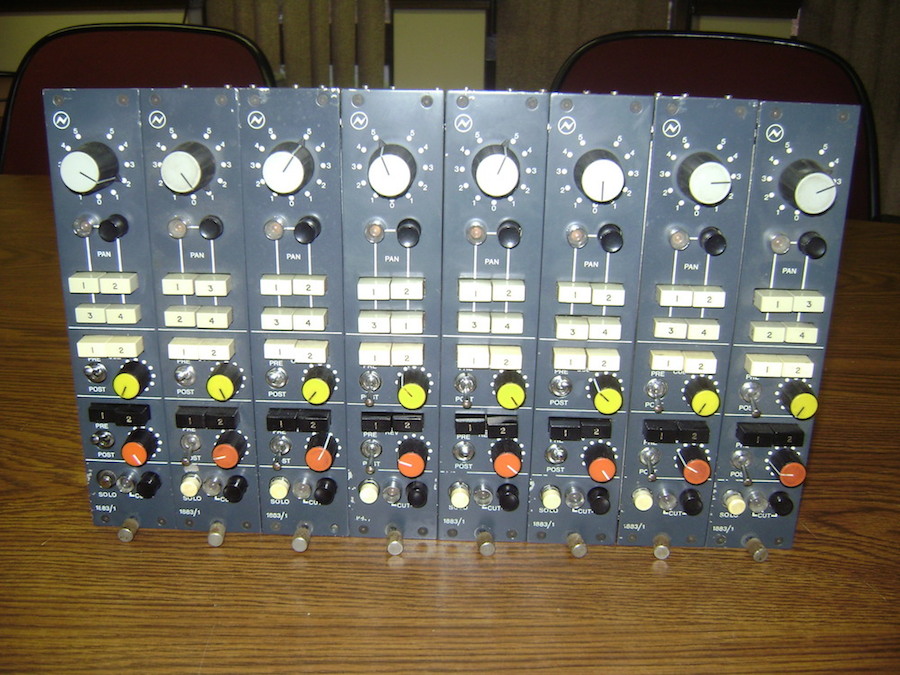
New owner???pvision said:The new owner is going to get a wonderfully hand-crafted, restored console

")
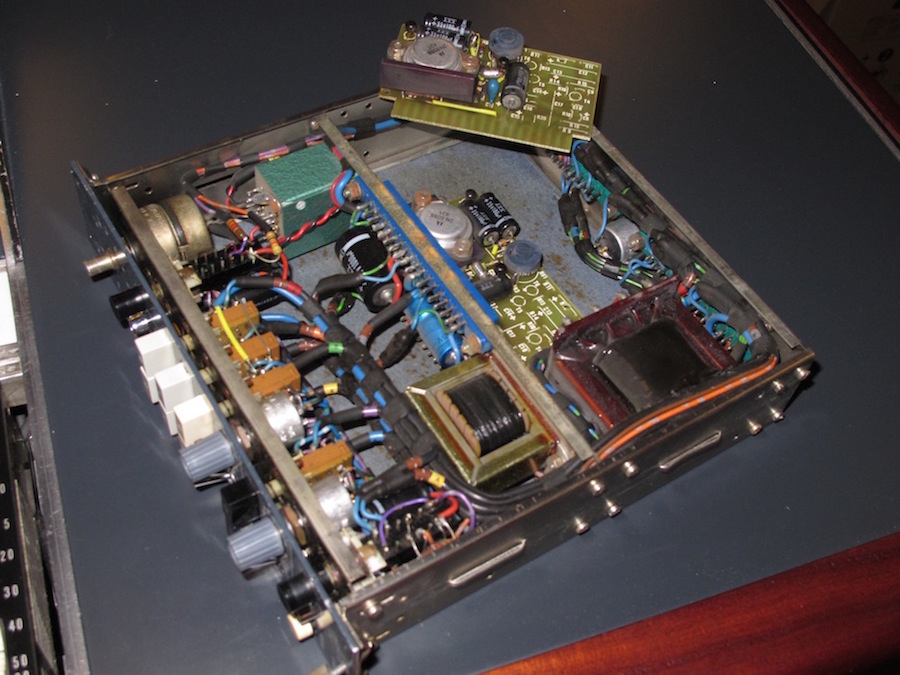
And a great story it was. I, for one, thank you for it.API said:So its time for the final chapeter of this now very looooooong story!


![Soldering Iron Kit, 120W LED Digital Advanced Solder Iron Soldering Gun kit, 110V Welding Tools, Smart Temperature Control [356℉-932℉], Extra 5pcs Tips, Auto Sleep, Temp Calibration, Orange](https://m.media-amazon.com/images/I/51sFKu9SdeL._SL500_.jpg)


