GSSL HELP THREAD!!!

GroupDIY Audio Forum

Help Support GroupDIY Audio Forum:

This site may earn a commission from merchant affiliate links, including eBay, Amazon, and others.
Gustav said:
cray said:
you won't believe me but i have tried before with a new led.. and no light..
but now you tell me that..i  tried again..yes i find there is light!! :)

Great, no more problems.

It was possibly a stupid suggestion to even check for the current - I was just reacting to the regulators getting hotter/now knowing what you put in there. Not sure if the extra 100mA draw should make a real difference to the regulators here, someone else will probably know.

If you were only using "half" of the VA rating on your trafo due to using just one side of a primary 115 (you still didnt enter your location, by the way), I would tell you to add the other side in parallel and try again, but if your troubles are gone, just be happy :)

Gustav
Gustav

Thanks Gustav :)

im based in Spain. 220v.

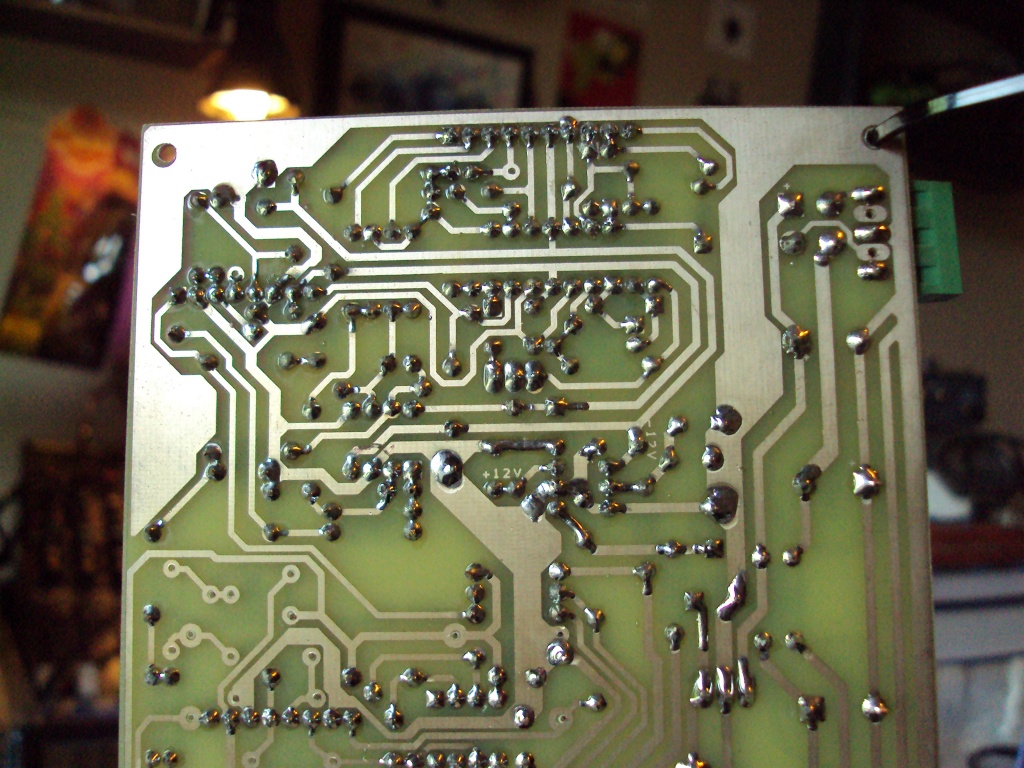
The thing is the regulators are hot..but not as to shutdown by overheat.
what about a a new trafo.?  just a small one with a secondary +15v to feed the cnb board?

just need to connect in parallel with the other , but , that will add some hum? or just keeping apart of the ssl board is okay?


a newbie question. how i have to do to measure the current on the regs? don't want to damage nothing :)


Your problem was fixed - no reason to create new ones  - heat sink the regulators. When trouble shooting in writing, some shots are fired in the wrong direction. Do not worry about it.

You state 100mA additional consumption for the modification, and thats well within your 15VA supply, and the specs of the regulators.

cray said:
how i have to do to measure the current on the regs?

https://www.google.dk/search?client=safari&rls=en&q=com&ie=UTF-8&oe=UTF-8&gws_rd=cr&ei=atRfV6mlLYqisgHBr43wDg#q=how+to+measure+current

Gustav
 
Gustav said:
Your problem was fixed - no reason to create new ones  - heat sink the regulators. When trouble shooting in writing, some shots are fired in the wrong direction. Do not worry about it.

You state 100mA additional consumption for the modification, and thats well within your 15VA supply, and the specs of the regulators.

cray said:
how i have to do to measure the current on the regs?

https://www.google.dk/search?client=safari&rls=en&q=com&ie=UTF-8&oe=UTF-8&gws_rd=cr&ei=atRfV6mlLYqisgHBr43wDg#q=how+to+measure+current

Gustav

thanks so much gustav :)

yes i  think know how to do ..but not sure 100%.

  i litf the output leg to break the circuit on the v.r  and i close the circuit with the DMM.  to read the current ( also i can cut the track on pcb  to avoid  desoldering them. )

COM  to output leg?  A to track on pcb? or reversed ?

its a good way?

thank you.
 
cray said:
Gustav said:
Your problem was fixed - no reason to create new ones  - heat sink the regulators. When trouble shooting in writing, some shots are fired in the wrong direction. Do not worry about it.

You state 100mA additional consumption for the modification, and thats well within your 15VA supply, and the specs of the regulators.

cray said:
how i have to do to measure the current on the regs?

https://www.google.dk/search?client=safari&rls=en&q=com&ie=UTF-8&oe=UTF-8&gws_rd=cr&ei=atRfV6mlLYqisgHBr43wDg#q=how+to+measure+current

Gustav

thanks so much gustav :)

yes i  think know how to do ..but not sure 100%.

  i litf the output leg to break the circuit on the v.r  and i close the circuit with the DMM.  to read the current ( also i can cut the track on pcb  to avoid  desoldering them. )

COM  to output leg?  A to track on pcb? or reversed ?

I am sorry, but I dont know what "v.r." is, and I have a really hard time understanding what you mean by "COM to output leg? A to track on pcb? or reversed?"

Your current draw should be measured on the supply, not in the signal path.  Put the meter in series with your supply to do so. I put up a google link with a number of explanations to choose from - I just checked this one ( I liked the book when starting out), and its pretty straight forward. http://www.dummies.com/how-to/content/how-to-measure-current-on-an-electronic-circuit.html

Hope that helps :)

Gustav

 
Hi Gustav, here's a picture of the control board solder side. I checked the orientation and programming of the switches and they are ok. I measured the resistors and I've got strange values for the one next to the side chain side.

the 10k and 5k1 next to the 22uf cap, values measured is now respectively 6k2 and 4k1, the 56k and 100k next to the TLO72 are now 47k5 and 73k1, the 10k and 20k next to the TLO74 are now measured 8k5 and 14k2. Would that means that the 22uf cap is solder upside down ? Is the positive side written on the cap ?
 

Attachments

  • IMG_0079.jpg
    IMG_0079.jpg
    1.9 MB · Views: 31
I forgot to tell you that I took time to measure every resistor before soldering them on the pcb, and everything was ok, so it's really weird that I have now these different values, I hope you'll be able to understand why.
 
Sorry for my lack of electronic skills (first DIY project), I just spoke to a friend of mine who told me that it is normal that the values of the resistors are different  when there is connection between them, and explained that you need to lift up one leg to measure the real value. So the issue comes from something else apparently. I hope the picture of the solders on the PCB will help you understand the problem.
 
innercityman said:
Hi Gustav, here's a picture of the control board solder side.


That is the main board. The control board would've been nice to see to rule out reversed tantalum caps, but....

I see a short on the row of pins for the side chain VCA (pin 7 and 8). There may be more, but start by fixing that.

Gustav

 
innercityman said:
Short fixed.

And did it help?

And if not, look for more, and check the programming of the switches, like I mentioned in an earlier post (no feedback on that).

Gustav
 
Ok the good news is that I powered up the unit and the needle of the vu meter doesn't go straight to the right anymore, whatever the comp is in or out and side chain in or out. So this is pretty cool. But to make a complete audio test, I need to go to my studio, I don't have nothing at home to feed the comp with audio and nothing to listen to. For your question about the orientation of the switches, I already answered you, you probably missed it.
Hi Gustav, here's a picture of the control board solder side. I checked the orientation and programming of the switches and they are ok. I measured the resistors and I've got strange values for the one next to the side chain side.
 
And to complete my answer, the ratio switch is programed on 3, the attack on 6 and the release on 5, like mentioned on the front panel.
 
innercityman said:
And to complete my answer, the ratio switch is programed on 3, the attack on 6 and the release on 5, like mentioned on the front panel.

Thats great, just wanted to make sure none of them were caught on the wrong side of the pin.

Probably a good idea to check the unit with the short fixed before spending more time trouble shooting.

Gustav

 
Hello there GDIY.
Im reposting this in an attempt to describe better a situation i had and need to verify some findings.
So, a couple of months ago i finished my GSSL build. It seemed to bee fully functional, which was beyound my expectations.
Then i visited a friend who has made a MONO version of Rev#9 to compare them. When i say mono i mean it has one audio path, but as i believe the SC path is the same as stereo. His unit was 100% functional.
He pluged ONE input-ONE output into my unit and started checking it on a snare sound. Then he told me that my unit wasnt compressing enough.. Indeed his mono comp was smacking snares and brick walling, while mine was obviously compressing a bit..
I left completely dissapointed and started looking into that matter, in terms of schem and hardware. I had NO problems in hardware. Everything looked as it should.
So i tried the most obvious solution.. Pluging the same mono signal to my second input as well, but still monitor one output. I observed that compression became stronger! I was not sure if that was the answer so i followed the sidechain path to see whats happening there.
What i realised is that the dummy VCA is fed with the SUM of the L-R samples through the 47Ks that go into a summer circuit. Then SC does its thing and in the end of the path it feeds the VCAs with a CV through a divider. (correct me if im wrong about these topologies..)
My conclusion was that the MONO comp was obviously functional with one input because it only had to feed one VCA with the CV. No dividing. On the other hand, if we feed signal to ONLY one input of a stereo unit, it causes to get HALF the CV that we should in the end of the SC chain, as it still divides and applies to both VCAs.. This made us think that my unit under-compressed.
Well, i am not 100% sure about my findings. I would appreciate it if someone can confirm what i describe above.
I include an audio sample (sourced from youtube...) with my GSSL at work and some pics. Please check these out and give me some feedback if you are kind enough.
Thank you for all GSSL people!!
Regards.

Audio:
https://www.gearslutz.com/board/attachments/geekslutz-forum/565354d1465721429-diy-compresor-build-jazz-drumsugssl.mp3
Images:
565356d1465722199-diy-compresor-build-dsc03781.jpg

565357d1465722234-diy-compresor-build-dsc03789.jpg
 
Hello,


yes,looks like you're in need of the so called "turbo" or "Oxford" modification which adds a complete second sidechain path to the unit.
I did that for my GSSL those days (ages ago),made both modes switchable and found them to be completely different.At that time the guys of expat audio sold pcbs to do it,don't know if they are still available.
Maybe member Rochey can help you.....?


Best regards,


Udo.
 
Yes, a version with only one channel stuffed will tend to overcompress at normal working levels (higher ratios), unless you change some components. On the other hand, the "standard" version's general correctness  has been verified quite a few times (in the thousands..).

If you look earlier in this thread, you'll be able to find several pointers to how to quantify expected amount of compression - so that you can rule out possible wrong-value resistors (that would be the obvious candidate if you get under-compression).

Jakob E.
 
Back
Top