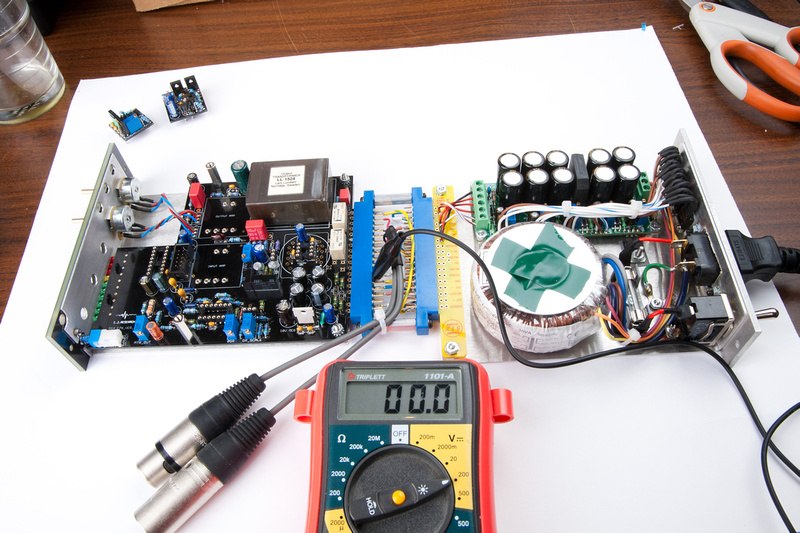
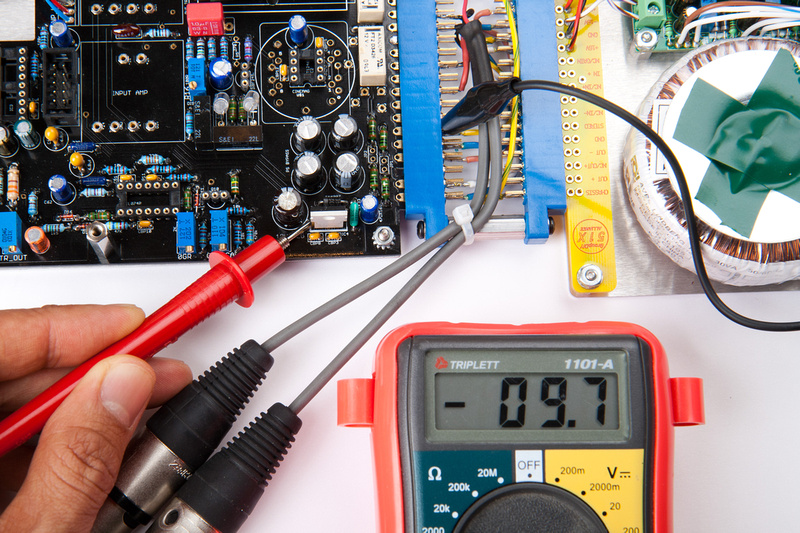
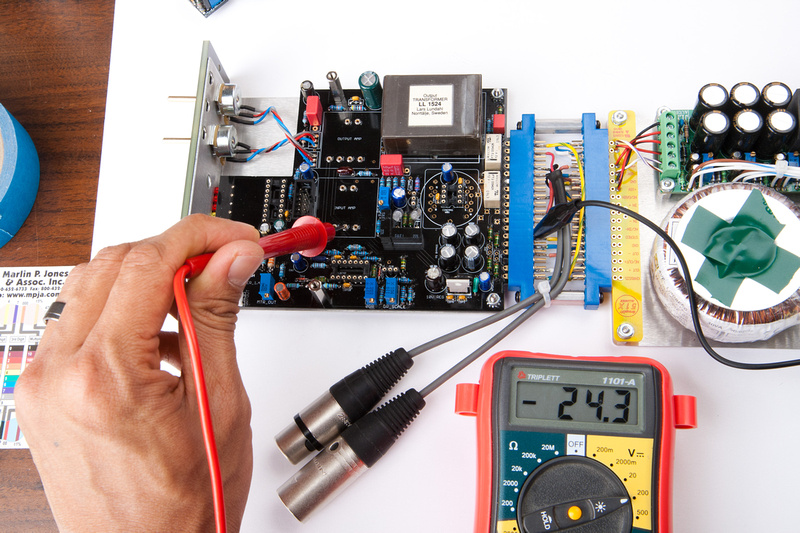
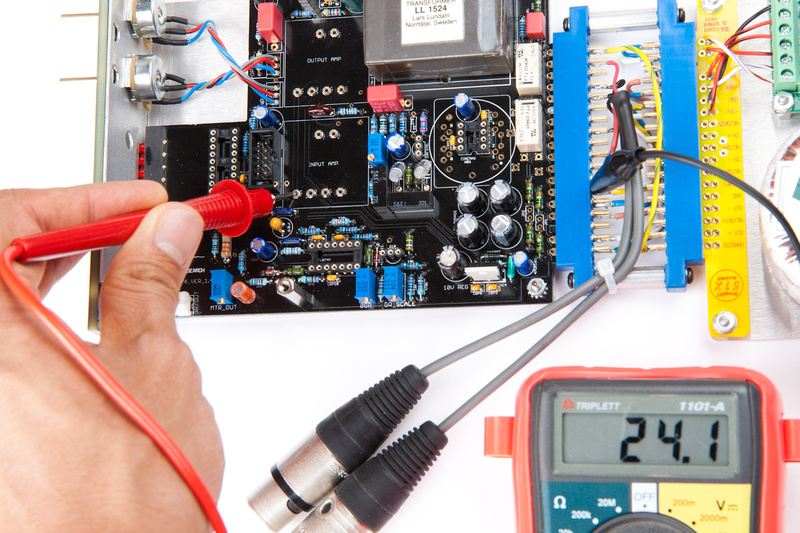
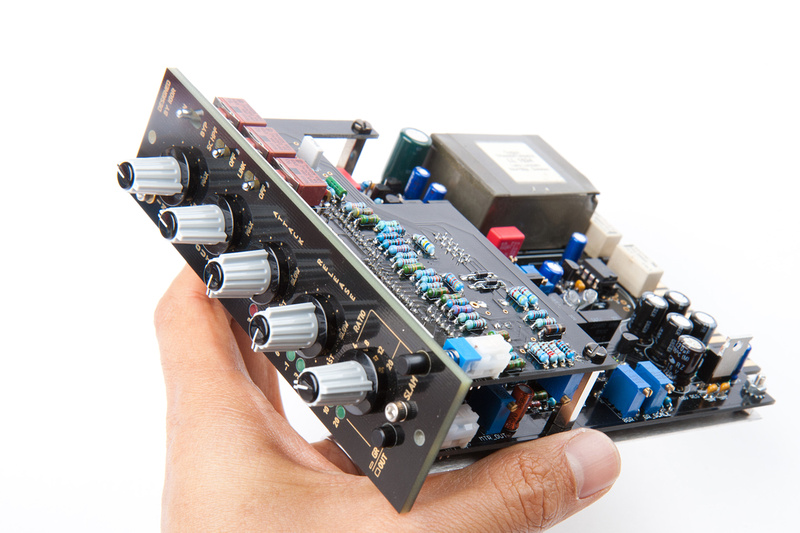
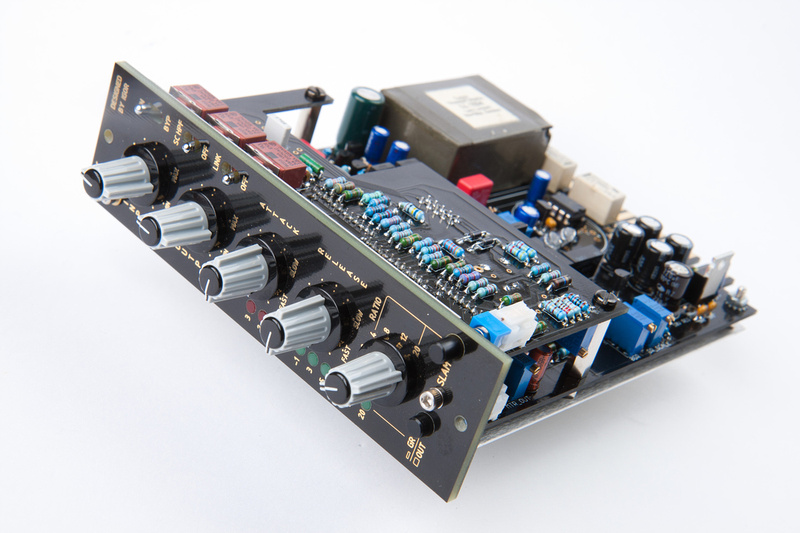
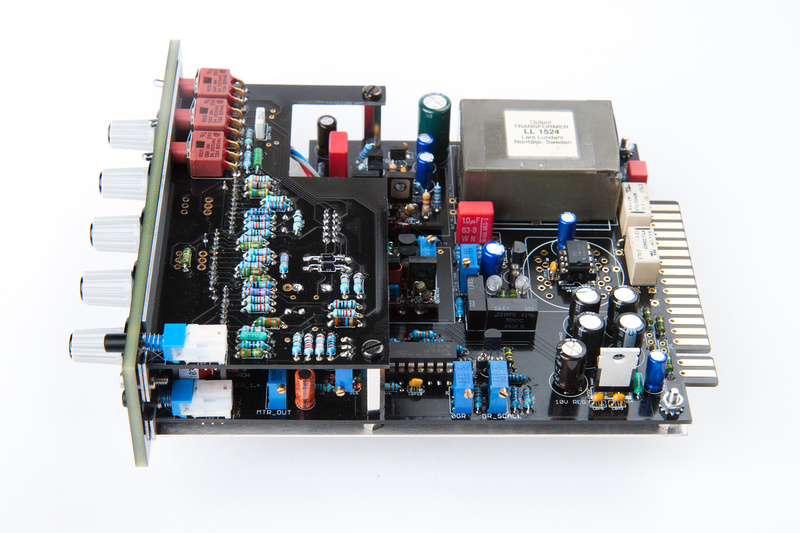
ok. . . one more push to finish up this build.
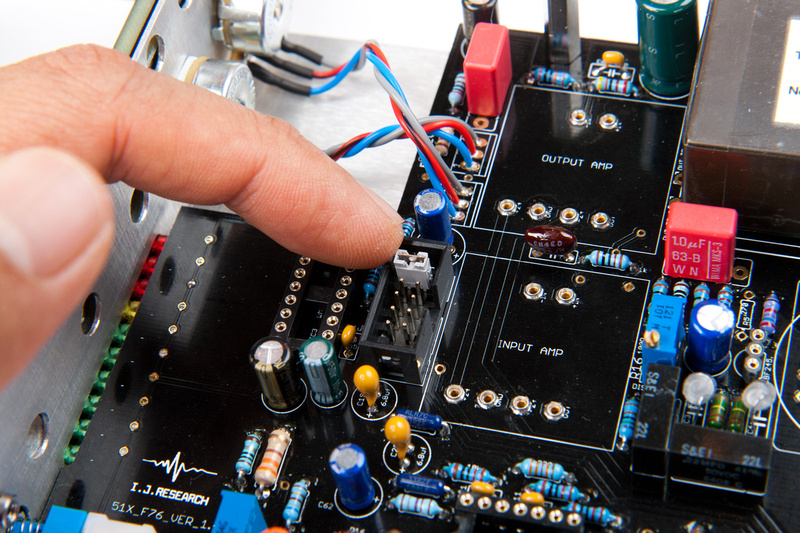
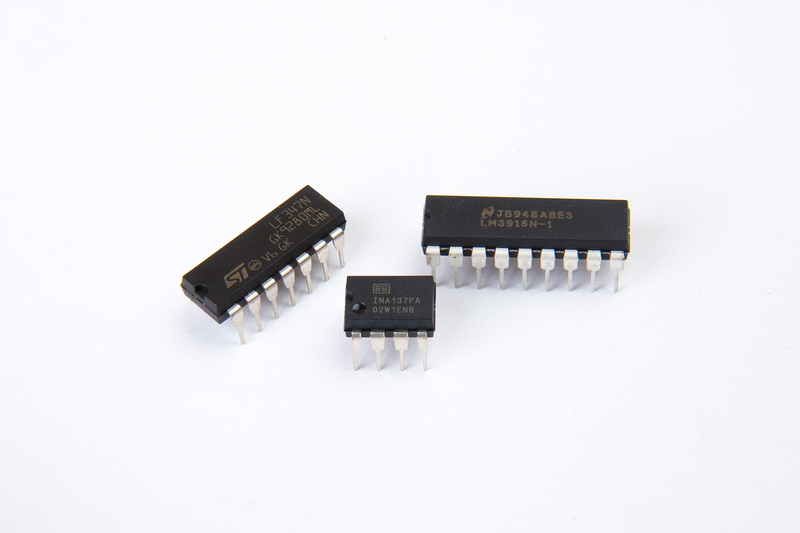
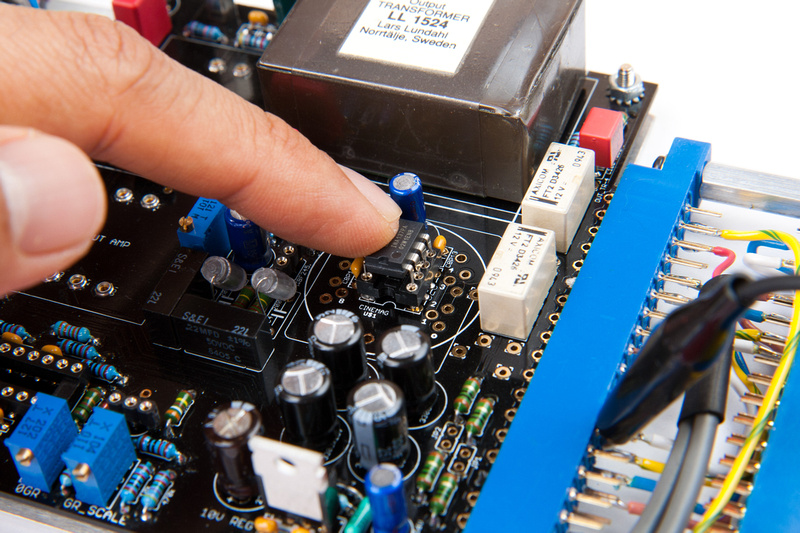
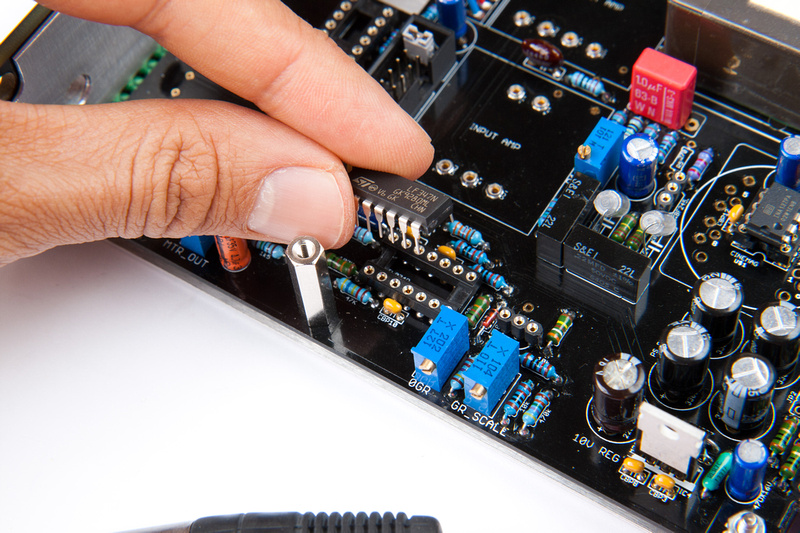
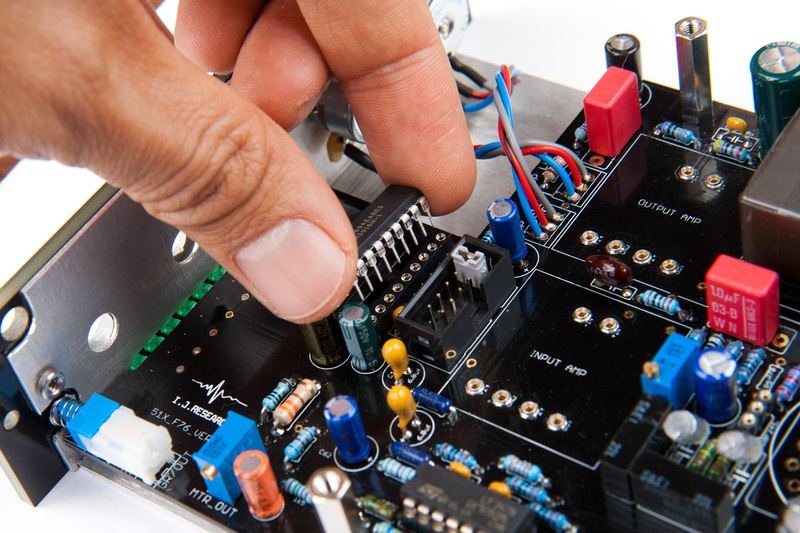
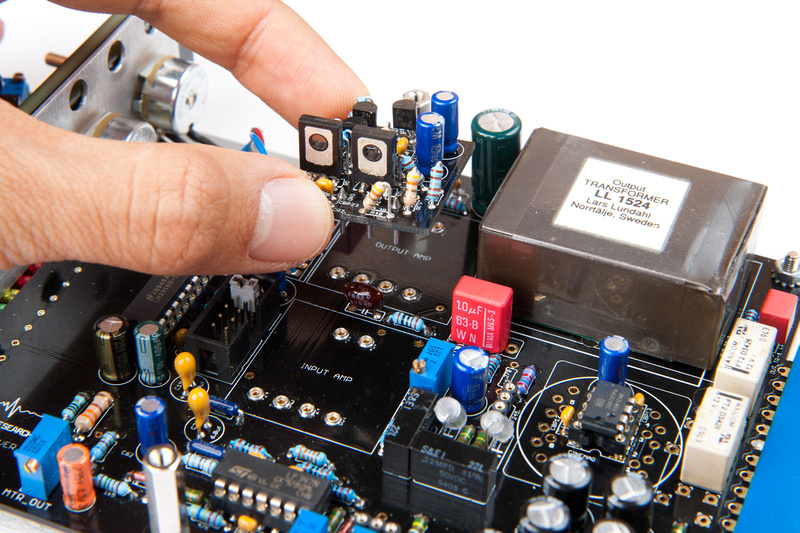
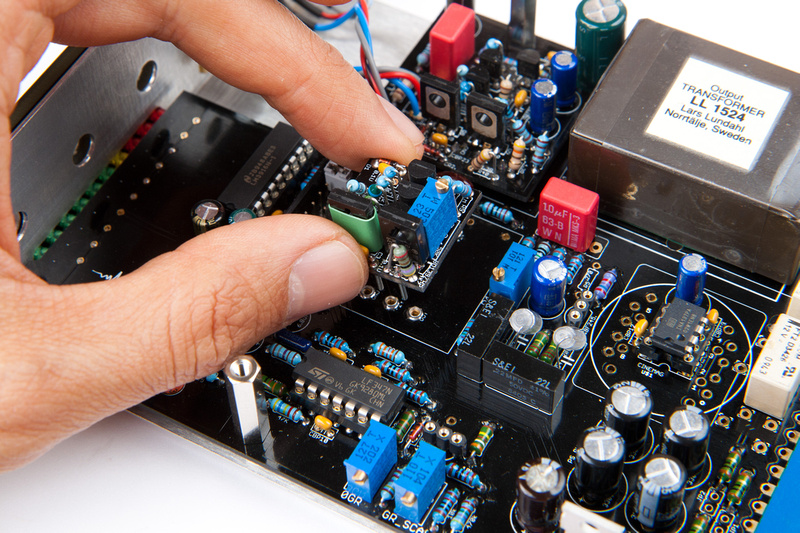
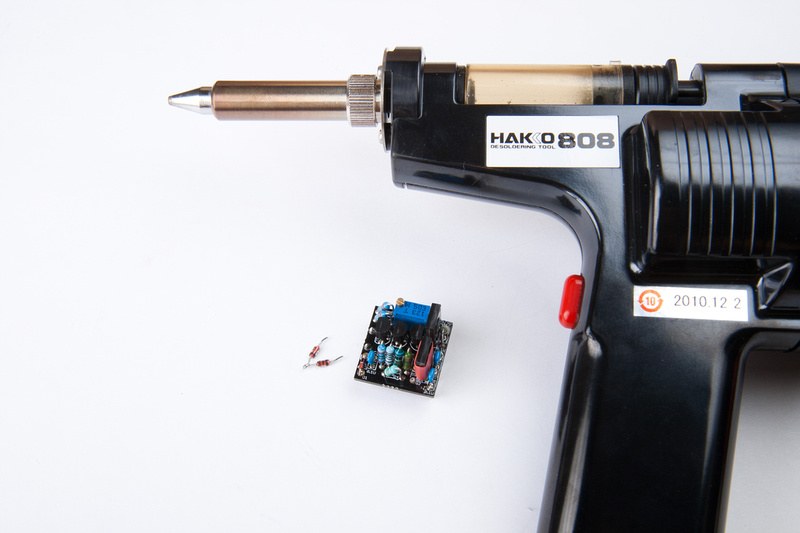
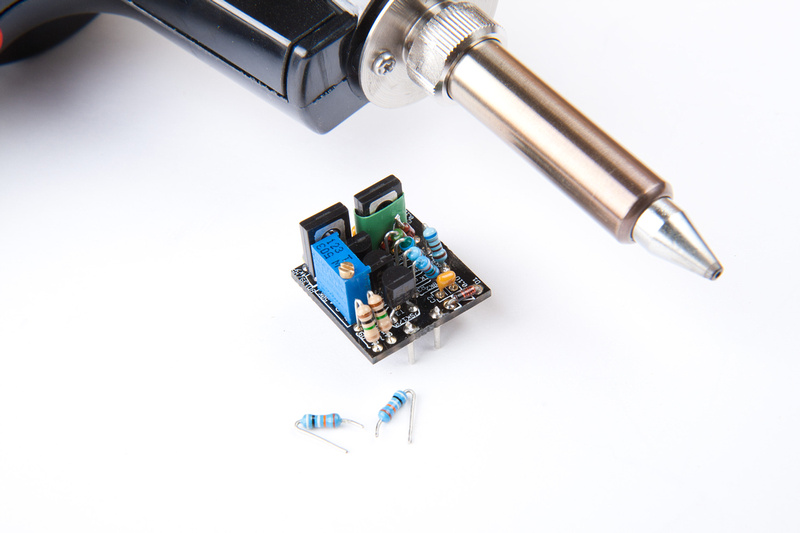
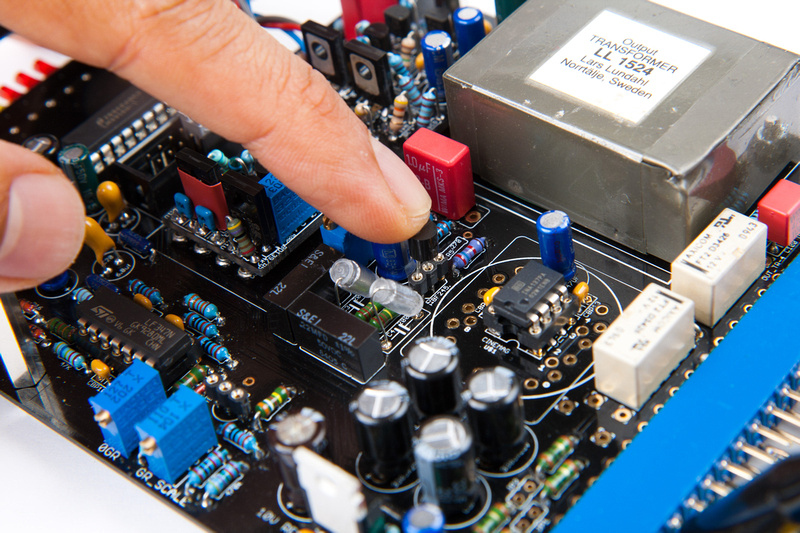
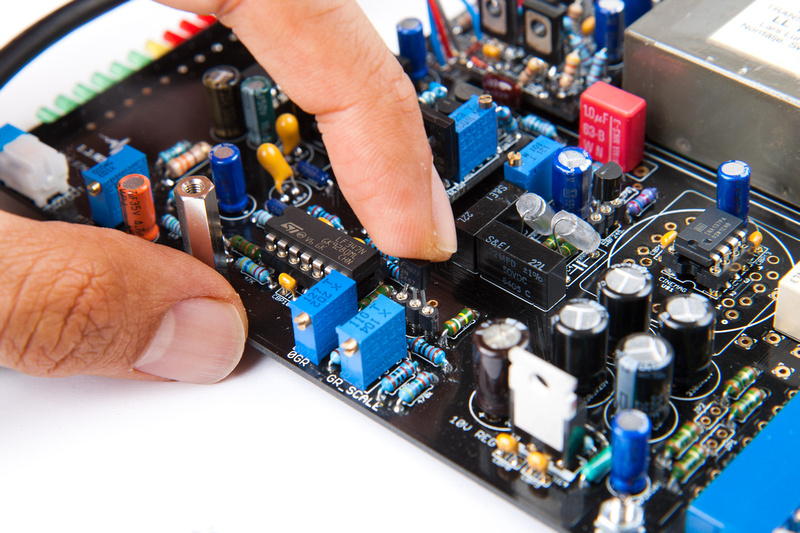
Please note, this step is pre-mature, so I will have to take out the audio and GR fets for a calibration in the following steps, but this is when I put them in, so here are the pics.
Audio FET here:
Gain Reduction FET here:
Note these are matched pairs provided in the kits and they are different than original spec FETs so these insert reverse direction from the indicated markings on the PCB.
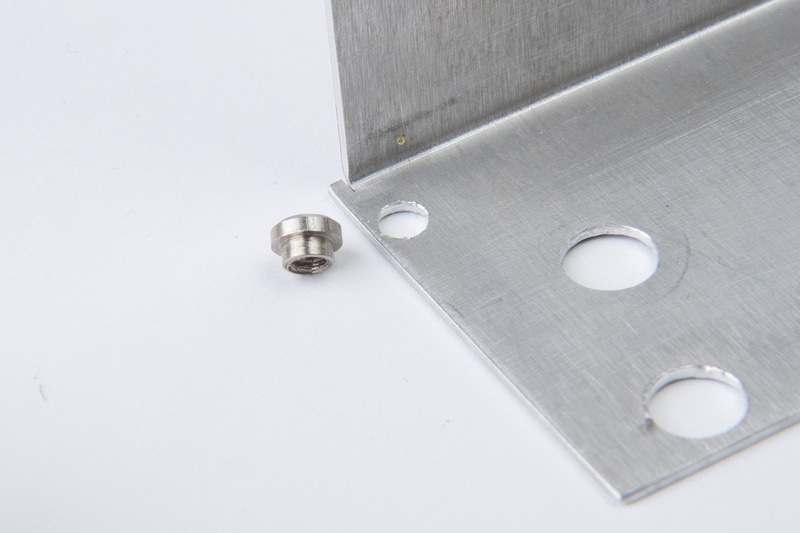
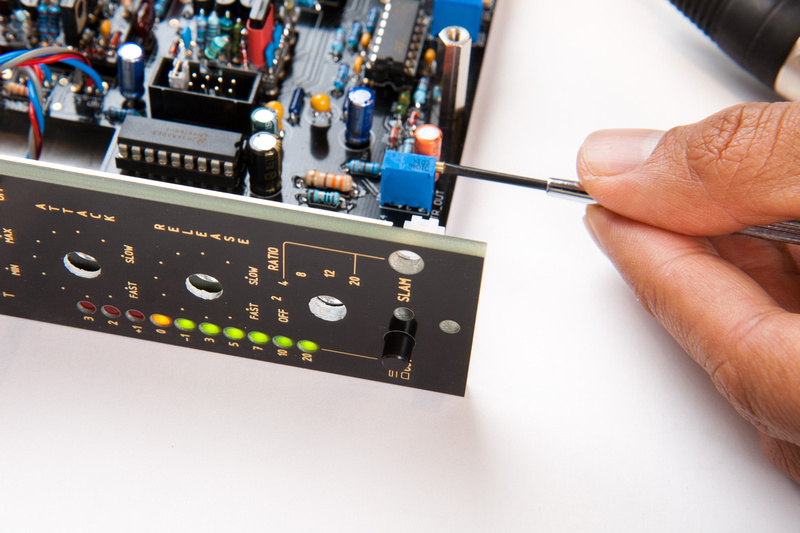
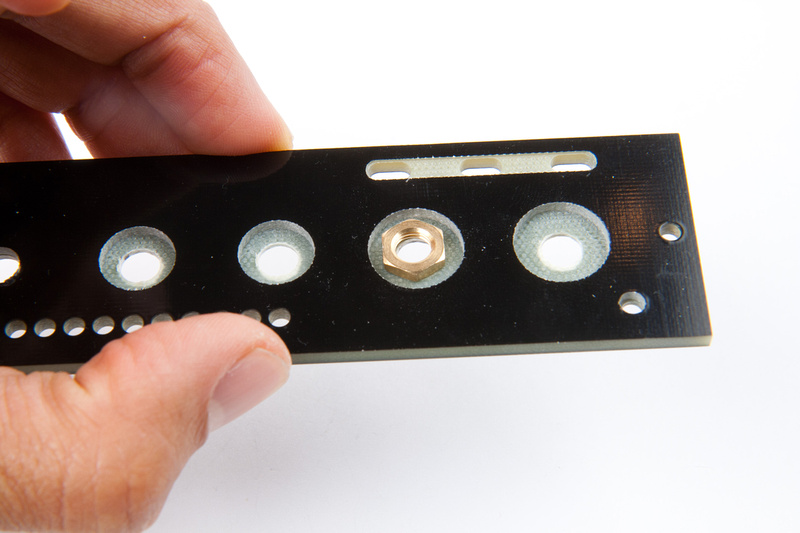
NExt, I address a mechanical fit issue I noticed when rough assembling the module.
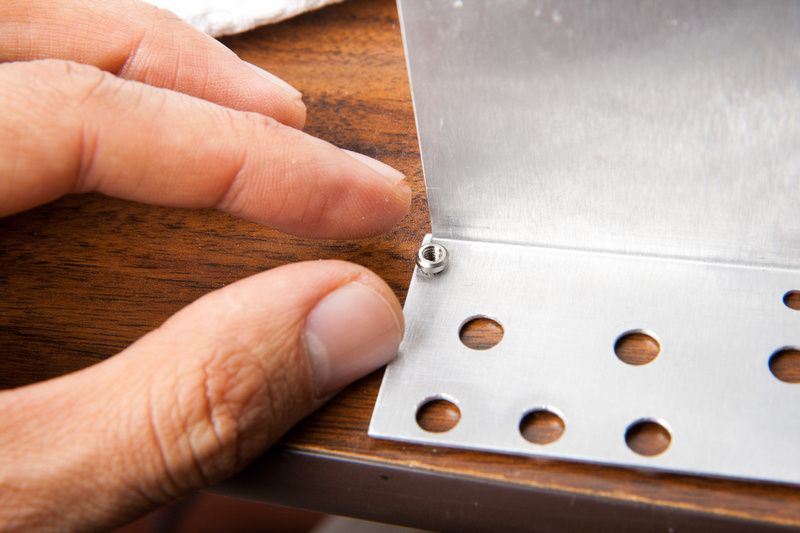
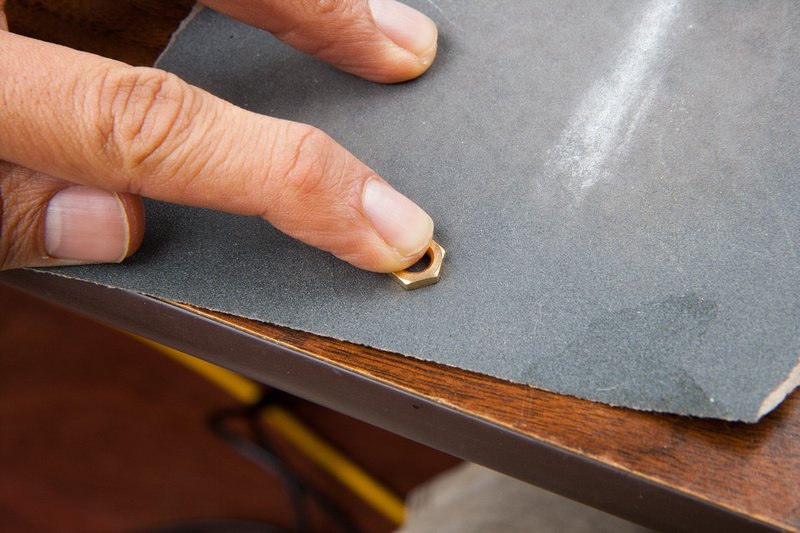
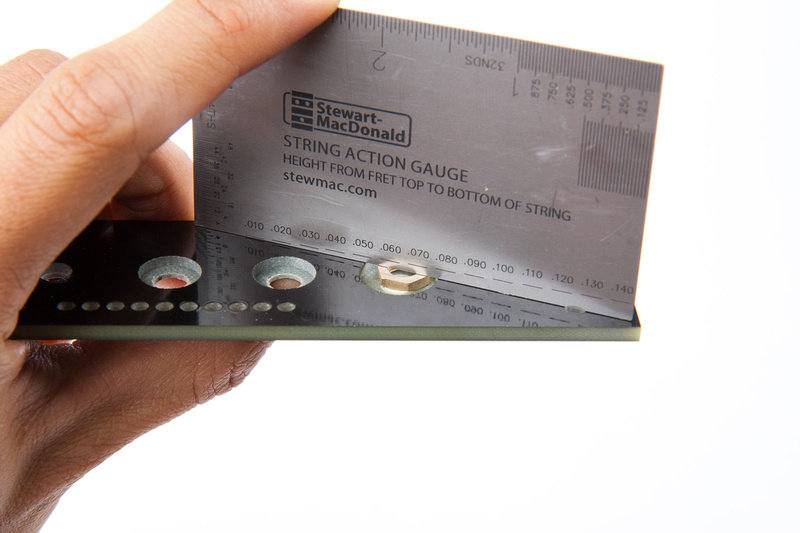
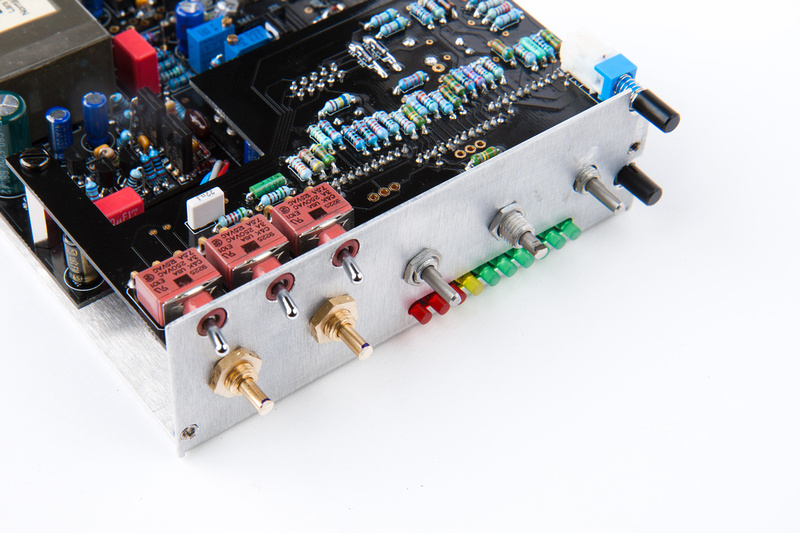
This nut is too thick to seat fully into the recess provided in the front panel, so we will have to thin it a bit.
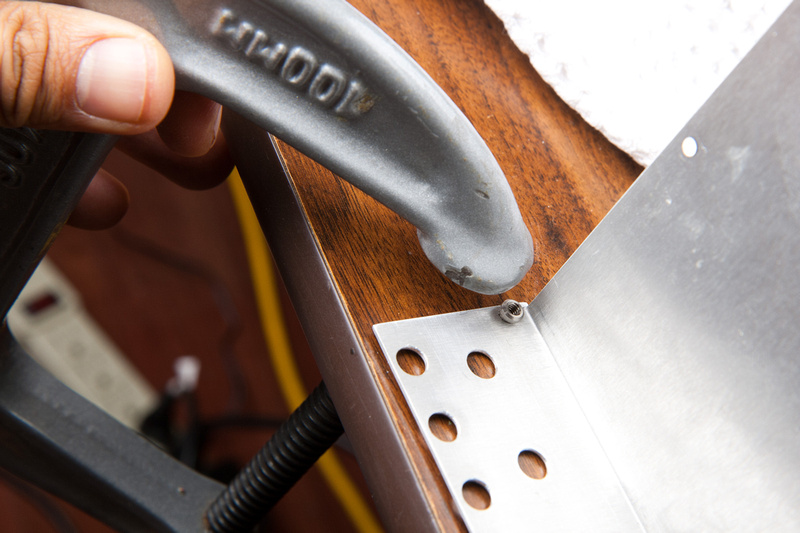
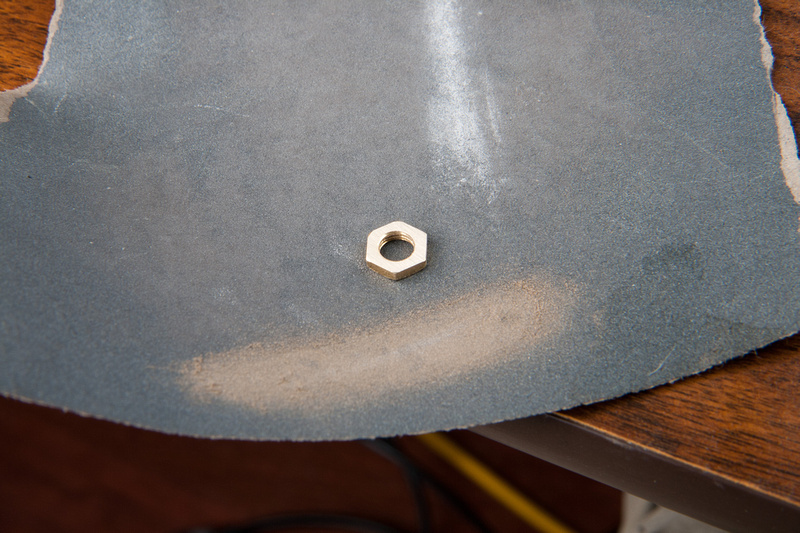
Some 220 grit sandpaper does the trick.
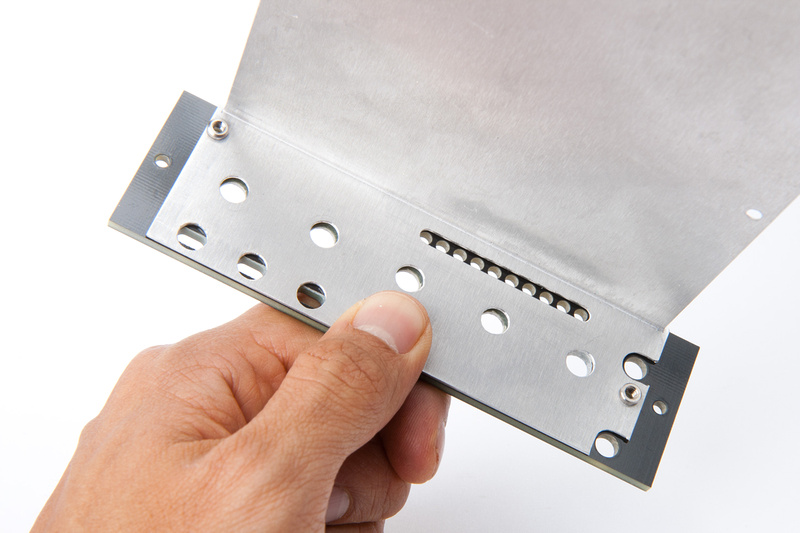
Fits now.
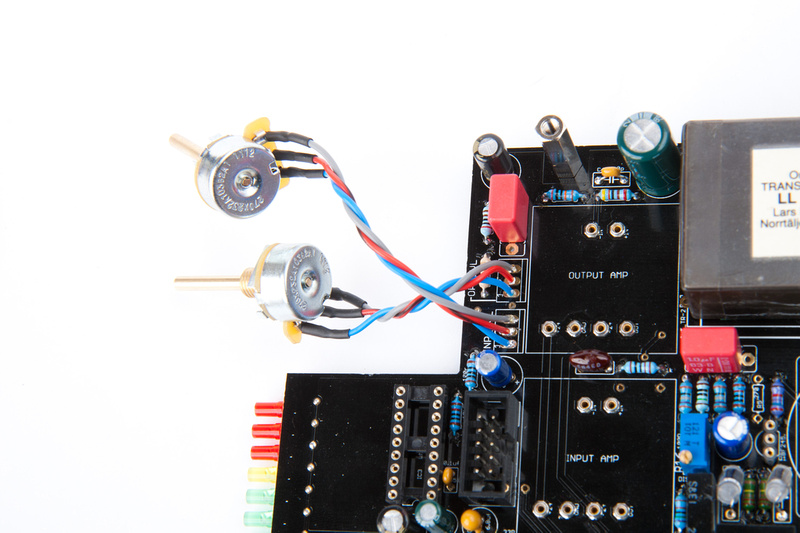
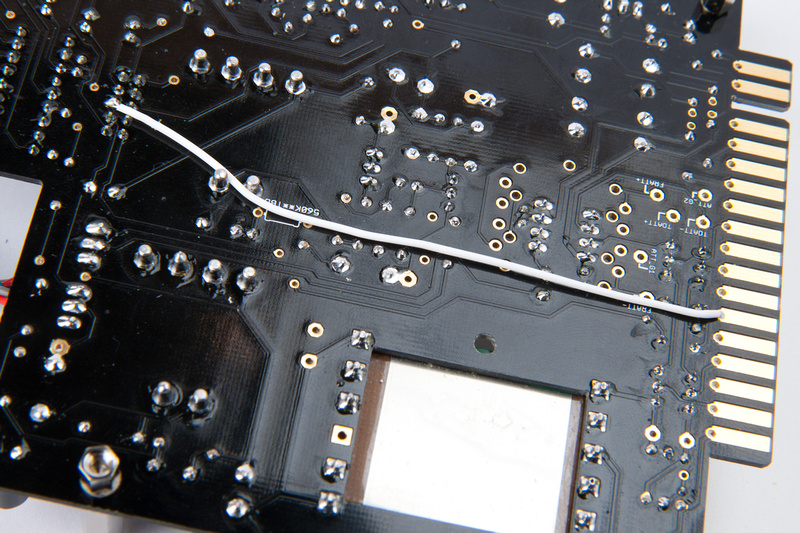
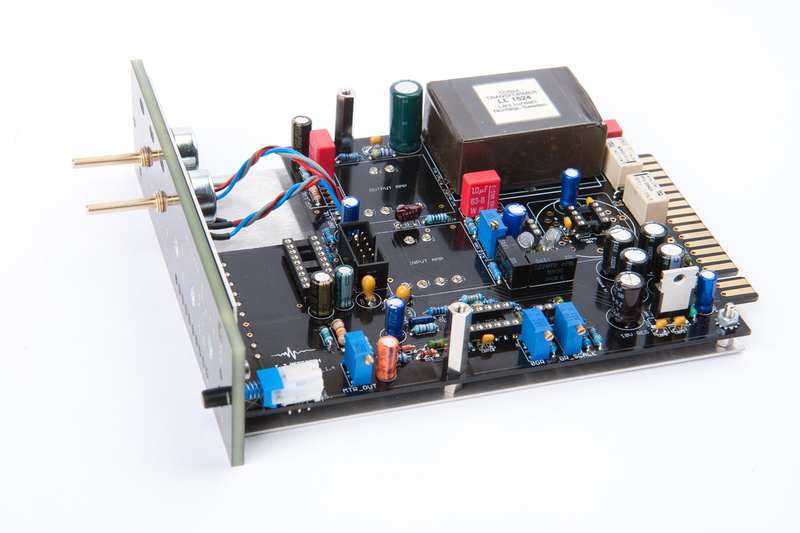
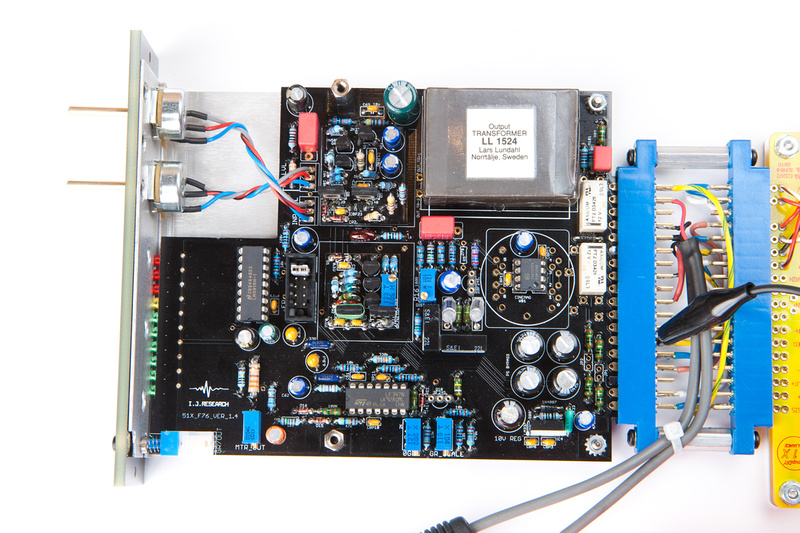
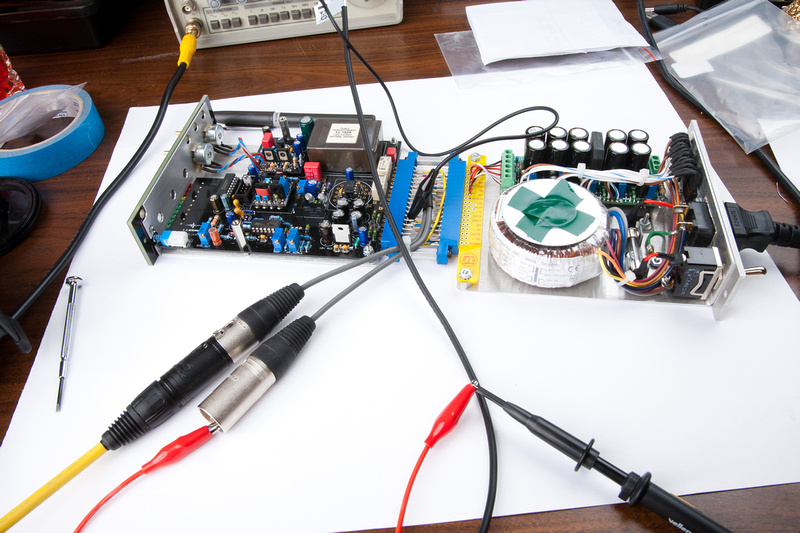
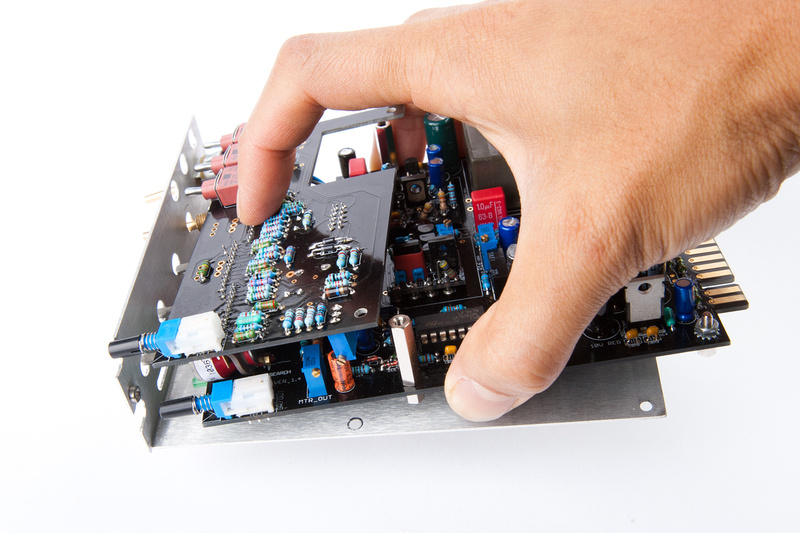
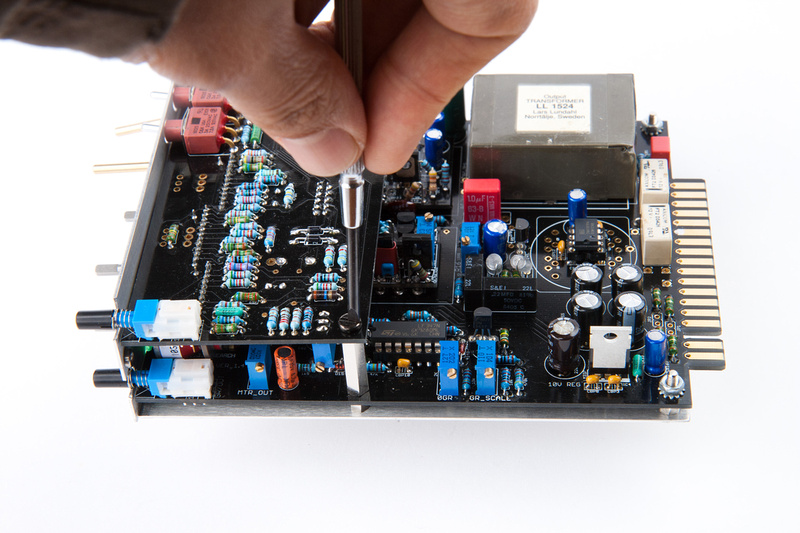
Next, I take out my jumper, attach the attack/ratio board, and assemble the whole mess again.
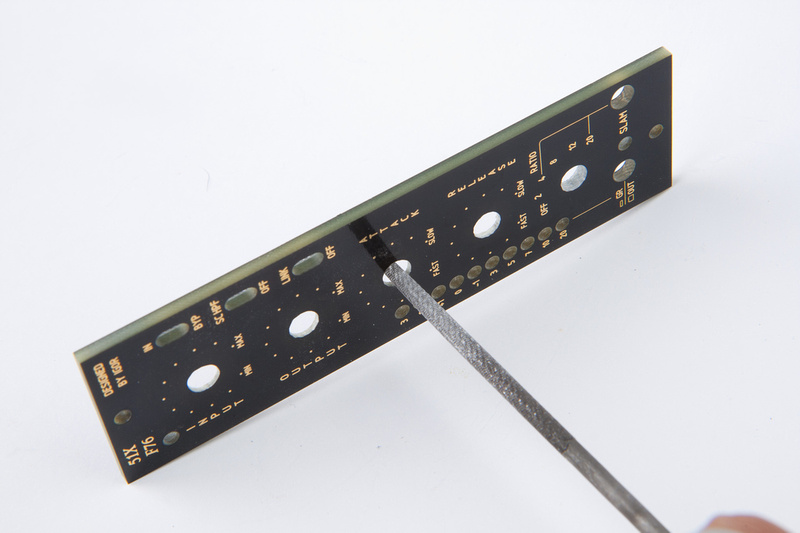
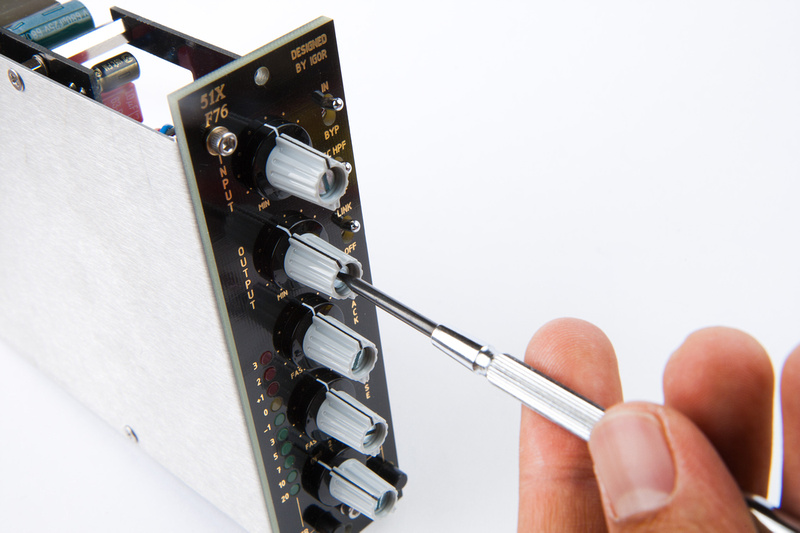
The front panel needed a bit more persuasion for everything to align, so I filed a bit on a few of the holes.
Voila!
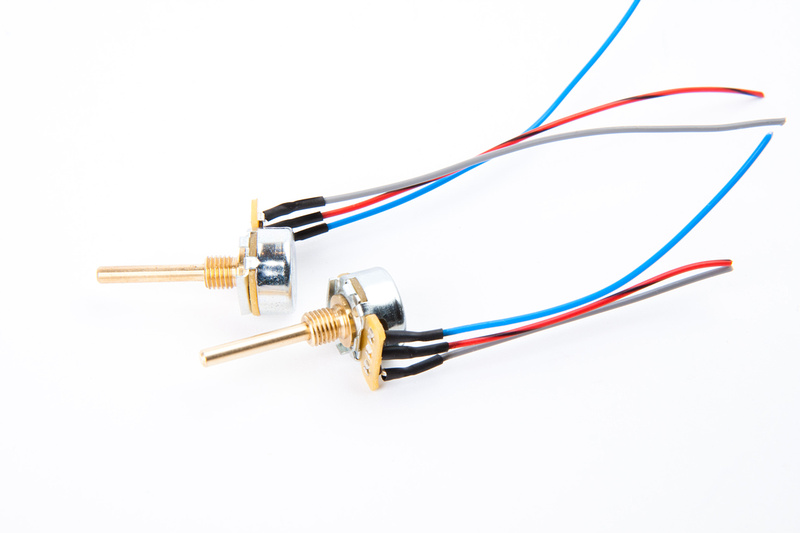
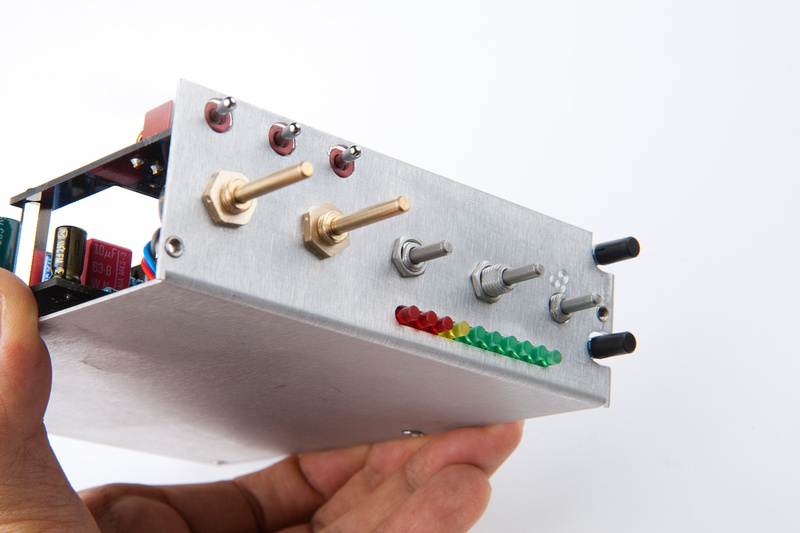
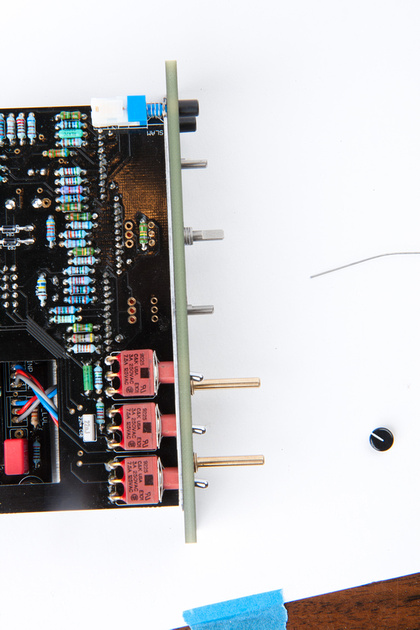
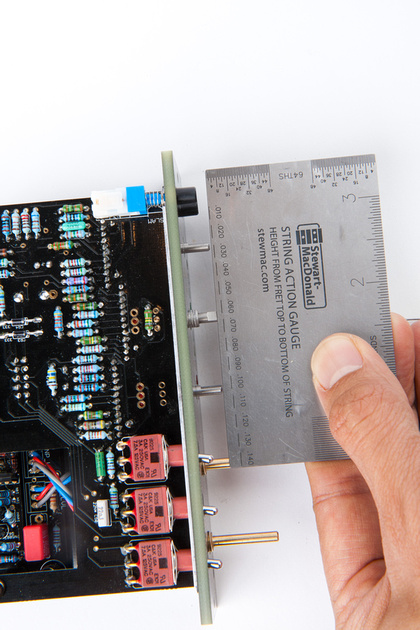
Next, I need to take care of these long pots.
So, I use a straight edge and mark my cut location.
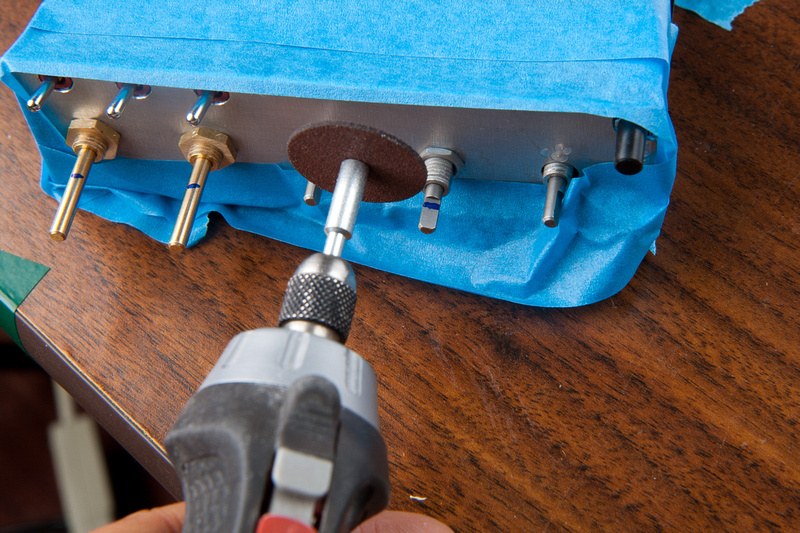
And cut with a cut-off wheel on a dremel.
Voila! Look at that precision. . . it's almost like they were cut with a laser beam.
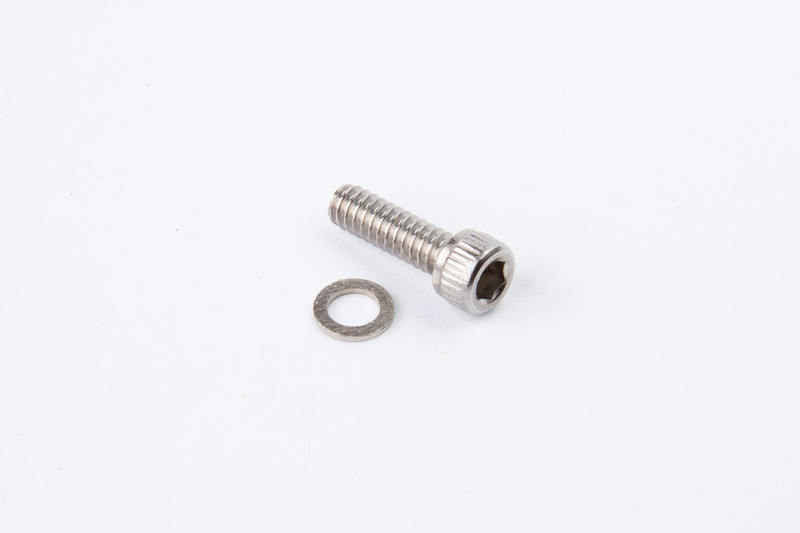
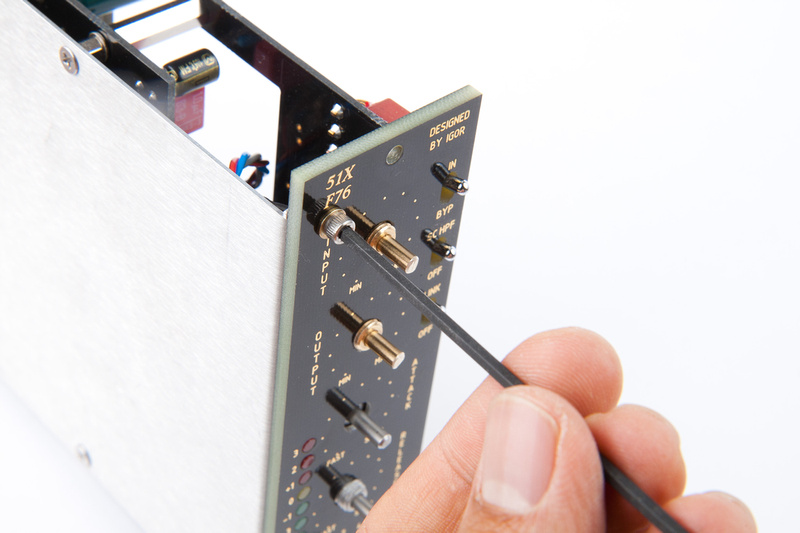
This hex screw secures the front panel to the L-bracket. There are 2 of them.
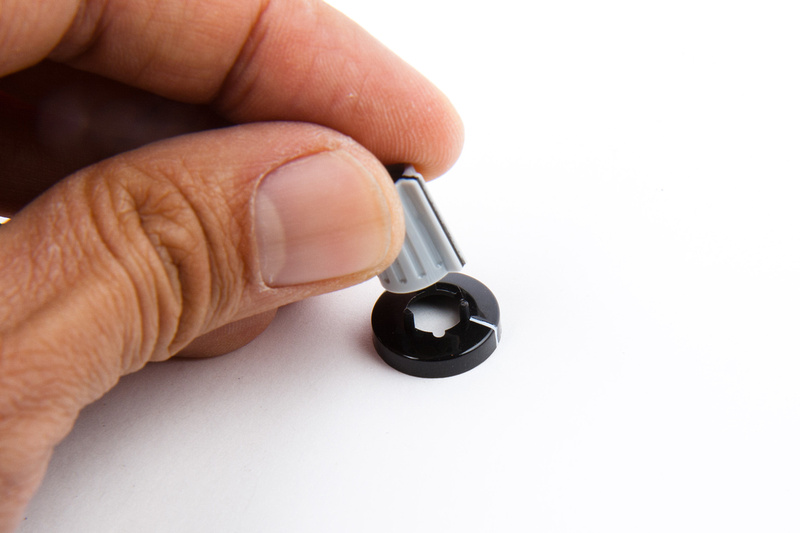
Next, I assemble knobs.
And secure them to the pots and grayhill swithes.
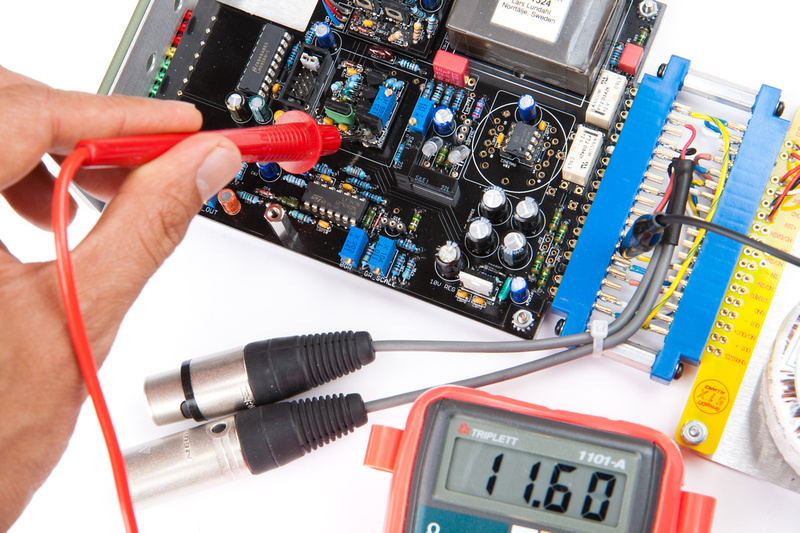
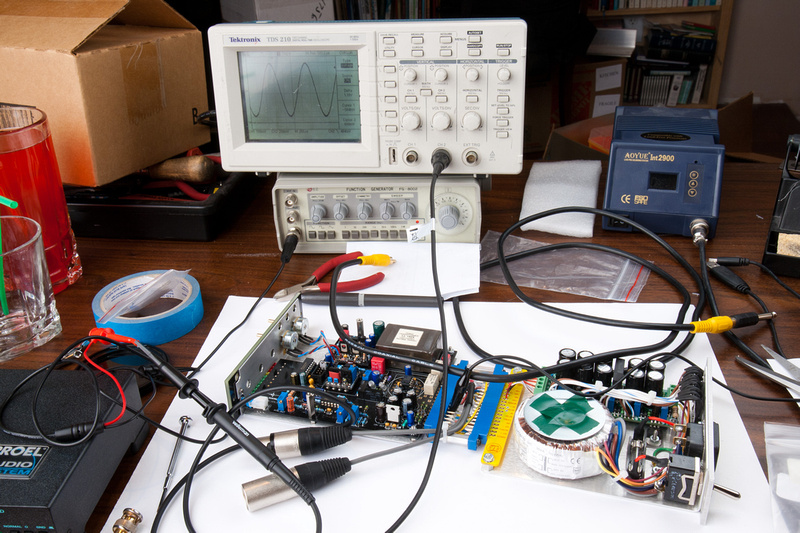
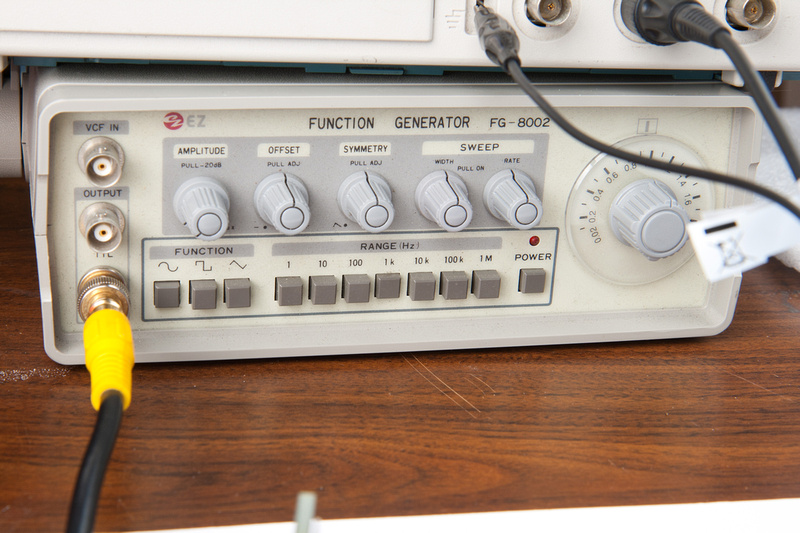
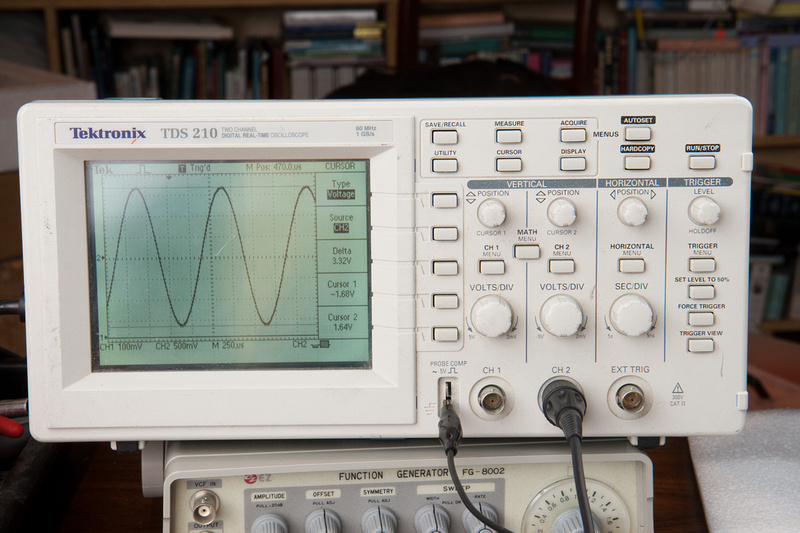
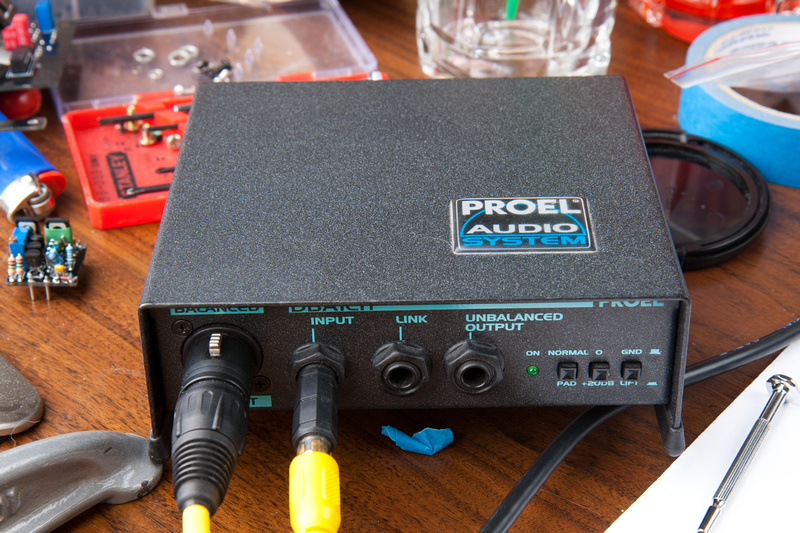
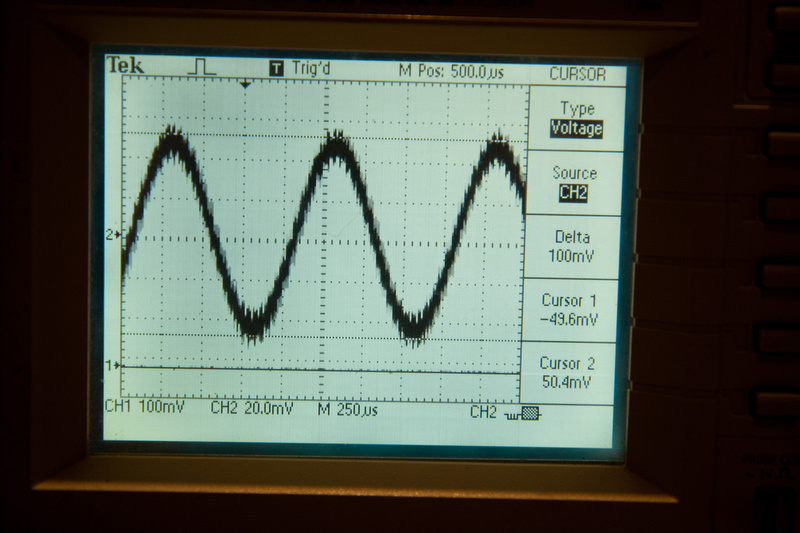
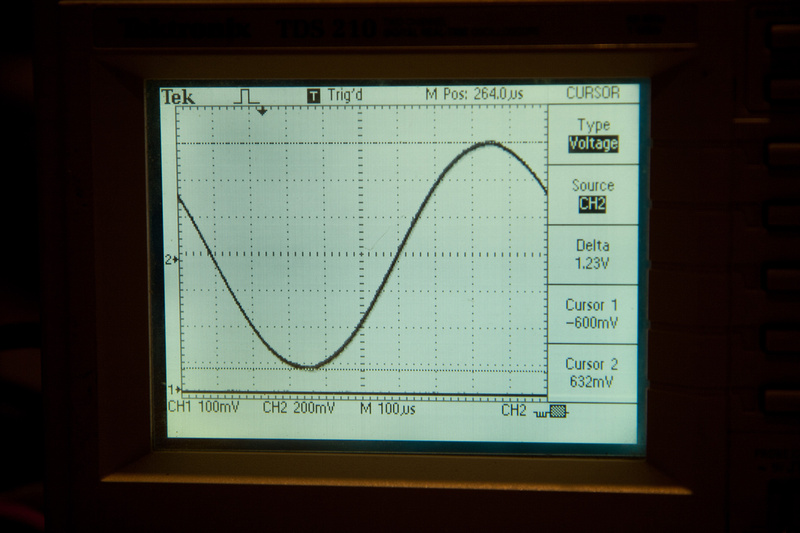
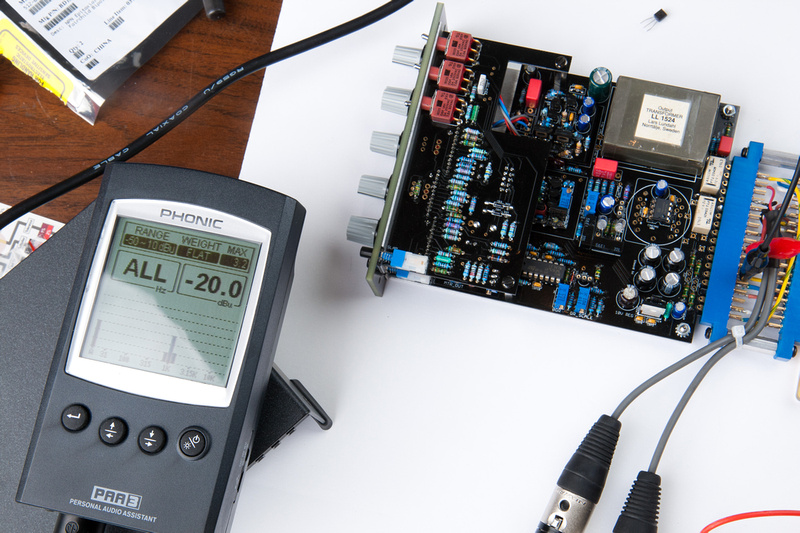
Now, I need to remove my GR and Audio fets and inject -20dB signal. Input pot set to max, adjust output pot to 0dB or 1.23v output.
Then, I re-install the audio and GR FETS and adjust bias for -1dB.
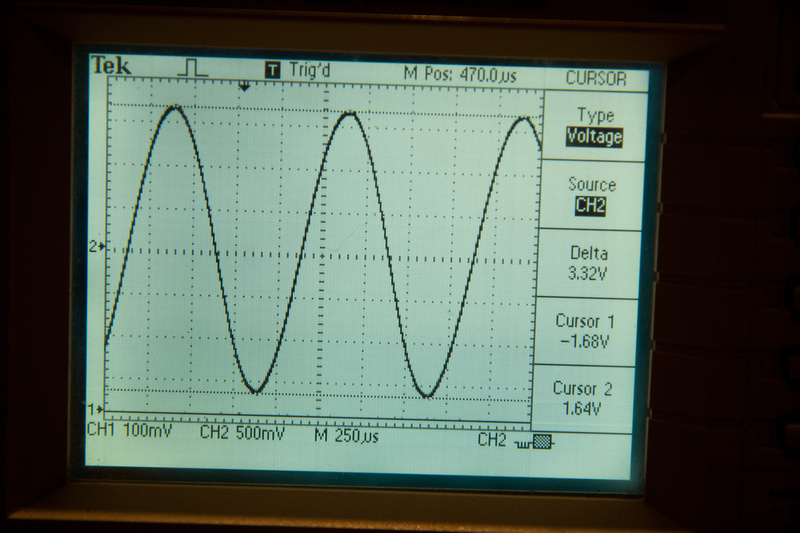
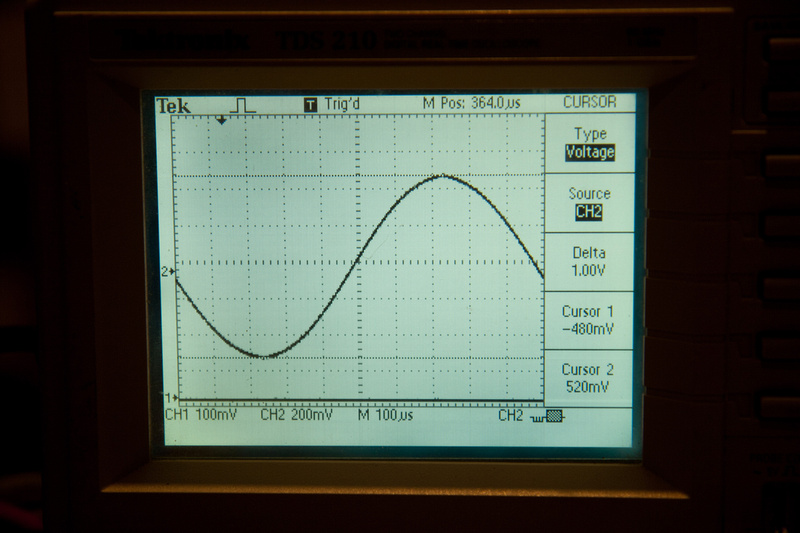
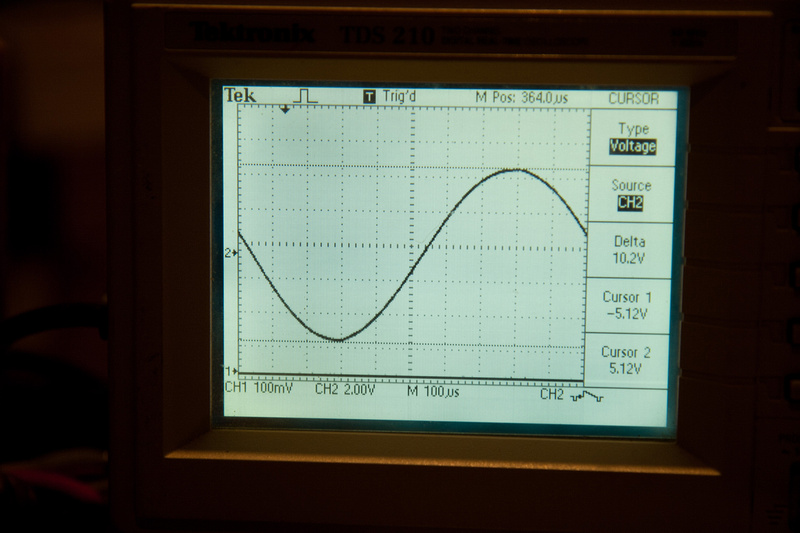
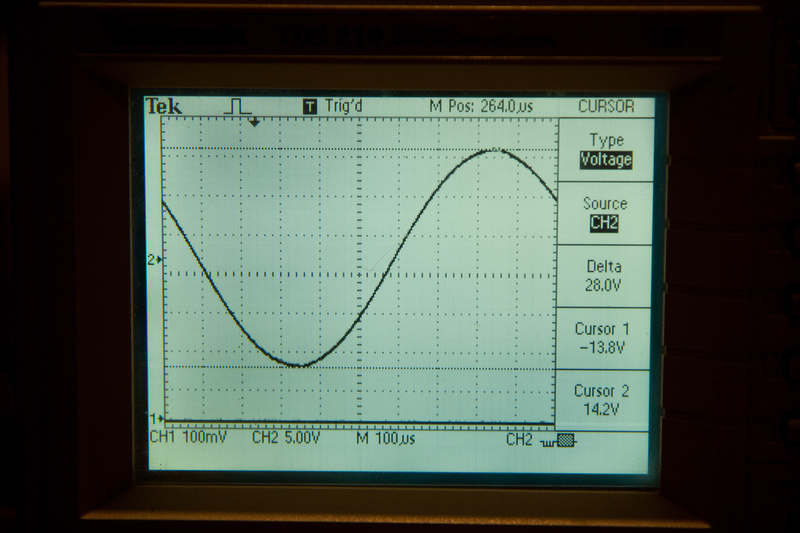
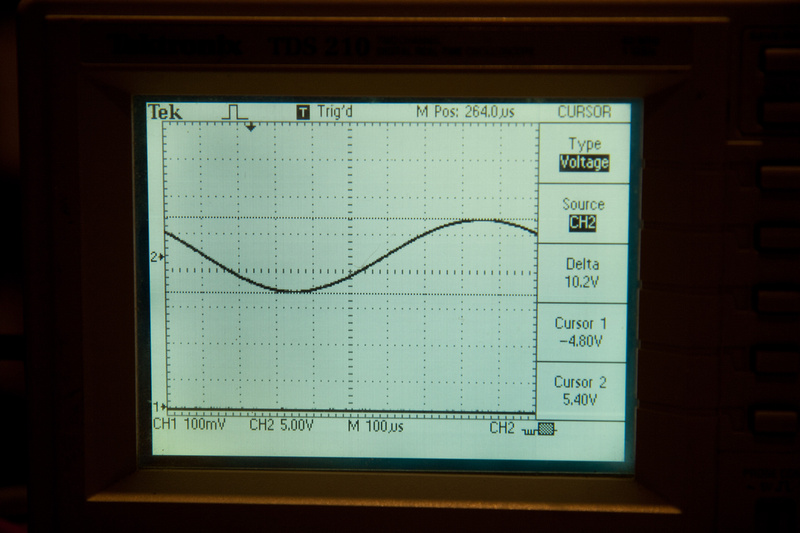
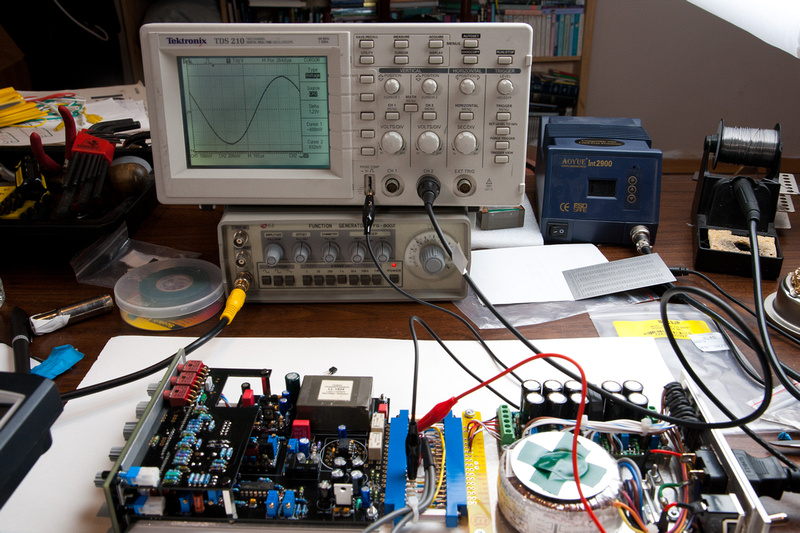
Next, I adjust the Dist trim pot. . . I read the instructions and didn't quite understand the adjustment so I just put the ouput on the scope, turned the output until I saw distortion on the sine wave, and twisted the adjustment pot. So, it shifts the distortion more towards the top or bottom of the waveform. I adjusted until it was even top and bottom upon distortion which would give me the greatest gain before distortion. I twisted the output pot back and forth from clean to distortion and toyed with it until the top and the bottom of the waveform flatten out at the exact same time. It was at a pretty close setting actually prior to starting.
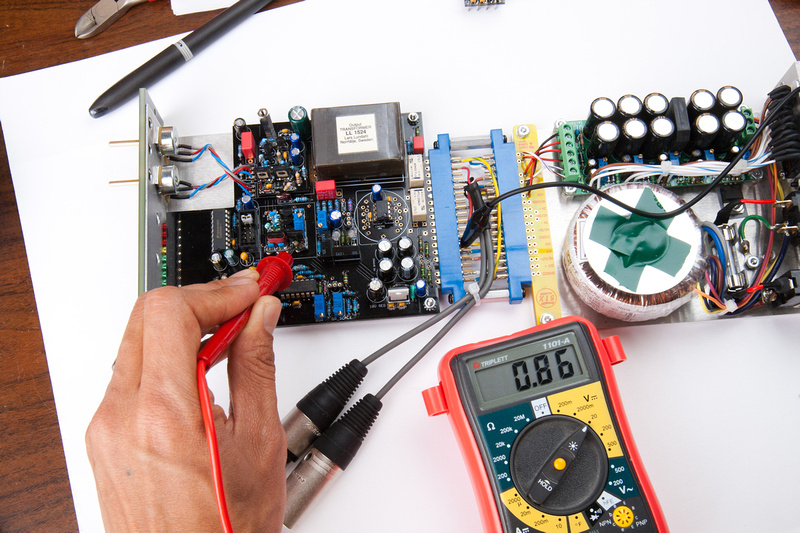
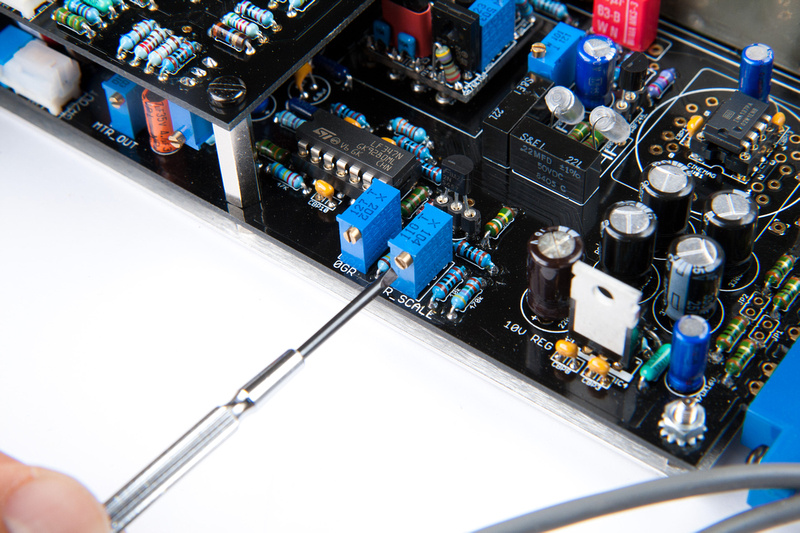
Next, I unplug input signal, put in GR mode and adjust 0GR trim pot for yellow LED to just light.
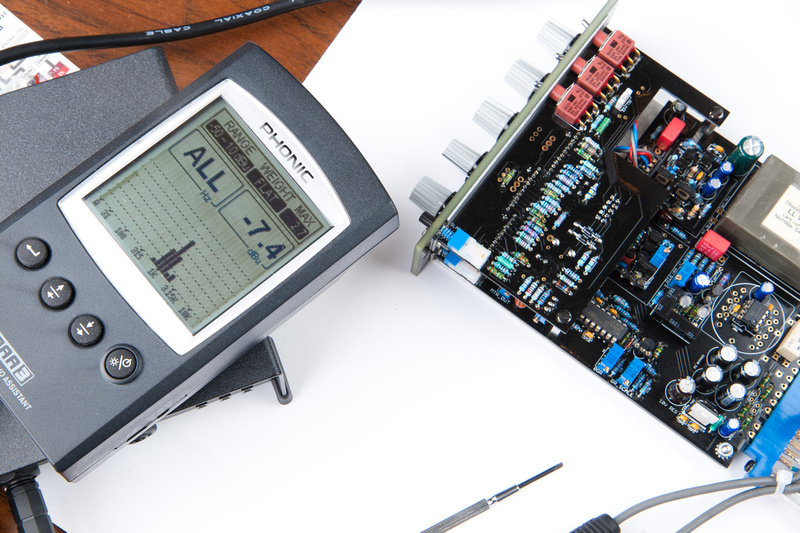
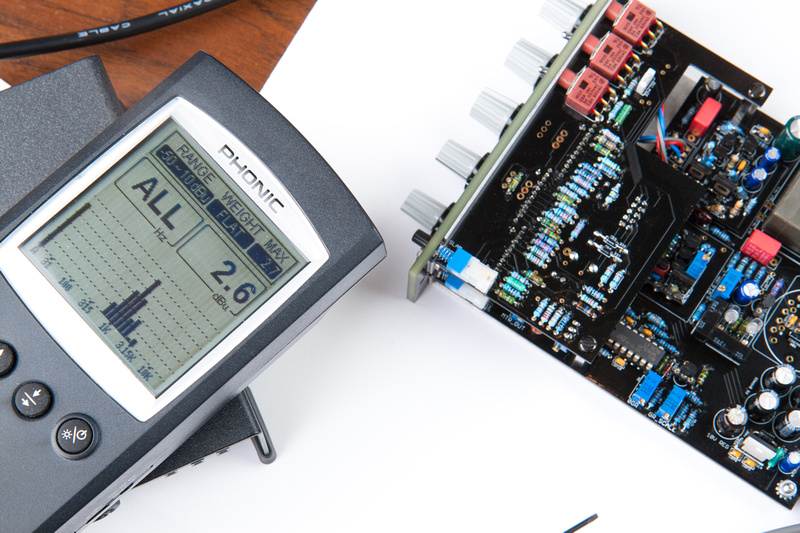
Then, I feet 0dB into the input, set ratio to 4:1 . . . and flip back and forth between OFF and 4:1 ratio. I adjust the input pot until I find the point where the difference between 4:1 ratio and OFF position is 10dB.
Here's my reading at 4:1 ratio.
And my reading at OFF ratio.
At this point, I return the ratio knob to 4:1 and adjust the GR scale trim pot until the meter reads -10
At this point, the unit is calibrated and ready to run. Humans Win!
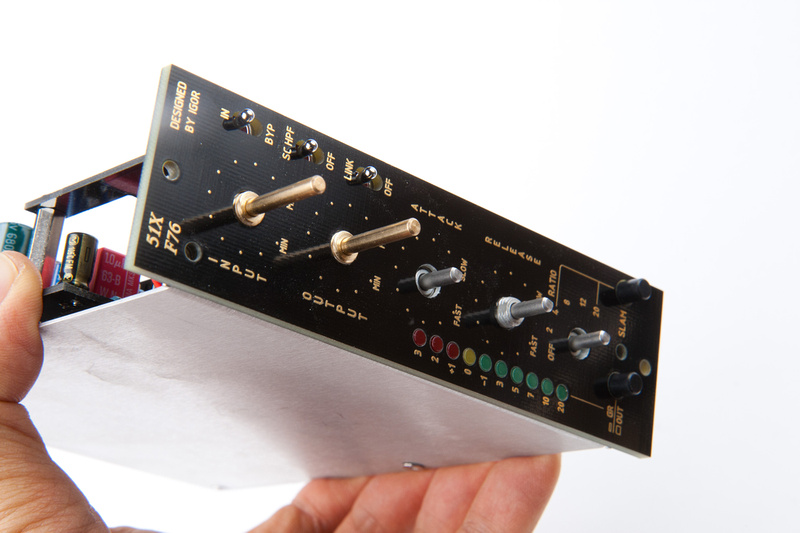
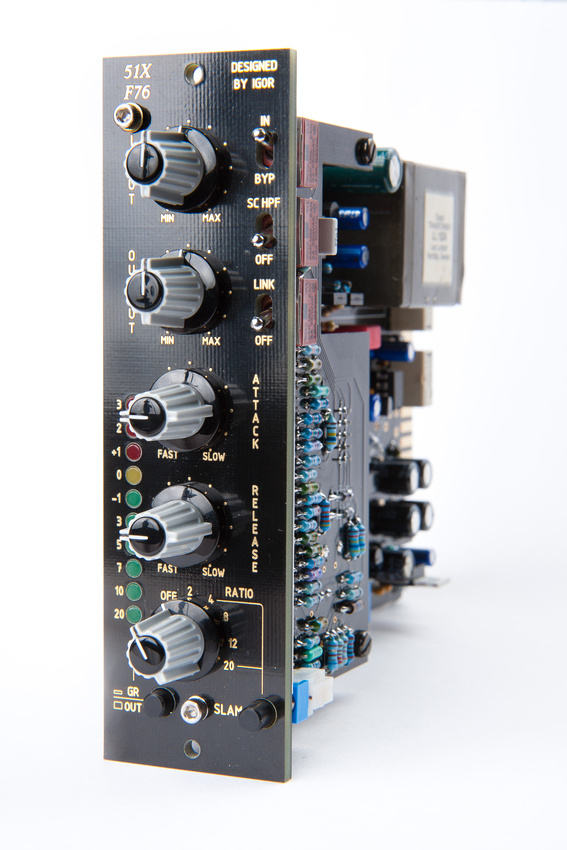
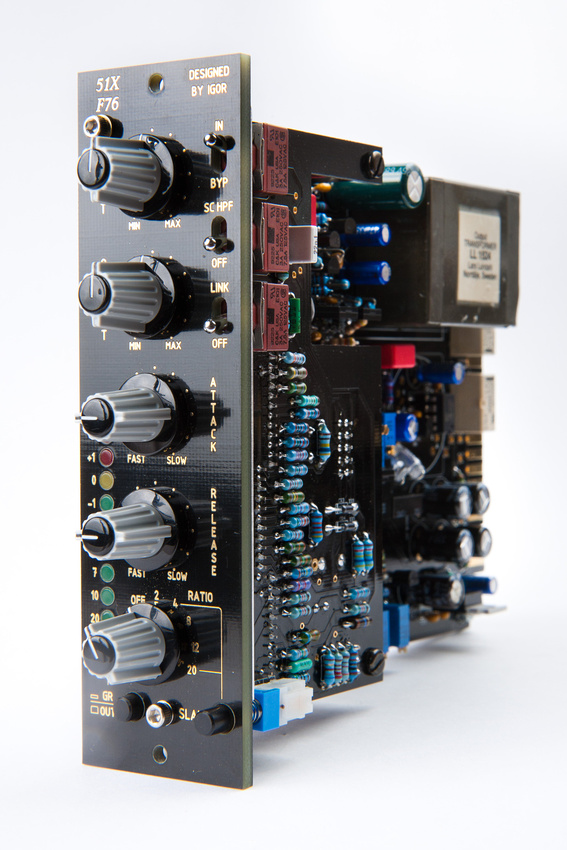
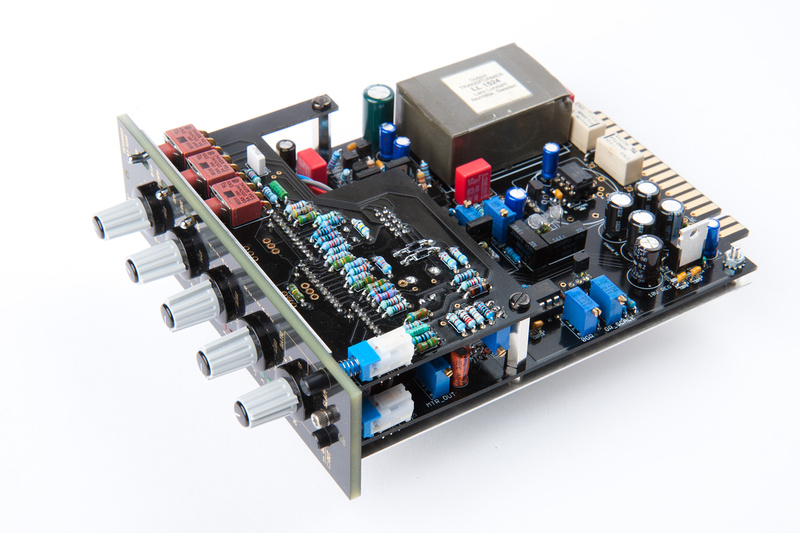
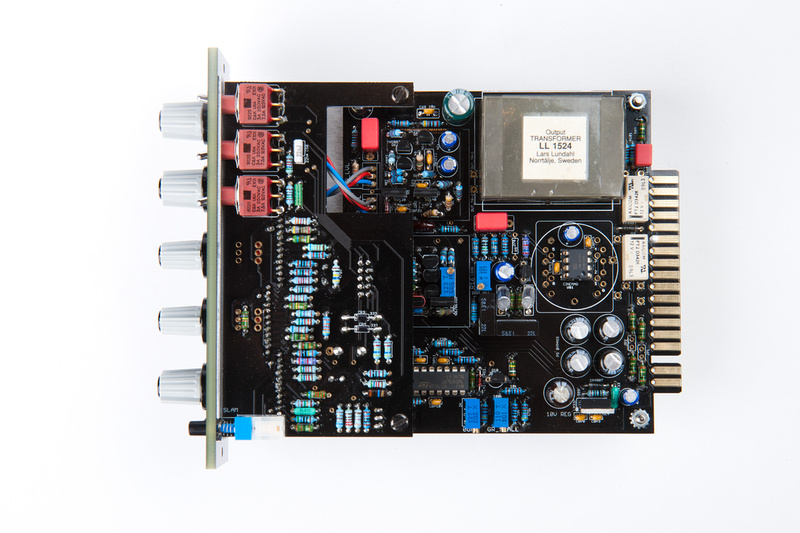
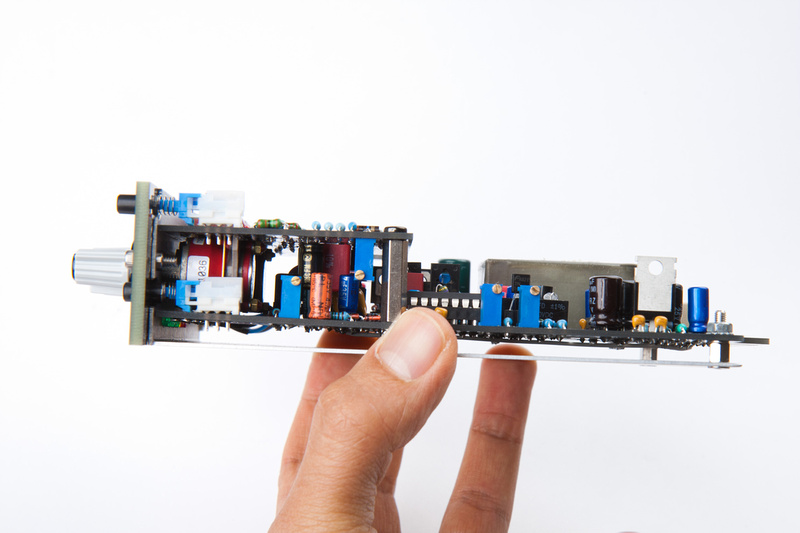
The only remaining step is to put the caps on the knobs and take pretty pictures of the finished product.
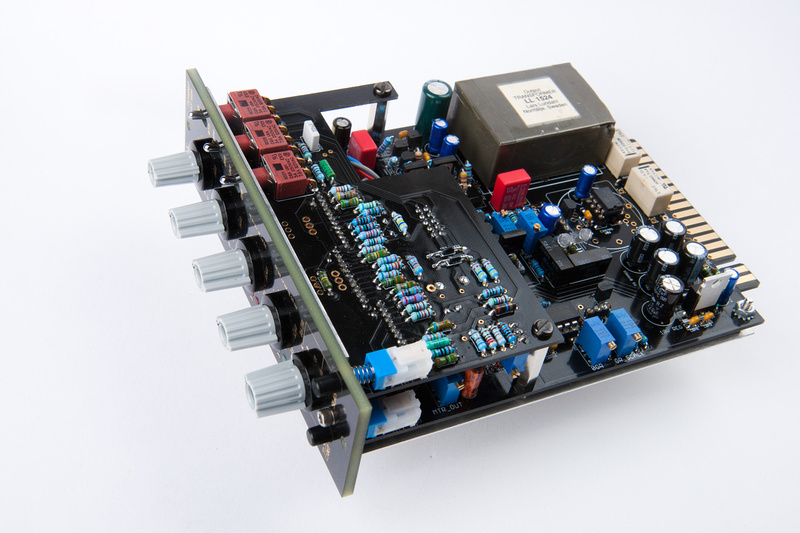
Well, there it is. Now that I'm done taking pictures, I can try to figure out what is broken with the 1st Cascode type input amp and build my 2nd kit. I learned a lot from this project. It was the 1st time I used a scope. I was trying to figure out why the math all didn't work until I figure out unity is 4dB not 0dB for this equipment. I learned a bit about output transformers and floating ground. And I learned hot to use my Hakko 808 desoldering tool a lot better

Well, I hope this gives everyone a getter look at the F76 project. Most of the calibration steps can be done with a volt meter or plugged into a DAW. One step (dist adjustment) is best done with scope. I chose to use the scope for many of the calibration steps because it's a new thing for me to learn to use.
I'd say this project mechanically is not the simplest and there are a few mechanical tolerance oddities and more general futzing than some other kits, but in the end, I think the final product if carefully assembled polishes out really nicely. The internal component arrangement is slick, and the feature set is awesome. 2:1 ratio and true relay bypass is awesome. The metering is a treat to use. I really like the way Igor set up the physical metering and programming to drive the meters. Very intuitive in use. I can't wait to get this module into the studio and hear it in a good listening environment.


