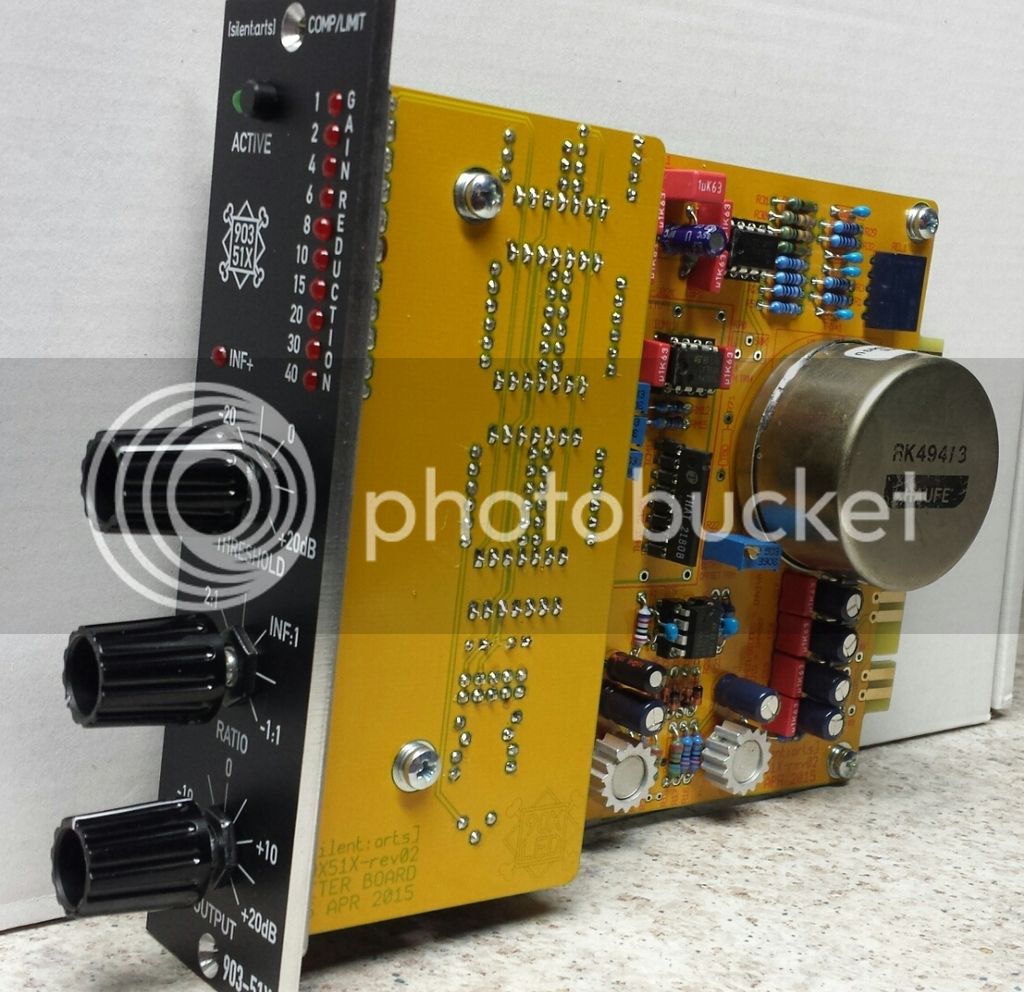
903-51X Comp / Limit

GroupDIY Audio Forum

Help Support GroupDIY Audio Forum:

This site may earn a commission from merchant affiliate links, including eBay, Amazon, and others.
Congrats!

Upacesky said:
I just need to calibrate the thing now.

Lets start:

OUTPUT OFFSET TRIM:
with no signal applied adjust R22 to 0V DC measured at R28

GAIN CAL:
with OUTPUT potentiometer set at middle position (0dB) adjust R12 for input level = output level

Up for now leave the other trimmers like they are. Most of my tests have been done like this.
We will go thru them later.
 
OK,

I calibrated the output offset, but I need an extension jig or a 24V power supply to use the module outside of the rack and calibrate the gain. Those trimmer are a bit hidden and I can't access them with a screwdriver at the moment.
I'll keep you tuned
 
How do you determine the orientation of the haufe transformer? I also guess that you dont needJP1 and RO28 with the transformer option.

Thanks
 
The Haufe Transformer will only fit like in attached picture,
and - correct - don't install JP1 and RO28 if you are using a transformer.
 

Attachments

  • Bildschirmfoto 2016-01-15 um 09.20.34.png
    Bildschirmfoto 2016-01-15 um 09.20.34.png
    137.2 KB
One Done! One more to go!  Tested against my gold can 903's and I like these better. 

20160122_234633.png_1.jpeg
 
got one on the desk right know ...
It tested fine with +/-16V only (lower headroom, however)

at my unit it  the relay  switches @ app. 17.5V , it´s always in STDBY in my VPR rack .
solved it by hardwiring the +16V to the former GND pin of the relay , datasheet of TQ2-24V suggests maximum of 38V
 
WOAAAAW,

Absolutly great KIT.
Pretty good quality, Beautifull and solid design, worse every penny imho...
Not plugged yet but ready to go in the 51x box !!!

25532254_1768839066488973_3378538533996762206_o.jpg
 
Hello Volker and others,

I started building my 903-51x and have a few questions:

1) On the PCB there is no CBP17 to CBP20 marked. I suppose the WIMAs go next to the electrolytic caps that say C17 to C20. Is this correct?

2) How can I determine the polarity of the tantal capacitor (C12)? All I see printed on it is what you see in my attachment.

3) Strangely enough, after populating all resistors I have one spare 4,7k resistor left. I have checked the PCB for empty spaces, but there are none. Could this simply be a packaging mistake? Or have I overseen something?

4) What are the two dark brown components that look similar to diodes? Are these wire jumpers? I have already soldered a simple wire as a self-made jumper to make the module VPR-ready.  Should I better use one of these brown parts? And why are there two of it? Where does the second one go?

Thanks in advance,
Claudio
 

Attachments

  • tantal.png
    tantal.png
    1.2 MB
Hi Claudio,

1) On the PCB there is no CBP17 to CBP20 marked. I suppose the WIMAs go next to the electrolytic caps that say C17 to C20. Is this correct?
yes
2) How can I determine the polarity of the tantal capacitor (C12)? All I see printed on it is what you see in my attachment.
you see the +? that is the positiv leg (on the photo it looks centered but is at the right leg)

3) Strangely enough, after populating all resistors I have one spare 4,7k resistor left. I have checked the PCB for empty spaces, but there are none. Could this simply be a packaging mistake? Or have I overseen something?
I'm known for packaging mistake. Glad you have too much, in another kit this resistor will be missed ...

4) What are the two dark brown components that look similar to diodes? Are these wire jumpers? I have already soldered a simple wire as a self-made jumper to make the module VPR-ready.  Should I better use one of these brown parts? And why are there two of it? Where does the second one go?
If we are talking about the same parts they are zero ohm resistors. I put them in the kits since the transformer is an option (look at the 2nd picture).
For VPR there is jumper wire needed, please don't power the unit up if you put one to the <--VPR--> marks on the PCB. This would short the +/- in your lunchbox.
See attached photo for the VPR "mod".
 

Attachments

  • 22427486_1402811769835496_8035664711649329152_n.jpg
    22427486_1402811769835496_8035664711649329152_n.jpg
    156.8 KB
Thanks, Volker, for another helpful response. :)

[silent:arts] said:
2) How can I determine the polarity of the tantal capacitor (C12)? All I see printed on it is what you see in my attachment.
you see the +? that is the positiv leg (on the photo it looks centered but is at the right leg)
Well, that’s my problem. The + is indeed centered and it’s not exactly clear which side it belongs to. So if I face the imprint, the right leg is the positive one?

I'm known for packaging mistake. Glad you have too much, in another kit this resistor will be missed ...
If anyone misses it, they can PM me. :)

If we are talking about the same parts they are zero ohm resistors. I put them in the kits since the transformer is an option (look at the 2nd picture).
That’s what I thought. So with my Haufe transformer I won’t need them, right?

For VPR there is jumper wire needed, please don't power the unit up if you put one to the <--VPR--> marks on the PCB. This would short the +/- in your lunchbox.
Ouch, then I made a mistake. See my attached pic for what I did.  :-\ Now the diodes are already soldered. Can I simply add two wires from their right solder pad to the jumper pads, as I marked in bright blue in the picture?

Thanks,
Claudio
 

Attachments

  • vpr-mod.png
    vpr-mod.png
    1.1 MB
- C12: in your photo the right leg is +
- Haufe transformer = no jumpers
- VPR: you can do that. Oder die Brücke in der Mitte durchschneiden und einfach umschwenken.
 

Attachments

  • vpr-mod.png
    vpr-mod.png
    1.1 MB
[silent:arts] said:
- VPR: you can do that. Oder die Brücke in der Mitte durchschneiden und einfach umschwenken.
Ach ja, klar. Gute Idee. Allerdings: Die Lunchbox-Anschlüsse, zu denen du in deinem Bild die Brücke baust, sind doch genau die, die ich absäge. Die Brücke muss zu den Dioden gehen, oder nicht?
 

Latest posts

Back
Top