[BUILD] Hairball Audio - Elements

GroupDIY Audio Forum

Help Support GroupDIY Audio Forum:

This site may earn a commission from merchant affiliate links, including eBay, Amazon, and others.
Houstnwehavuhoh said:
Yes the DI works

Sounds like maybe your DI isn't switching.  By default it's in DI mode.  Are all 8 relay leads soldered?  Do through the Relay sec ion and check the soldering, make sure you didn't miss a lead.

Mike
 
Hey Mike,

I just plugged my Coles 4038 in, and did some A/B'ing, and there is DEFINITELY not the low end in my Bronze, like there should be.

Could there be low end from the DI, but not from the Mic Input?
Is that a possibility? At all?
I think it runs through the same thing, once you get to that certain point....

I'm think I'm just gonna send it out to ya.

How does one go about doing such a thing?
 
Wow I'm really sorry, I definitely didn't solder one of the leads on the relay  :eek: my mistake, should've looked more carefully. Thank you for helping me troubleshoot and for the quick reply! Will solder it up after work and give her a go.
 
FattyMA4 said:
Hey Mike,

I just plugged my Coles 4038 in, and did some A/B'ing, and there is DEFINITELY not the low end in my Bronze, like there should be.

Could there be low end from the DI, but not from the Mic Input?
Is that a possibility? At all?
I think it runs through the same thing, once you get to that certain point....

I'm think I'm just gonna send it out to ya.

How does one go about doing such a thing?

Hard to say what's going on.

Send us an email to "[email protected]".

Mike
 
Hey all.

I bought 4 Silver kits hoping I could build a specific Eisen API I bought on this forum when i first started recording.  It's really simple, and I've always prefered the pre to other APIs (512 and VP26/25).  So I finally got my Cinemag 75101APC inputs in yesterday.  Heated up the iron, made a coffee, and opened the transformer box and my got out my 99% finished Silver kit. Went to put the Cinemag on the PCB where the canister type tranny goes...........

And it doesn't fit....................

I guess the pin spacing on the Cinemag is a little smaller than whatever Hairball is sending with the Bronze, ect.  So it's not possible to just bend the pins out from the canister. I believe it's the same pin spacing as the EA2622 as well.  So if you grabbed the Silver kit trying to use canister type input trannies from Cinemag or EA, it looks like they are not drop in. 

After some creative mounting (double sided tape and flying leads) i got it wired up and working.  Haven't compared to my original Eisen yet, but it's passing signal and everything seems to be working.  I'll report back with some observations once i get the Silver and Eisen in the same room.

Any ideas on mounting the next Silvers input tranny?  I did double sided tape on this one and flipped the Input canister so the pins face up.  The tape adds about a .08 inch. And now those upward facing pins are a little too close to mount the other metal cover. 

Lemme know if you have ideas.

D.


darnell said:
Hey all.

I bought 4 Silver kits hoping I could build a specific Eisen API I bought on this forum when i first started recording.  It's really simple, and I've always prefered the pre to other APIs (512 and VP26/25).  So I finally got my Cinemag 75101APC inputs in yesterday.  Heated up the iron, made a coffee, and opened the transformer box and my got out my 99% finished Silver kit. Went to put the Cinemag on the PCB where the canister type tranny goes...........

And it doesn't fit....................

I guess the pin spacing on the Cinemag is a little smaller than whatever Hairball is sending with the Bronze, ect.  So it's not possible to just bend the pins out from the canister. I believe it's the same pin spacing as the EA2622 as well.  So if you grabbed the Silver kit trying to use canister type input trannies from Cinemag or EA, it looks like they are not drop in. 

After some creative mounting (double sided tape and flying leads) i got it wired up and working.  Haven't compared to my original Eisen yet, but it's passing signal and everything seems to be working.  I'll report back with some observations once i get the Silver and Eisen in the same room.

Any ideas on mounting the next Silvers input tranny?  I did double sided tape on this one and flipped the Input canister so the pins face up.  The tape adds about a .08 inch. And now those upward facing pins are a little too close to mount the other metal cover. 

Lemme know if you have ideas.

D.

Hi,

We were trying to keep the transformer footprints pretty limited for ease of use since 99% of builder buy the standard bronze, gold, and copper kits. 

What we did for some smaller footprint transformer designs here was buy a piece of perforated PCB board like this:
http://www.robotroom.com/Circuit-Board-Tips/Single-Sided-Single-Hole-Perf-Board.jpg

We cut it to a side slightly larger than the transformer and mounted it to the main PCB using 1/4" standoffs and the 10428 mounting holes.  Then we added flying leads down to the 10468 pads.

Mike
 
Hey Mike. Thanks for replying. Love the Silver kit so far. Really clean layout and great labeling.

Ill prob try the board mounting idea you suggested. I bought 2 inputs from Cinemag, so i can try it with the second one.

I still have 2 more Silver kits that i need to get transformers for, so i may inquire about a custom can for the last 2. What pin spacing are you using your complete kit transformers? If its not crazy expensive, i will prob just suck it up and get exact fit transformers from cinemag.

Thanks.
D.
 
darnell said:
Hey Mike. Thanks for replying. Love the Silver kit so far. Really clean layout and great labeling.

Ill prob try the board mounting idea you suggested. I bought 2 inputs from Cinemag, so i can try it with the second one.

I still have 2 more Silver kits that i need to get transformers for, so i may inquire about a custom can for the last 2. What pin spacing are you using your complete kit transformers? If its not crazy expensive, i will prob just suck it up and get exact fit transformers from cinemag.

Thanks.
D.

We use the CM-2511 in the bronze and the spacing and winding info can be found here:
http://cinemag.biz/mic_input/PDF/CM-2511.pdf

Dave can probably pop the 75101A into that can/pinout.

Mike
 
So, no dice on the can swap from cinemag.

Dave said this....

Hi Daryl;
The pin spacing for the CM-75101APC is different than for the CM-2511PC.  (Note that "PC" needs to show on the part number so that we know which version you want, versus lead wires.)  The reason for this is that the lamination stack for the CM-2511PC ( $55.46) is bigger.  The pins are staked into the bobbin, so we cannot change them around for different spacing.  How about attaching wires to the CM-75101APC pins and mounting it to the chassis with, for example, a capacitor clamp?  You can run the wires over to the printed circuit card.
All the best,
David


So my next option will be either use the 75101apc with zip ties holding it on, or order the regular 75101 with flying leads. 

I guess my question is, can i drill a mounting hole in the center of the PCB pin pads to allow for the tranny to be mount correctly onto the board and just fly the leads underside over to the row on the left?  Or will that compromise the grounding/layout on one or both sides of the PCB.  Seem to me as long as i isolate the tranny so it won't short any of the pads/pcb layout that goes to that left hand row, I should be ok, and the tranny will fit correctly and function just like the upsidedown 75101apc i have in there now with the double sided tape.

Just to put my mind at ease.... Mike, do you sell just the boards if i end up screwing this one up?  ;)

If it looks like a go, i can order up a couple 75101 with flying leads and start drilling.

d.

 
We did this in an early proto.  I think we drilled out the pads a little so the tie down wires would fit.

This is the Jensen JT16.  This ended up being a little thicker than a stand module.

Mike
 

Attachments

  • tx.JPG
    tx.JPG
    117.4 KB
I built a copper and bronze pre-amp, both builds went smoothly, the bronze is great but I've got an issue with the copper. The copper unit is passing signal, both on DI and Mic input, but the stepped gain isn't affecting the input gain level. In other words, regardless if the step of the gain stage, the preamp output level is set only by the output pot. I checked back to make sure all solder points were solid and that I didn't miss any. All resistor values look right. Anything else that may be causing this other than the greyhill assembly?
 
JustDavid said:
I built a copper and bronze pre-amp, both builds went smoothly, the bronze is great but I've got an issue with the copper. The copper unit is passing signal, both on DI and Mic input, but the stepped gain isn't affecting the input gain level. In other words, regardless if the step of the gain stage, the preamp output level is set only by the output pot. I checked back to make sure all solder points were solid and that I didn't miss any. All resistor values look right. Anything else that may be causing this other than the greyhill assembly?

I would reflow all of the solder joints (Grayhill and Resistor) and make sure none of them are touching.
 
Hairball Audio said:
JustDavid said:
I built a copper and bronze pre-amp, both builds went smoothly, the bronze is great but I've got an issue with the copper. The copper unit is passing signal, both on DI and Mic input, but the stepped gain isn't affecting the input gain level. In other words, regardless if the step of the gain stage, the preamp output level is set only by the output pot. I checked back to make sure all solder points were solid and that I didn't miss any. All resistor values look right. Anything else that may be causing this other than the greyhill assembly?

I would reflow all of the solder joints (Grayhill and Resistor) and make sure none of them are touching.

I just popped it apart and reflowed , nothing appears to be touching. still no change.
 
JustDavid said:
Hairball Audio said:
JustDavid said:
I built a copper and bronze pre-amp, both builds went smoothly, the bronze is great but I've got an issue with the copper. The copper unit is passing signal, both on DI and Mic input, but the stepped gain isn't affecting the input gain level. In other words, regardless if the step of the gain stage, the preamp output level is set only by the output pot. I checked back to make sure all solder points were solid and that I didn't miss any. All resistor values look right. Anything else that may be causing this other than the greyhill assembly?

I would reflow all of the solder joints (Grayhill and Resistor) and make sure none of them are touching.

I just popped it apart and reflowed , nothing appears to be touching. still no change.

Can you take a picture of it?  Email info@hairball...  if you like.

Mike
 
So now that my Copper is up and running, flawlessly might I add, I found some issues with my Bronze pre. Although at first it seemed to be fine I noticed some small issues.

1) When the DI is engaged, there is a high pitch ringing noise, and an intermittent chirp/squeal, almost like RF interference or something. It is apparent at all gain stages and output volumes (at various amplitudes). At first I thought it was noisy electronics in the instruments, but the issue is not happening in my copper. Engaging the pad helps the matter slightly but doesn't really resolve the issue.

2) when in DI and Mic mode, With the Grayhill fully clockwise, and the pad engaged, the last 1/8th turn "clicks" and then it makes a equaling noise. But this only happens with the grayhill fully counter clockwise…not that I would ever probably need to max this thing out like that, it would seem to be an indication of something not being quite right.

3) With a mic connected, the final position of the Grayhill decreases gain, with slight distortion. normal?

The bronze seems to have more "noise" than the copper, perhaps this is normal.
Most these observations where made without a mic/guitar/etc being plugged in, just the sound of the module itself. My primary issue is with the DI ringing/squeal. I plan on reflowing some of the gray hill points to see if that fixes the final stepped gain issue. Any thoughts would be appreciated. I would rather try to trouble shoot this thing so I can learn something in the process.
 
JustDavid said:
So now that my Copper is up and running, flawlessly might I add, I found some issues with my Bronze pre. Although at first it seemed to be fine I noticed some small issues.

1) When the DI is engaged, there is a high pitch ringing noise, and an intermittent chirp/squeal, almost like RF interference or something. It is apparent at all gain stages and output volumes (at various amplitudes). At first I thought it was noisy electronics in the instruments, but the issue is not happening in my copper. Engaging the pad helps the matter slightly but doesn't really resolve the issue.

2) when in DI and Mic mode, With the Grayhill fully clockwise, and the pad engaged, the last 1/8th turn "clicks" and then it makes a equaling noise. But this only happens with the grayhill fully counter clockwise…not that I would ever probably need to max this thing out like that, it would seem to be an indication of something not being quite right.

3) With a mic connected, the final position of the Grayhill decreases gain, with slight distortion. normal?

The bronze seems to have more "noise" than the copper, perhaps this is normal.
Most these observations where made without a mic/guitar/etc being plugged in, just the sound of the module itself. My primary issue is with the DI ringing/squeal. I plan on reflowing some of the gray hill points to see if that fixes the final stepped gain issue. Any thoughts would be appreciated. I would rather try to trouble shoot this thing so I can learn something in the process.

Something is wrong.  You'll have to go through the whole build again.

Bronze is nosier, but only interns of measurement, should be nothing you anecdotally hear.
 
Hi Mike,

I'm having issues with my builds as well. Apologies if this has been posted multiple times, but I'm having some strange things happening with my Bronze and Copper modules. I'll start with the Bronze because it's minor in comparison to the Copper.

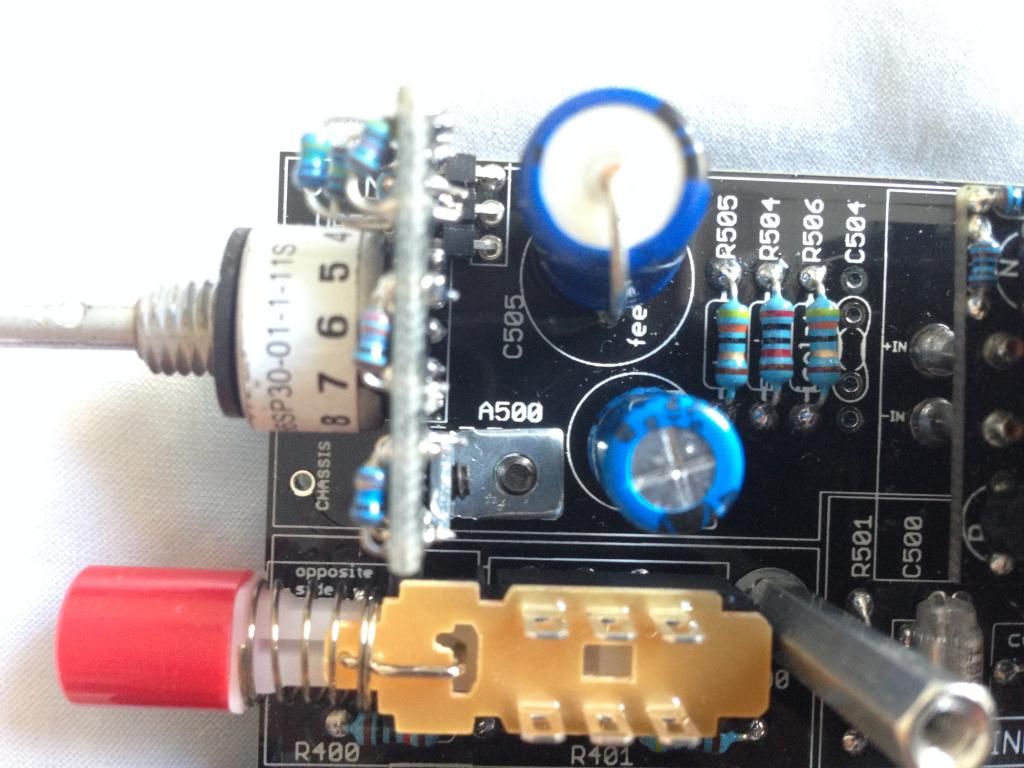
Like the user who posted above, the Grayhill switch doesn't increase gain until I switch it to the last notch position, where there's a massive increase in gain. In other words, none of the other gain positions do anything to increase or decrease gain. Any ideas what this could be?

As for my Copper module, I'm getting some weird distortion. At first I thought it might've been the output transistors being overheated and creating a short, as I foolishly put them in the wrong way (the right slots, just facing the opposite direction to what they should've been). I bought some new transistors and soldered them in, but to no avail. This led me to think that it might've been a coupling capacitor (again I felt that I'd overheated it). I've replaced this capacitor and still no change to the signal. **note that although the coupling capacitor I've replaced is physically smaller and radial rather than axial, it is still the same value and brand as the one in the bill of materials.

I can't see any obvious signs of solder bridges

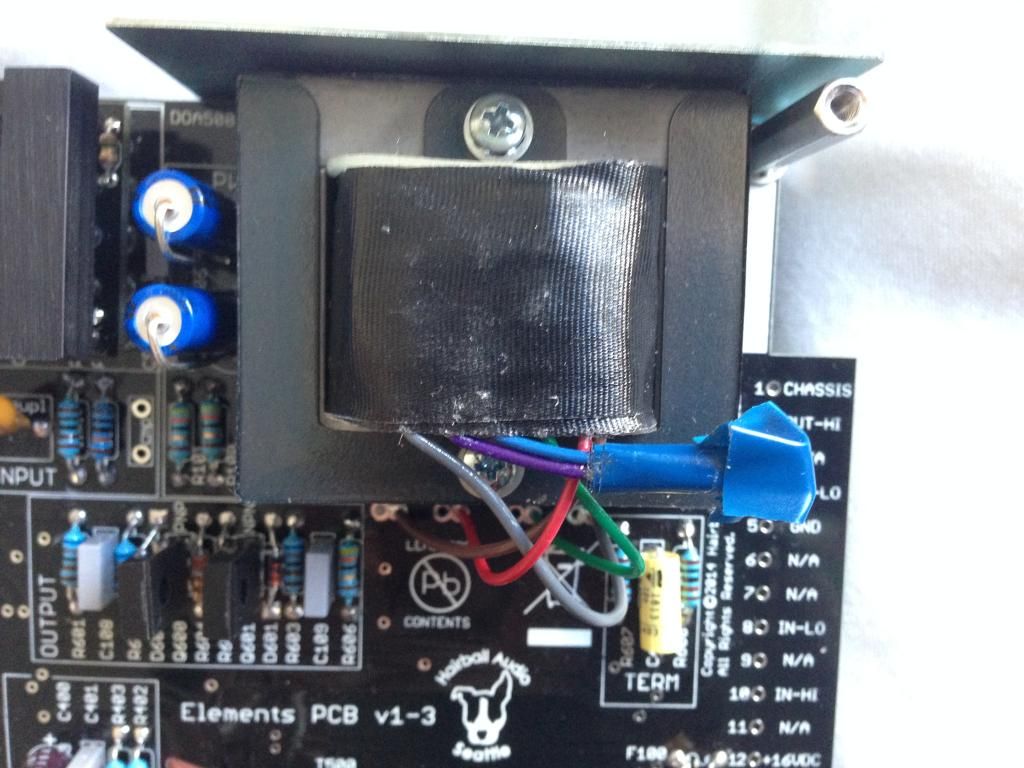
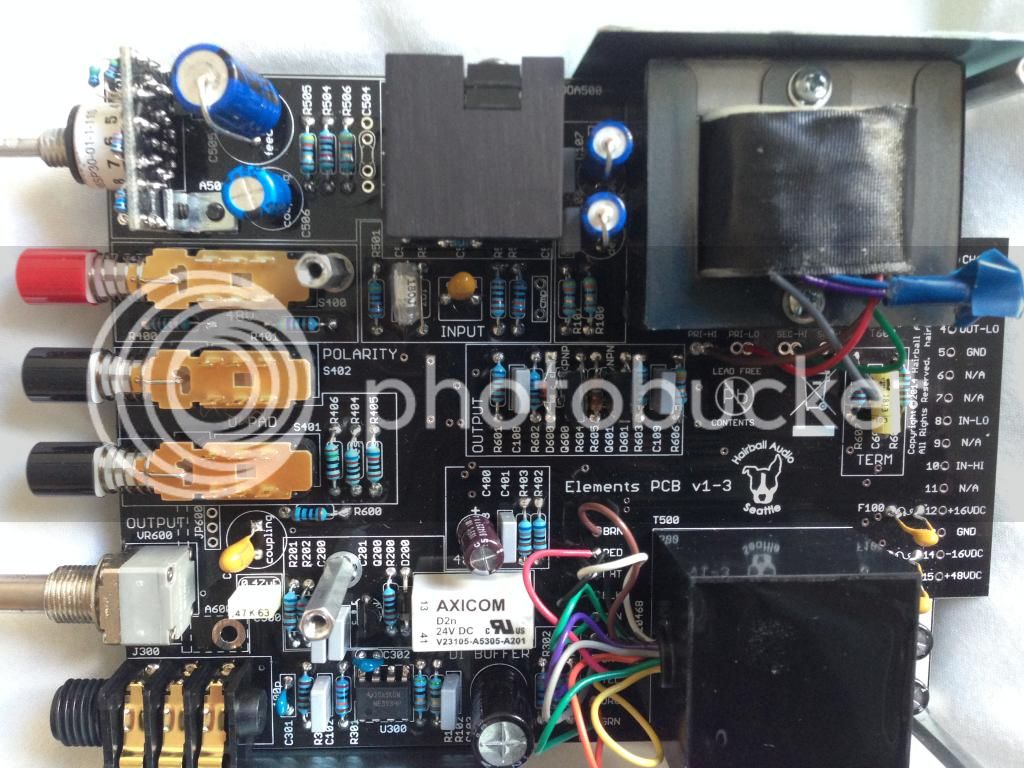
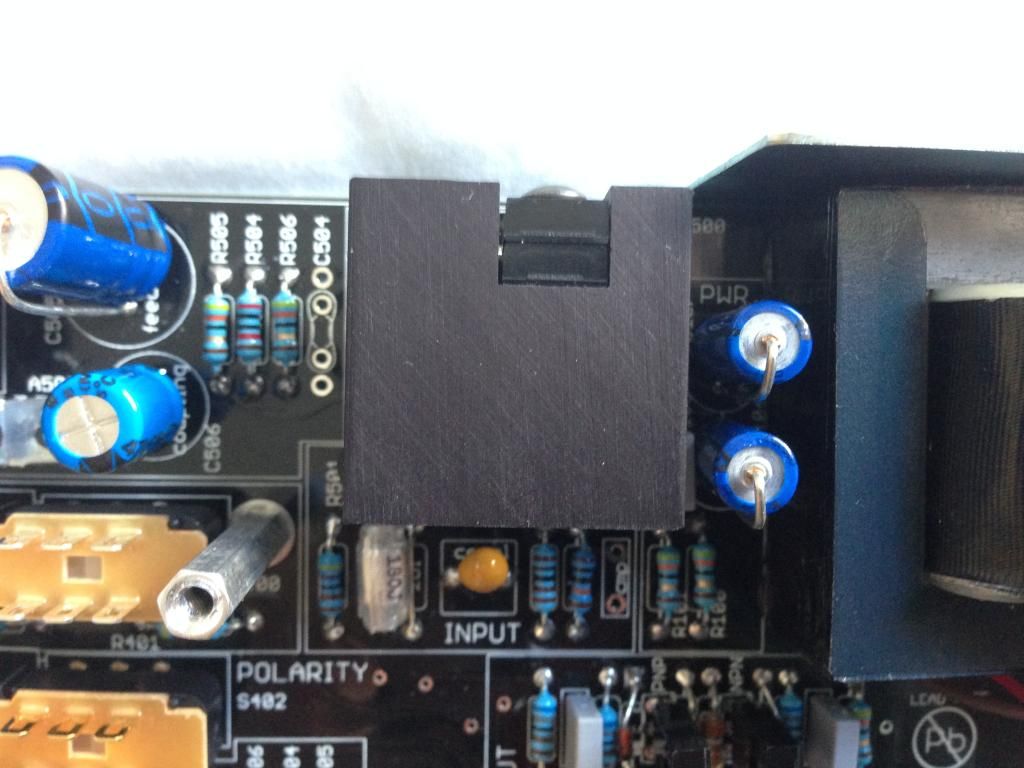
I've attached pictures of my Copper module. Any help you (or any other user that's had these issues) can give would be appreciated. Thanks!

IMG_0160_zps4t7mhxtr.jpg


IMG_0161_zpsltawjnq5.jpg


IMG_0162_zpshevi9dcb.jpg


IMG_0166_zpsj8xw6te2.jpg


IMG_0159_zpszq7yrt7k.jpg
 
martinswain said:
Hi Mike,

I'm having issues with my builds as well. Apologies if this has been posted multiple times, but I'm having some strange things happening with my Bronze and Copper modules. I'll start with the Bronze because it's minor in comparison to the Copper.

Like the user who posted above, the Grayhill switch doesn't increase gain until I switch it to the last notch position, where there's a massive increase in gain. In other words, none of the other gain positions do anything to increase or decrease gain. Any ideas what this could be?

That is a short or cold joint on the Grayhill PCB most likely.  The soldering on that board looks pretty bad.  You need to reflow and get rid of all that extra solder.

martinswain said:
As for my Copper module, I'm getting some weird distortion. At first I thought it might've been the output transistors being overheated and creating a short, as I foolishly put them in the wrong way (the right slots, just facing the opposite direction to what they should've been). I bought some new transistors and soldered them in, but to no avail. This led me to think that it might've been a coupling capacitor (again I felt that I'd overheated it). I've replaced this capacitor and still no change to the signal. **note that although the coupling capacitor I've replaced is physically smaller and radial rather than axial, it is still the same value and brand as the one in the bill of materials.

I'd look for cold joints.  The soldering looks really off.

We offer a repair service online if that interests you.  I just had one with the same issues you have in for repair and it was just a bunch of bad soldering.  I reflowed the joints and it worked.

Mike
 
Back
Top