Laz EQN1084 eq - journey

GroupDIY Audio Forum

Help Support GroupDIY Audio Forum:

This site may earn a commission from merchant affiliate links, including eBay, Amazon, and others.

canidoit

Well-known member
Joined
Apr 6, 2009
Messages
1,192
Location
Australia
I have been receiving a few messages requesting whether I would sell them PCBs. Though I am flattered at the thought that it could be possible that I created and produced these PCBs and metalwork, sadly I did not. This thread is only to document my journey building the Laz EQN1084 build, in the hopes that it will help other "newbies" doing this project as well as myself.

You can purchase the PCBs and metal work from here when they are available:
http://www.groupdiy.com/index.php?topic=33735.0

Support thread here:
http://www.groupdiy.com/index.php?topic=37604.0

The designer/producer details:
Peter Purpose
http://www.lazpro.com


******************* Disclaimer ****************************
This is just my experience regarding this build and is the opinion of myself. Use this information at your own discretion and responsibility.

*******************************************************

This is my journey into the making of the Laz EQN1084 500 series eq.

I thought it would be useful to post up my BOM mark up excel sheet encase some people here may find it useful for their builds.

If anyone notices faults, message me, so I can correct it.

If anyone has suggestions on ways of improving it, feel free to message me and I will consider implementing it to the excel document.

## Please read this whole thread first if you plan on using some of the parts I used for my BOM list. I have discovered through my journey that some components on my list is better suited to be smaller in dimensions.

Mouser and Digikey ordered parts list:
Laz EQN1084 eq Parts Ordered List Word version 2007 - 22/11/10

BOM version 1.4 - updated 03:17am on 03/07/10 (Australian time/date)
Excel version 2007 download
Laz EQN1084 eq BOM Excel List version 2007

Excel version 1997-2003 download
Laz EQN1084 eq BOM Excel List version 1997-2003

** I have noticed that you sometimes have to refresh your browser to see some images on the thread.
 
Hi canidoit,
great BOM why didn't you post it in the main EQN build thread?
I am just worried that info regarding this build will now end up spread over several threads.
cheers
briomusic
 
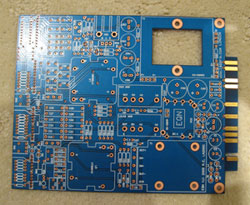
Visual reference to the Laz 1084EQN kit that you should receive so you can see whether you are missing something or what parts are what.

- 1 X main PCB board
parts10.jpg


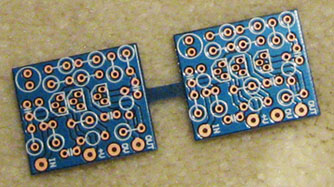
- 2 X Opamp PCB boards
parts7.jpg


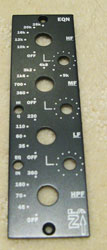
- 1 X Face Panel
parts11.jpg


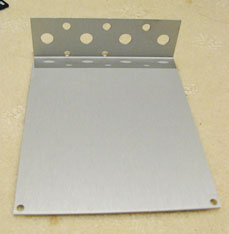
- 1 X 500 series aluminum L metalwork
parts9.jpg


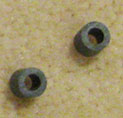
- 2 X round tubular grey plastic mounting hardware (part of M3 SCREWS/SPACERS/NUTS**)
parts4.jpg


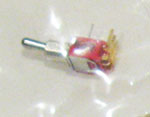
- 2 toggle switches (rocker switches)
parts8.jpg


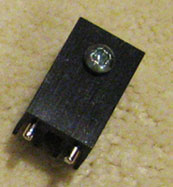
- 1 X Black Heatsink with screw attached
parts6.jpg


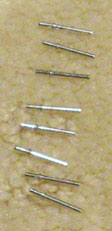
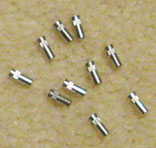
- 8 X silver long pins (8X 1MM PINS FOR AMPS**)
parts2.jpg


- 10 X little socket silvers pins (2X 1MM SOCKETS FOR CC-6** * & 8X 1MM SOCKETS FOR AMPS**)
parts1.jpg


- 7 X black joined together header terminal pin sockets (8X .8MM SOCKETS FOR CC-6** * - 7pin SIL socket for DC-DC converter)
parts12.jpg


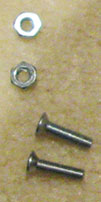
- 1 Pair of silver nuts and bolts (part of M3 SCREWS/SPACERS/NUTS**)
parts5.jpg


- 2 X little bolts (8BA SCREWS FOR MOUNTING INPUT TX**)
parts3.jpg


Visual reference for the Audio Maintenance 1084EQN partial kit.

- CARNHILL VTB9043 and VTB9050 Inductors
AMinductors.jpg


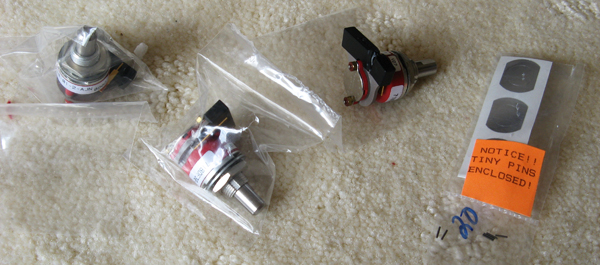
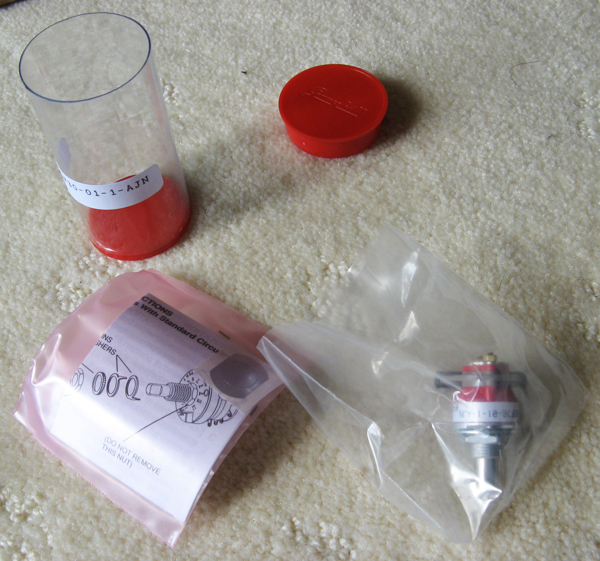
- 3 X GRAYHILL 71BDF30-01-2-AJN 6 way rotary switch
AMgrayhillSWset.jpg


- GRAYHILL 71BDF30-01-1-AJN 12 way rotary switch
Should have stop pins for this rotary switch, either sent as;
- individually packaged in a round plastic container which contains the switch, stop pins and silver label
- bulk packed.... where we have to pack the pins and silver label seperately....
AMgrayhillSW.jpg


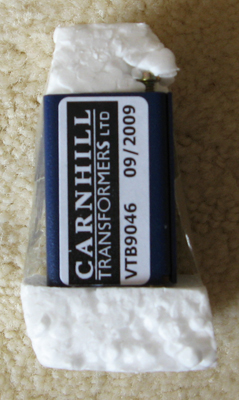
- CARNHILL VTB9046 Input transformer
AMcarnhill.jpg


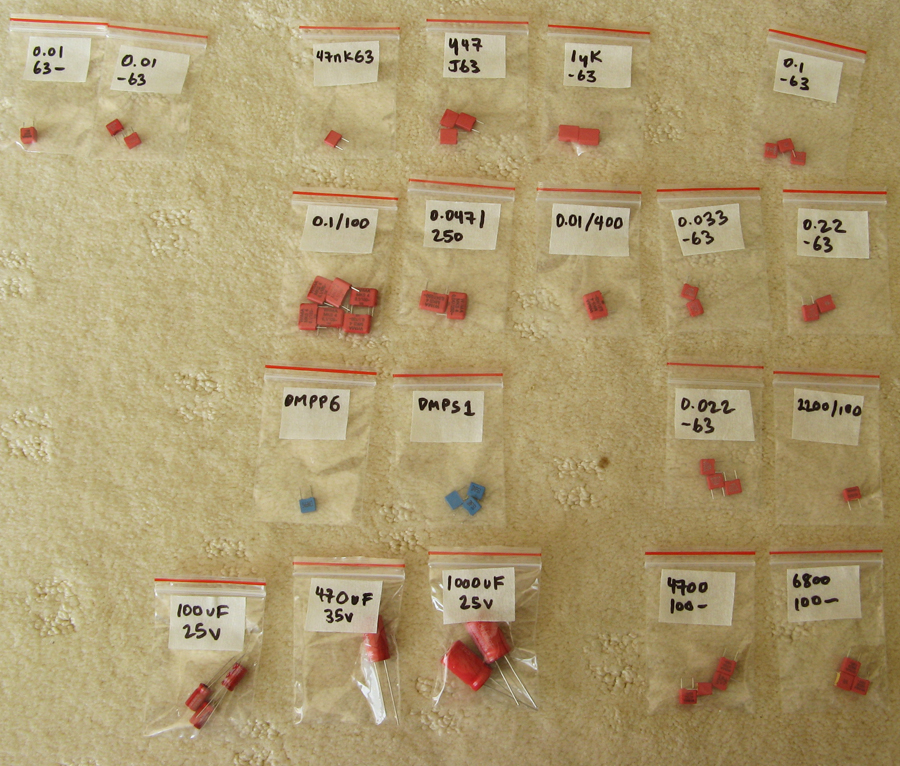
- Various Caps
AMcaps.jpg


DU-09-002 Capacitor: 100uF 25V 105 Deg C - Radial 3
DU-09-012 Capacitor: 1000uF 25V 105 Deg C - Radial 2
DU-09-018 Capacitor: 470uF 35V 105 Deg C - Radial 1
DU-09-1-1500 Capacitor: 1n5F 100v Polyester 5mm pitch 1
DU-09-1-15000 Capacitor: 15nF 100v Polyester 5mm pitch 3
WI-09-1-10000 Capacitor: 10nF 63v Polyester 5mm pitch (MKS2) 2
WI-09-1-100000 Capacitor: 100nF 63v Polyester 5mm pitch (MKS2) 3
WI-09-1-1000000 Capacitor: 1uF 63v Polyester 5mm pitch (MKS2) 2
WI-09-1-22000 Capacitor: 22nF 63v Polyester 5mm pitch (MKS2) 3
WI-09-1-220000 Capacitor: 220nF 63v Polyester 5mm pitch (MKS2) 2
WI-09-1-33000 Capacitor: 33nF 63v Polyester 5mm pitch (MKS2) 2
WI-09-1-47000 Capacitor: 47nF 63v Polyester 5mm pitch (MKS2) 1
WI-09-1-470000 Capacitor: 470nF 63v Polyester 5mm pitch (MKS2) 3
WI-09-2-10000 Capacitor: 10nF 400v Polyester 10mm pitch (MKS4) 1
WI-09-2-100000 Capacitor: 100nF 100v Polyester 10mm pitch (MKS4) 6
WI-09-2-47000 Capacitor: 47nF 250v Polyester 10mm pitch (MKS4) 2
WI-09-3-10000 Capacitor: 10nF 100v Polypropylene 5mm pitch (FKP2) 1
WI-09-3-2200 Capacitor: 2n2F 100v Polypropylene 5mm pitch (FKP2) 1
WI-09-3-4700 Capacitor: 4n7F 100v Polypropylene 5mm pitch (FKP2) 4
WI-09-3-6800 Capacitor: 6n8F 100v Polypropylene 5mm pitch (FKP2) 3

..............................................

Translating cap values written on the capacitors as explained by Collin which I found very useful!
Also use your multimeter to confirm the values

It is normal to write the values in short form on the capacitors because of their size.

For example....

470nF would be written as either 470n

or

u47 (ie 0.470uF... but they never use a decimal point... so they write u470... but that is the same as u47)

Next there is a letter (J or K usually) which states the tolerance

then the voltage rating... so;

u47j63 means 470nF 10% 63volt

15nj100 means 15nF 10% 100volt

1n5j100 means 1.5nF 10% 100volt
 
I dunno, he's a got a penchant for pictures . . . if it's going to be page after page of images, may as well be NOT in the main build thread, ya know, for people who aren't visual learners. 

 
Thanks man, your excel sheet is way better than the one I threw together... I'm a bit of a beginner as far as DIY goes so I'm glad to be following all your questions.
 
Petes images and diagrams compiled:

You should print the main PCB and Opamp diagrams and use them as mark sheets so when you are soldering your unit together, you can mark them off one by one on the printouts with pen or flouro pen.

I usually scan the ACTUAL PCBs I receive and print them out as well to be ultra sure that all information match with the actual PCB. So that means I would have 3 print outs as mark sheets which are the Excel BOM, the main PCB diagram and the scan of my actual PCBs. It's a longer process but it helps me identify if I have soldered the wrong components somewhere by going through these 3 stages of confirmation marking.


Very Rough Schematic
84rough.jpg


Main PCB diagram
xinf.jpg


---------------------------------------------------------------------------------

The *FIT UNDERSIDE with the fluoro green dots in the Main PCB diagram refers to soldering the
- 33 X 4M7 Miniature resistors (R39 to R71) and
- 2 X toggle (rocker) switch (SW1, SW2)
underneath the main PCB like in the pic below.
mr.jpg


Also trim the leads(legs) of the resistors protruding from the underneath side of the main PCB board when you are done soldering it. I presume you are also trimming the legs of the toggle switch. Can someone message me to confirm this?
minires.jpg


---------------------------------------------------------------------------------

OP Amp PCB diagram
ampol.jpg


---------------------------------------------------------------------------------

bend.jpg

"The pins need to have a fairly close-up bend to the pcb.
The easiest way is to solder them in and then bend them.
Don't worry about roughing up the surface... it'll give extra grip in the sockets."

---------------------------------------------------------------------------------

itx.jpg

"As you can see... the input transformer needs to be wired 4:1... primaries in series and secondaries in para.
2 goes to IN+
5 goes to IN-
7&8 go to OUT+
9&10 go to OUT- Ground"

---------------------------------------------------------------------------------
 
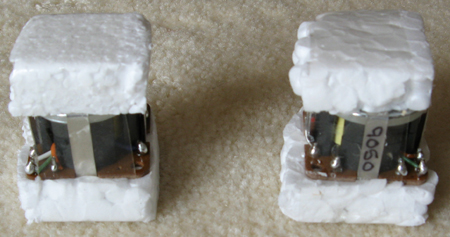
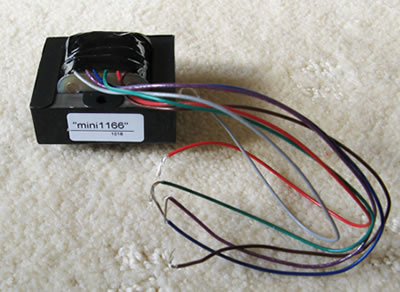
Hairball EA-1166 Output Transformer arrived and well packed!
1166.jpg


1166-500.jpg


Wiring:
1084_1166.jpg

Bottom of pic:
P+ = Brown
P- = Red

Right side of pic:
S- = Grey
Next to S- = Violet
S + = Green
Next to S+ = Blue
 
Hey CanI

I finished my first one (test model). I ordered some caps and chokes which were too physically large for the board so I had to switch them out. Still no decisions on knobs, I figure I still have a minute before I finish all 8 kits.

For the time being I threw a 1k resistor in R29.

I'm waiting for a 500 series connector to build a test jig to try it. Should come in the next few days, friday if things go well. I'll keep you updated on what happens when I light her up!

SW-EQN1.jpg


SW-EQN2.jpg


SW-EQN3.jpg


-marc alan
 
Well, as expected my first attempt doesn't quite work. It didn't explode (always a good thing) and it does pass some audio but it's VERY VERY quiet. I didn't have time to try and trace it out but hopefully I'll get to do it over the weekend.

 
Such good quality images in this thread!

One idea for a brewery thread, whoever took those images: "how to snap decent pictures of PCB's and parts".

is it just the quality camera, and which one, or did you have some special lighting as well. etc. tips appreciated for phone-with-camera idiots like me.
 
Back
Top