- Joined
- Jul 15, 2009
- Messages
- 2,312
Something is wrong the output should remain constant trough , do you happen to know how this is happening
afer power on for a short period -- intermittent -- is it sytematic,
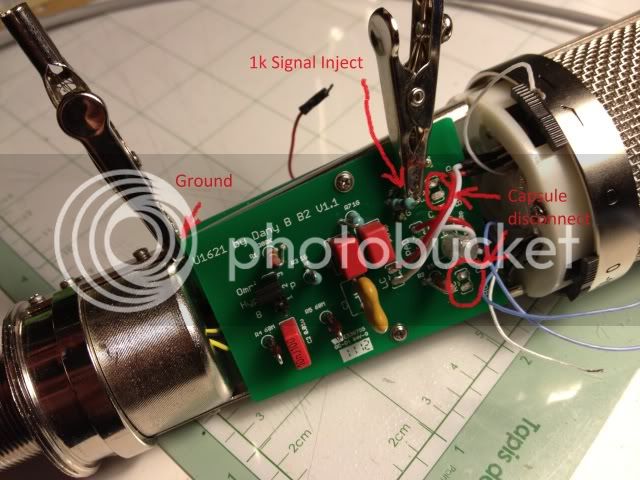
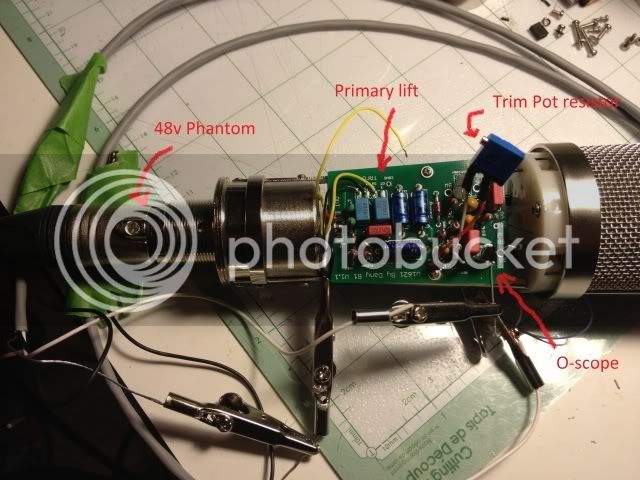
if you set the drain at 11V what is happening the 51pf cap should not be used for biasing but you actually inject the signal there ,
if you can find out in wich context this is happening this will be the first part of your problem solved,
hope this helps,
D
afer power on for a short period -- intermittent -- is it sytematic,
if you set the drain at 11V what is happening the 51pf cap should not be used for biasing but you actually inject the signal there ,
if you can find out in wich context this is happening this will be the first part of your problem solved,
hope this helps,
D