Restoring and old Neve desk - DONE!!!!

GroupDIY Audio Forum

Help Support GroupDIY Audio Forum:

This site may earn a commission from merchant affiliate links, including eBay, Amazon, and others.

API

Well-known member
Joined
Nov 25, 2005
Messages
869
Location
Sweden
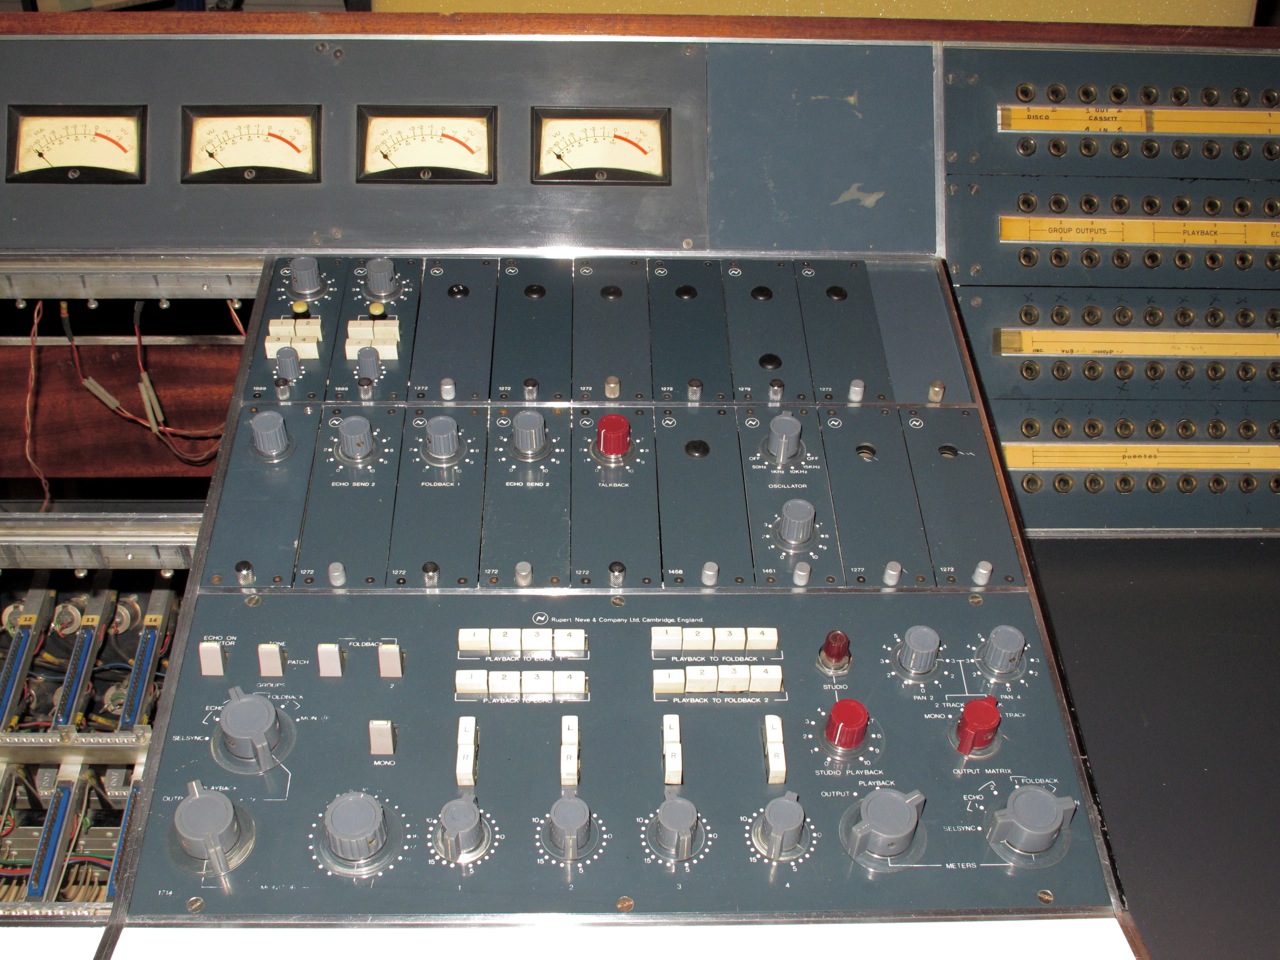
A couple of years ago i reccieved a much battered Neve frame in a part trade from a friend in Spain.
It was mostly complete i thought at the time but all of the 1883 routing modules were gone.
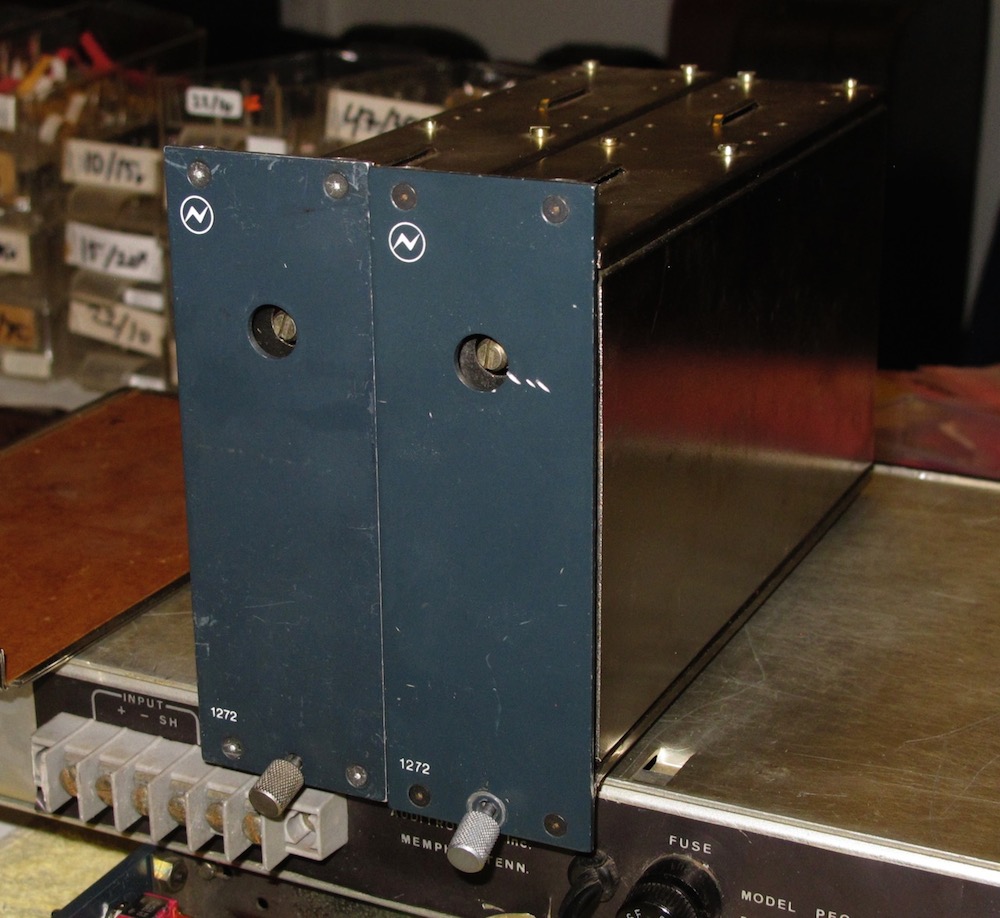
The strange thing was that most of the 1272´s were still on board, those usually get s ripped out first if you (are stupid enough to) strip a desk.
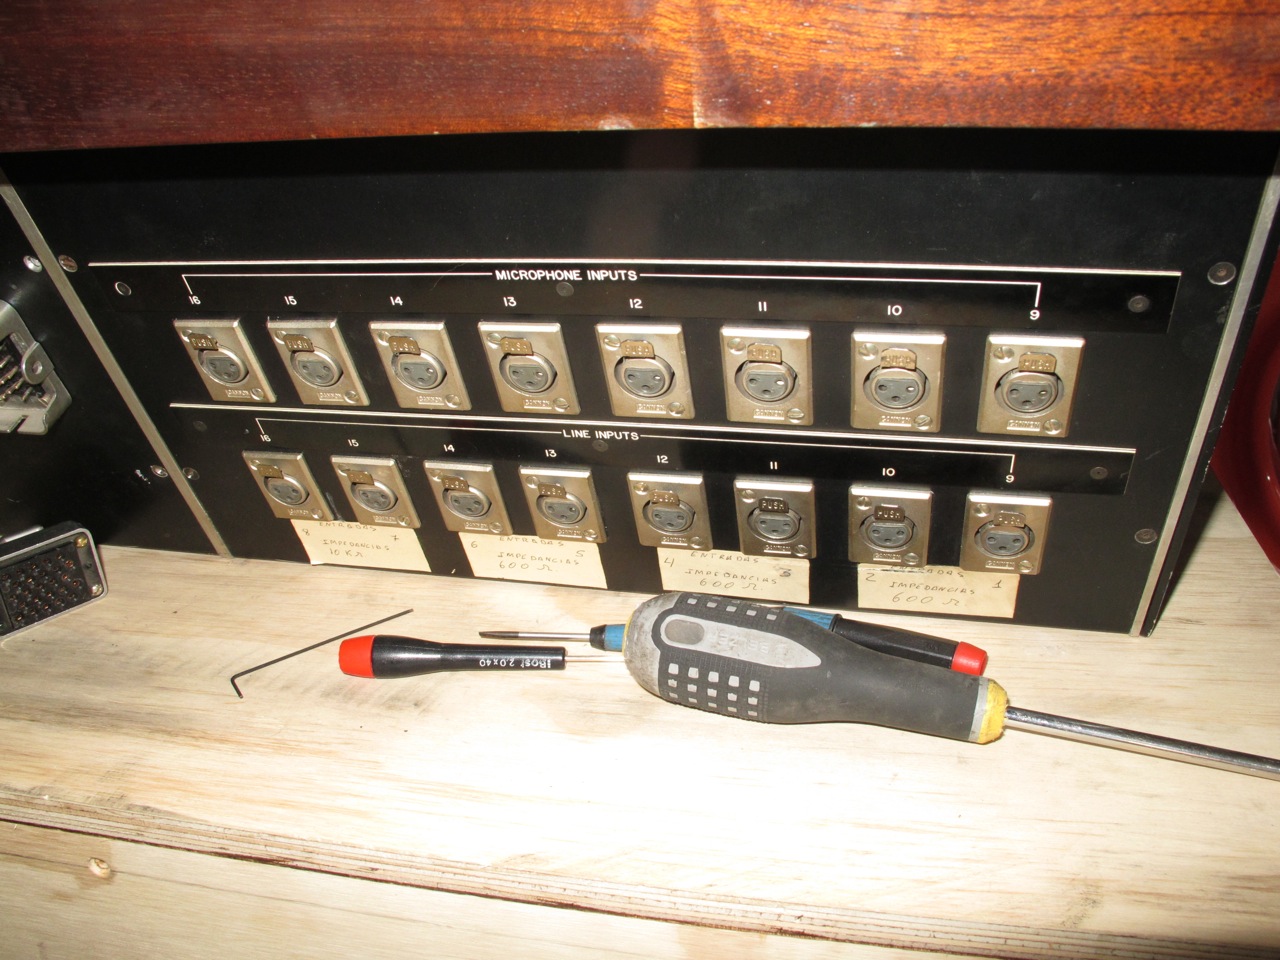
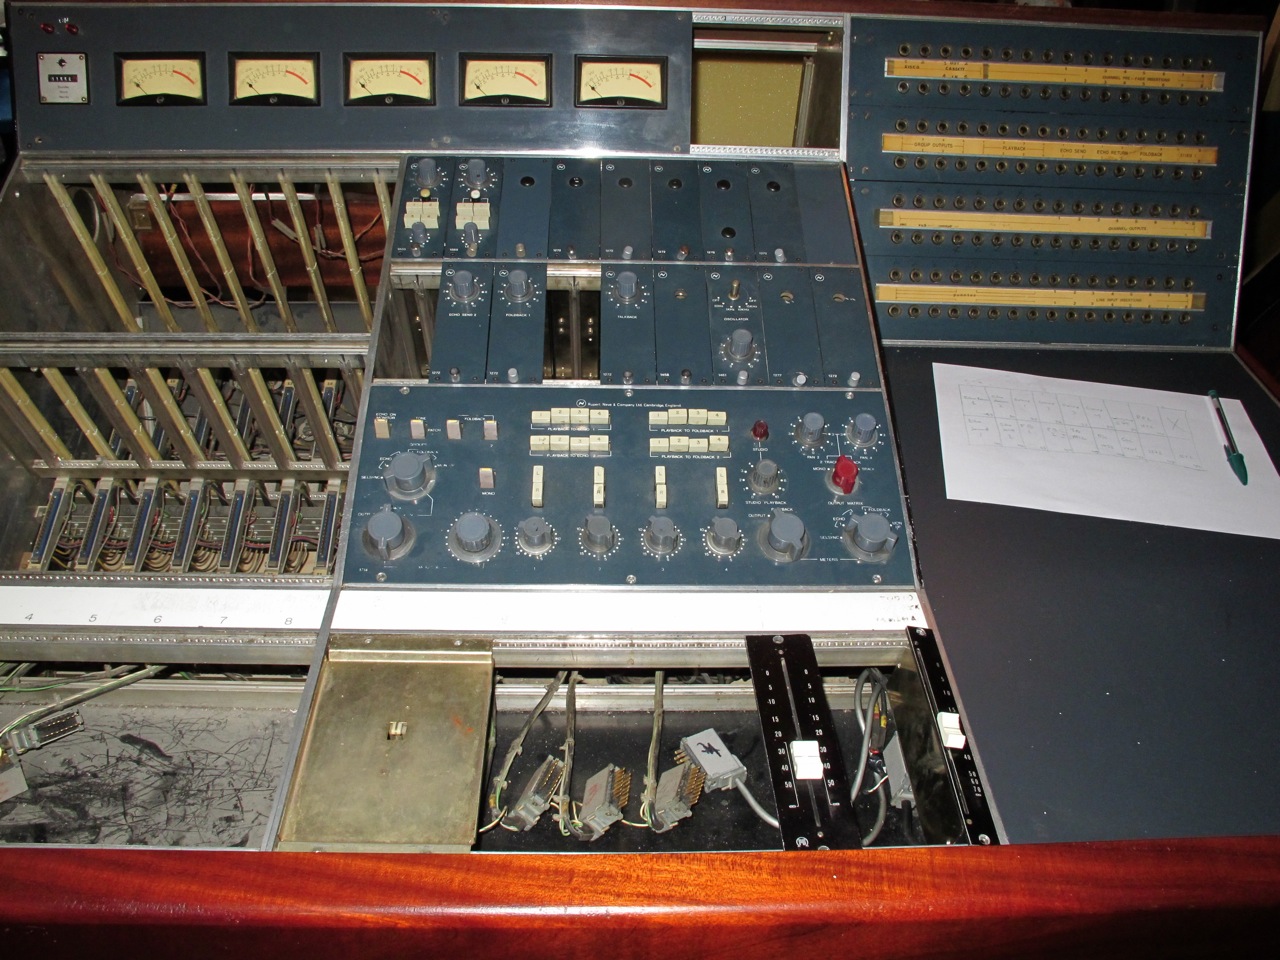
It was strange configuration though with only 8 channels, a center section and a patchbay.
Pics are below.

I have run a studio for many years and worked most of my life in the music biz.
My first recording session ever was on a Neve 8014 paired with a MCI 2" 16 track recorder and those are still some of my best recordings :)

But i have always loved to take things apart and sometimes put them back together again...
In my studio i had two API 2448 desks (not at the same time) that i restored myself, learning by doing (one of them was found in pieces below a staircase in a cellar in Germany) and somehow i managed to get them both fully working and sounding pretty darn good.
I loved those desks but always wanted a Neve as well so when i had the chance to get this frame i jumped right into it.

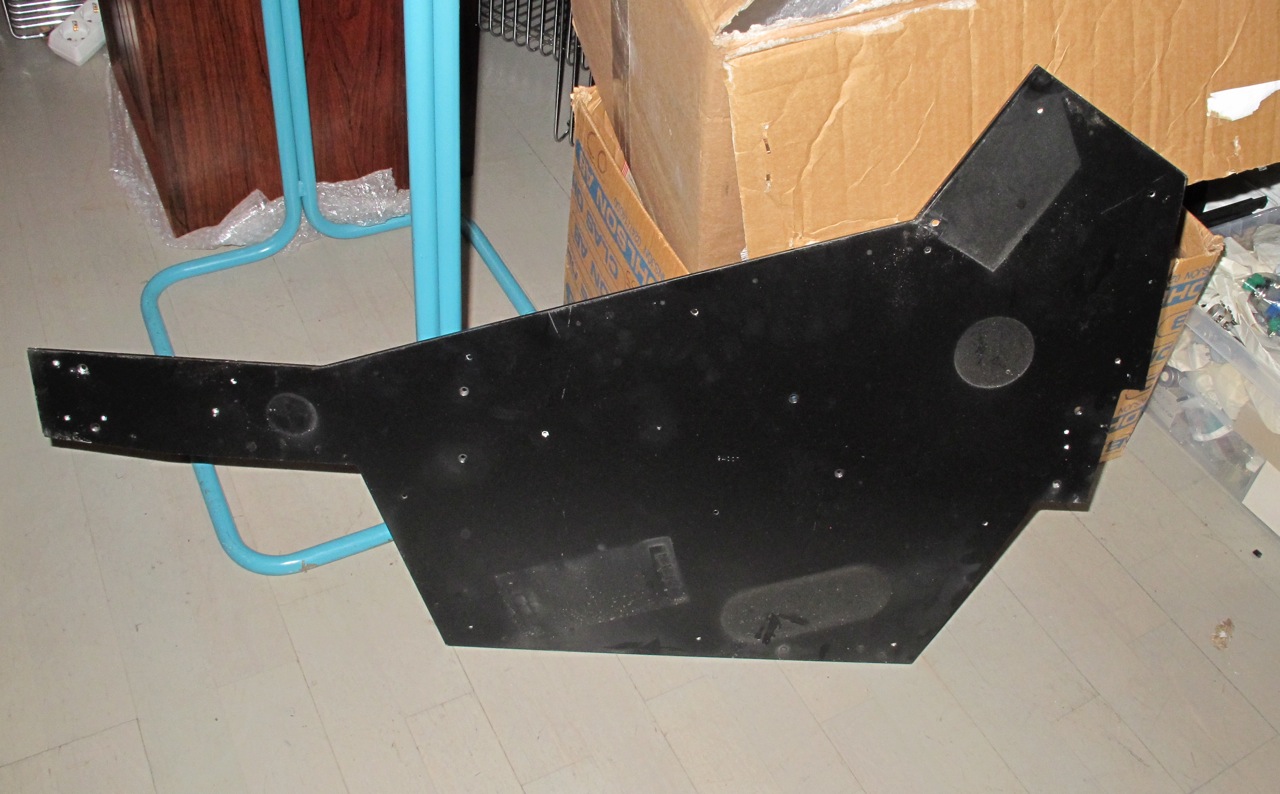
When i finally got it home it was pretty clear that this was not its original configuration, someone had actually cut off a whole bucket from the poor thing!
I am often amazed on the stupid things people do to old gear, the API in the staircase was another weird story...
But the parts that was still there was pretty solid, just very neglected.

I spent a few months just looking at its beauty, but it was a tarnished beauty that i decided needed to relive its former glory.
"I shall restore this desk to its original specifications" was my mantra but had no idea what i was getting myself into.......

To be continued!


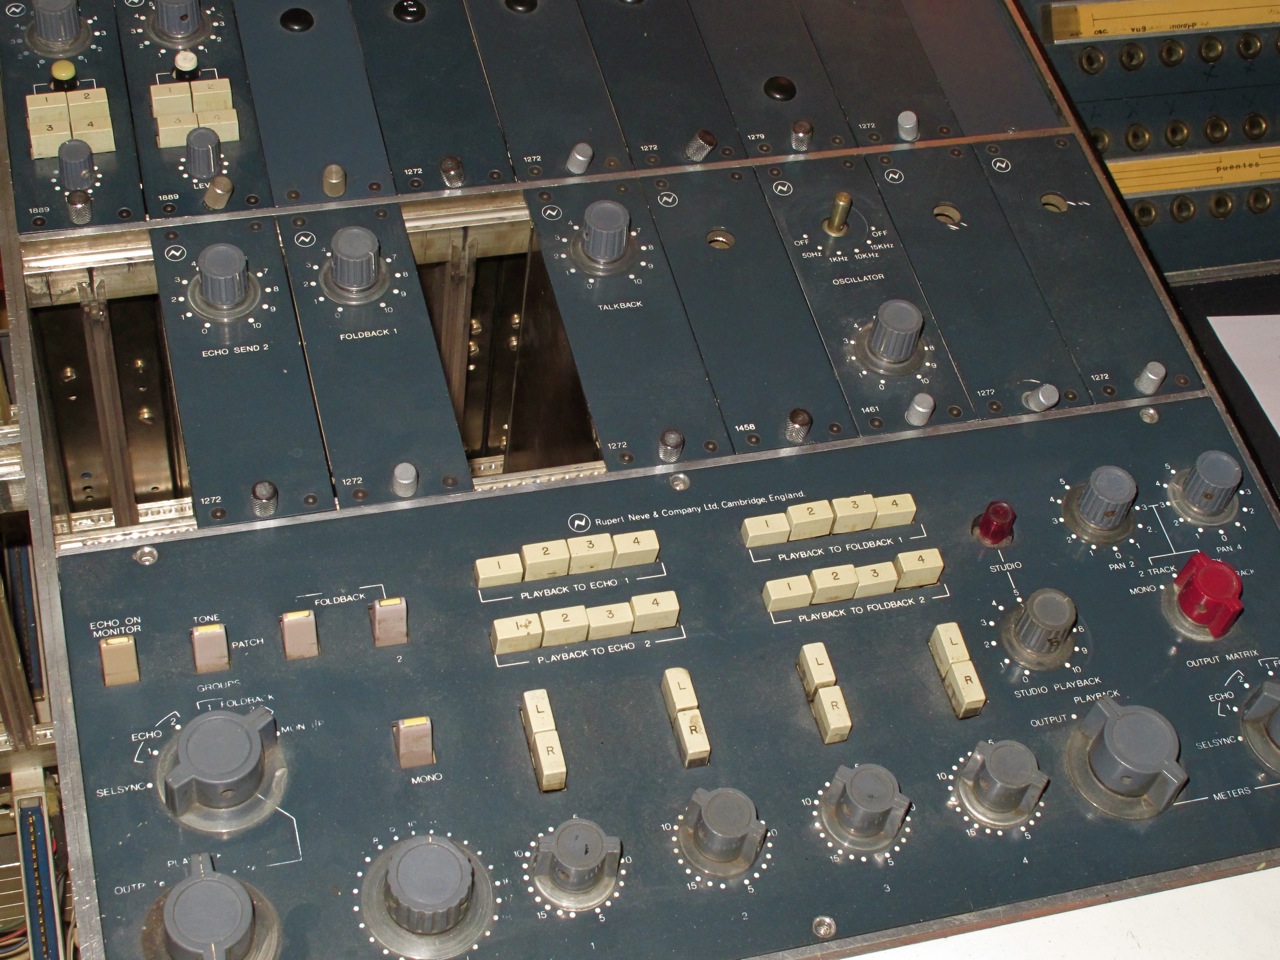
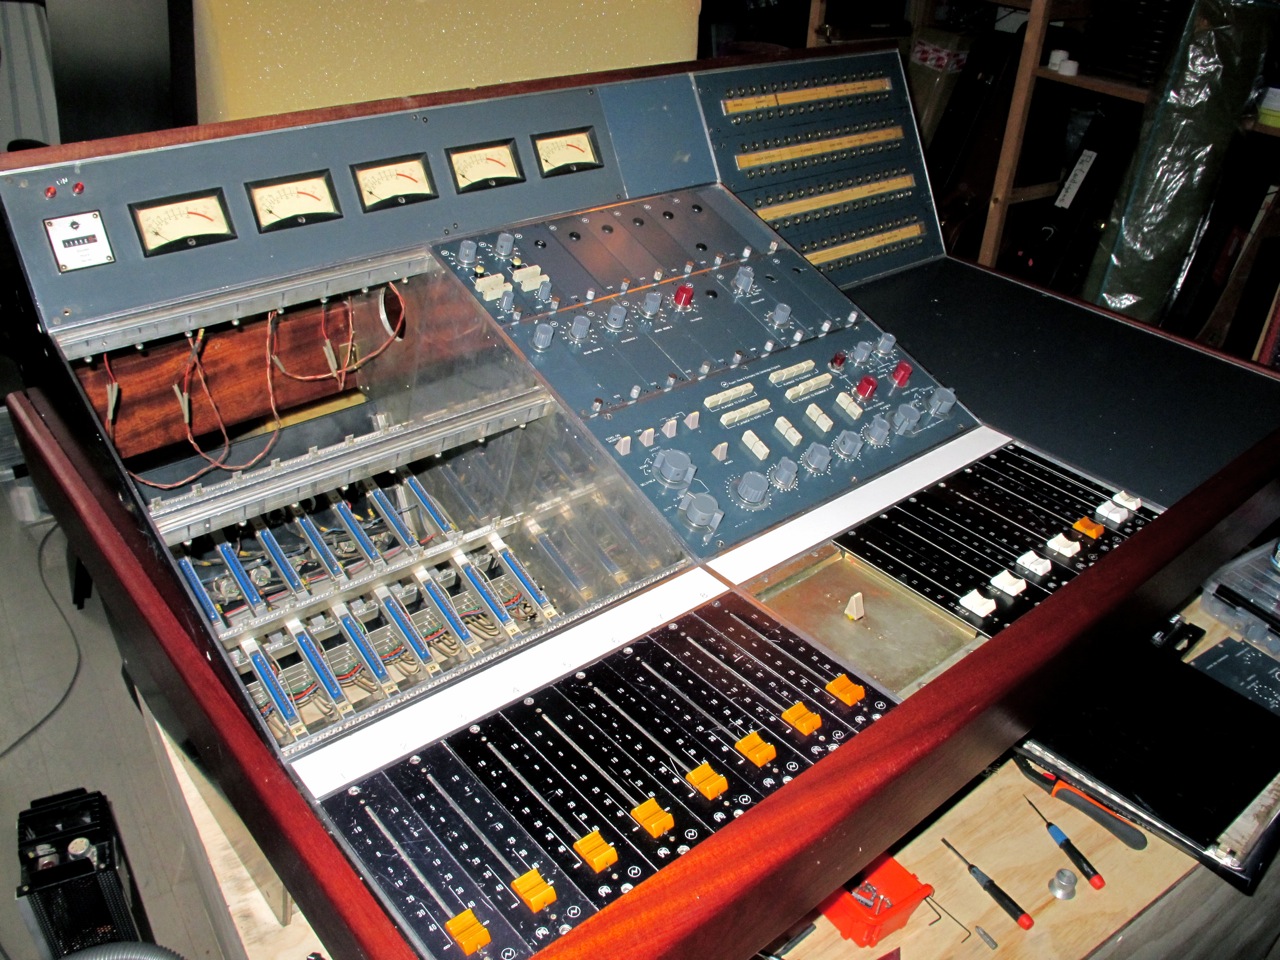
This is whtt the desk looked like when it arrived in Sweden.
1.jpg


2.jpg


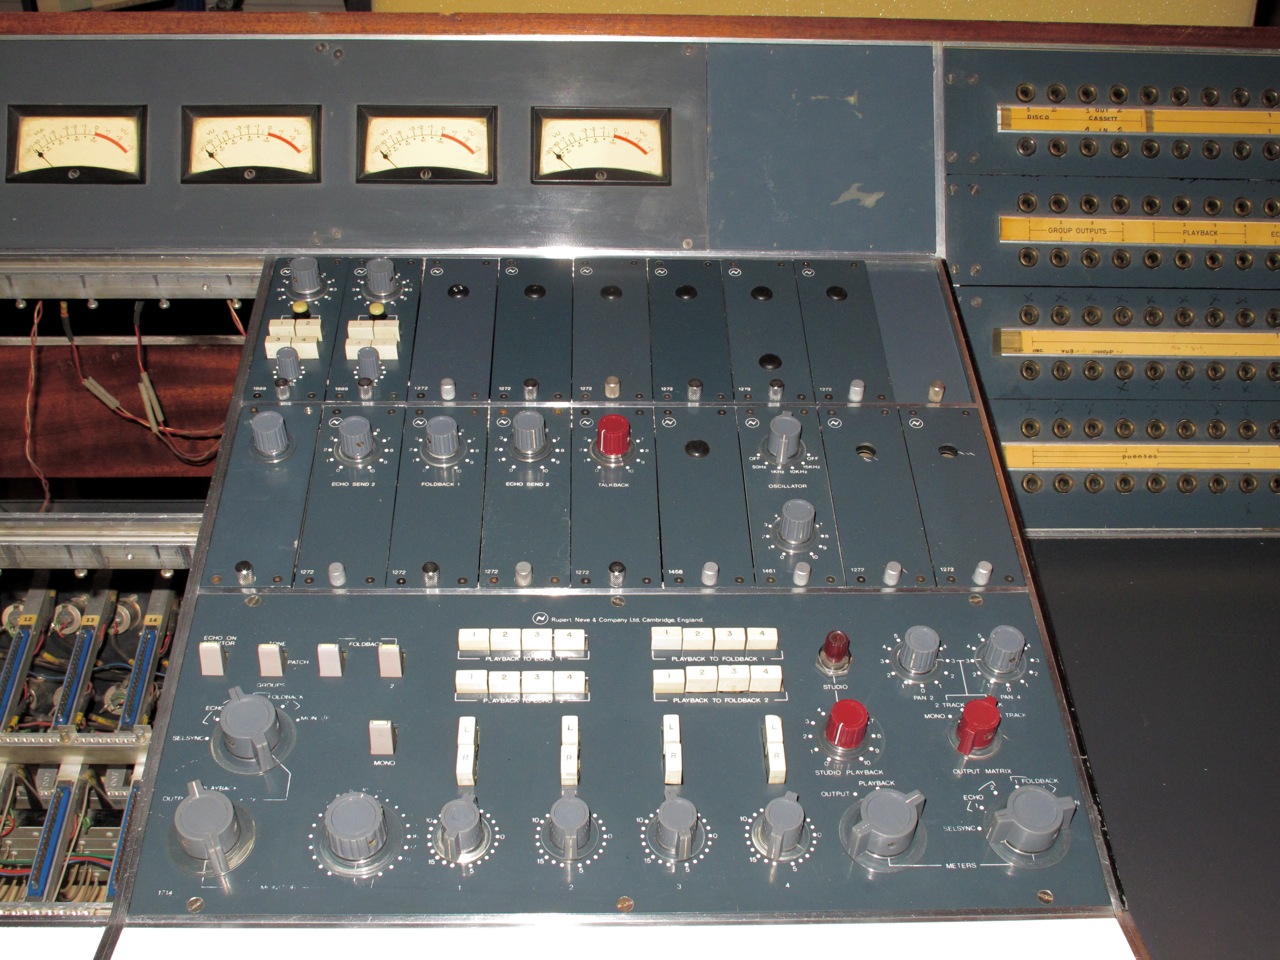
First thing i did was to clean it up a bit since it was very dirty, and just for kicks i put in some of the missing 1272´s to fill up the center section.
I also replaced some knobs and put in all the faders.

1.jpg


2.jpg


The strange thing was that i could not find any traces of the usual metal plaque that are on the old Neves that show the A-number.
I know that this number usually was stamped into most metalparts on the frame so i started to disaddemble it slightly to see if i could find anything.
Blake Dewitt keeps all the old Neve files and i thought that if i found the number he maybe could dig up the old build file so i could see how the original configuration was.
Would also be nice to know where this desk was living when it was new.

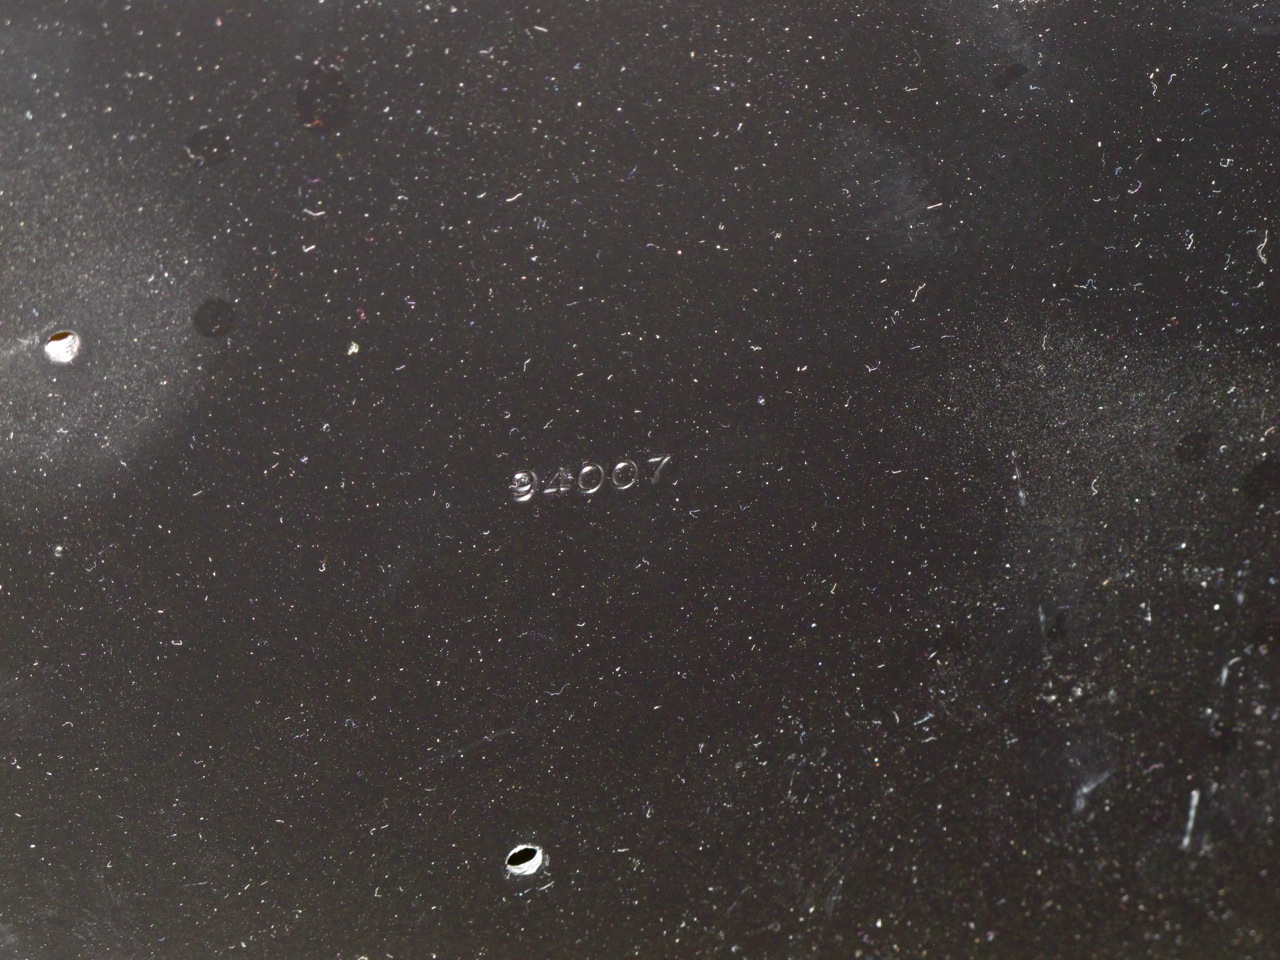
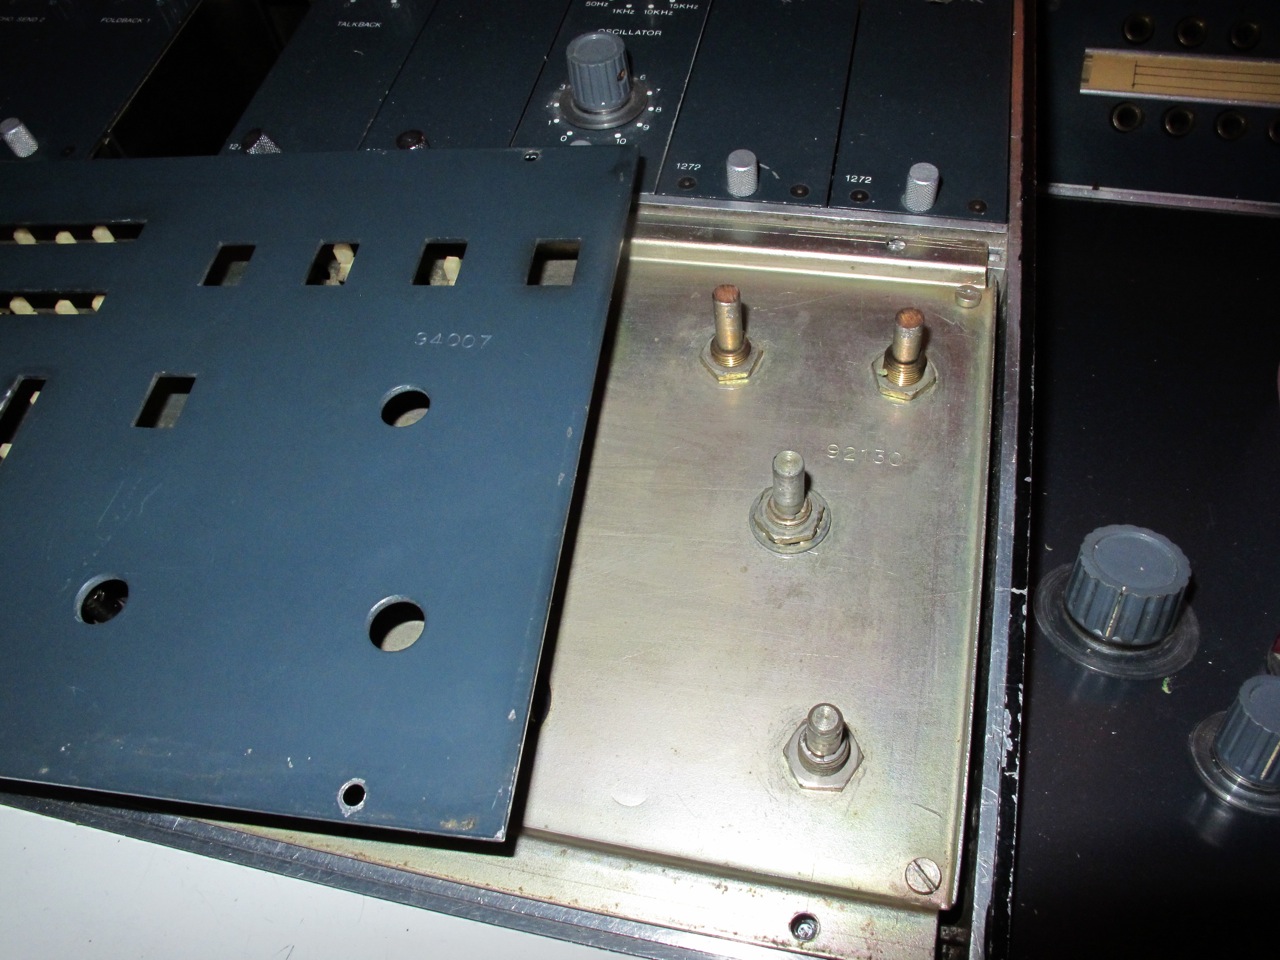
But when i removed the sides there was just a 5 digit number on the inside.
Same thing when i removed the centersection panel, but strangely enough the panel had the same number as the sidepanel butthe sub-panel another!
Strange things indeed and the plot thickens!

5.jpg


6.jpg


4.jpg


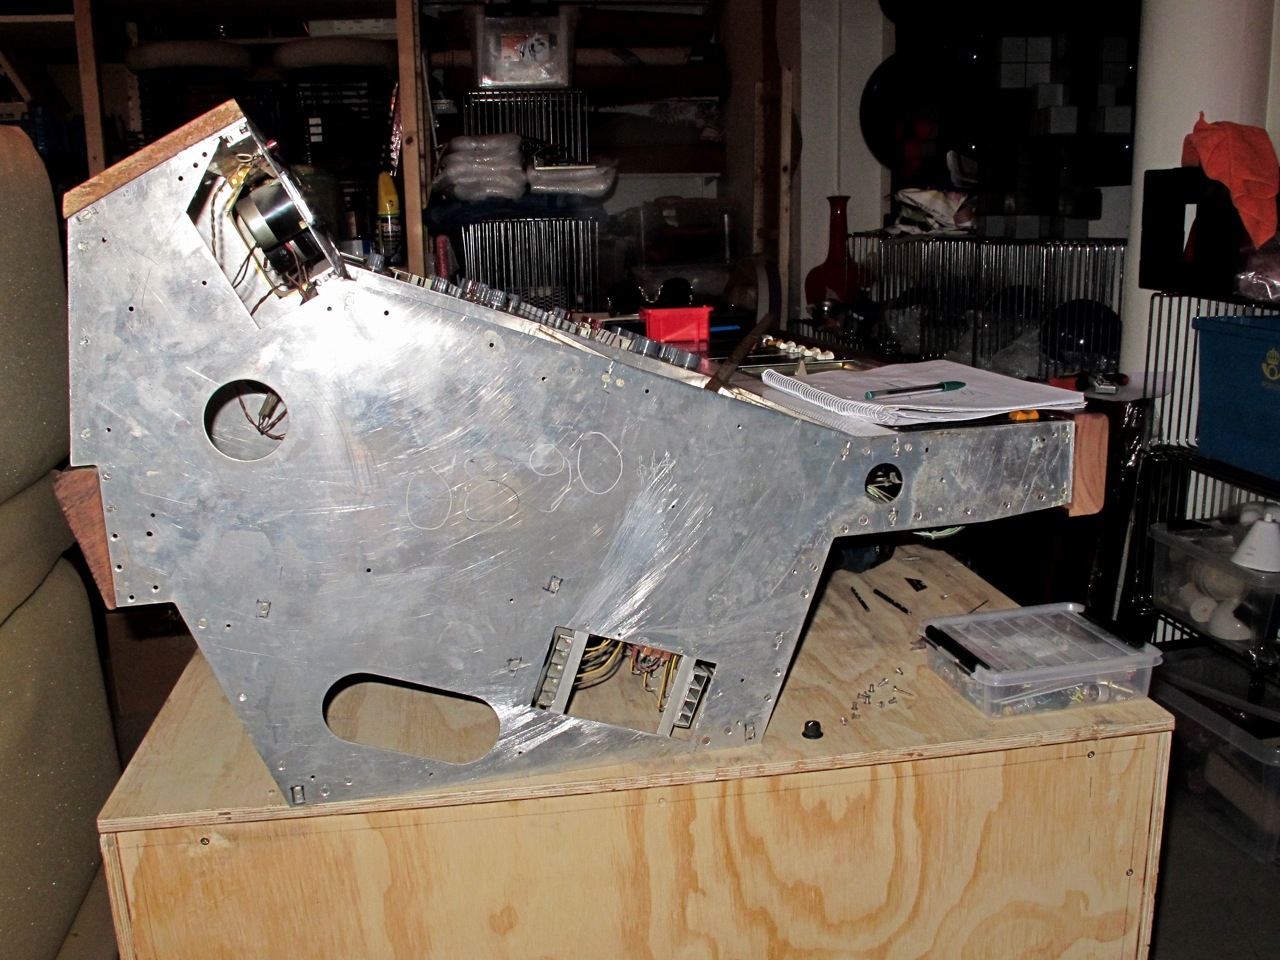
Here you can see how they have cut off the busbars and other parts that ran the lenght of the desk with a hacksaw.

3.jpg


If you look on the channel amp connector you will see they are numbered - looks like you have channels 8 to 16.

Edit: Looks to me like a custom 8014 with the producers section missing and someone has chopped off the first 8 channels.

Cheers

Ian
 
To find out more about the desk i turned to Geoff Tanner of Aurora audio, a long time  employee at Neve in the 70´s.
The centersection on my desk did not look like any other Neve model i had ever seen.
It was similar to a 8014 but there was a whole bucket missing (not that one!) that holds some 1272´s, the 2254 compressors and the tapereturn panel in a 8014.
In my desk there seemed to be a 4-channel tapereturn in the centersection itself and no place for compressors.
Hmmm, 4 channel tapereturn?
Maybe this thing is realy old!

Talking to Geoff he asked for the A number and i told him there was just a 5 digit number on the desk.
What he said that in the early days of Neve the used a different numbering system and that the A number started in ca 1970-71.
Also, my desk had engraved strips of trafolyte plastic above all the inputs and outputs, something that apparently only the very first desks had.
So then i started to look inside some of the 1272 modules, in those i found the earliest type of the rectangular, green Marinair 10468 transformer, also some caps with a 1969 datecode on them.

So the conclusion was that this desk was one of the early Neve silicon transistor desks in the breaing point after the black germanium desks and the later more standarized series of silicon transistor desks.

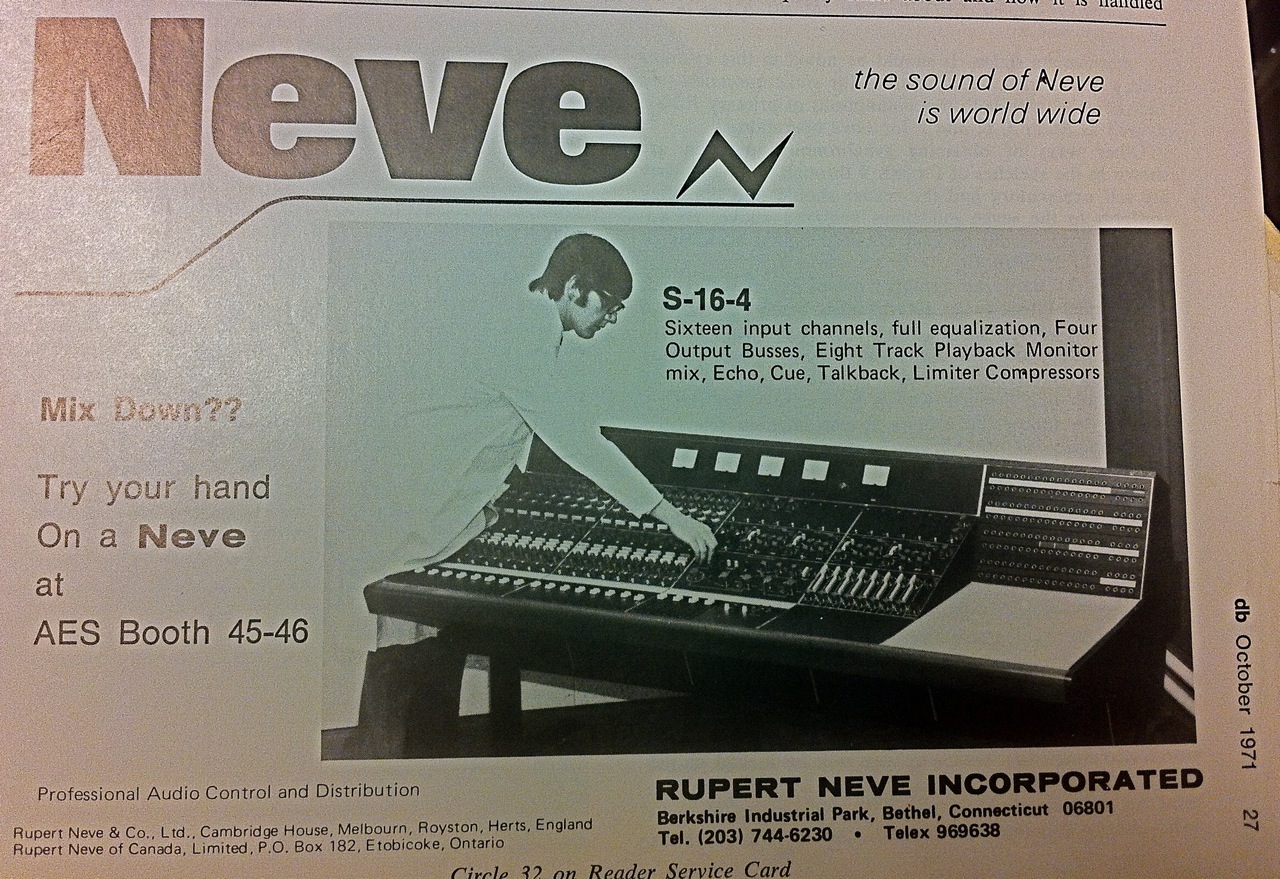
My desk was most likely a custom order but Geoff also said that in those days desks were usually named after how many channels and busses it had, and that my desk was a S16/4.

And to support that i actually found an old neve ad displying what looks like a 8014 but is named.....yes you guessed it...S16/4!

s16_4.jpg


Yes Ian, they are numbered 9-16, so the far left 8 channel bucket was realy gone!

neve_back_2.jpg
 
It was not uncommon for new standard desks to be based on a custom one that had recently been built. Neve was still selling 8014s when I joined in 1974. I remember there was one in reception and once I had to give a day long driving lesson on it to an engineer from a recording studio in India. It is also worth remembering that the UK was somewhat behind the USA in the number of tracks available for recording and a lot of classical recording was done on 4 tracks. I went to a Decca session at one of the Cambridge colleges where they were recording Faure's Requiem. They only used 4 mics, fed through a Kelso desk. Direct outs went to a 4 track and they mixed live to 2 track at the same time. I was told the 4 track was only there for back up in case they got something badly wrong in the 2 track mix. They did not want the extra generation of tape.

I think you are really lucky to have such an early Neve. It would be lovely to get it going again but I wonder just how much of the original 45 year old electronics can be retained?

Cheers

ian
 
bring it back to life !

it won't be cheap knowing how much the original eq modules go for

maybe you can work out a clone design

aml has all the original style parts- switches, knobs, etc.. - still not cheap though

good luck with the restoration !
 
Ian, i am pretty sure that was fun times working at Neve in the 70´s!
And yes, i am very lucky to have this desk and i am confident that i can build it up again.
About the electronics there are hundreds of these 80-series desks in daily use around the world so i can not see that it would be a problem as long as i get everything cleaned up, recap all the boards and set bias on all BA283 cards.
The challenge here will be to build up the frame again and replace the missing bucket.

Beatnik, yes i will get this up and running again!
It would not be financially sane to buy all the original channels again, there are many new ones to chose from these days and i also have a friend that is working on a clone of them.
I also have some gutted filter modules that are in the same format that i am planning to rebuild into micpre only channels.
That will work for now i guess.

But first i am going to attack the frame!

 
A very daring project but I think the reward will be 10 fold and you'll have a working piece of history in your studio. Good luck and I love to watch your progress  ;D
 
@winetree, no, its not the same one.
But that looks very cool and is also an early desk, more features than mine but i would still guess its earlier than the standard 8014.
It have the early Simpson meters, simpler centersection and no patch (if it was not cut off!).

Thanks @KDE !
Cant wait to get it done and have it up and running.
 
Ok, back to the restoration.

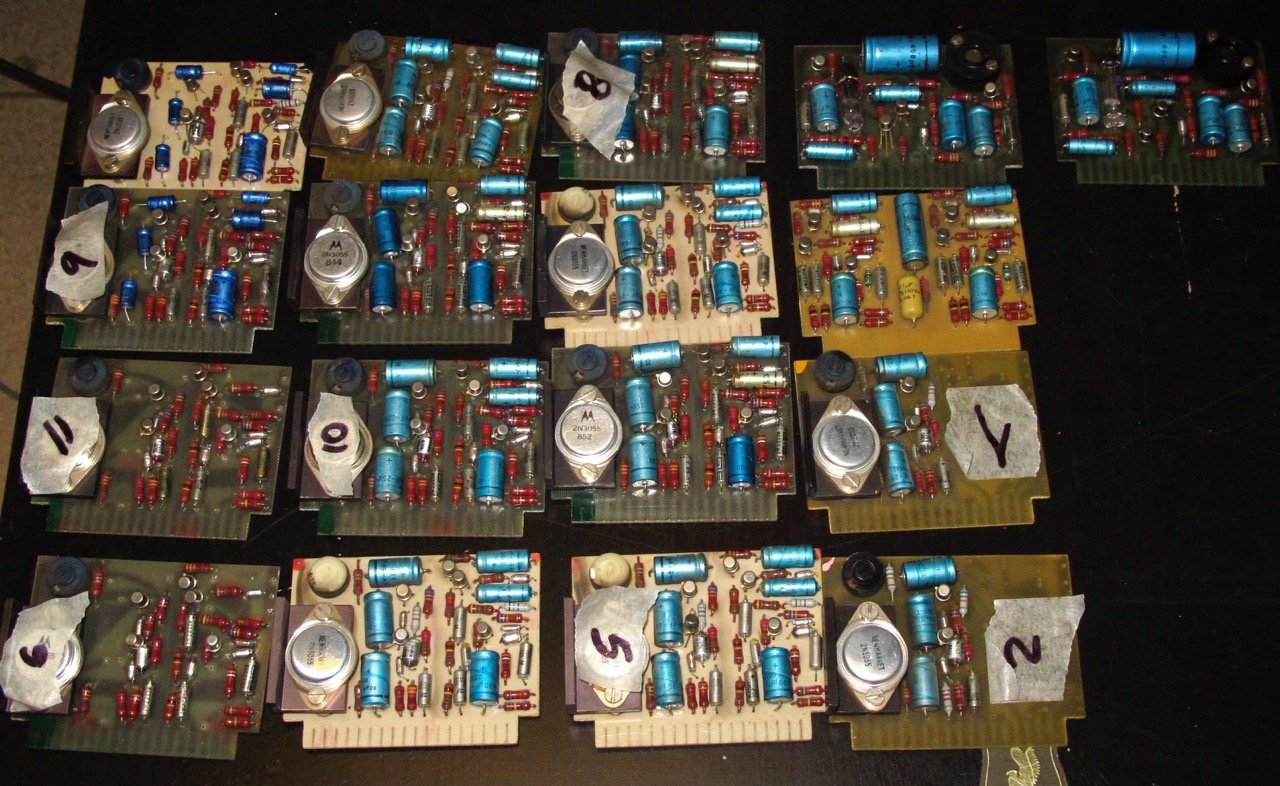
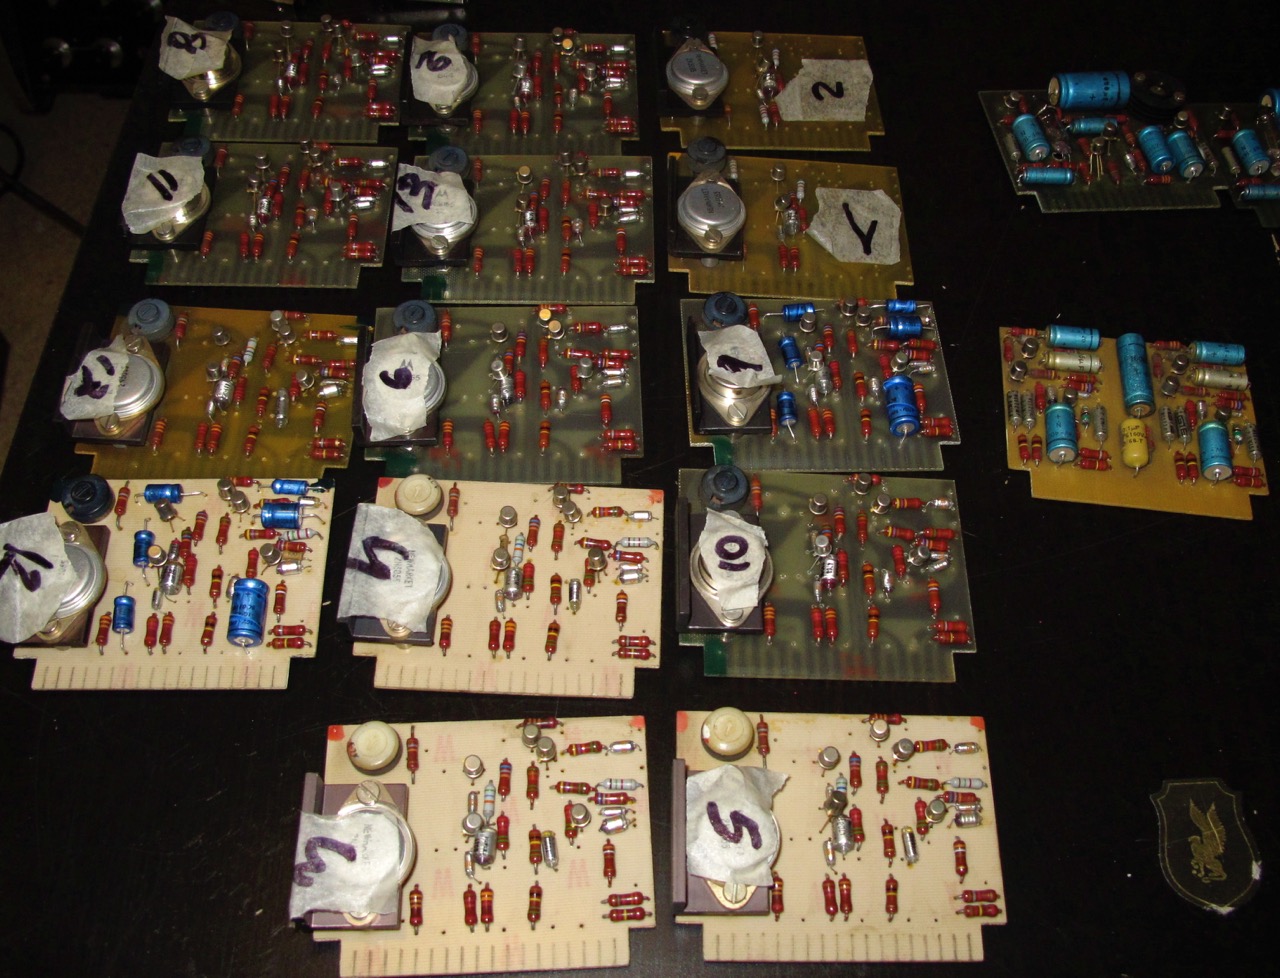
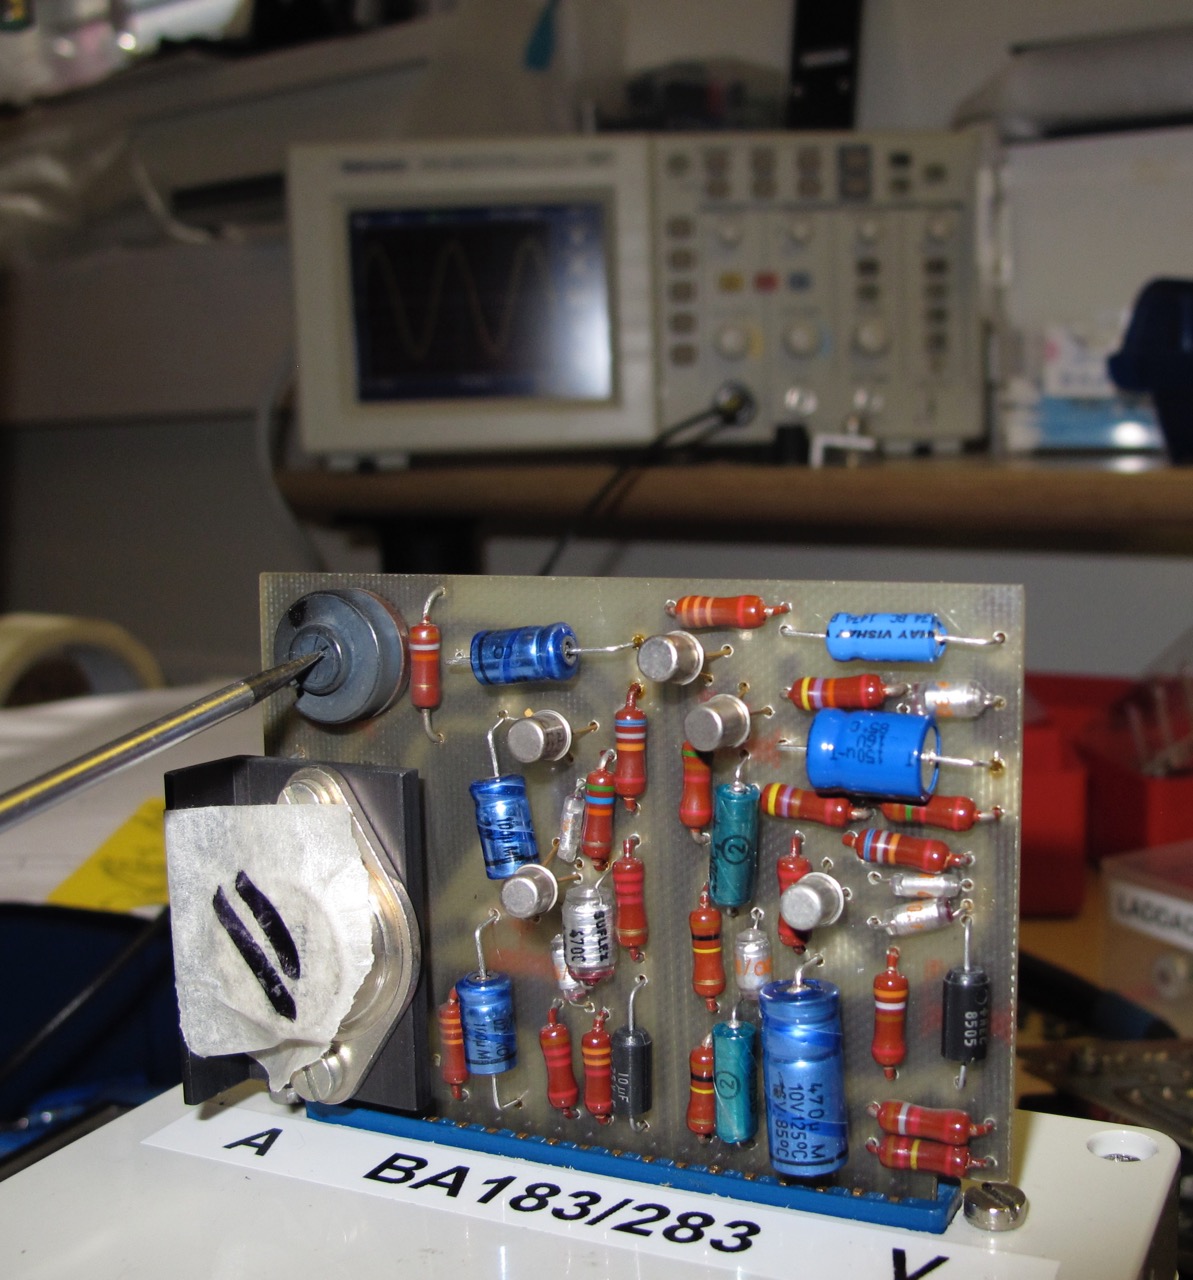
First thing i do is to pull all the 1272 modules and take out all the cards.
They are all of the earlier BA183 type and have not been touched since the desk was new.
(I had already started to recap some of the cards when i took the pic)

1.jpg


I then clean off all the old electrolytics and tantals and clean up the cards.
I have marked all cards and their 1272 counterpart so the same card will go in the same module.
It realy does not matter in the end, i just like being anal i guess....

2.jpg


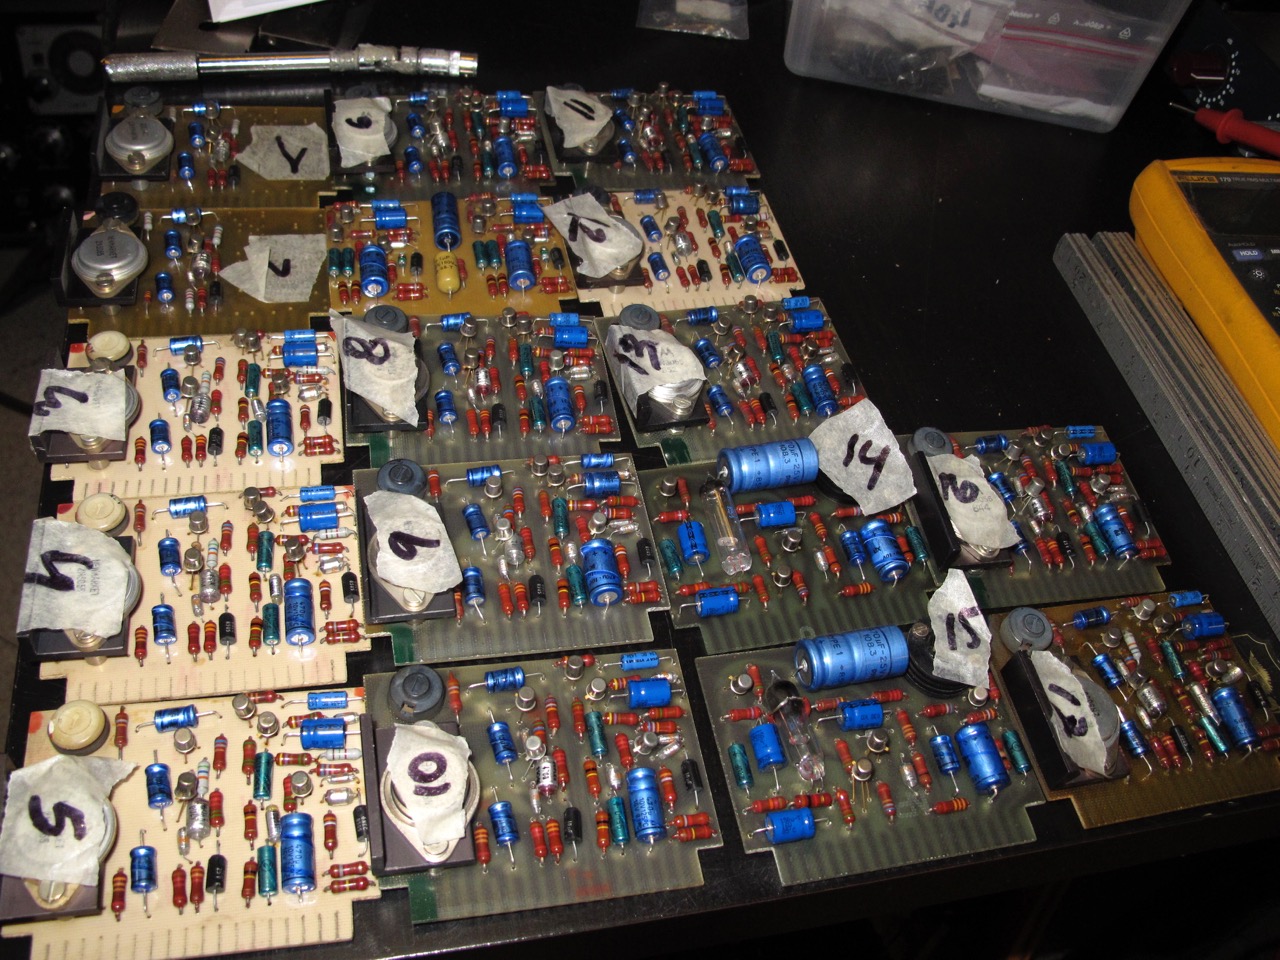
All cards recapped and ready for testing.

3.jpg


I put each card in my testjig and set the bias and check for any faults.
All good and ready to go!!

4.jpg


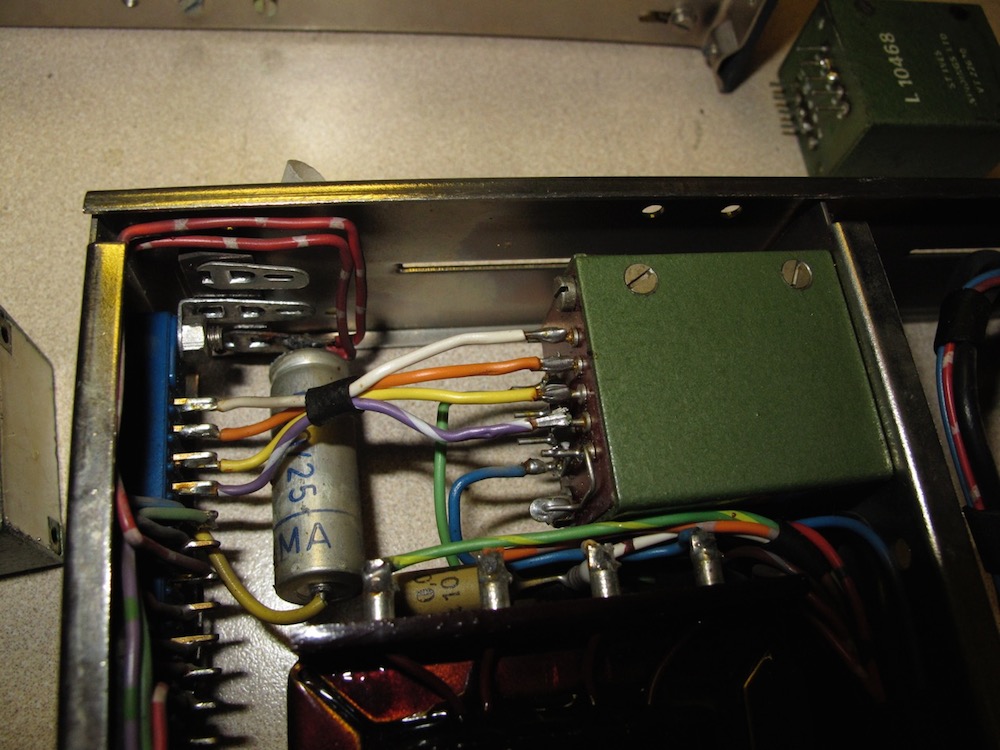
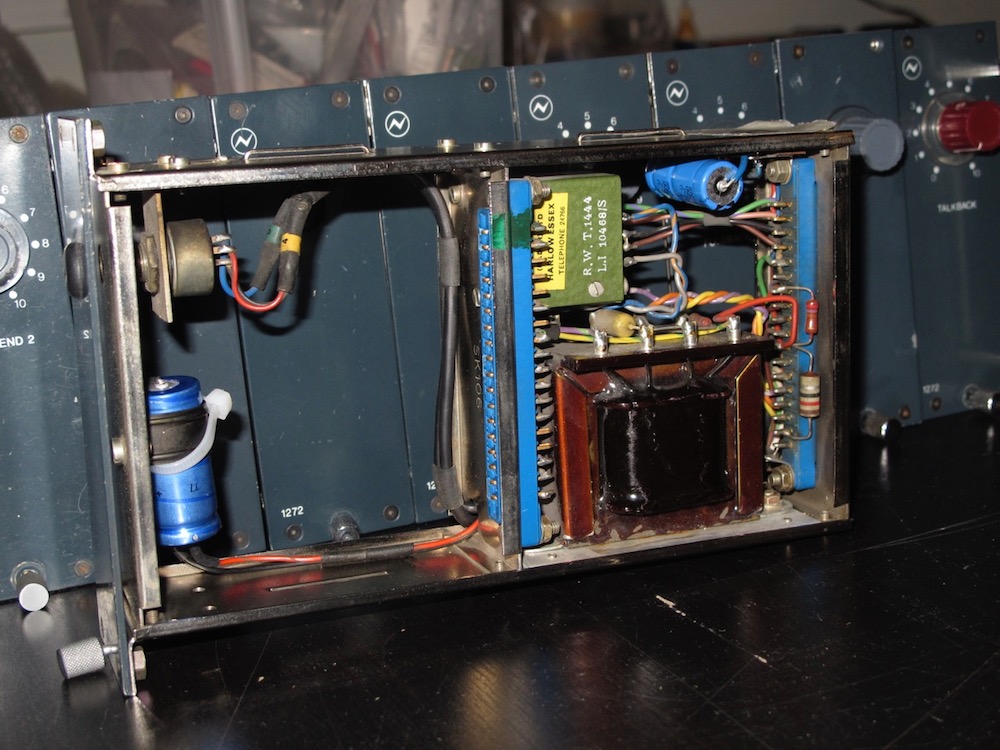
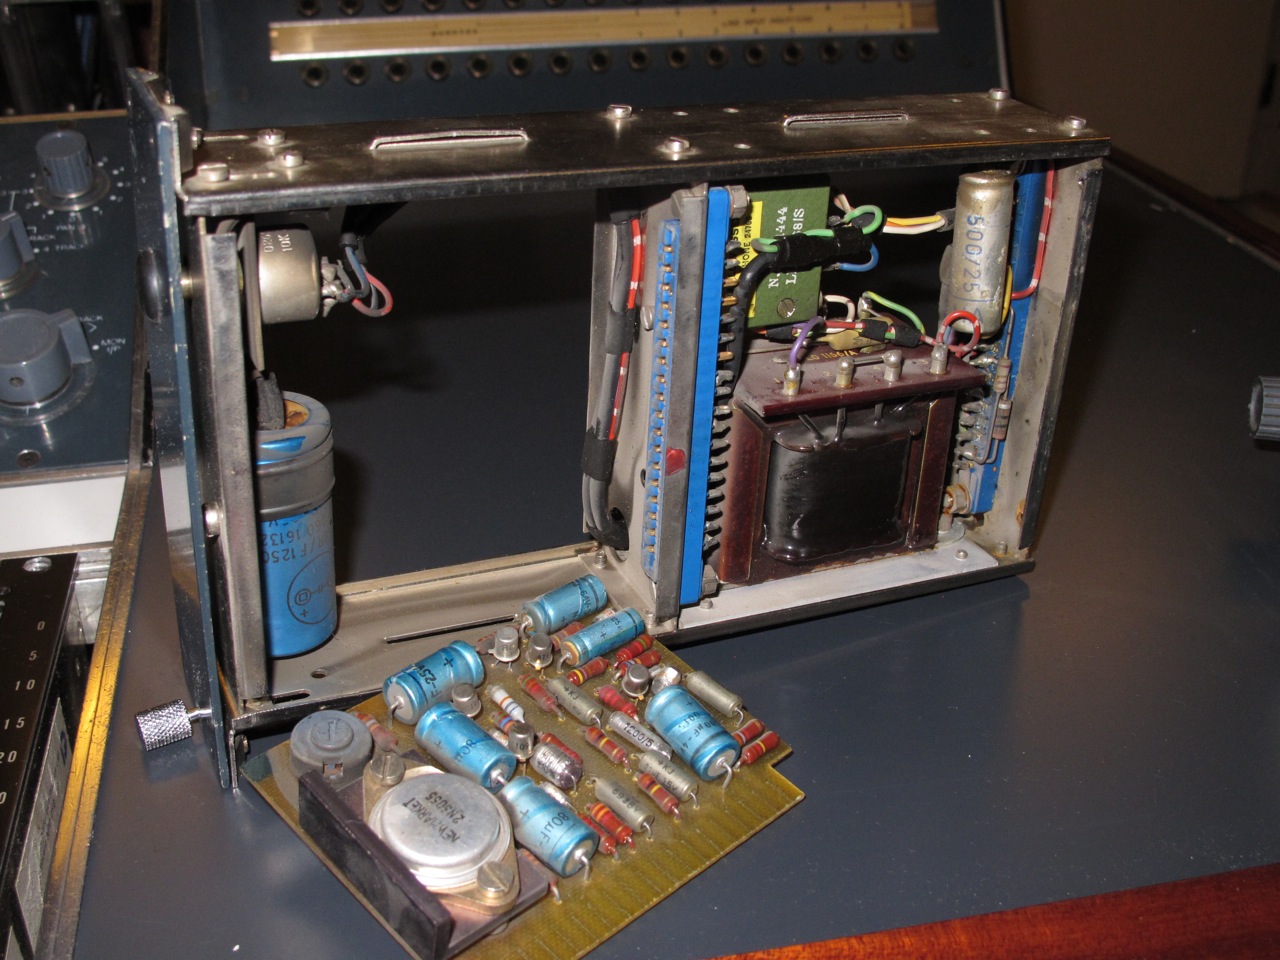
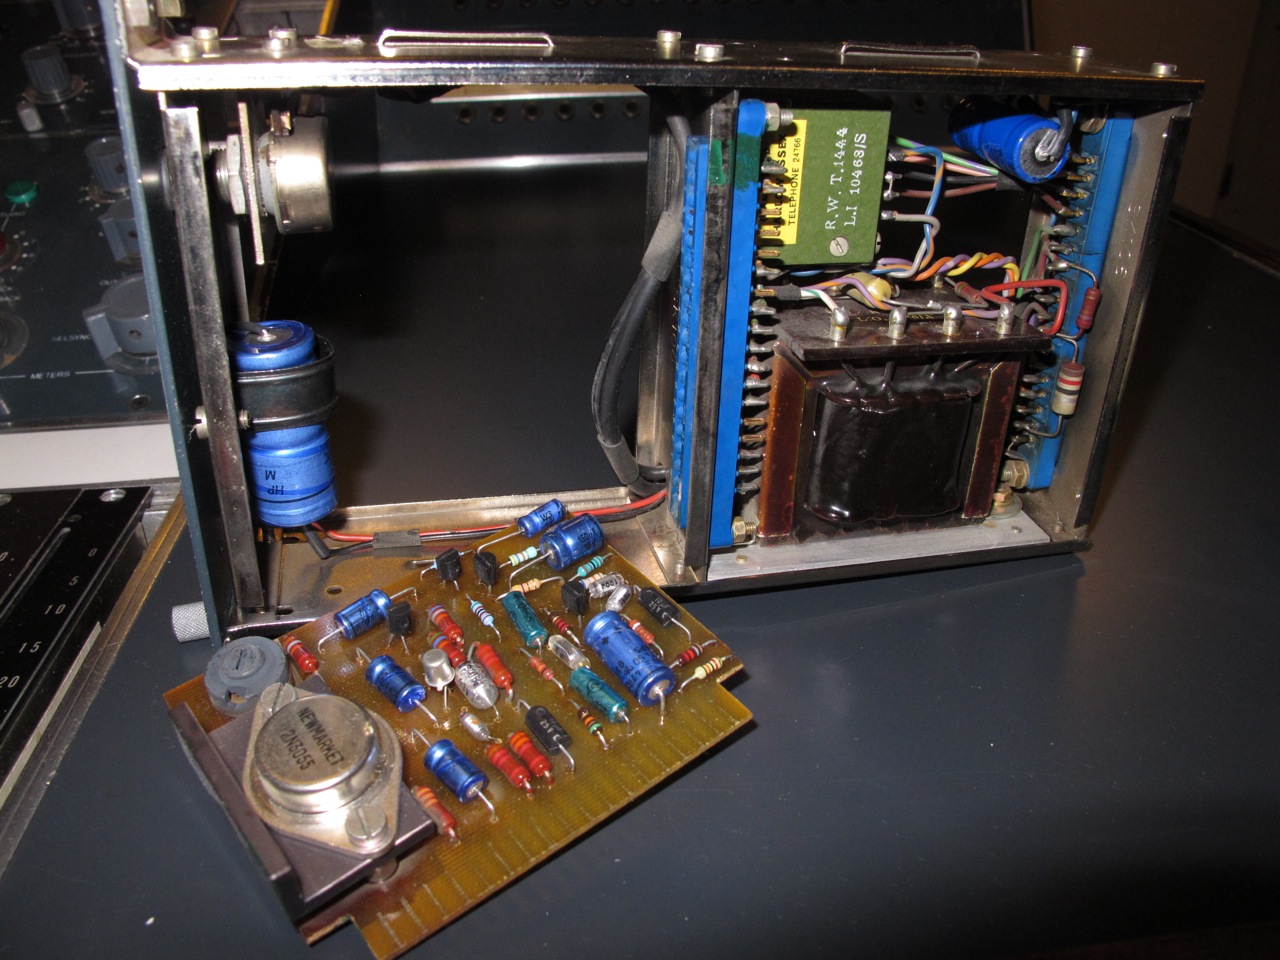
Then i start to look at the 1272 module frames which also have their original caps inside.
To start i clean out all the old caps and replace with fresh ones.
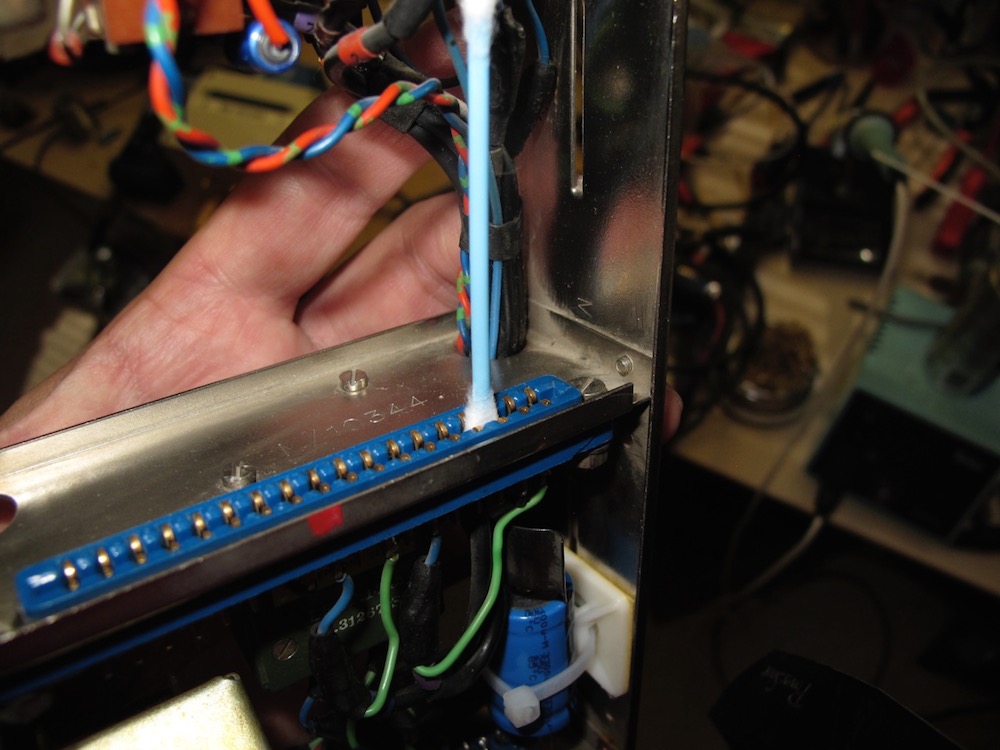
I also clean out the female card connectors to remove over 50 years of old dirt...

Very happy to see that all the original and early green with yellow label Marinair 10468 transformers are in place in the modules.

5.jpg


6.jpg


8.jpg


7.jpg


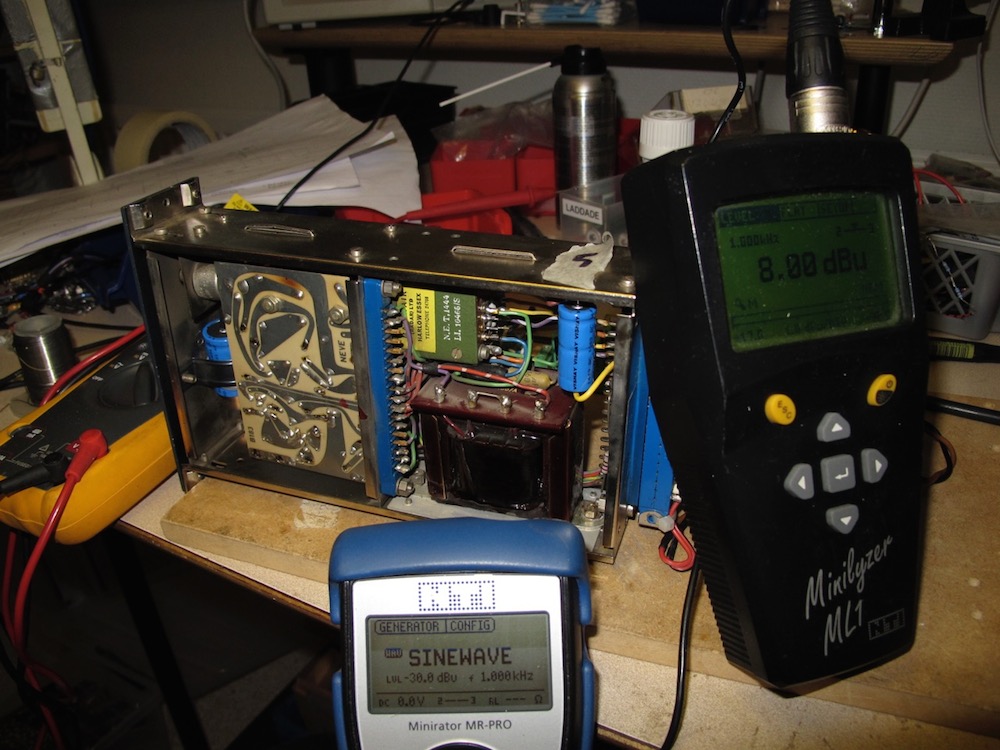
Then i run them on my NTI test gear to see that they amplify a 1k sinewave correctly and also check for thd+noise.
I sometimes also run pink noise thru them and do a basic check in frequency response.
My experience is that the front 5k trimpots rarely go bad but there were a few bad apples that i needed to replace.

9.jpg


Now all work like "new" and are ready to go back into the console.
 
Looks really amazing!
I hope this summer i will finally build my audix desk.
Am afraid of recaping, there's a ton of caps and i'm too stupid to leave  in place any old cap :D
That blue color... mmm... :D
 
Thanks alot ln76d!
Get a good deslodering gun and recaping becomes a breeze...

More 1272 shots, before and after!

1272_rebuild_10.jpg


1272_rebuild_11.jpg
 
And here they are back in the desk in the correct order.
There were also two that were missing that i had to add and because of that i am missing the "Foldback 2" and "Echo send 1" 1272 frontpanels.
Does anyone out there have these panels for trade for normal 1272 panels???

1272_rebuild_12.jpg
 
Thanks alot Salomander!

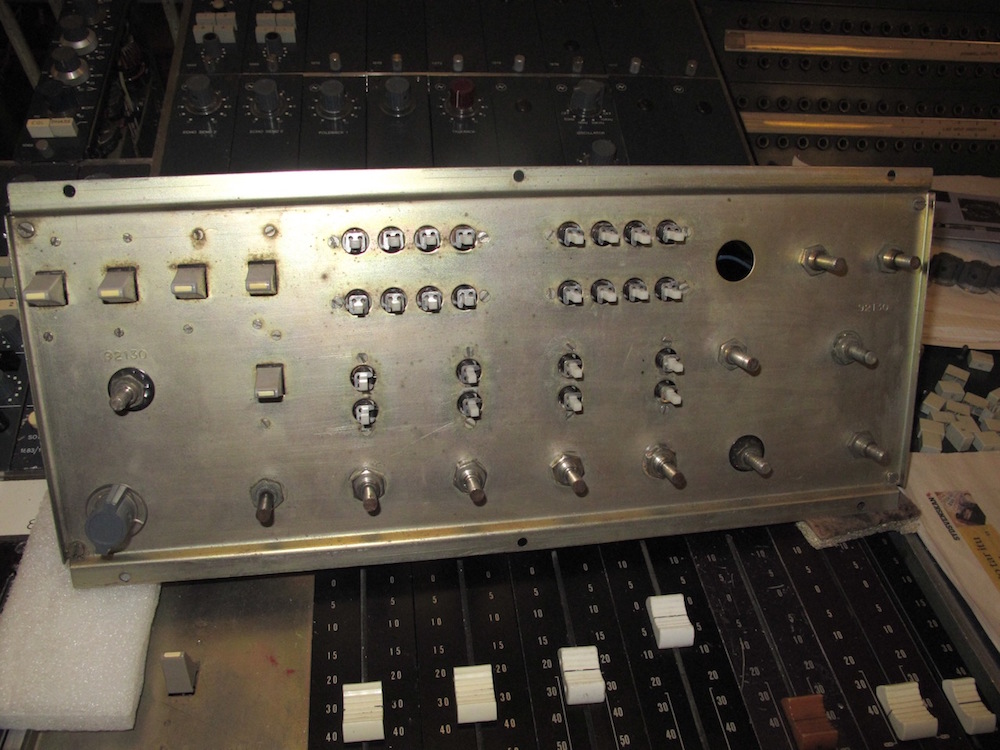
So, next on the list is to look at the center section.
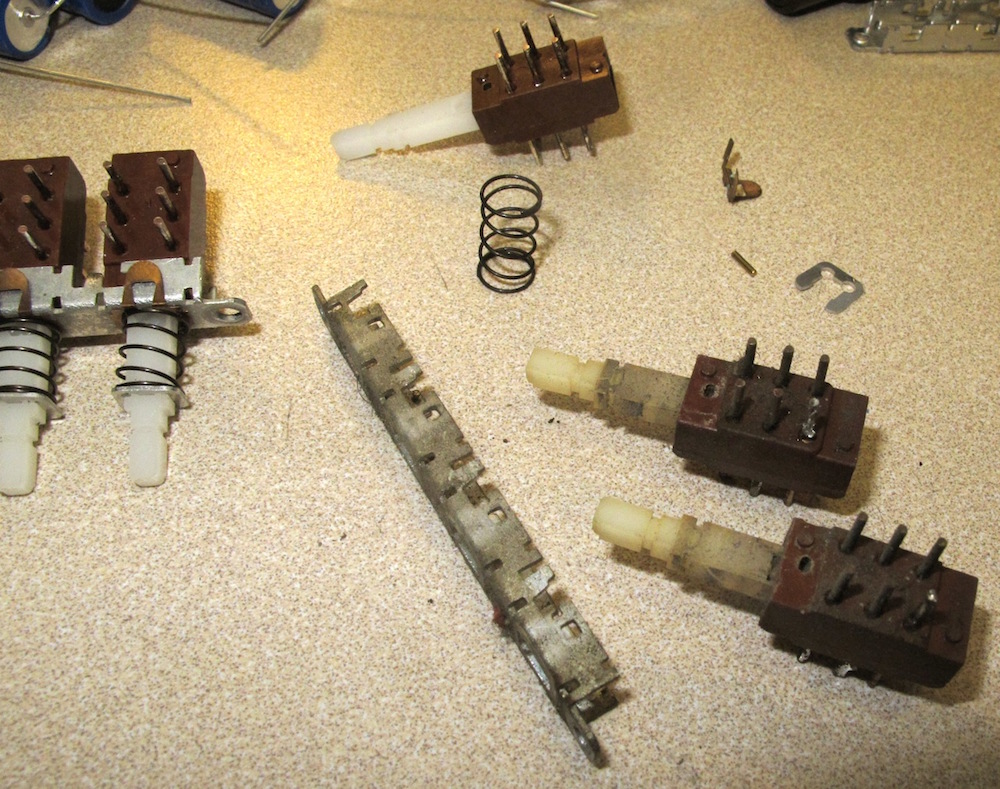
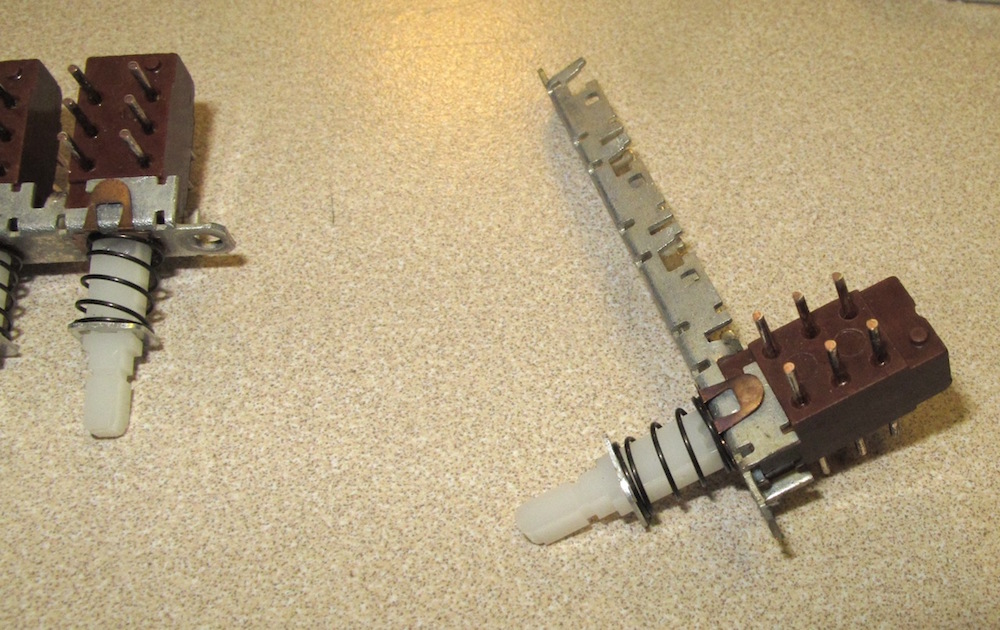
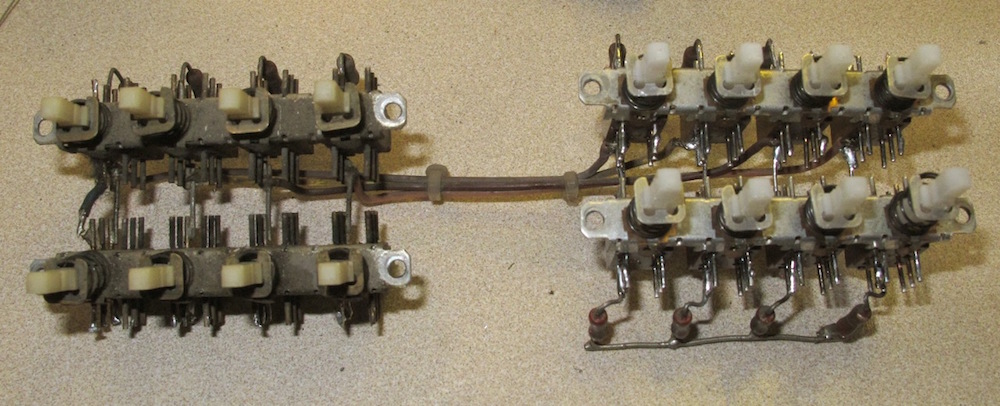
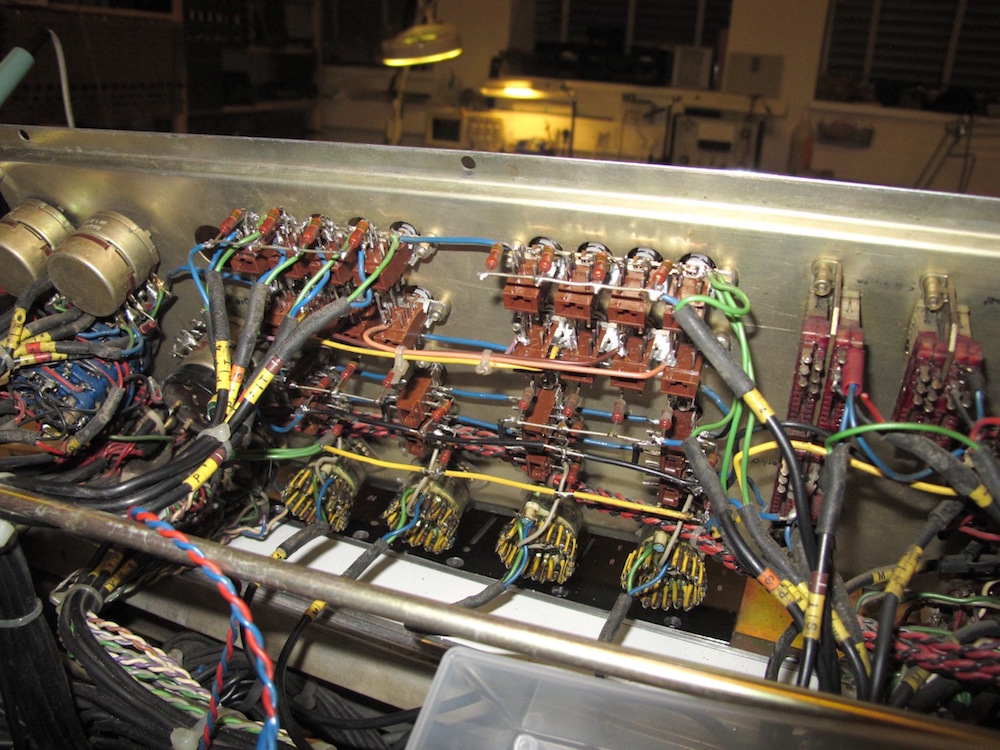
Many of the old ITT switches  were stuck or broken so i decided to replace them all.

First i remove all the knobs and the frontpanel.

1.jpg


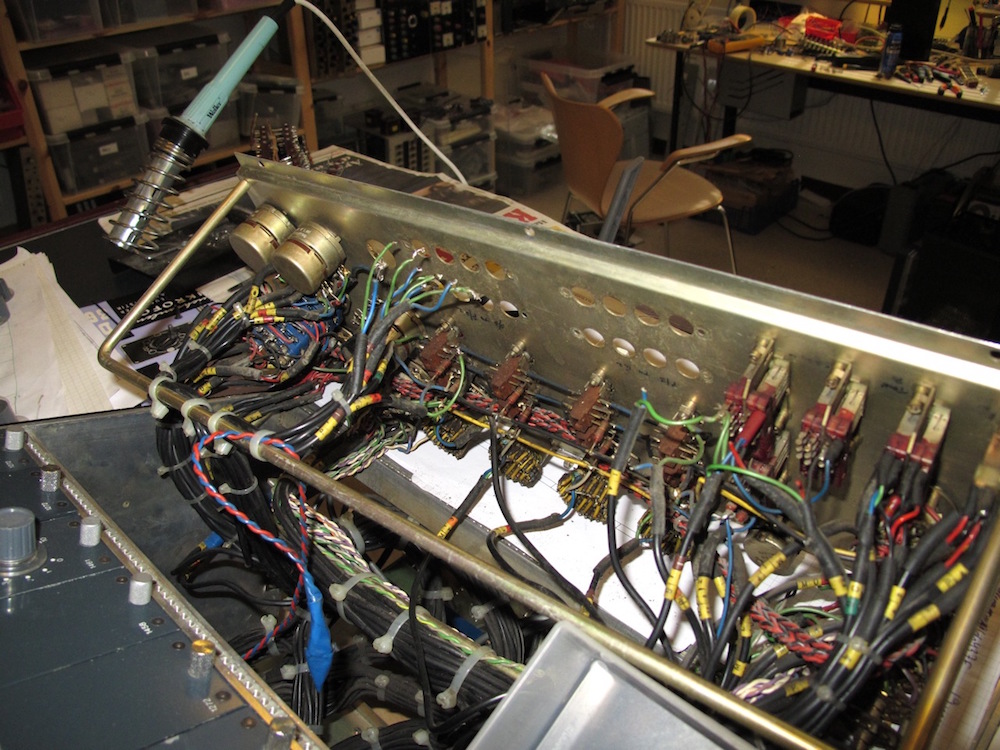
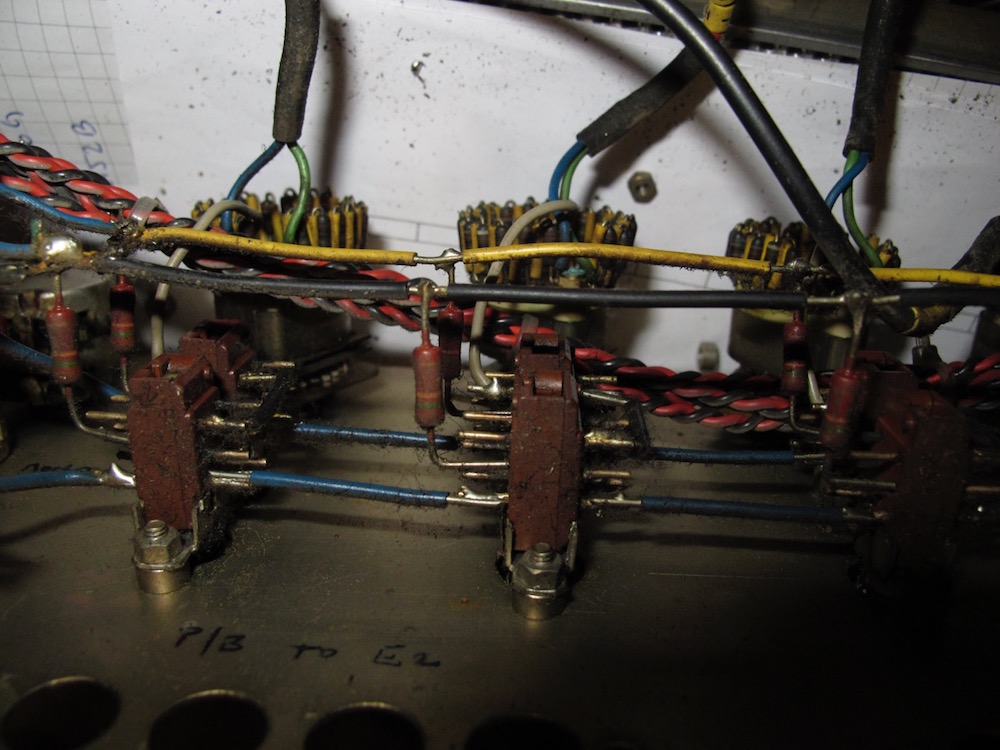
Then i start to remove all the ITT switches which are covered in 45 years of dirt.
I make careful notes so i know where everything is going when i put the new switches in.

The desk did not come with any documentation, but i borrowed my friends 8014 handbook which is of some help.
Also the centersection is this old desk does not come out of the desk via multipin Plessey connectors, but is hardwired which makes everything just so much harder.

2.jpg

3.jpg
 
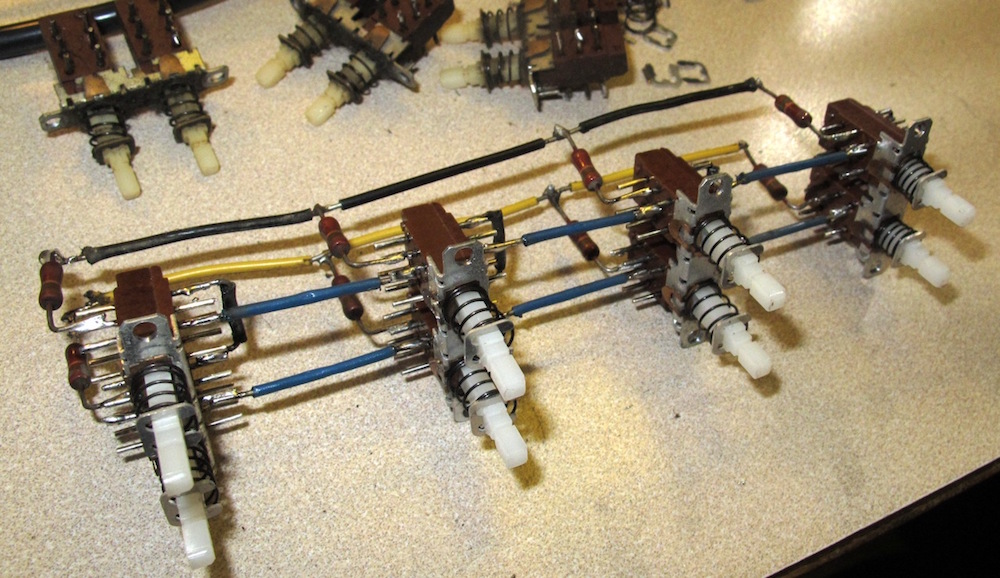
Once the switches are out i start to remove each one and replace them with some NOS switches that i had.
I use the same brackets to ensure that they will fit perfectly once back in again.

5.jpg

6.jpg

7.jpg

8.jpg


Then i carefuly solder everything back in again to the panel.

9.jpg


Done!
 
API said:
Get a good deslodering gun and recaping becomes a breeze...

I agree, i have good tools, but i would prefer to recap neve :D
I worked on some neve old modules and work was great, unfortunately my audix is much more newer and i have tons - really lot more of caps than usual desk - and pcbs are double sided  - pain in the... ehmm...
Anyway still happy with it :D
 
Back
Top