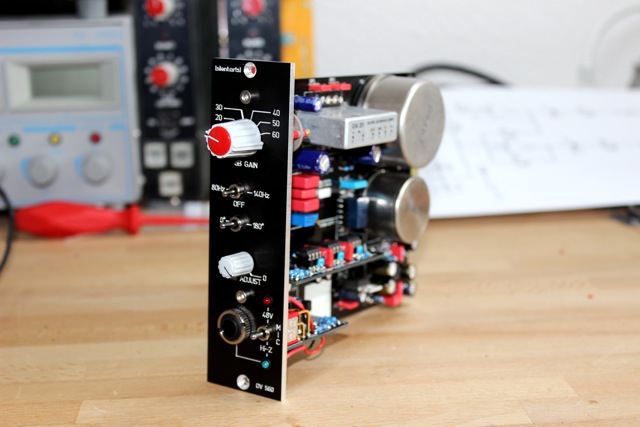
[BUILD] OV560 (Neumann OV60 in API500 format)

GroupDIY Audio Forum

Help Support GroupDIY Audio Forum:

This site may earn a commission from merchant affiliate links, including eBay, Amazon, and others.

[silent:arts]

Well-known member
Joined
Jun 4, 2004
Messages
5,235
Location
Berlin, Germany
OV560-build16.jpg


based on the Neumann MICROPHONE PREAMPLIFIER OV60
[ original schematic | original (german language) data-sheet ]

OV560 reduced features:
• no line input(s)

OV560 added features:
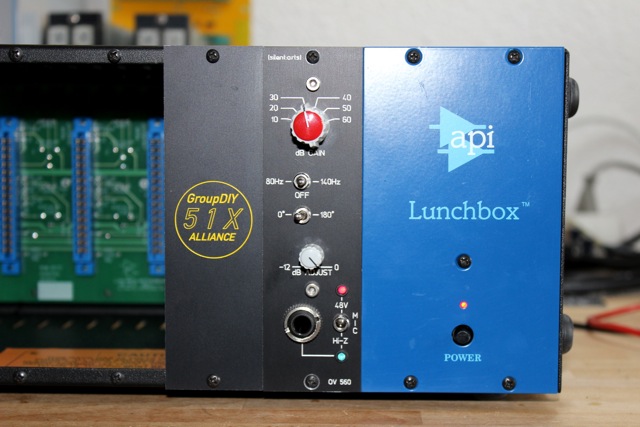
• 51X and 500 format compatible
• slow start phantom power
• instrument input using the HiZ plug-in format
• footprints for all available Neumann DOAs like OA10, OA12, OA20, and all the later replacement versions
• footprint for NTP M100 DOAs
• footprint for "standard" DOAs

Soundfiles
 
How I would build it:

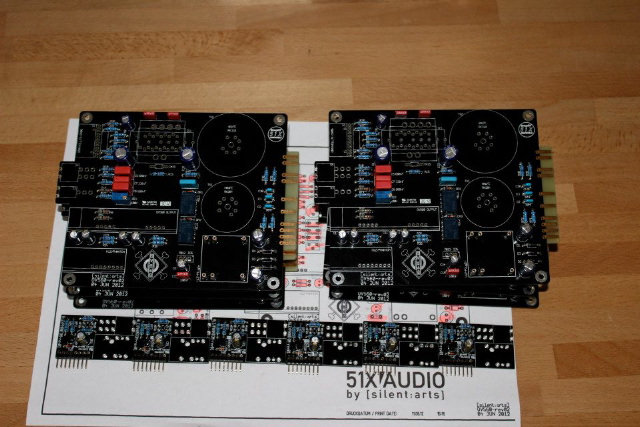
1) Diodes first
OV560-build01.jpg


2) next: all resistors
OV560-build02.jpg


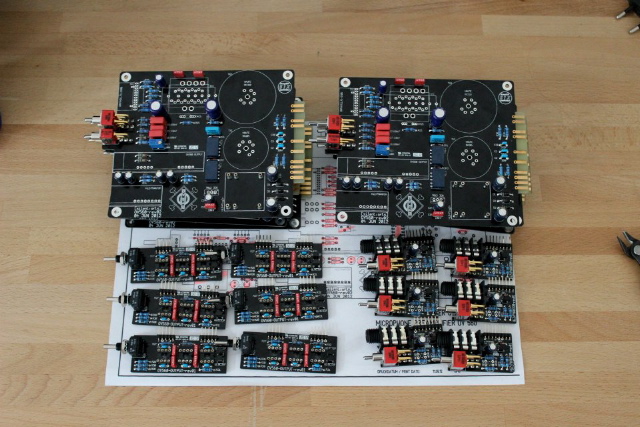
3) Ceramic caps, sockets & headers
(the DOA sockets provided with the kit is for the HiZ Plug-In)
OV560-build03.jpg


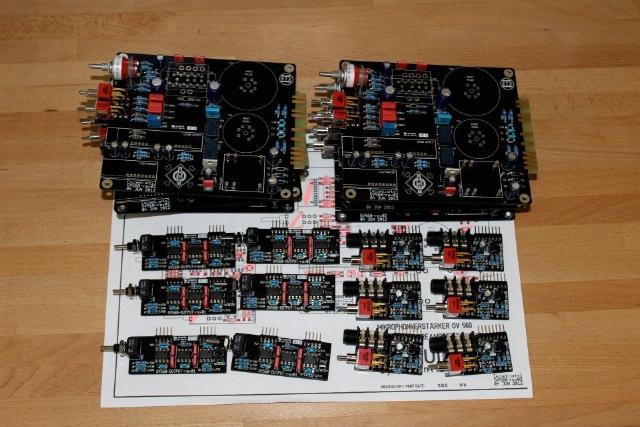
4) 100nF WIMAs, transistors and Relays
OV560-build04.jpg


5) More film caps and trimmer
(note: C4 is either red or blue in the kit, but the same WIMA part)
OV560-build05.jpg


6) next: Electrolytic caps
(C1, C8 & C37 are bipolar)
OV560-build06.jpg


7) Toggle switches, potentiometer and HiZ input
(make sure to aligne them flat ...)
OV560-build07.jpg


8) Rotary switch and voltage regulator
(the Grayhill in the kit is pre-programmed, no need to insert stops)
OV560-build08.jpg


9) Now the expensive parts: transformers!
OV560-build09.jpg


10) Sub-PCBs and LEDs mounted
(make sure you aligne the Sub-PCBs flat ...)
OV560-build10.jpg


11) DOAs mounted
(NOT included in the kit)
OV560-build11.jpg


12) L-Brackets installed
OV560-build12.jpg


13) Front Panels installed.
(the LED holder is a pain, but we like pain if it looks authentic, don't we  8) - use some super glue ...)
OV560-build13.jpg


14) Knobs
OV560-build14.jpg


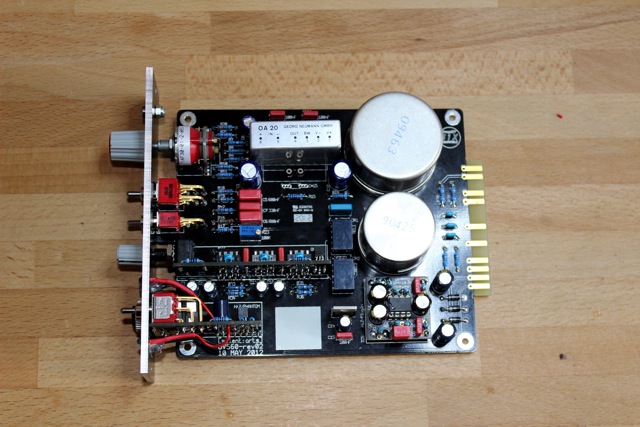
15) Ready for testing ...
OV560-build15.jpg


16) all is working fine, only the HiZ plug ins are missing and we are done
OV560-build16.jpg
 
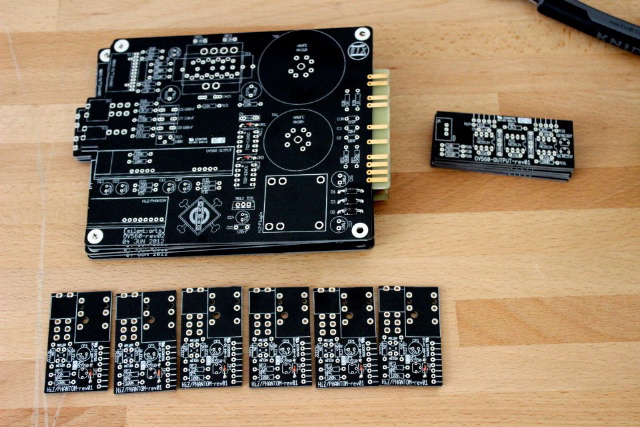
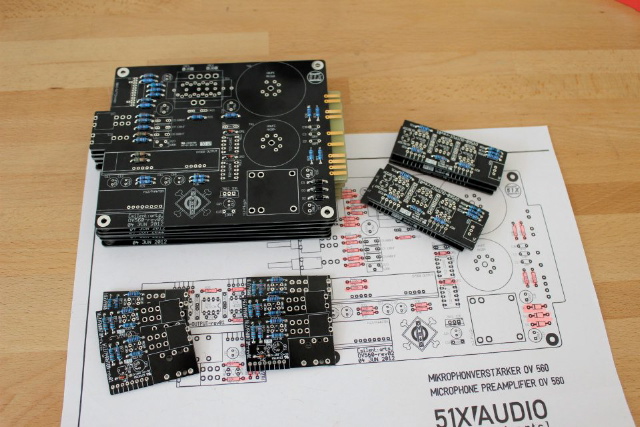
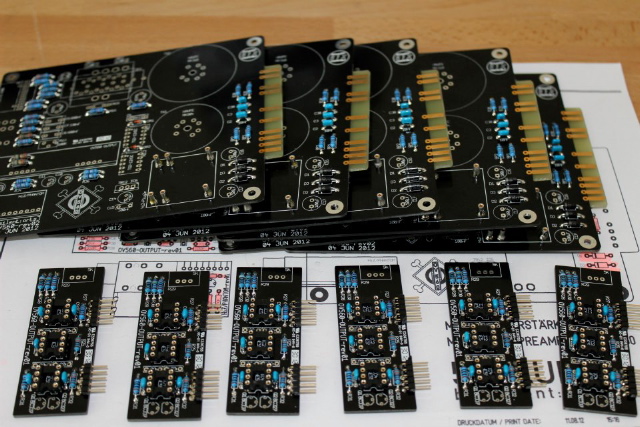
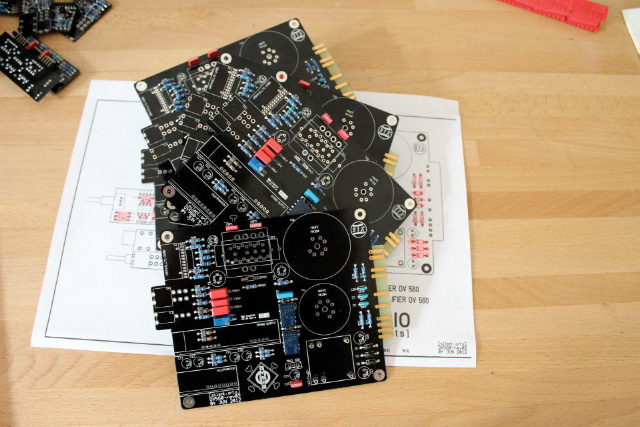
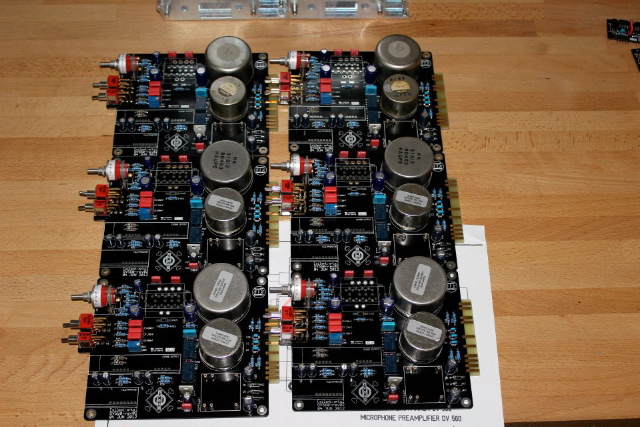
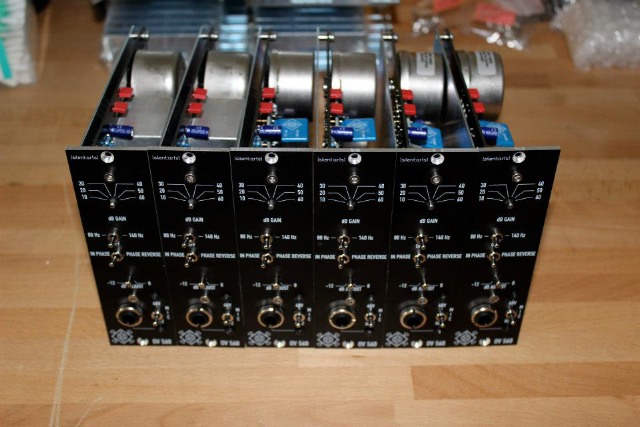
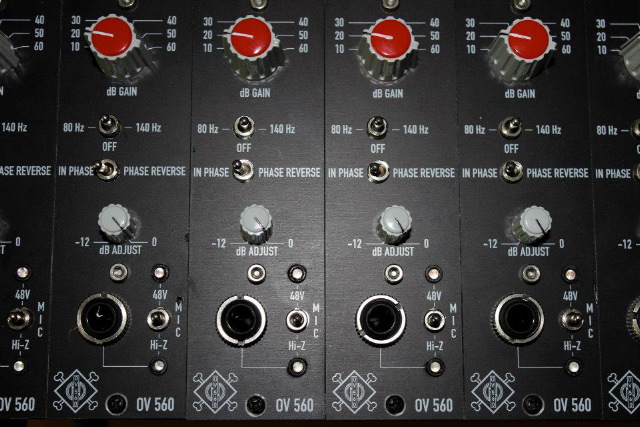
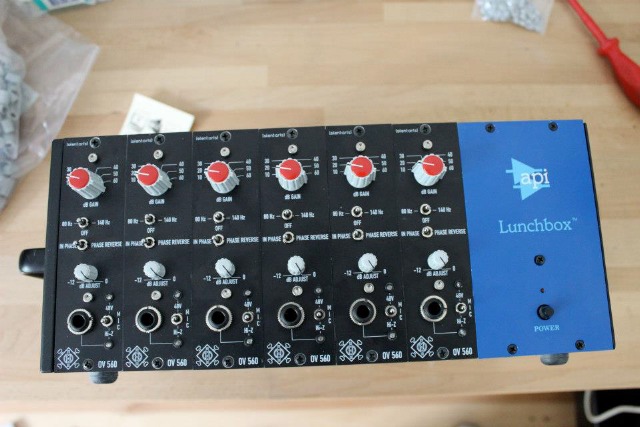
rev02 PCBs arrived, a prototype front panel from frank arrived, all fits perfectly.
only waiting for a prototype L-Bracket and we are done  8)

IMG_0331.jpg


IMG_0332.jpg


IMG_0335.jpg
 
Very very nice Volker,

Now I understand
a) the nice logo,
b) why Frank has been a bit "out of step" while making my psu panel,hahaha.....
BTW:Why do you have a lunchbox? ;D ;D ;D

Congrats!

Udo. ;)

 
kante1603 said:
Now I understand
b) why Frank has been a bit "out of step" while making my psu panel,hahaha.....

You should never order a frontpanel from Frank during Fashing time.  ;D ;D  (Frank, you can hit me now!)

Very nice work, Volker!!!
regards
Bernd
 
bernbrue said:
You should never order a frontpanel from Frank during Fashing time.  ;D ;D  (Frank, you can hit me now!)
Got it Bernd,
I just forgot it´s nearly not celebrated or at least way less here in bavaria.I should have known that because I´m from NRW originally!
But that´s OT now...... ;D

Udo.
 
Hello, quick question. Are the pcb's available alone? I don't really need a kit of parts, but more importantly, I really don't need the metal work and faceplate. This is such an amazing project and I am quite interested in doing it, but buying a bunch of parts I will never use makes it a bit hard. It's not the parts, because those really are perfect, it's the bracket and faceplate that I wont use. So, hence my questions. Sorry to bother you, but this is the deciding factor for me. All the best, congrats on presenting yet another killer piece of gear, and have a good day.
-----Joseph
 
Joseph,

I have exactly the same quantity of PCBs, L-Brackets / Frontpanels and parts in stock ...
Which makes it hard to split them.

If I recall correctly I ordered 5 pieces of PCBs for prototyping, but only build one.
The only difference compared to the "production run" is in the silkscreen.
I will need to find those PCBs first (I moved in the meantime), but we can talk about those PCBs if you are interested in PCBs only.
 
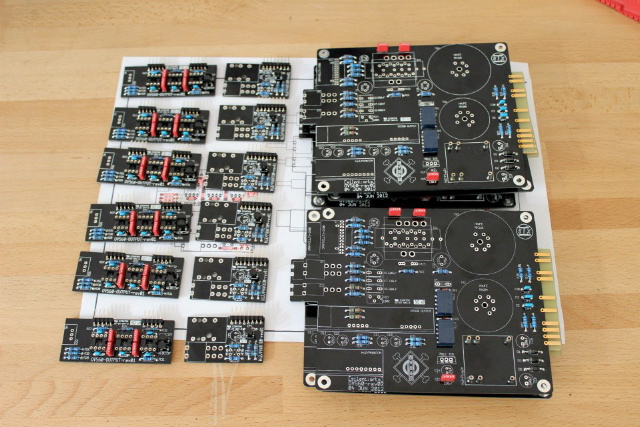
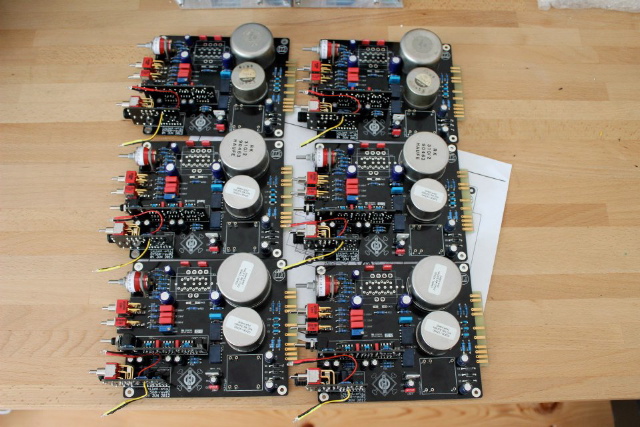
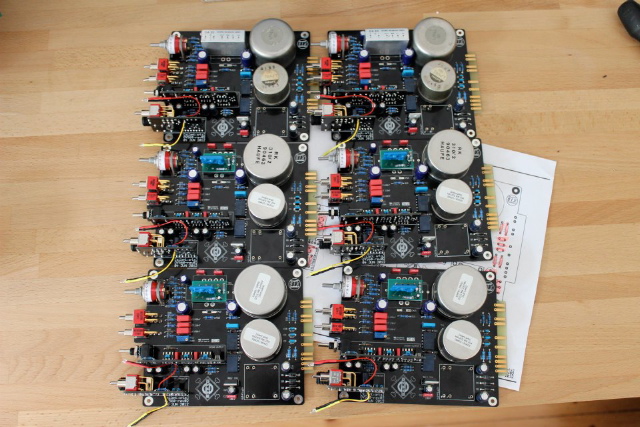
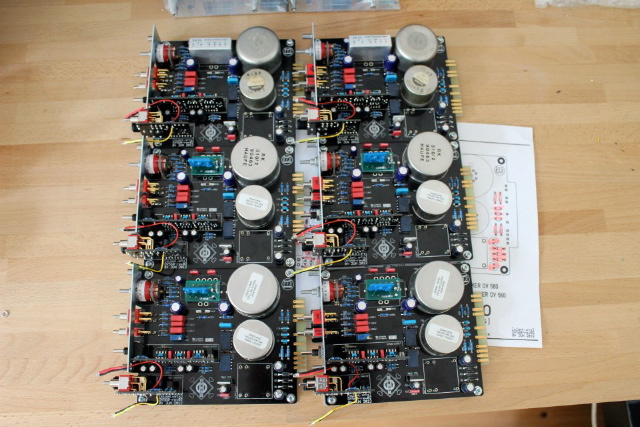
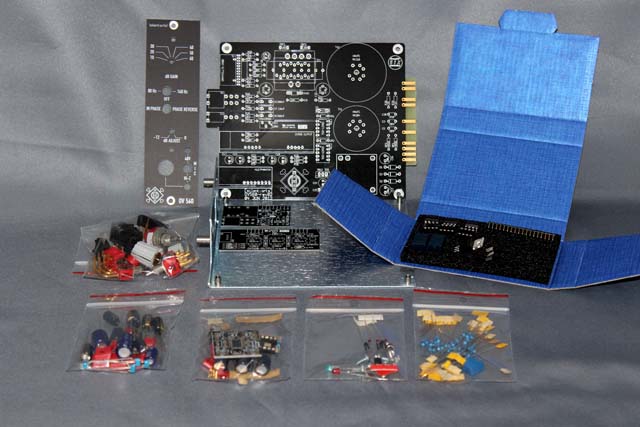
OK, 2 kits almost complete...

The kits were well presented - nicely packed, complete, and the build went smoothly. Just about everything was self explanatory, even to a neophyte like myself. Just a couple of things I need to clear up, and I should be done:

- How do I know which way to orient the neumann OH100 DOAs on the PCB. It seems like they can fit in two different ways.
- How do I know which way to orient the 3 small ICs on the output board.
- How do I know which way to orient the 2 blue ICs on the main PCB. It seems like there is a line marked on one end of the IC that may indicate that it is the end that matches the + sign on the PCB. It looks like that in the photo on this thread, but it is just unclear enough that I can't be certain.
- I am assuming that c*15 is a cap that is used with one of the DOA options. Is this the case? I take it that it is not needed.

I realize these are all completely newbie questions, but that is what I am. My thanks in advance for your tolerance.

These were a lot of fun to assemble, and given the quality of the components and the obvious excellent design and fabrication, they should be a blast to use.

If there is any procedure for testing that could be posted, I will be much obliged.

Best regards,

Richard


Attachments

  • two_kits_almost_complete.jpg
    two_kits_almost_complete.jpg
    110.9 KB
Back
Top