You are using an out of date browser. It may not display this or other websites correctly.
You should upgrade or use an alternative browser.
You should upgrade or use an alternative browser.
Mix Bus Compressor from scratch
- Thread starter DaveP
- Start date


Help Support GroupDIY Audio Forum:
This site may earn a commission from merchant affiliate
links, including eBay, Amazon, and others.
Congrats on remission! Following this thread and eagerly waiting for an audio demonstration when this thing is done!
Thank you svyet.
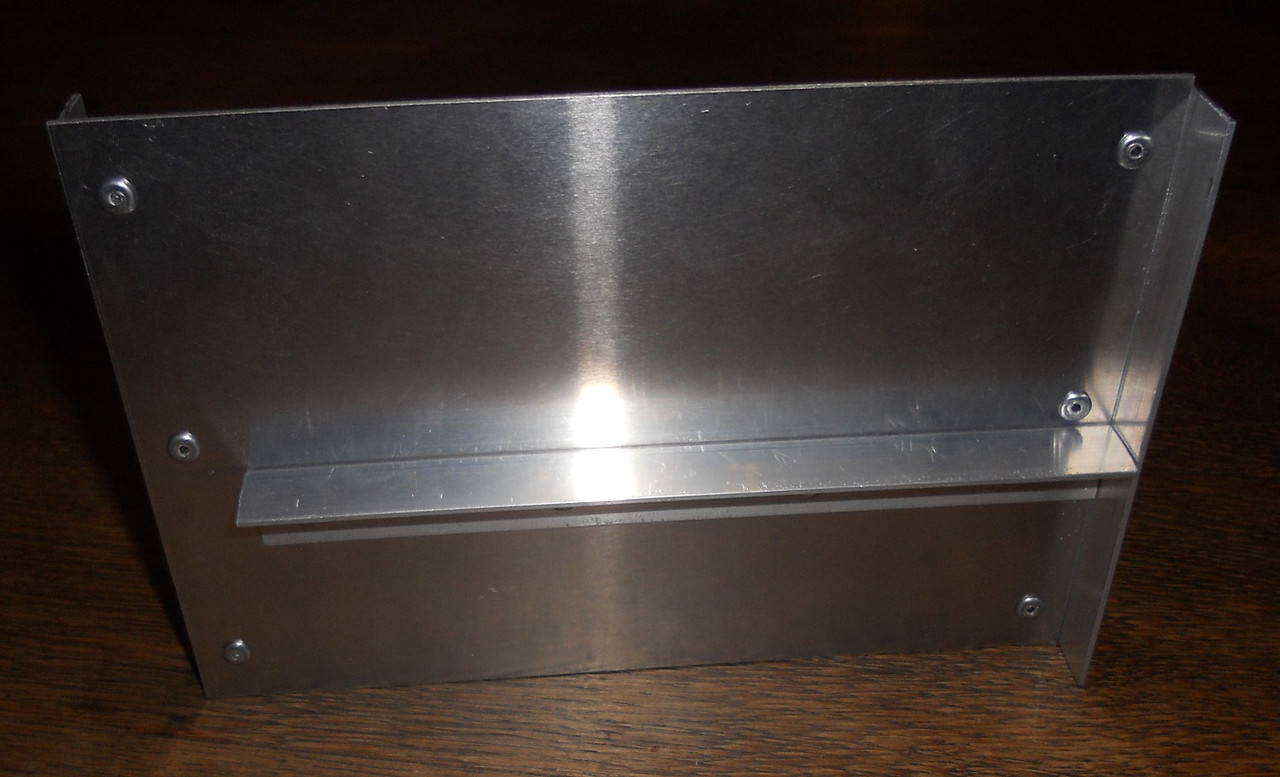
I fitted the first angles this afternoon
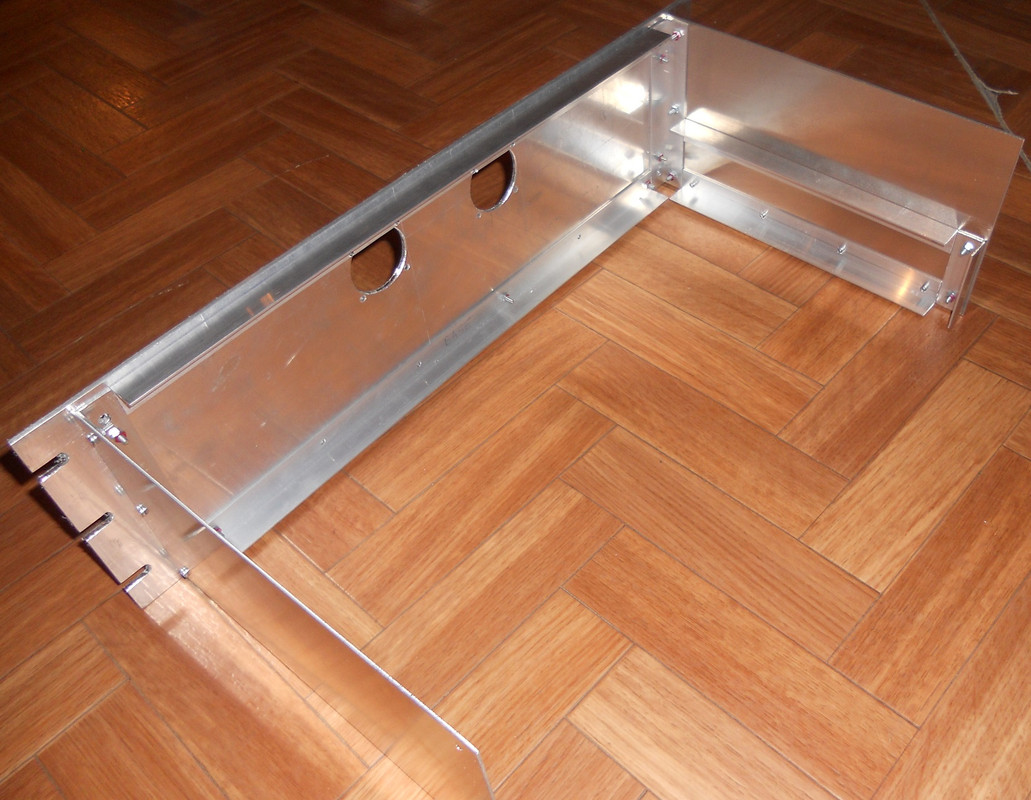
They will support the removeable base access panel and the tube base panel.
Fitting the front plate angle has covered the meter holes as expected, so they will have to be cut back to fit.

best
DaveP
I fitted the first angles this afternoon
They will support the removeable base access panel and the tube base panel.
Fitting the front plate angle has covered the meter holes as expected, so they will have to be cut back to fit.
best
DaveP
thomasdf
Well-known member
I am really glad you are back in business Dave ! Can't wait to see how this one turns out and to enjoy every bit of knowledge you'll share while building it ! Cheers
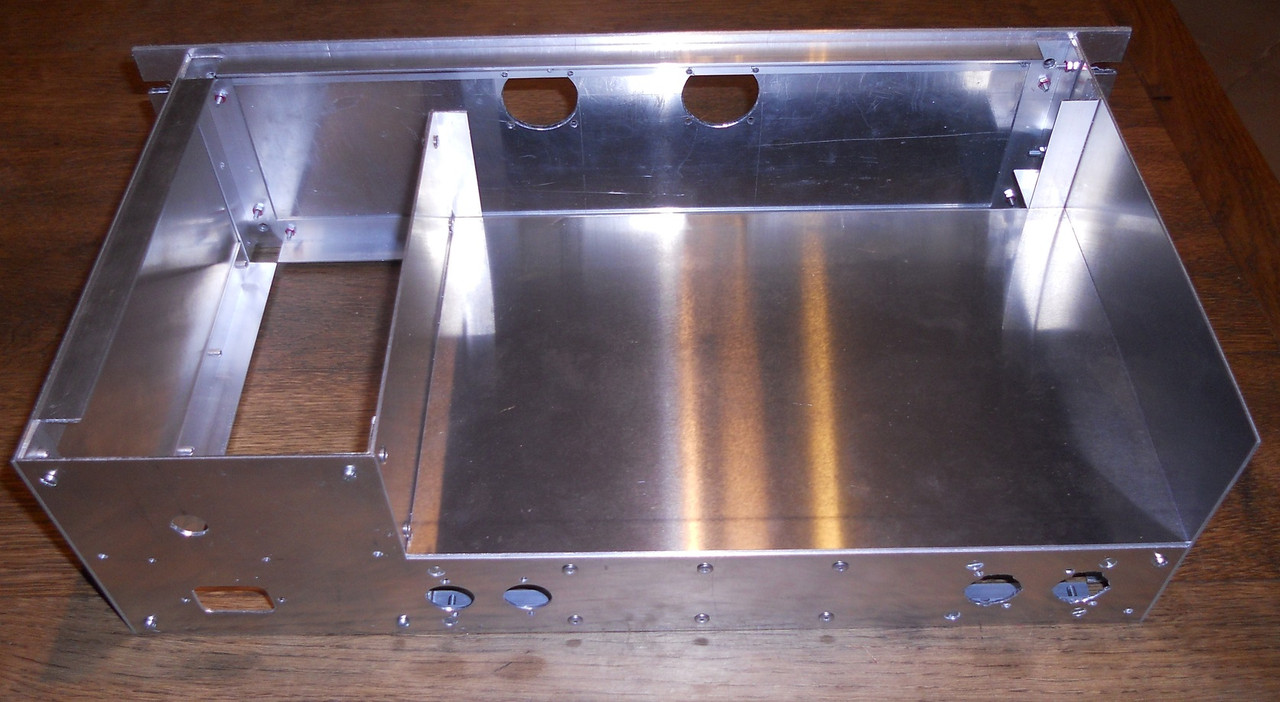
I have got to the stage where I have to decide where all the components are going, I do this by trial and error!
This is half of the power supply
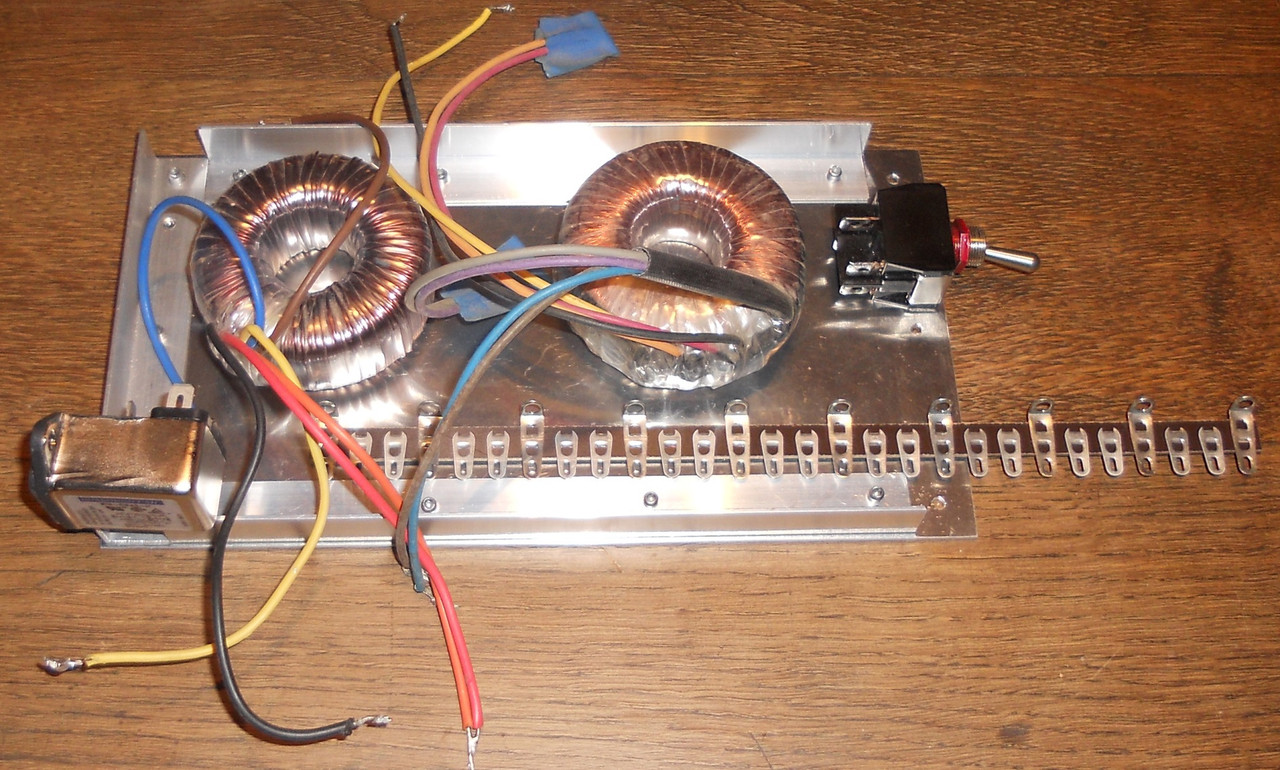
This is the main component layout
The transformer's radiation/pick-up pattern should be at right angles to other sources to avoid induction from other transformers.
For example, I don't want inductive feedback from the chokes to get back to the inputs.
best
DaveP
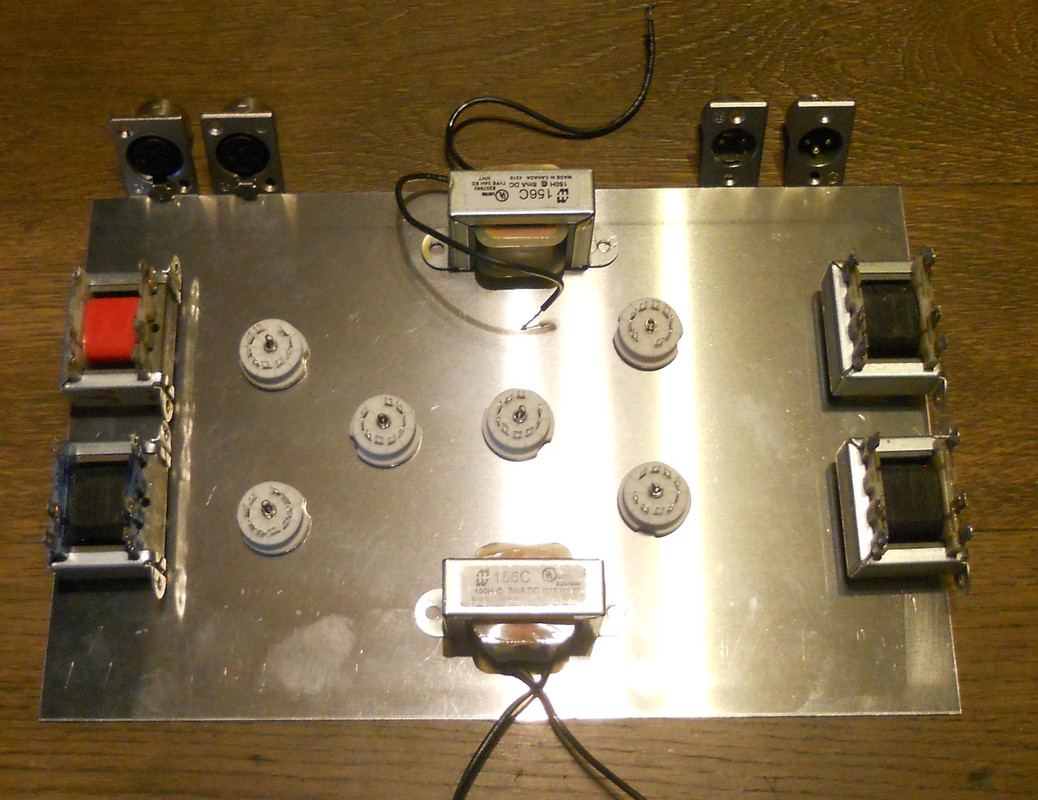
This is half of the power supply
This is the main component layout
The transformer's radiation/pick-up pattern should be at right angles to other sources to avoid induction from other transformers.
For example, I don't want inductive feedback from the chokes to get back to the inputs.
best
DaveP


rock soderstrom
Tour de France
This is really important! It's amazing how much influence the alignment of inductors has on the noise floor. There's something to learn here, just like with your experiments on the subject of the distance between signal-transformers and mains-transformers.The transformer's radiation/pick-up pattern should be at right angles to other sources to avoid induction from other transformers.
For example, I don't want inductive feedback from the chokes to get back to the inputs.
")
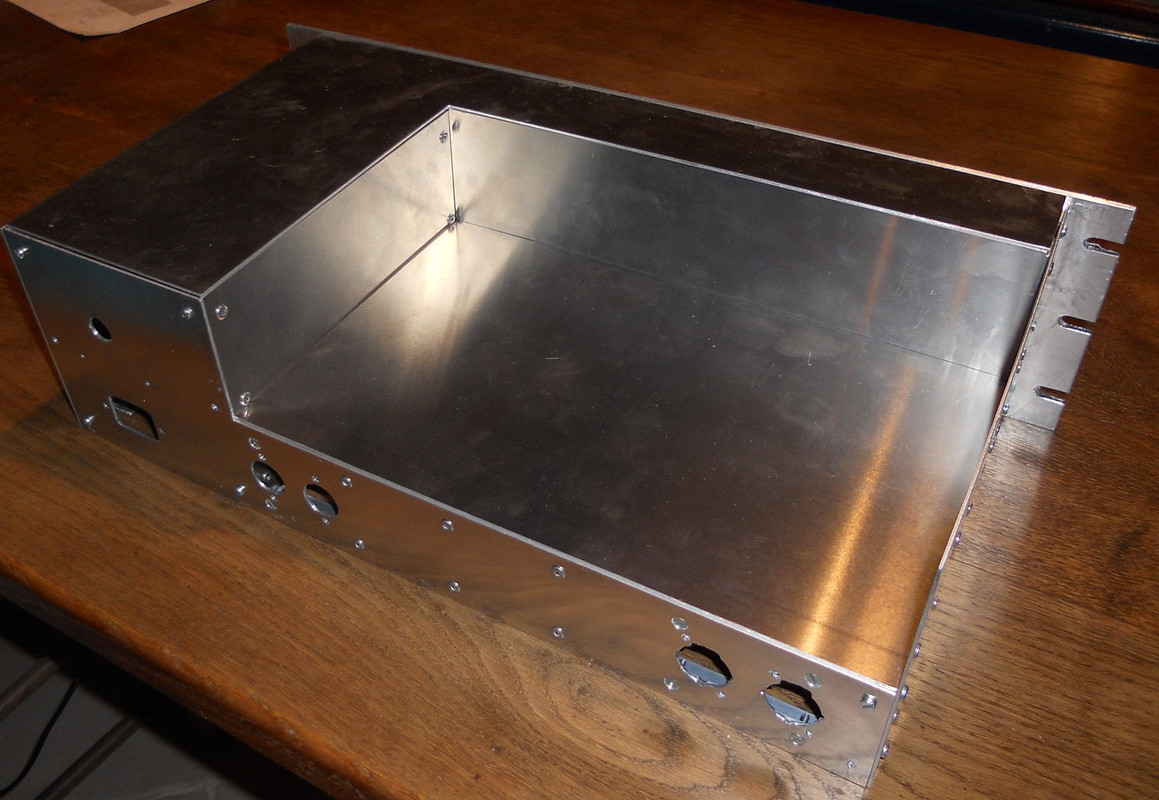
The other side of the power supply box is now finished. It supports one end of the tube base deck and on the other side all the smoothing caps.
This is roughly how the caps will be fitted. The earth busbar will go through without touching and the HT/B+ will enter by suitable grommets.
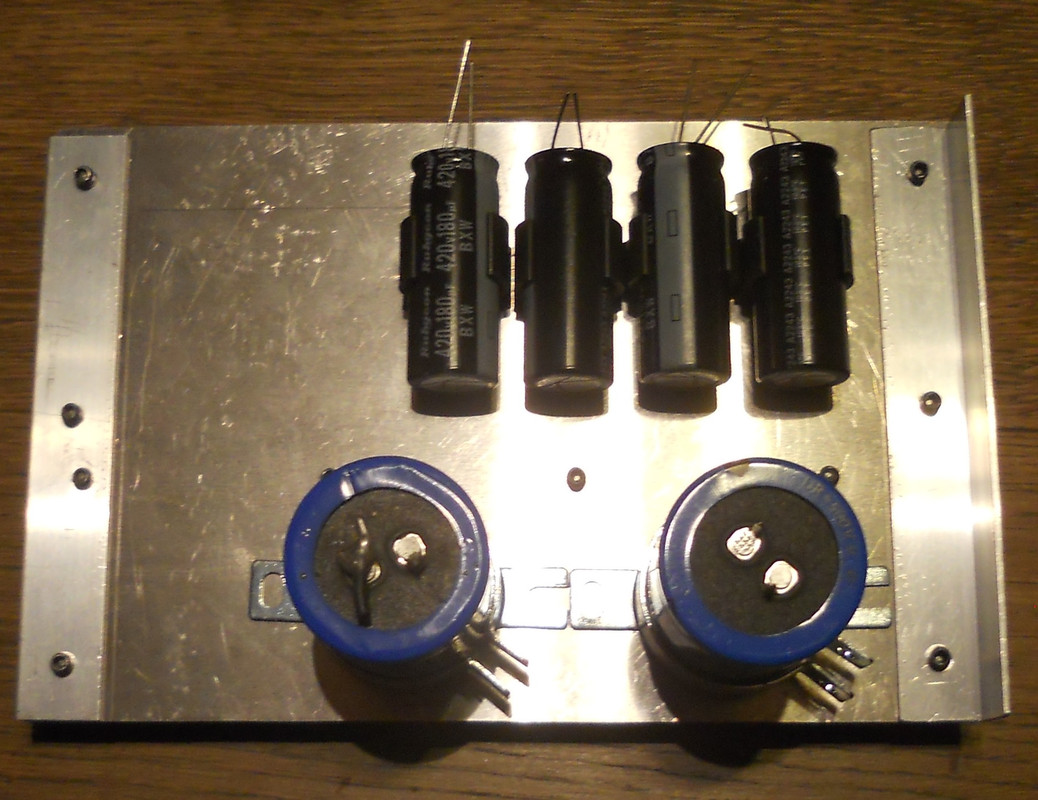
I will fit all the power supply components before fitting the chassis together.
best
DaveP
This is roughly how the caps will be fitted. The earth busbar will go through without touching and the HT/B+ will enter by suitable grommets.
I will fit all the power supply components before fitting the chassis together.
best
DaveP
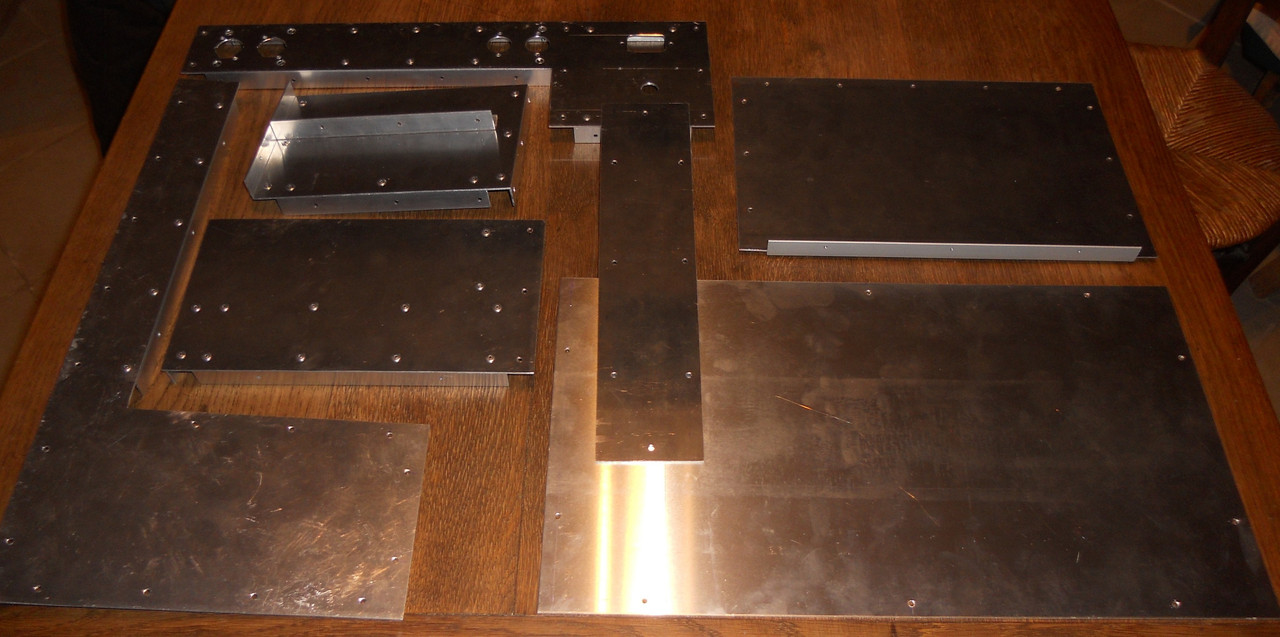
Before I start putting it all together I checked to see if all the parts fitted together OK.
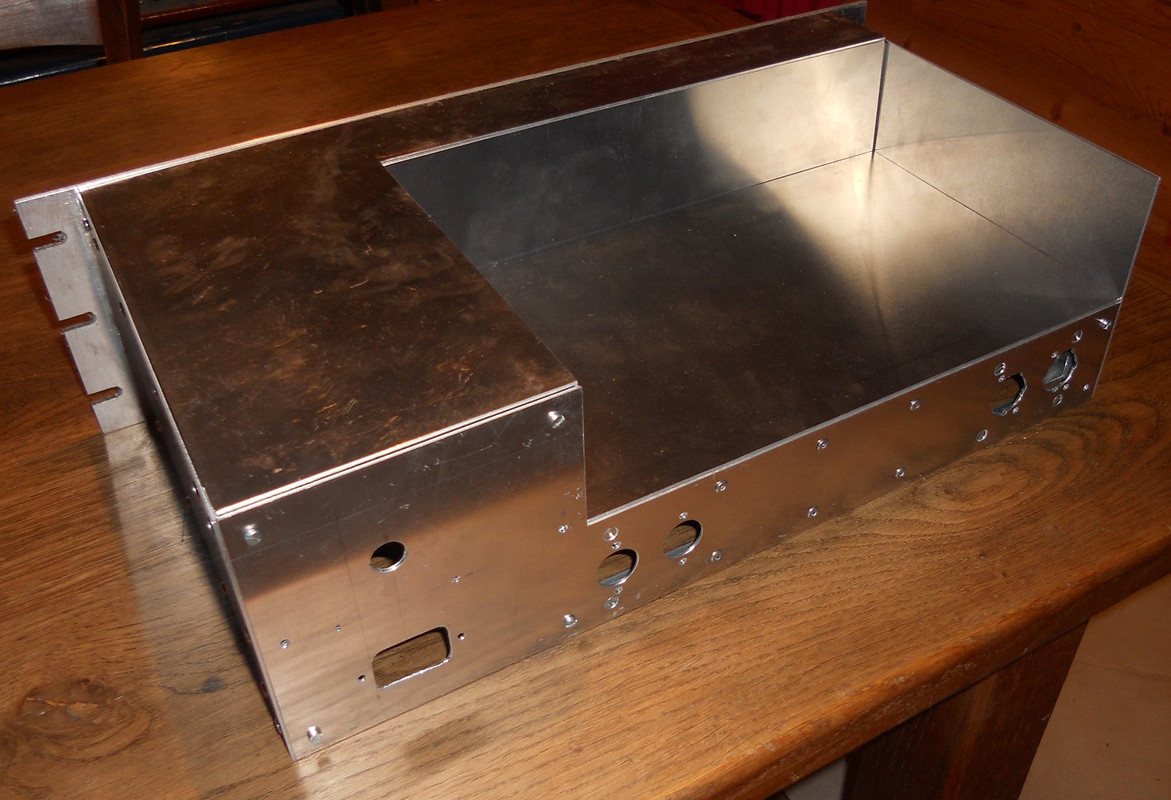
Just as well I did as the top L shaped cover needs a bit off one edge.
I will drill a few ventilation holes in this over the power supply as well.
The valve base cover is next on the list to sort out.
best
DaveP
Just as well I did as the top L shaped cover needs a bit off one edge.
I will drill a few ventilation holes in this over the power supply as well.
The valve base cover is next on the list to sort out.
best
DaveP
Since the last post I have cut and fixed all the angle needed to assemble the chassis and lined up and drilled over a hundred holes for the rivets.
There is not much to show for all this work but it had to be done.
Now I can start fitting components and assembling the chassis bit by bit.
best
DaveP
There is not much to show for all this work but it had to be done.
Now I can start fitting components and assembling the chassis bit by bit.
best
DaveP
Hey Dave,The other side of the power supply box is now finished. It supports one end of the tube base deck and on the other side all the smoothing caps.
This is roughly how the caps will be fitted. The earth busbar will go through without touching and the HT/B+ will enter by suitable grommets.
I will fit all the power supply components before fitting the chassis together.
best
DaveP
Nice work! Hey are those plastic pipe clamps holding your power supply caps?
No, they are cap clips you can get from RS, (Farnell/Newark stopped selling them for reasons best known to themselves)Hey are those plastic pipe clamps holding your power supply caps?
https://uk.rs-online.com/web/p/capacitors-accessories/1025482
best
DaveP
MidnightArrakis
Well-known member
You may also want to check these "battery/capacitor" clips out as well:No, they are cap clips you can get from RS, (Farnell/Newark stopped selling them for reasons best known to themselves)
https://uk.rs-online.com/web/p/capacitors-accessories/1025482
best
DaveP
https://www.keyelco.com/category.cf...M-and-SMT/Battery-Clips/p/404/id/943/c_id/950
https://www.keyelco.com/category.cf...and-SMT/For-C-Batteries/p/404/id/943/c_id/953
https://www.keyelco.com/category.cf...and-SMT/For-D-Batteries/p/404/id/943/c_id/954
/
Thanks, I am familiar with the metal ones - I had not seen plastic. I still learn something new every day. Love it.No, they are cap clips you can get from RS, (Farnell/Newark stopped selling them for reasons best known to themselves)
https://uk.rs-online.com/web/p/capacitors-accessories/1025482
best
DaveP
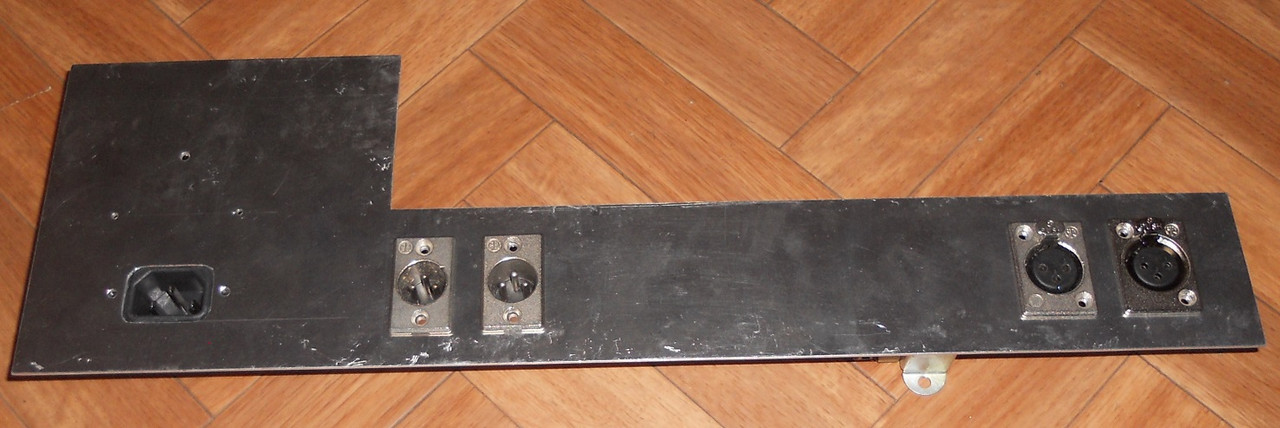
The front panel is now finished.
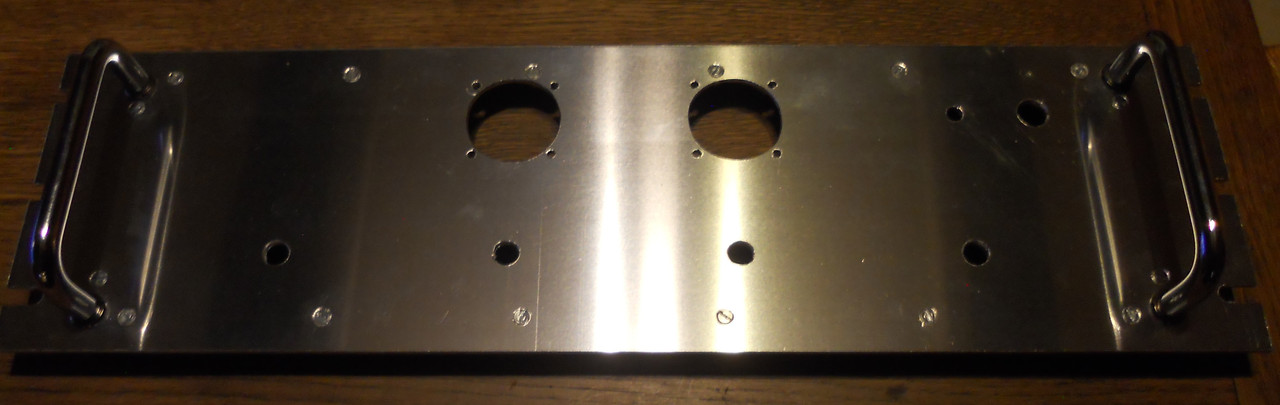
Controls will be from left:- Input Level, Attack, Release and Threshold. Then the mains switch and LED.
best
DaveP
Dave,
I'm amazed by your metal work, so neat.
This is the area where I struggle in my builds: Nice clean metal work.
Well done Sir. Hats off !
M
rock soderstrom
Tour de France
I also admire his metalwork. That has always been my weakest point. So far I've also sawn everything by hand, but I've now upgraded. A 19€ hand-held mini circular saw (exklusive the battery), which I've also retrofitted with a metal saw blade. Plus a DIY saw jig to make better straight cuts in sheet metal. Here we go...Dave,
I'm amazed by your metal work, so neat.
This is the area where I struggle in my builds: Nice clean metal work.
Well done Sir. Hats off !

Wow! € 19 !!! Looks perfect, thats the way to go! I want one now!!!I also admire his metalwork. That has always been my weakest point. So far I've also sawn everything by hand, but I've now upgraded. A 19€ hand-held circular saw (exklusive the battery), which I've also retrofitted with a metal saw blade. Plus a DIY saw jig to make better straight cuts in sheet metal. Here we go...
View attachment 123784
Be careful not to saw off the domestic appliance underneath (Like in those old Benny Hill shows)

rock soderstrom
Tour de France
It was a special offer at LIDL last week, now it costs 42€ again without battery. I'm sure there's better, but it's more than adequate for my purposes, a real step forward. I also use it to saw PCBs, fiberglass turret-boards and wood, it's really flexible.Wow! € 19 !!! Looks perfect, thats the way to go! I want one now!!!
Yes, I've actually drilled into the top of the washing machine before, no jokeBe careful not to saw off the domestic appliance underneath (Like in those old Benny Hill shows)
 . I have so little space in my apartment, every free surface is used.
Similar threads
- Replies
- 4
- Views
- 257
- Replies
- 30
- Views
- 2K