I am still confused about the MS option....
So - after converting the signal from LR to MS
we want to compress the M and S signals slightly differently -
how can this even be done with a SSL buss type compressor
which traditionally only has one set of controls?
or would this be a complete rework with separate controls for both channels?
No need to separate channel controls. Just feed more S signal before compressor
and play with M/S balance after the compressor.
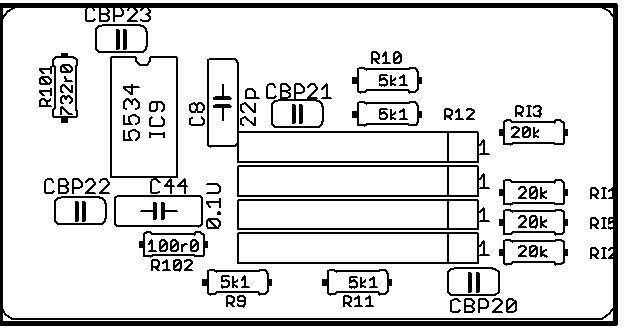
is there a FP layout for this project out 'n' about? I've looked but can not see one..
http://twin-x.com/groupdiy/thumbnails.php?album=416
"Release" markings, text 1 and 3, should be replaced with 0.5 and 0.9,
for full-featured front panel design. Will update the file soon.
Feel free to offer us engraved panels!
That's good news ! So, if I understand correctly, I could, for example, have the I/O metering w/ 2dB per led from -22 to +18 dB and GR metering w/ 1dB per led, set the 0dB reduction to full right : that way you have 20dB scale, right ?
OK....To clarify all about LED meter.
For IN/OUT metering, THAT2252 RMS detectors used.
Timing can be peak or RMS.
Every LED is 2db, from -22 to +18 db.
Finally, I used (-22...-2) green, and (0....+18) red displays.
Looks cool and convenient. Scale can be changed as well for 1.5 db/led for example,
as there are level_scale and level_offset trimpots for every channels.
Adjustment takes some time, but whole meter can be set up in 10-20 min.
with soundcard+multimeter.
GR metering for LED meter done to be convenient in same manner like it done in
1176 or LA-4, for example. I.e. it starts at 0 db of meter, and goes from right to left.
When no GR, we see 11 led's from 0 to -22db on.
When there is about 1.5 db of GR, 0 db led goes off, and we see 10 led's.
Hope it is clear
")
Now, the meter adjustment for GR has 2 pots: GR OFFSET and GR SCALE.
We set offset to fire up first 11 led's, by analogy with LA-4, when we set meter to 0db for 0 GR...
Than feed signal and set threshold to get 20 db of compression,
than adjust GR SCALE trimpot to get only first (-22db) led ON, same like with LA-4 or 1176.
And, we want full scale, 20 LED's to show gain reduction in 0.5 db steps.
To do this, without gain reduction, we set all 20 LED's ON with GR OFFSET trimpot.
Feed signal, get 10 db of gain reduction, and adjust GR SCALE trimpot
to see only first LED (-22) half-lighted.
We need 2 different scale markings for this way of GR meter behavior,
anyway, if this is your compressor, you know what is the trick even without marking.
So soft/tight are only achievable with continuously variable att/rel controls ?
The "original" way of switch arrangement does not allows this.
BUT:
The one of coolest benefits of MixBuzz1 over other designs is completely LEGO front panel.
I.e. it can fit every existing fronts and be used in many different ways.
This way, we can use pair of ganged, concentric switches with pots
for user-defined time constants, and have continuously variable attack/release controls, for example.
What about "Dual" release option : achievable with stepped controls ? Does it make sense since there's already A1 and A2 ?
It is usefull. First, the "second" (slow) release changes with "fast" release, we just keep relation between them 30%/70% for example. More options. Fits like a glove on mix.
If you ask me, ONLY continuously variable controls for attack/release,
or even better 21-stepped ELMA's. I always want a choice in-between.
I said good-bye to 6 attack and 5 release positions after testing full-featured MixBuzz1 in two studios.
One of them BTW has big ATC and Lavree Blue converters with my mastering console
and great accoustic treatment, and yes, more attack/release options is way usefull!
Last question, let's go crazy ;D !
Yalla, like we say here
I am already half-way to madhouse with holidays+work overload
Is it possible to have, like on the Tube Tech LC2Ab, the choice between stepped and continuously variable controls ? If yes, would it be a good and practical idea, or is it too much ?
Yes, already answered. Without hardcore wiring. Only thing needed is
concentric switches with pots. I can post a pic for getting the idea.
This way, we can have 10 stepped positions and 11th is "cont",
where the control goes to pot instead of switch.
Another cool option, is having TIMING and CRESTFACTOR on pots, LED for PK/AVG,
and time constants on switches. Yes, it will be there bit later.
Anyway, thanks for everything you've already done ! I can't wait to start this project.
Thanx for support.
Here are the pictures of inside as well.
http://twin-x.com/groupdiy/thumbnails.php?album=416