Humner
Well-known member
I have been planning this for the last year, but in the last month or 2 its starting to become real and thought a worklog would benefit myself and others who are interested in this.
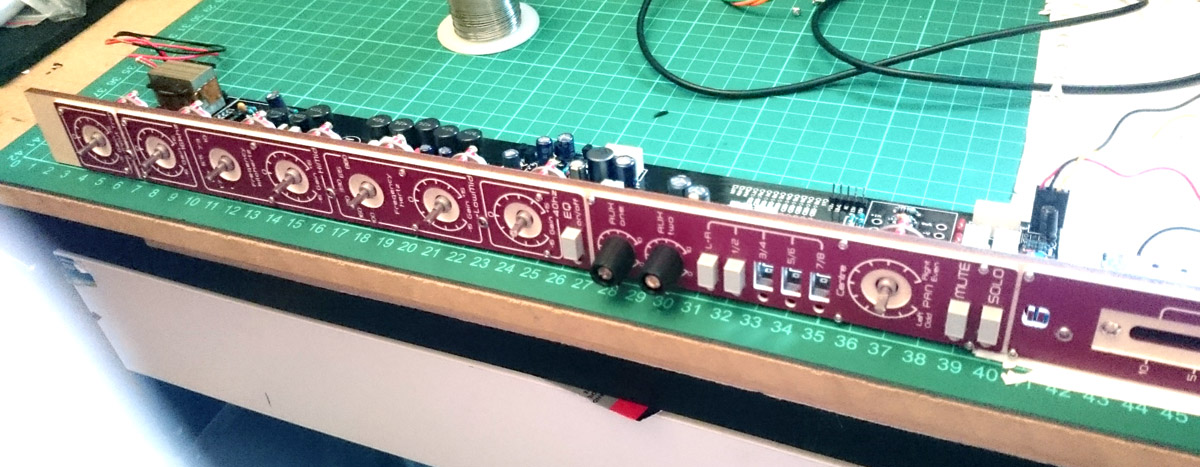
The base configuration of this console will be 24:8:2 with 2 AUX channels. Its main purpose will be for mixing/summing but have plans to include microphone pre's in the first 8 or 12 channels. I have working prototypes of the input and bus channels(the same summing section will be used for the master bus as well) and I'm very happy with how they have turned out. The first photos are showing the first prototype input channel. All inputs and outputs will be transformer balanced - I've been hoarding transformers these past few months and now have them ready to go into my circuit designs.
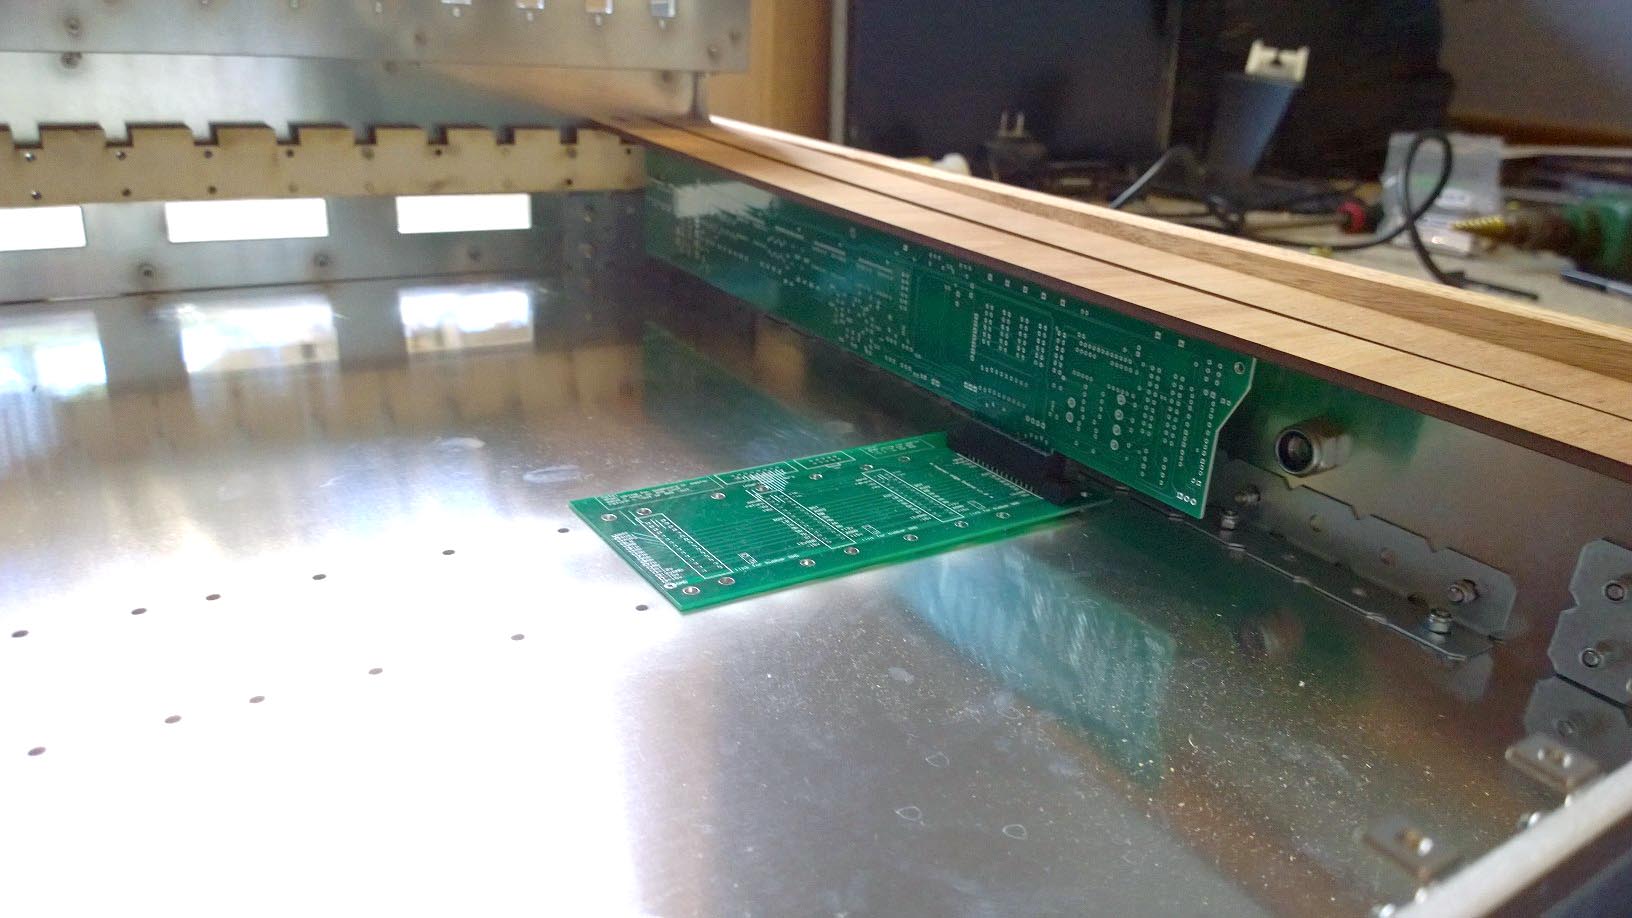
There will be PCB edge connector board running down the enclosure to form the busing. I have also made provisions on these PCB's to allow for a star ground scheme, so each channel has its audio ground go to a copper bus bar at the back of the console which then feeds into a single ground back to the PSU which will be in a separate enclosure.
The enclosure itself is made from 5mm 5005 grade aluminum and will be finished off with timber/wood sides and leather bound wrist rest. I had the panels waterjet cut as laser cutting aluminum at this thickness does not work for the small size holes I have. I used 5mm as I want it to be sturdy so to stand the test of time. The meter bridge will house NOS Russian vertical VU meters and the master L/R channel is your normal VU meter. Each channel strip will have built in VU meter buffers.
At this stage of the build I have finished the main aluminum enclosure and leather bound wrist rest further photos showing progress so far. I'm currently working on getting the timber sides finished which should be done this weekend. Its very important to me that this mixer not only sounds great but is also visually impressive.
here are the photos


![Electronics Soldering Iron Kit, [Upgraded] Soldering Iron 110V 90W LCD Digital Portable Soldering Kit 180-480℃(356-896℉), Welding Tool with ON/OFF Switch, Auto-sleep, Thermostatic Design](https://m.media-amazon.com/images/I/41gRDnlyfJS._SL500_.jpg)


