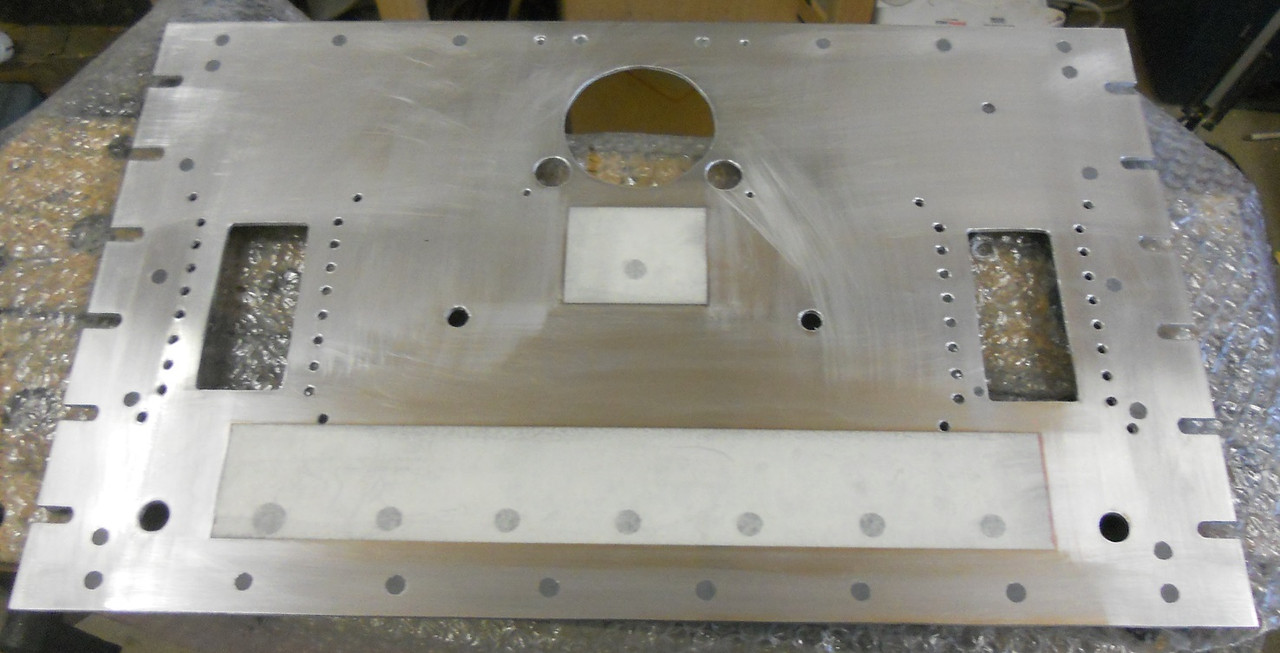
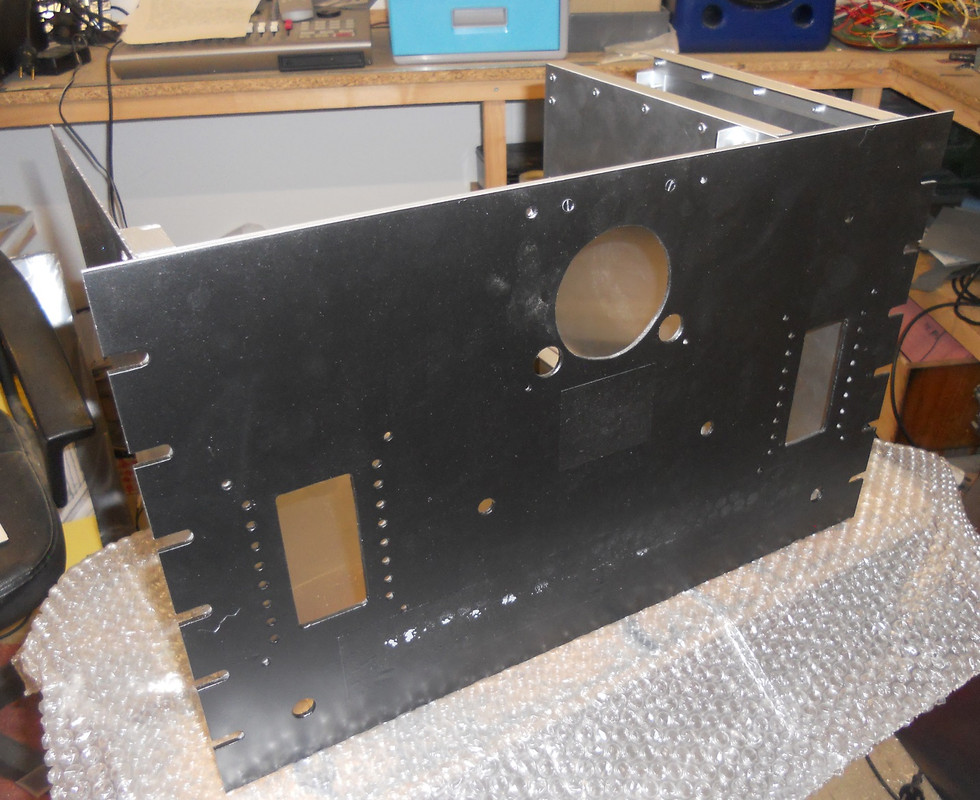
The front panel is now designed and drilled for components and brackets.
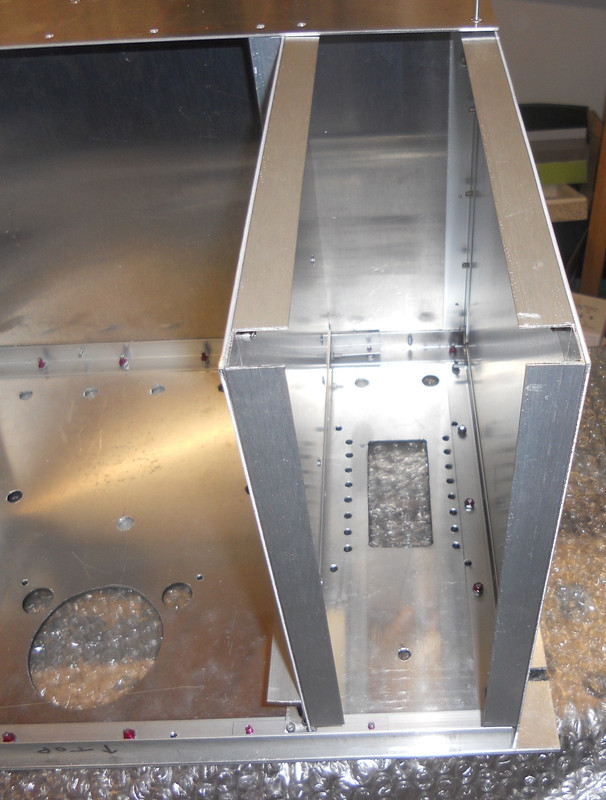
All the bracket screws/holes had to be countersunk and back-filled.
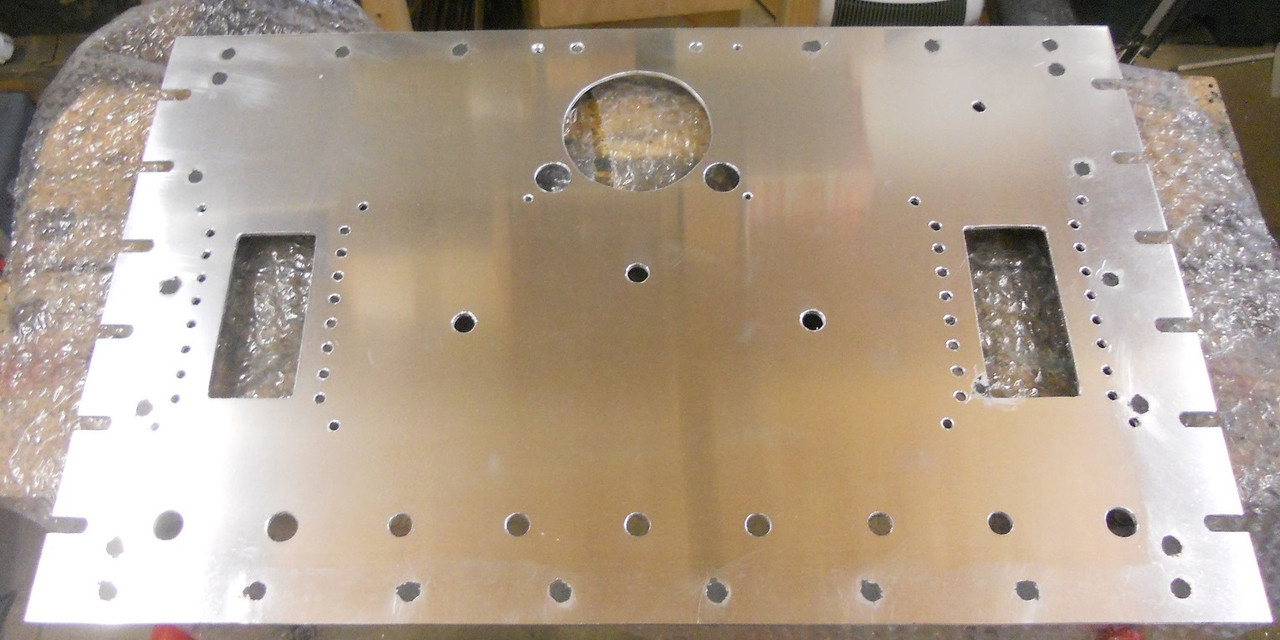
I used a special metal filler for the first time (seems to work!) but I'll know more if it sands down flat OK.
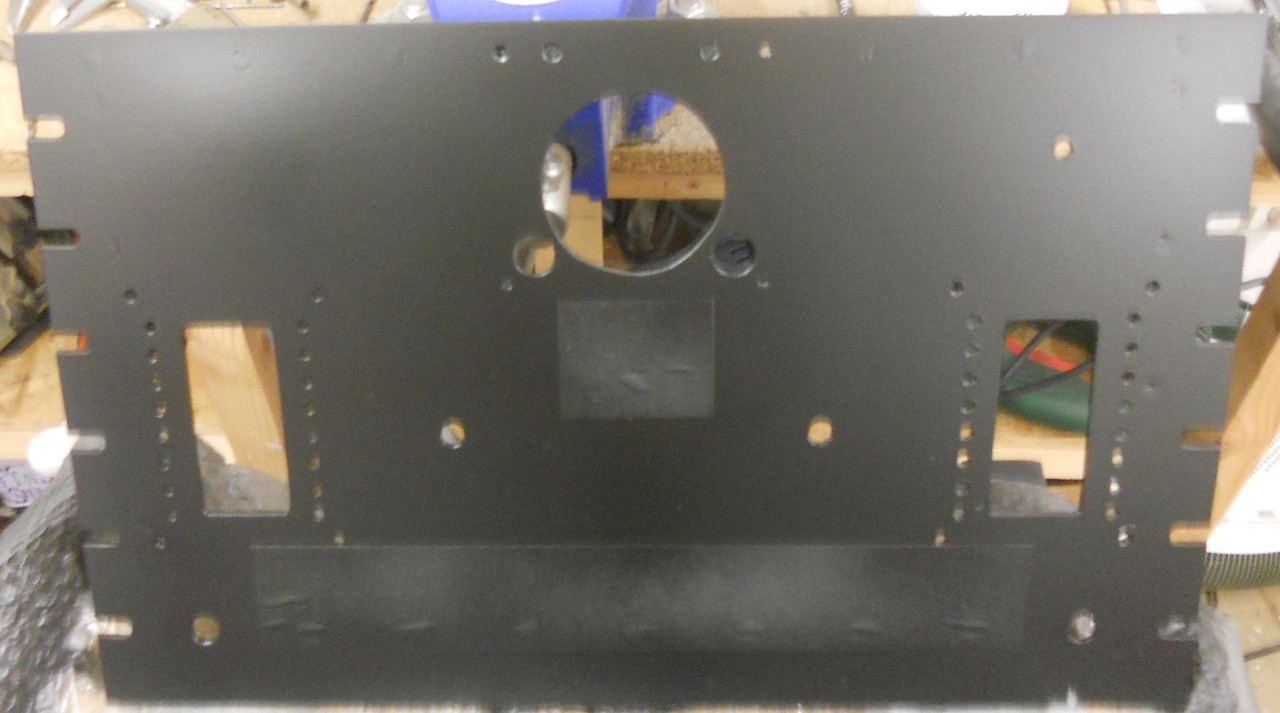
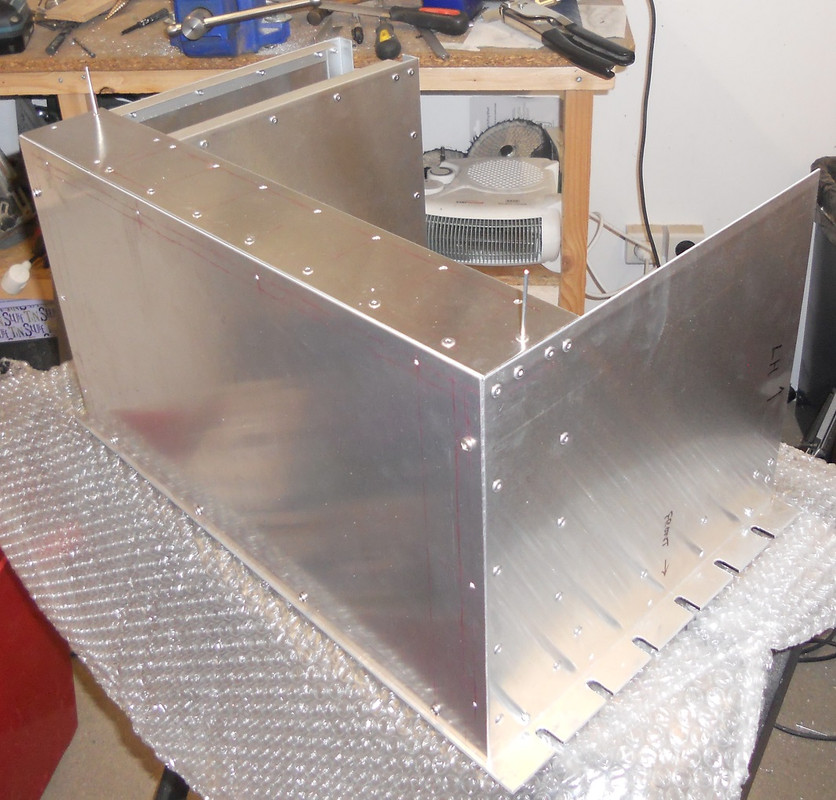
This is the back view of the front panel showing the brackets which attach it to the rest of the amp.
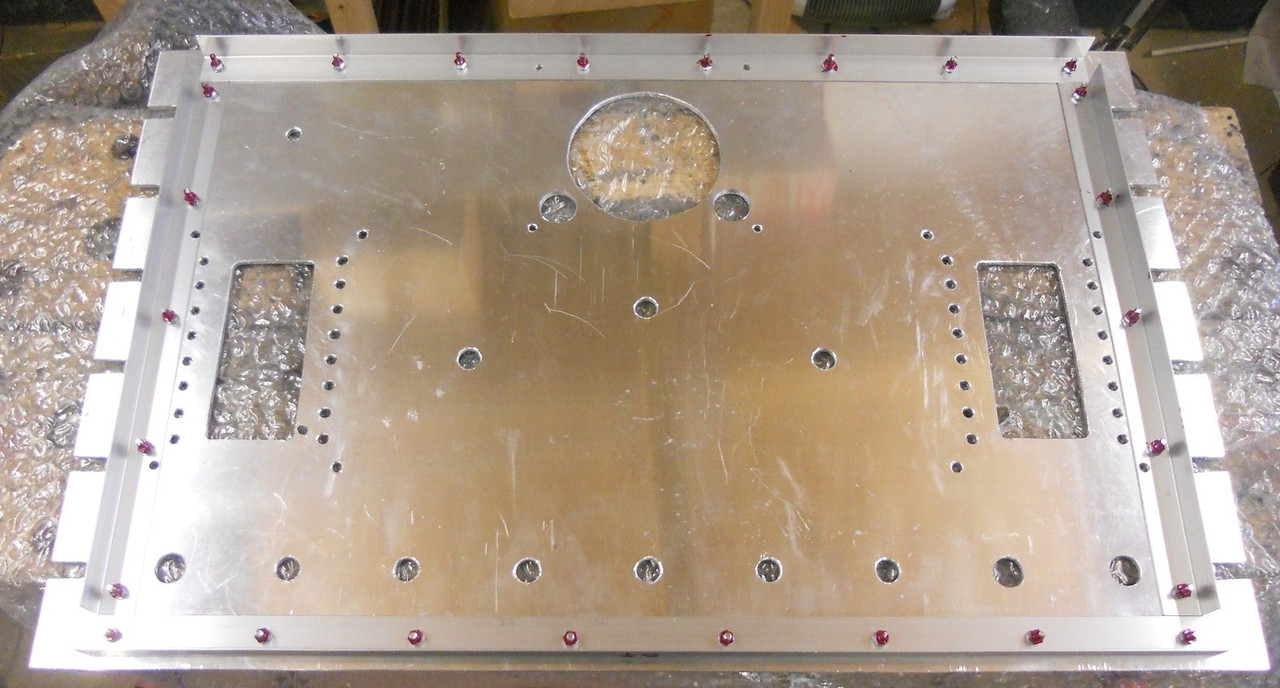
I sealed the threads with red nail varnish as the special stuff from RS has prohibitive transport. I felt a little bit weird examining the nail varnish section in our local super marche, but in our gender fluid age who cares? :")
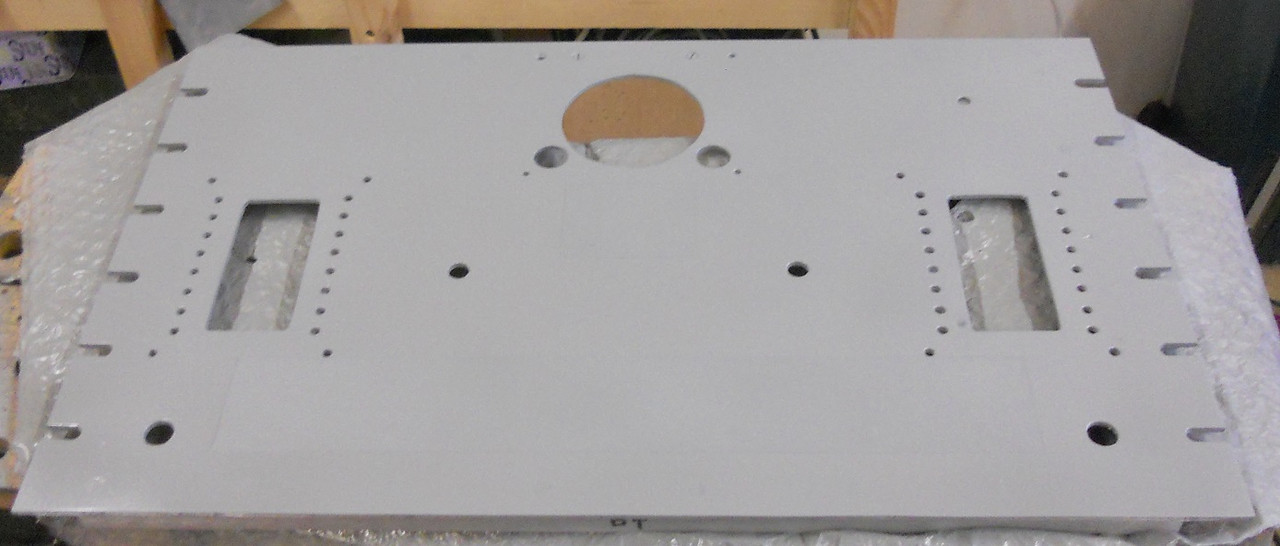
Next job is to prepare the front panel for spraying and lettering.
DaveP
All the bracket screws/holes had to be countersunk and back-filled.
I used a special metal filler for the first time (seems to work!) but I'll know more if it sands down flat OK.
This is the back view of the front panel showing the brackets which attach it to the rest of the amp.
I sealed the threads with red nail varnish as the special stuff from RS has prohibitive transport. I felt a little bit weird examining the nail varnish section in our local super marche, but in our gender fluid age who cares? :
Next job is to prepare the front panel for spraying and lettering.
DaveP