Neumann W492 equalizer DIY project (PCB docs added)

GroupDIY Audio Forum

Help Support GroupDIY Audio Forum:

This site may earn a commission from merchant affiliate links, including eBay, Amazon, and others.
kml23956 said:
US buyers need pots too. Where on earth can I get these things?
Those days I bought mine from TAW in the us,a very helpfull lady named Laura offered complete sets for us diy guys.Maybe ut's still possible?

Best,

Udo.
 
It's definitely still possible as I ordered two sets only 3 weeks ago and the incredibly helpful Laura said she still had a bunch left.
 
Nice layout......and a lot of real estate inside,no?
Maybe add an M/S-matrix and/or a "true" bypass ;)

Best and have fun building it,

Udo.
 
kante1603 said:
Nice layout......and a lot of real estate inside,no?
Maybe add an M/S-matrix and/or a "true" bypass ;)

Best and have fun building it,

Udo.

good idea, will check this out.

weiss
 
Have finished two w492 eq's. The output is not fine, it drops about -6db. 0.775v to eq input gives 0.385v output (all switches off). Checked everything but i can't find what do this. First opamp gives wrong output but there is right resistors and everything.

Edit:
Or it should drop. There is first 20k and then 10k with 5532 opamp. Why?
 
my two 492 are doing their Job well.

I'd like to test some Out Transformer,

Does some one tried this before?
 
Hi,

I'm just about to embark on two channels of W492 and wondered if anyone who's mounted the pots off board (I'm using the Omegs) has any thoughts about mounting the PCB?

I've seen Markus's elegant solution, and am wondering about fashioning something similar out of wood, but if there's a better off the shelf solution I'd love to hear it.  I'm a bit nervous about actually drilling the PCB as it doesn't look like there's a lot of room for error.

Thanks,

Chris
 
Hardwire the pots to the pcb,

those Alphas cost 1,60 Eur or so..

otherwise you will get a lot of troubles, trust me.
 
digistu said:
Hi,

I'm just about to embark on two channels of W492 and wondered if anyone who's mounted the pots off board (I'm using the Omegs) has any thoughts about mounting the PCB?

I've seen Markus's elegant solution, and am wondering about fashioning something similar out of wood, but if there's a better off the shelf solution I'd love to hear it.  I'm a bit nervous about actually drilling the PCB as it doesn't look like there's a lot of room for error.

Thanks,

Chris
Hello Chris,

easy to wire them off board by using bus wire,the pcb will easily stay in place because it's has a very low weight.I did it on my version (reply #487) using 1mm bus wire.
Here's a nice pic from our member sr1200,just bend them to your needs (he used cut off diode legs):

http://groupdiy.com/index.php?topic=28332.msg676926#msg676926

Best,

Udo.
 
Greg S. said:
Hardwire the pots to the pcb,

those Alphas cost 1,60 Eur or so..

otherwise you will get a lot of troubles, trust me.
Chris is talking about Omegs,not Alphas.
From a few pages ago you seem to swap Alpha pots and Alphastat (which is a supplier for Omeg pots here in germany).
Again,don't use them because this circuit is dc coupled.

Best,

Udo.
 
Thanks Udo!  Yours was one of the builds I was scrutinising photos of in order to try and work out a solution, so great to make sense of how you actually did it.
 
digistu said:
Thanks Udo!  Yours was one of the builds I was scrutinising photos of in order to try and work out a solution, so great to make sense of how you actually did it.
You're welcome Chris,

in detail I did this as follows:

First attach bus wires to the pcb so they line up horizontally to its' surface.

Then attach the pots to the front panel and line them up.

Now you can solder the two most outward wires to the most outward pots.

Bend the pcb perpendicular to the front panel.

Then solder the rest,it's really easy.

Remember not to apply excessive heat for a long time to the Omegs,they don't like it.
Pre-tinning is the key.
You'll experience that the more wires you solder to the pcb the more stability the construction gets.

For servicing parts just remove the pot nuts and tear the whole thing out-that's it.

Attached another (blurry) pic to give you an idea.

Have fun soldering,

best,

Udo. ;)
 

Attachments

  • Closeup 1.jpg
    Closeup 1.jpg
    790 KB
Greg S. said:
Silver Micas instaed of Kerkos, hmm,

have to replace my ones! THX Udo,

Really nice Job
Thank you,but where do you see micas?
You don't mean the blue caps,do you?If so these are just xr7 or xicon or something I had here,definetely no silver micas.That would make no sense because they are just for decoupling,so any cheap ceramic will do the job.
The rest is lytics and Wimas.

Best,

Udo.

Edit:Found it,they are indeed xr7 from Murata,4 cents each when bought as singles at Reichelt.Look:

http://www.reichelt.de/Vielschicht-bedrahtet-X7R-10-/X7R-2-5-100N/3/index.html?&ACTION=3&LA=2&ARTICLE=22853&GROUPID=3162&artnr=X7R-2%2C5+100N

or these:

http://www.reichelt.de/Vielschicht-bedrahtet-X7R-10-/X7R-5-100N/3/index.html?&ACTION=3&LA=2&ARTICLE=22865&GROUPID=3162&artnr=X7R-5+100N&SEARCH=Vielschicht%2C+bedrahtet%2C+X7R+10%25

 
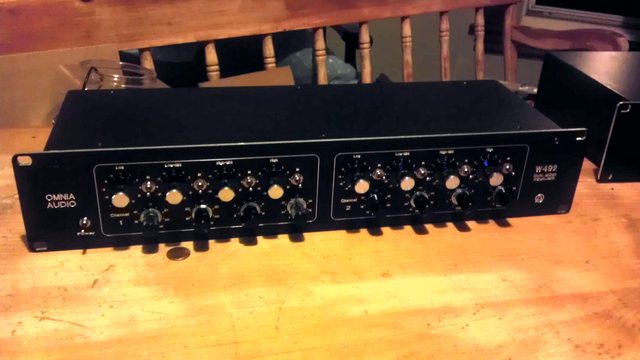
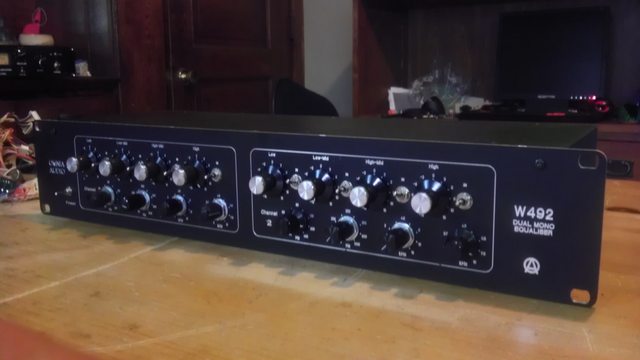
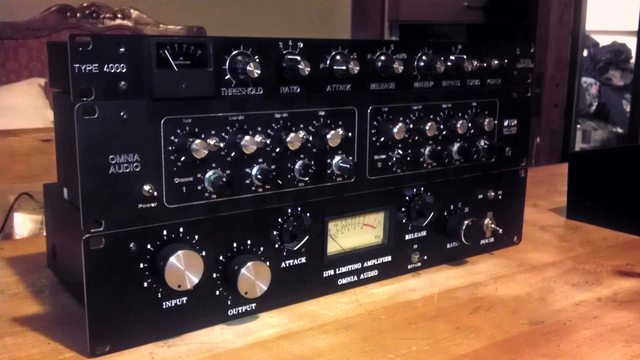
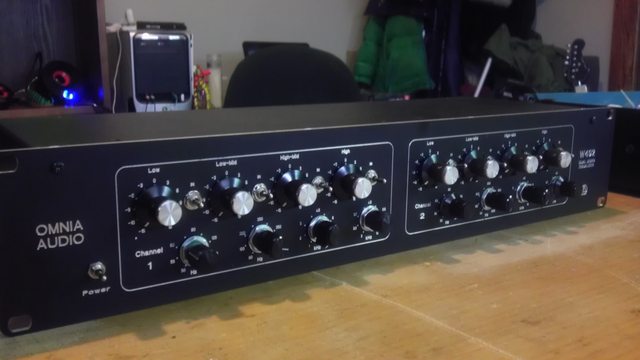
Ahh... Calibration is about finished (although I really need a decent osciliscope and wave generator which is on the top of my list) and I must say I am really liking this EQ.  What a great project.  I learned a ton.  Thank you AudioX for the incredibly awesome project and thank you Udo (again) for all your suggestions and of course thanks Gustav for your giant contributions in making it possible. Oh and thanks Frank for doing the bad ass front panel.  Always worth the wait for you sir.
I am currently awaiting another case and some more knobs that will match the top better so it isn't quite finished yet but damn it is close.  ;)


I 'stole' some ideas for the front panel from Ben Lindell (thanks dude) as well as used Gustav's hole markings (which work with Omeg pots just fine) to make sure mine were correct (they were).


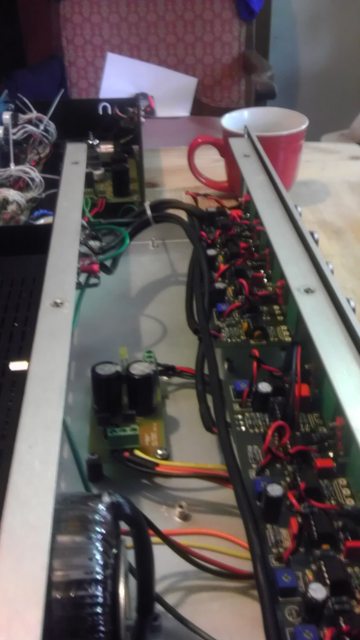
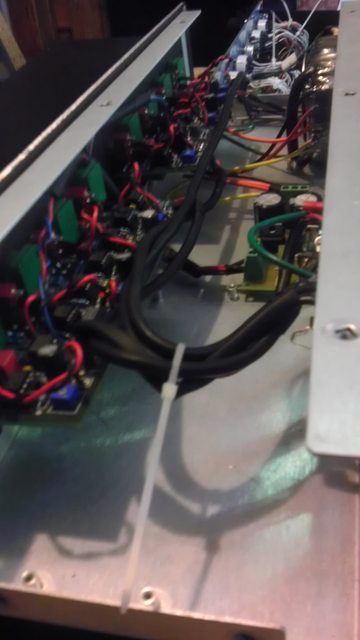
And some of the inside


As you can tell I am no photographer.
But here's a shot of it with a few of other builds which I gotta say makes it all look pretty damn saweet.

Will be racking it soon in the studio after some more touch up calibration (I'm a little neurotic)

:)


Back
Top